We’re taking today off from our normally scheduled cold process tutorial to show you this fantastically thorough recap of a session at the 2014 Soap Guild. Our guest blogger Jean Horn attended Ruth Esteves’ session on natural colorant testing in cold process. Natural colorants are a beautiful option for cold process soaping, but it’s important to know how they behave and which ones will stand the test of time. Read Jean’s excellent recap of the session, and then give natural colorants a try. — A.M.
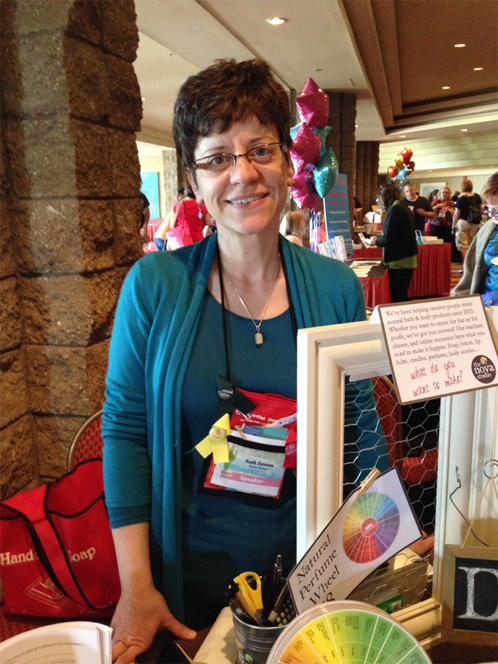
Ruth was fighting a cold the day she presented, but she was happy to let me snap a picture of her anyway. She did an excellent job on her presentation, and she is co-owner of The Nova Studio in California.
Have you ever thought about moving toward using mostly natural colorants? Is this something your customers are asking for? If so, the information presented in this session will be extremely helpful to you.
Which natural additives will withstand the rigors of cold process? What is a natural colorant? Ruth’s presentation on testing natural colorants contained some great information addressing both of these issues.
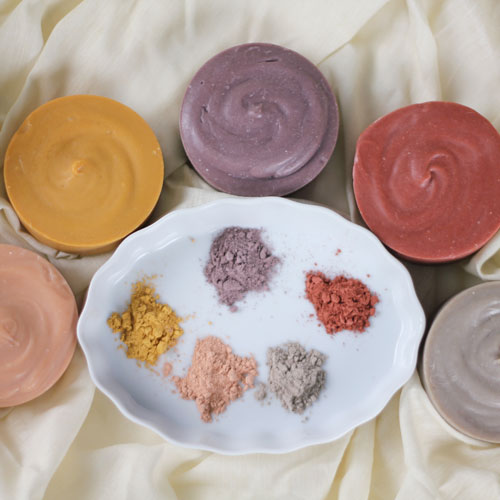
Some natural ingredients that can add color to CP soap include plants, spices, Herbs and Botanicals, Clays, vegetables, and fruits. This Brazilian Clay Sampler from Bramble Berry is an example of the beautiful colors that clays lend to Cold Process Soap. Wow. Aren’t those soaps gorgeous?
Just because a natural ingredient adds color doesn’t mean that it is an FDA approved colorant for soaps and cosmetics. So use them with the caveat that they only are called a colorant on your label if they are approved as such by the FDA. The FDA website offers a wealth of information on the subject. Here’s a jumping off point that shows approved FDA colorants for cosmetics. It’s not limited to natural colorants, though. It also includes synthetics.
That leads to a question. Just what is synthetic vs. natural? Ruth described ‘natural’ as being from the ground and minimally processed. She stressed that there is no concrete definition of ‘natural’. See this post on the Soap Queen Blog about Natural vs. Organic for much more in-depth information on the ambiguity of the term natural in soap and cosmetics.
Some colorants that may have natural components but that are manufactured include micas, oxides, ultramarines, and lakes. FDA colorants are also manufactured. I am personally addicted to colors of all kinds. I love to use natural colorants, but I also love the variety of skin safe manufactured colors that are available. When I choose the colorant for a product, I keep the type of product and the consumer in mind and make my choice accordingly.
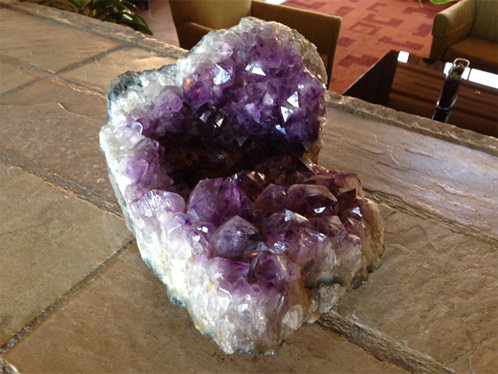
This beautiful geode was (and still is – I didn’t make off with it) on display in the hotel. Does anyone else see a soap colored with a natural colorant in the making here?
On to the meat of the session. There are so many natural colorants that we can use to add beautiful color to our soaps. Experimentation is a must so that you know how that colorant will act with your recipe and with your essential oil or fragrance if you choose to scent your soap. The soapmaking process can be very damaging to natural additives, especially plants. The importance of testing is front and center in this Soap Queen blog post.
In her presentation, Ruth laid out a testing procedure for us to teach us how to do our own tests on natural additives as colorants. By using her procedure, we can design colors in our soap that will come out consistently time after time.
Ruth’s method includes testing a small batch of soap before incorporating a new natural additive in a large batch of soap. This allows for troubleshooting without a major investment of materials and cost.
Here’s an abridged version of Ruth’s testing method. The main elements are:
1. A plan
2. The Right Tools
3. Recordkeeping

The Plan:
- Choose a recipe for testing purposes. Use one that is as white as possible so you get an accurate representation of the color (try a recipe with canola oil instead of olive oil to prevent that green-ish tinge!).
- Test a small batch. Ruth likes to use a one pound batch because it’s small and also makes it easier to calculate amounts needed for larger batches (the 4″ Silicone Loaf Mold is perfect for testing).
- Additives may be incorporated in various ways, such as directly into the lye, into the soap at trace, or as an oil infusion.
- To gel or not to gel? Ruth recommends testing both ways side by side. The gel phase will often produce a more vibrant hue.
The Right Tools:
- Small molds. These don’t have to break the bank. They can be boxes, single bar molds, paper cups, or other non-metal containers. Keep in mind that the containers must be able to withstand the heat of saponification.
- Small container in which to mix the soap. Bramble Berry’s Easy Pour Mixing and Measuring Container would be perfect for a one-pound batch. Ruth also suggest the quart-sized round Ziplock containers with the screw on lids

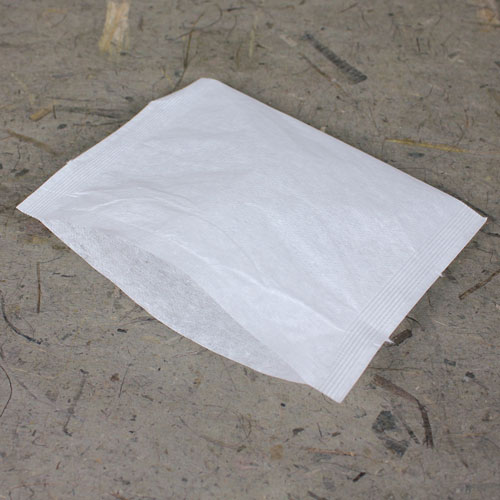
3. Heat Seal Teabags can come in handy when you want to infuse botanicals into the oil.
 Record Keeping:
- Keep track of what you do.
- Refer to the results and use them.
- Keeping accurate records allow you to replicate the result. Or not, in the case of a test gone awry.
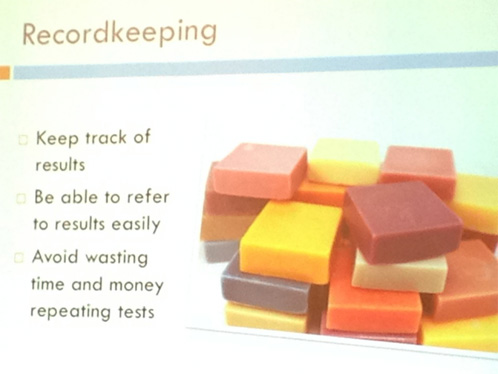
Ruth provided a testing sheet as a jumping off point. You can fine tune the sheet to include your own recipe and other notes you may find helpful.
Here is Ruth’s 10 Step Testing Procedure. This procedure is applicable for many things, in addition to the natural colorants:
- Decide what ingredient you want to test.
- Print your testing sheet and fill it out.
- Prepare your soap, making lots of notes on additives, amounts and procedures.
- Pour soap into molds. Set molds aside.
- Unmold the soaps. Cut if necessary.
- Assign a batch/control number to each bar. Note this on your testing sheet.
- Etch the batch/control number into each test bar.
- Take photos.
- Let the soap cure.
- Take photos, observe results, and note observations.
You can learn more from Ruth’s e-book, Coloring Soap Naturally. She describes the testing process in more detail, and she also shares her test results of 34 natural colorants.
There is a wealth of natural colorant information at Bramble Berry and on the Soap Queen Blog. Here are just a few examples:
Sunday Night Spotlight – Natural Colorants – this one has tons of info and links.
Tutorial: Naturally Colored Eye Candy
Tutorial: Natural Colorant Taiwan Swirl Tutorial
Infusing Herbs, Spices, Teas and Clays
Natural Colorants Online Video
Here’s a really great tutorial for creating an All Natural Rose Clay and Pink Salt Bar on the Otion Blog.
Are Micas natural?
Hi Lisa!
Good question. Some micas are natural and some are not. It depends on where their source of color comes from. Our micas that aren’t considered natural would be the ones that contain FD&C dyes. For example, the Cellini Red Mica contains D&C Red 7 which makes this colorant not natural. Copper Sparkle Mica, on the other hand, only contains mica and iron oxides, which both readily occur in nature so it is considered ‘natural’.
Cellini Red Mica: https://www.brambleberry.com/Cellini-Red-Lip-Safe-Mica-P3068.aspx
Copper Sparkle Mica: https://www.brambleberry.com/Copper-Sparkle-Mica-P3062.aspx
I hope this helps Liv! 🙂
-Amanda with Bramble Berry