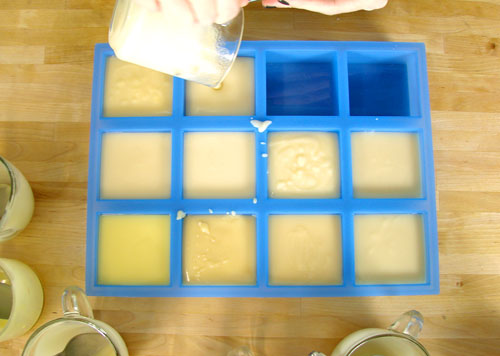
Yes, I know I’m always declaring that this or that is my favorite. But I really mean it this time. . . for now, anyway. I love our new 12 bar square silicone mold. It is so perfect for testing soaps but also makes 12 perfect bars of soap in a flash! We do a lot of soap testing to ensure that each fragrance we carry is safe for use in cold process soap. For every fragrance you see at Brambleberry.com, we’ve tested at least 100 more (really, I swear, that is not an exaggeration) that didn’t make the cut.
Rather than go over the basics of how to make cold process soap again, I’m just going to share my basic technique for testing fragrances. If you’ve never made cold process soap before please learn about the safety precautions and basic steps first. My series of 4 videos about how to make cold process soap would be a great place to start. Episode 1: Lye Safety, Episode 2: Basic Terms, Episode 3: Using Fragrances, and Episode 4: Using Colorants. And if I catch you making soap without goggles, may the Soap Fairies forever take away your soaping luck.
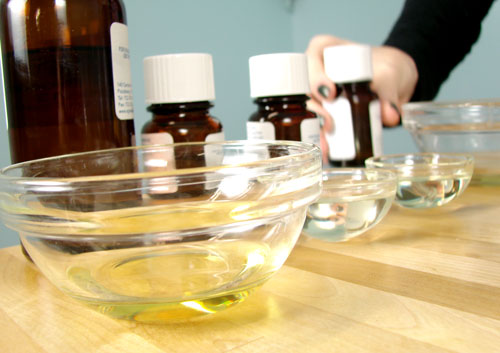
Next, I weigh out all of my fragrances. It is really important when testing fragrance oils, like I am here, that everything is accurately weighed so that you can duplicate your successes .And, when all the fragrances are weighed out, you can just do a quick ‘dump ‘n’ stir’ – you need 12 little dishes if you’re working on 12 individual fragrances.
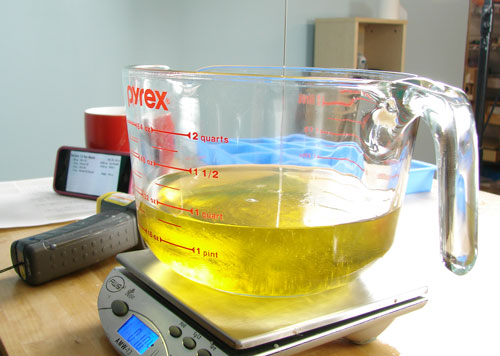
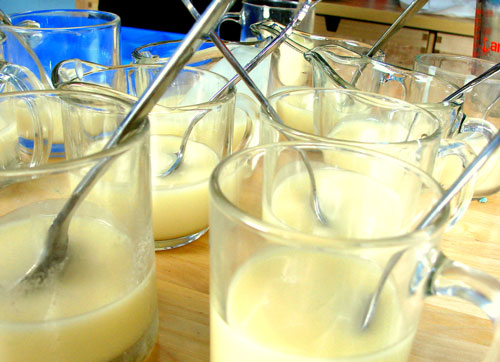
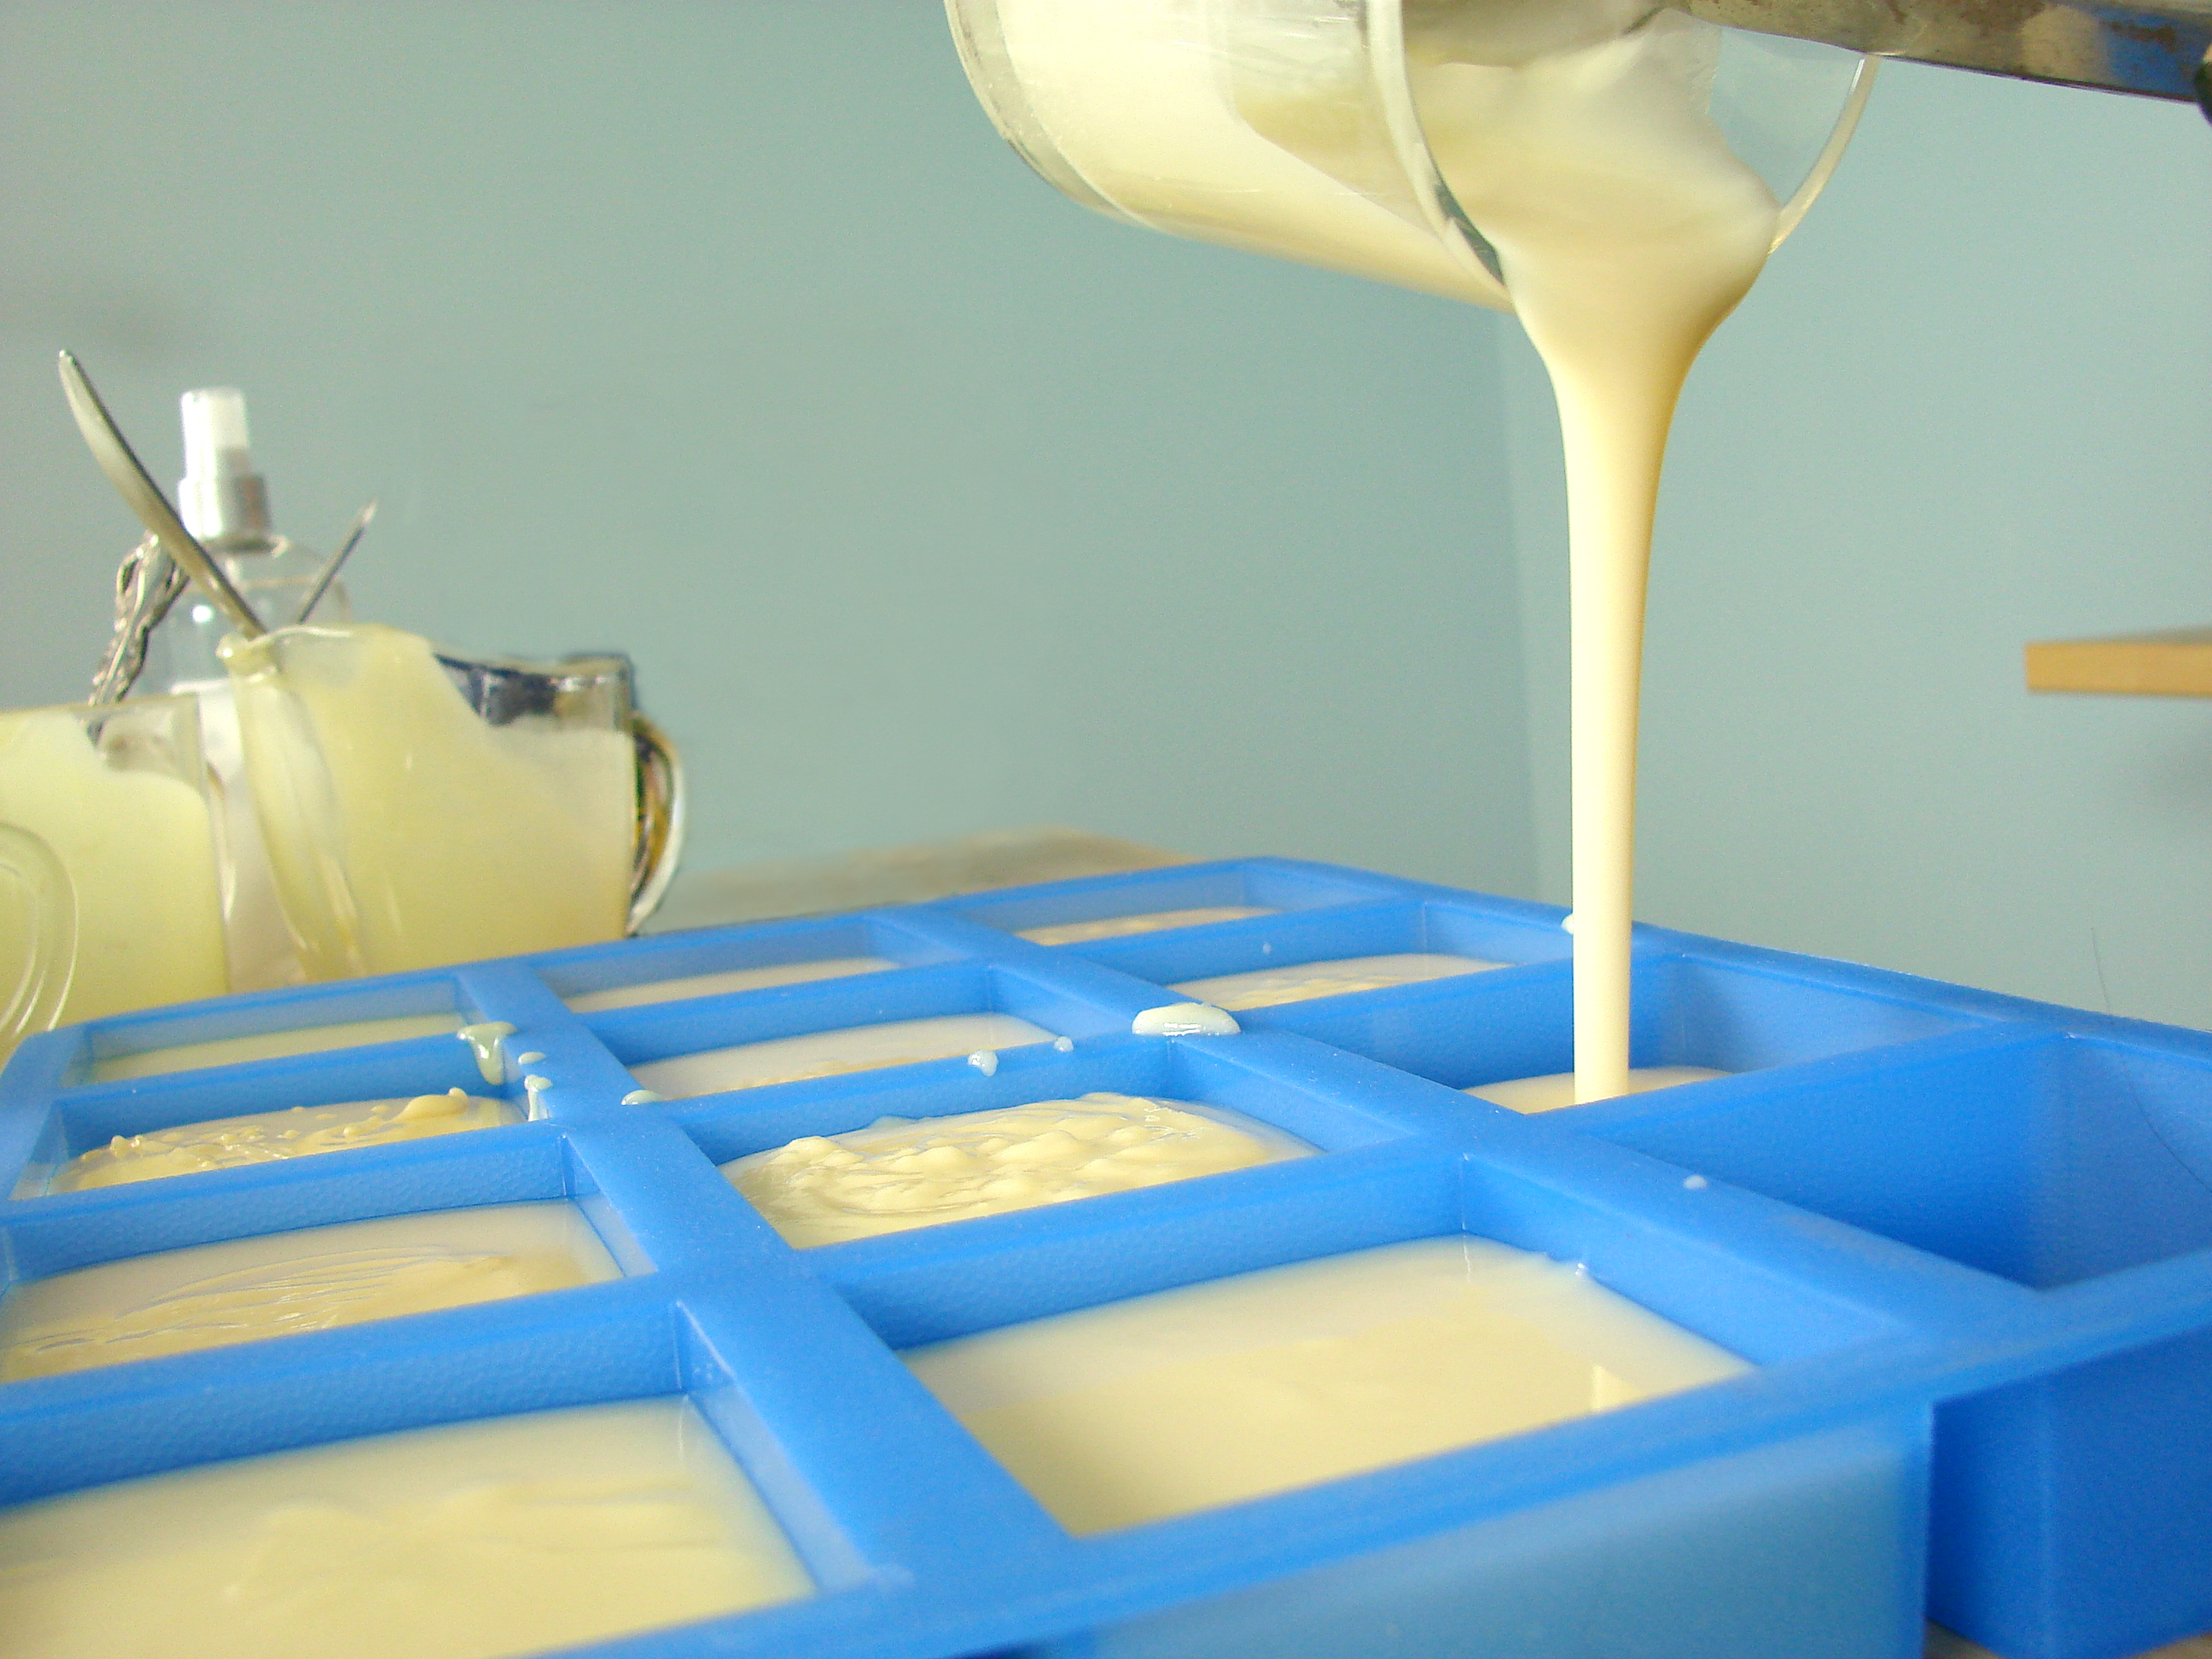
Next I mix my lye and oil and bring it to a very light light trace, after everything is prepped. Then I weigh out 4 ounces of soap batter into each container. I fill all 12 containers before moving on to the next step. You may have noticed that this recipe makes a little more than 48 oz. This is because you can never get every last drop of soap out of the pot, and with this recipe you are sure to have 4 full ounces for each bar.
Finally, I thoroughly mix in the fragrance into one of the cups (by hand with a spoon) and pour it into the mold. Then move on and do the next one. I have 12 individual spoons waiting to go. It’s the only way to ensure no scent contamination.
For clean-up there are a couple of ways you can tackle the job. You can wipe out the wet soap with a paper towel and then immediately run very hot water into the cups to wash the oily mess down the drain. Or you can wait a couple of days and wash the fresh soap out the cups. The waiting method is easier – but it only works if you have the space and enough containers that you don’t need them for a few days!
Do you have other testing tips and techniques? I’d love to hear them!




When popping the mold into the oven to insulate it, will placing it on a cookie sheet be fine, or would that generate too much heat? My oven’s lowest temperature is 170° F, so I would be turning it off after it pre-heated anyways.
The oven seems like it would be a little too hot even at that low temperature. You don’t want to run the risk of overheating the soap, which may cause cracking in your gel phase. If you do put it in the oven, you’ll need to put it on a cookie sheet. The mold filled with soap is too flimsy to pick up. Keep us posted!
Courtney from Bramble Berry
When popping the mold into the oven to insulate it, will placing it on a cookie sheet be fine, or would that generate too much heat? My oven’s lowest temperature is 170° F, so I would be turning it off after it pre-heated anyways.
I always put the mold on a sheet to stabilize it. You don’t want the soap mold to spill soap into your oven.
You need a cookie sheet just in case your soap volcano’s on you also.(I’m sure it won’t the oven will be off).
Perhaps I misunderstood your question. Or perhaps I misunderstood the response you received?
Hi Pam! The reason I suggested a cookie sheet is because the mold will be really difficult to pick up once the soap is the mold. But you’re right, it might produce more heat than you’re wanting. We usually use a heating pad and a towel to insulate. I hope that helps =)
Courtney with Bramble Berry
I have never used the oven to force a gel, I use heating pads. I’ll have to try the oven. Also, I have found that after a few batches, the red silicone molds stop bleeding. With my Honey, Oats and Almonds soap, I could barely detect the bleed because of the color the honey turns the soap. So with new molds, use them to make your brown soaps or darker pinks or oranges. Sometimes with a new silicone mold, I will make some “for color only” batches to “break them in”. Then I grate that soap to add to other batches. 🙂
Hi – I don’t have an oven in my work area? How do you use the heating pads?
Good morning, April!
The easiest way to use a heating pad to force gel in your soap is to lay it out and put your soap on top. Make sure you are keeping your heat on low to medium because high heat may cause the soap to boil and bubble over a bit. We typically like to keep the soap on the heating pad for about 3-4 hours on low — and check on it a few times to make sure it isn’t over heating. And make sure you insulate with either a blanket or towel. I hope this helps. 🙂
-Becky with Bramble Berry
Hello,
I have never put my cp soap into the oven, thus my question was how long do you leave the soap in the oven? Full 24 hours? Thanks for all the great information!
This technique is called Oven Hot Process and can take up to an hour in the oven. And the heat depends on the recipe you follow, generally around 200 degrees. Here’s a great article on the basic steps of the technique http://www.teachsoap.com/ohp.html
Courtney from BB
I’m thrilled with these molds. I use them for non-gelled fresh goats milk soap and I have almost no waste caused by cracking or breakage unmolding. I used to have a lot of waste unmolding frozen soap.
The trick I discovered for unmolding for the best results for non-gelled soap, is not to turn them upside down to unmold. I pop the frozen soap up from the bottom with one hand, while peeling the cavity back with the other. The soap rolls right out into the hand I’m “popping out” with. Works like a charm. When I’m finished unmolding the mold cavities are turned inside out.
Rinse and let dry for the next soapy session. Easy peasy!
Soap is curing out to between 4 and 4.5 ounces. The chunky cube shape is awesome!
That’s a great hint! I’ve been turning mine over and every so often, I’ll get a broken little corner which is a serious bummer every time it happens so I’ll try your method next time! I love the idea of perfect corners every time =)
Thanks for sharing. And, thank you for your business!
Thank you so much for your kind comments! Did you ‘slide’ the liners off? Any tips for the rest of the soapy team?
I used this mold for my coconut milk soap. The soap was definitely soft, but after a week or so it’s hardening up nicely. But be careful when unmolding if the soap is soft; I have a lovely fingerprint right on the edge of one of my soaps!! HA! But they all came out of the mold SUPER easy! This is a awesome mold!
I admire your web page , it has of lot of information.
Thanks for the quick reply. I will check it out 🙂
Soap that doesn’t gel tends to be softer and yes, get more soda ash. If you
want it to gel, just force it to gel by using the oven insulation method I
mentioned =)
We have an awesome kitchen supply store that I buy all those fun things at
but the Goodwill in town almost ALWAYS has clear glass cups and I buy them
out every time I’m there. We go through a lot of them here =) So, Sur La
Table would have them or Williams Sonoma or any high end cooking store but
check Goodwill first= )
Where did you get these cute little glass cups?
I find that the soap that doesn’t gel is soft and hard to remove from the molds…they have a soap ash on them usually…I love this mold and CRE are now carrying BB so I have ordered from them…just wanted to know if I am doing this right as I love the mold and want to use it for more than testing….
Thanks again! I totally agree your comment 🙂 this been really helpul!!
Hi Ary,
I just answered that but just in case you don’t check back on the blog post (some people just get the emailed comment responses), I’m copying it below:
“I worry because bottled water (not bottled water in the gallon jugs in the grocery store that says ‘distilled water’) sometimes comes from municipal sources and studies have shown that some bottled water is actually worse than the tap water in your home in terms of ‘purity.’ According to Wikipedia, “Distilled water is water that has many of its impurities removed through distillation. Distillation involves boiling the water and then condensing the steam into a clean container.”
Also from Wikipedia, “Bottled water has reduced amounts of copper, lead, and other metal contaminants since it does not run through the plumbing pipes where tap water is exposed to metal corrosion.”
So, going by that, much of the metals are actually found in your own home’s piping (as opposed to the municipal bottling source). So, I’d say it’s a toss-up. Personally, for all of the soaps I make, I always use distilled water (to the point of not making a batch if I don’t have the right water; too many wasted DOS batches over the year) but from the research I did tonight, you’re probably safe using normal bottled water as well.”
Yes … probably? I worry because bottled water (not bottled water in the gallon jugs in the grocery store that says ‘distilled water’) sometimes comes from municipal sources and studies have shown that some bottled water is actually worse than the tap water in your home in terms of ‘purity.’ According to Wikipedia, “Distilled water is water that has many of its impurities removed through distillation. Distillation involves boiling the water and then condensing the steam into a clean container.”
Also from Wikipedia, “Bottled water has reduced amounts of copper, lead, and other metal contaminants since it does not run through the plumbing pipes where tap water is exposed to metal corrosion.”
So, going by that, much of the metals are actually found in your own home’s piping (as opposed to the municipal bottling source). So, I’d say it’s a toss-up. Personally, for all of the soaps I make, I always use distilled water (to the point of not making a batch if I don’t have the right water; too many wasted DOS batches over the year) but from the research I did tonight, you’re probably safe using normal bottled water as well.
Completely; we feel incredibly blessed. And, at the same time, horrified that our normal customary speedy turnaround time is slower than usual so we have a full weekend crew, all our FT employees are putting in overtime this week (except for a couple that are in night school) and we are hoping to make huge strides next week on the turnaround time. We are certainly planning that and on paper, everything looks perfect =) (but, doesn’t it always?) =)
Thank you so much, great explanation! Defenitely will invest in distilled water then 🙂
As mentioned above, purified bottled water?
Purified bottled water will work ok on CP soaps?
I bought a cheap water filter at K-Mart and use this for my soap. Is this water good enough, do you think?
Hi Jean!
Unfortunately a water filter isn’t going to stop some of those super small microbes, bacteria and heavy metals from getting into your water. We always suggest using distilled water to make sure all those yucky things aren’t in it and can’t react with the lye. I hope this helps! 🙂
-Becky with Bramble Berry
P.S. You should be able to get distilled water for an affordable price (a couple of dollars) and your local grocery store!
No issues with bleeding and we tested a few different ones from the same lot just to be on the safe side =) Yes, red can be very persnickety with bleeding but no bleeding issues with our light blue ones. =) And if that does happen, I want to hear about it!
Swirling in individual molds is mostly about the swirl on the top and not throughout the bar so I would make the two different colors, pour your base color and a little bit of the other color in the mold and then really focus on a fine drizzle of the secondary color on the top. Then, take your skewer (something fine pointed) and do loop-de-loop designs in the top since the top portion of the soap is what everyone will see =)
I had a red silicone mold that I tried to make cold process soap in and it bled red into the soap. I’m not sure if the soap caused it to bleed or if the mold being red was the problem. I love the concept of these mold though and may have to try yours if you have had no issues with the color bleeding into the soap.
I’ve had the same problem with red bleeding onto my soap, so one wonders if it does this if you cooked muffins in them!
K’Mart sells cheap red molds and they leach red onto the surface of the soap.
The Reject Shop & KMart have red block molds. The square one is better, the oblong mold distorts to the sides, they have a ripple on the bottom.
We have Dimmeys in Australia, they have blue, soft molds, flowers. Go for the softer molds. They are great.
What a great suggestion! Having a good quality mold is going to make your soaping experience all the better. 🙂
-Becky with Bramble Berry
That’s a good “problem” to have, Anne-Marie! Congratulations on your success!! :0)
Fantastic Question! And yes, there is a difference. The always rule of thumb with CP is to always, always, always use distilled water. The reason for this is simple: heavy metals from old piping systems or naturally occurring small amounts of minerals. Old metals and minerals can cause the oils in your soap to go rancid (basically, aggressive oxidation) and get DOS or Dreaded Orange Spots. If you’ve never seen DOS, the video here: http://soap-queen.blogspot.com… has an explanation as well as shots of DOS soaps at about minute 2:01
So invest that $.99 per gallon to ensure your soaps have the longest shelf life possible.
HI Anne-Marie, I just love this mold and your fragances are always amazing. I began with CP just a couple of months ago, and I realized that some of your recipes (in Teachsoap) mention distilled water while some others don’t. Is there any difference between using distilled water for CP soaps? Thank you very much!
Hi Anne-Marie. You have convinced me to give these molds a go! I have just order several for CP’ing. Any hints regarding swirling? I have been following your tutorial for in the pot swirling which is fantastic and would like to do something similar with this mold. Regards Alison DragonflyLane – Australia
Your 4-H kids will be SO excited. Or you can always do the mini Tupperware thing at the store or these are the most awesome things in the world – https://www.brambleberry.com/Li… – we use them for all of our classes at Otion because they are perfect for to-go AND they’re a soap shape!
Let me know what you think; sorry that you caught us our worst catch-up season in the history of the company with our turnaround time. We’ve hired 4 people this week, 1 more next week so that we can get caught up AND keep up with the super awesome extra order flow.
I don’t cover mine when I put them to bed – no gel phase is fine with me OR I toss it into a pre-warmed oven (with the heat off now!) and that acts as the ‘blanket’ for the soap.
I don’t worry if my test batches gel but if you’d like to force gel, put
this in the oven at 140 and that should do it. If your oven doesn’t get down
that low, heat it fully to low and then turn the heat off, put the soap in
and let that air be your insulating blanket =)
Someone asked how you would cover this to put it to bed and I don’t think I’ve seen an answer yet. I am curious too. Would you put a board or something over it before wrapping it in blankets to keep it warm? Thanks!
They tray; the individual cupcakes don’t look like they’d be stable enough to me – but then again, it’s not like soap batter is somehow heavier than cupcake batter so in theory if cupcake batter won’t ruin the individual cupcake pans, soap should work but definitely put a liner underneath it if you try it! =) Protect those counters at all cost!
Let me know what you think when you get it =)
There you go. Reading my mind again. In a few weeks, I’ll be making CP soap again with the 4H kids. Last year, we made a plain batch with no additives, colorants, or fragrance. This year, they want more! I want to start with one big batch and was trying to decide how to divide that batch into a bunch of smaller batches so each person could add his/her own things before they pour into their own molds.
So: Just after the soap mixture is mixed together and maybe very light trace, pour into their own paper cups to add their own things, then into their own molds.
Thanks for doing this!!
Oh no worries at all :))) I usually say bring to thin trace (it’s an easier term, IMO, than “just emulsified” or something like that for newbies). I love feedback and tips and sharing and I am so so sorry if it didn’t come across that way (that’s what I get for writing back on my iPhone, instead of thoughtfully replying via computer!) :)))
Happy Soaping!
Anne-Marie
http://www.brambleberry.com
Blog: http://www.soapqueen.com
I ordered one of these molds and can not wait to get it!!
Oh, sorry, I’m not a regular reader here, and the posts I did remember that dealt with layers (like Cheery Holiday CP Soap) recommended that people trace and then separate the mixture. Once I started doing it the other way around I’ve never gone back. 🙂
Yogurt containers. Yes but NO oven time to force gel phase. 🙂 Or disposable cups (the wax coated paper ones) would also work but I like the yogurt container more b/c the wax can come off with the disposable cups.
Tupperware (?) Ziplock (?) one of those companies makes a perfect 4 oz to-go disposable container that we use for a lot of our CP classes and love too.
Happy Soaping!
Anne-Marie
http://www.brambleberry.com
Blog: http://www.soapqueen.com
No, thank you for your help! The question was directed at anyone really and you obviously know plenty so I appreciate your help! I definitely want to do some sampling and wanted a quick fix for some sample containers before I can buy something like the new mold (cause I want to do it this weekend and I have no patience!). Do you think yogurt containers would be able to withstand the heat? I wanted to experiment with some natural herb powders as a natural colorant/fragrance (depending on the herb) any words of advice for me? Thanks again!! 🙂
We sell those at BB and love them! They work great IMO for CP soap (not that you were asking me!) LOL!
Happy Soaping!
Anne-Marie
http://www.brambleberry.com
Blog: http://www.soapqueen.com
That mold looks perfect, off to the store I go again. 🙂
I do that with layers all the time but my stick blender doesn’t fit in the little containers with only 4 ounces in them.
Happy Soaping!
Anne-Marie
http://www.brambleberry.com
Blog: http://www.soapqueen.com
Those cupcake silicone molds, are you referring to the individual cupcake ones or the tray? Are they sturdy enough?
There’s actually an easier way to do this.
1) Combine the lye and oils, stir by hand for 30 seconds or so. Just to mix it up enough that any mixture you scoop out has the correct proportions.
2) Scoop out the homogenized mixture into your 12 cups. If you let the mixture sit too long (like, for more than 30 seconds), re-stir it by hand before you scoop more out, as the lye and oils separate on their own if they sit there.
3) THEN hit them with the stick blender. Blend the 1st to trace, put the stick blender aside, stir in the fragrance by hand, pour into the mold. Take the stick blender to the next one, repeat.
The hand-mixed soap will not trace on its own. You can let it sit a very long time.
This is also the way to make killer layers. Combine lye and oils, separate out the mixture into however many layers you want, stick blender one layer’s worth to trace, pour, and then let it sit until it becomes nice and hard before you blend the next layer.
It’s only a 4 oz. size so around .2 oz. per bar (by weight)
My next goal is circles! =)
CP soap does not warp the mold; it’s fantastic with CP soap and withstands extremely high heat because it’s designed for baking.
I never grease my molds. How long are you waiting to pop the soap out of the mold?
Great mold! Definitely on my must have list!
cp/op doesn’t behave well in silicone molds, from my experience. I think the silicone doesn’t let enough moisture evaporate and the silicone over insulates it. It’s how we got oven soap volcanoes!
We actually test soap batches/fragrances in the same manner just with the cupcake shaped silicon molds you can get pretty much everywhere and with a pure castile soap recipe (makes testing very cost effective). We’re actually thinking of this mold for our Sea Salt bars that don’t cut well.
ok, that’s it….i’m getting my BB order/list ready now! lol. you have convinced me to do this, a much better option than my “Wing It” approach;D This will work quite nicely with my FO addiction….*grin* thanks again A-M!!
I pour at whatever temp the soap is when I finally get it into the molds =) Usually around 120. I don’t mind not gelling for test batches but if you’d like to force gel, toss the oven onto low for 20 minutes prior to making your soap. Turn off the oven. Now, just put that mold into the oven. That’s the beauty of the mold – it’s oven safe since it’s a silicone baking pan. =) I generally always force gel for larger batches.
Ann Marie…I find that soaps in these types of molds sometimes don’t go through the gel stage…..is there something to do that will help this other than piles of blankets??? What temperature did you pour at???
That mold looks wonderful? Do you have tips for getting soaps out of molds? Mine always get stuck, or end up with a slight film if I grease the molds.
I’ve been eyeing this and I think you talked me into it! Thanks for another great mold!
how do you cover it when you put it to bed? also can you do CP/OP with this mold?
I don’t work for BB, but I can tell you what I do: I bought cheap (about $5) silicone mats at the kitchen store. I cover with one of those, then a towel. That way, I don’t have to struggle with plastic wrap.
Brilliant idea, Mellifera! I have a silicone mat that I never use–now I know what to do with it for sure!
What a fabulous idea, Mellifera! Thank you so much for sharing!
-Becky with Bramble Berry
I LOVE this mold! I have been wanting a mold like this! When I pour my left over CP soap into a silicone cupcake mold, I love the way the swirls look. I have always wanted a square silicone mold to make bars that look that way and have the ease of removal that silicone offers. And the price is less than I expected, too!
When I’m testing (usually with me, it’s color), I like to use paper cups, instead of glass. When I’m done I just throw them away. I know that it’s a bit wasteful on the paper side, but it saves a lot of water on the clean-up side. Out here in the dry West, sometimes saving water seems a higher priority.
How much FO do you use per bar?
Does the CP soap not warp the mold?