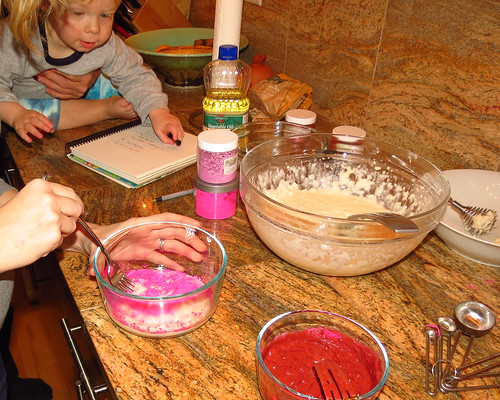
Thanks to Pinterest, every crafty idea I see, I want to immediately turn into a reality. And not just any reality but one that I drag my entire family into. With all the fun Toddler Art projects floating around, making fingerpaint from scratch was just a matter of time. Add Valentine’s Day in there and it’s a recipe for reds, pinks and fun messes.
Fingerpaint Recipe
2 cups flour
1/4 cup salt
3 cups boiling water
1 Tablespoon vegetable oil
Make a master batch of uncolored fingerpaint. Fold the flour into the water and oil, while beating with an egg beater. If you don’t beat with a mixer, you’ll get lumps (which are fine but dry funny).
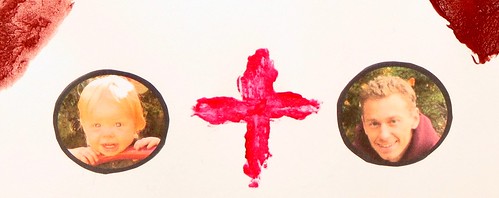
I saw this crazy cute idea to do a LOVE sign with the ‘V’ as little feet and the ‘O’ as a hand. I wish I could take credit for this idea but I can’t (hat tip, Pinterest). I can take credit for the painting box however. We designed a cardboard painting shield to keep the floor clean during the painting process.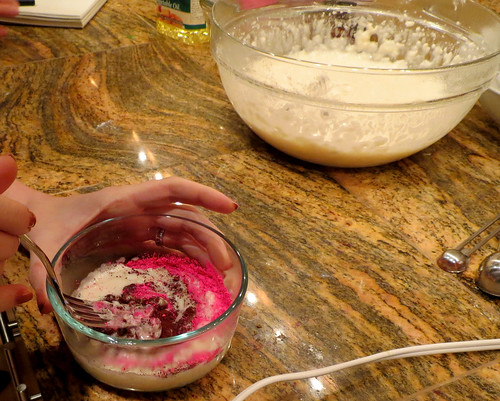
Color Variations
Burgundy
6 oz. Fingerpaint Paste
1/4 tsp Burgundy Oxide
1/8 tsp Electric Bubble Gum
Pink
6 oz. Fingerpaint Paste
1/4 tsp Electric Bubble Gum
1/2 tsp Pink Oxide
Red
6 oz. of Fingerpaint paste
Red Labcolor to preference
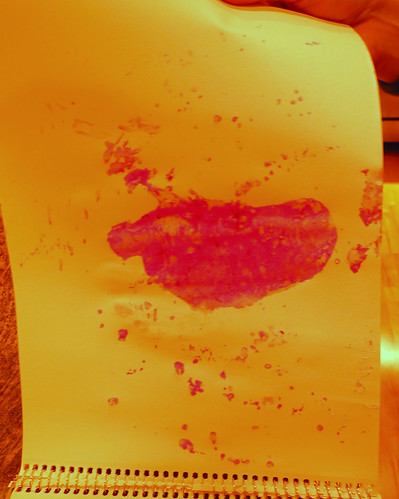
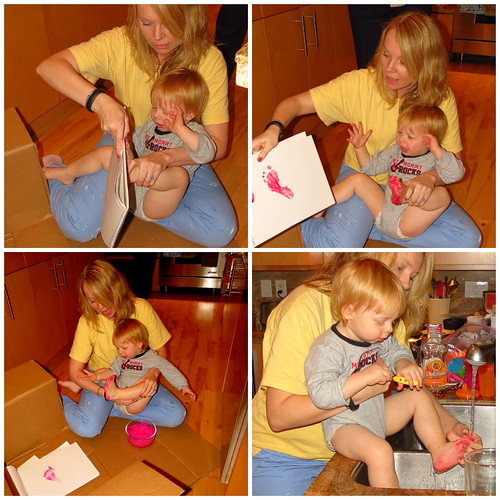
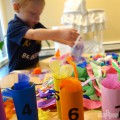
We tried dipping his Jamisen’s feet in the paint to start with and that didn’t work well. See below for visual proof of that; too much lumpy paint on the page did not allow for delicate footprints to show through. Also, he hated having paint on his feet. Despite showing him the photos and explaining the concept, he was not having any of it.
Then, we moved onto painting his feet with a paper towel dipped in the fingerpaint. Jackpot! Painting the color on worked way better.
The paper towel paint application worked much, much better because we were able to control the amount of paint we got onto the paper. Getting his handprint was also tricky but totally doable with the same paper towel technique. Bonus: this fingerpaint washes off so easily with water.
Notice I changed clothes for the painting project? I thought it would be way messier than it was! Neither Jamisen nor I ended up getting any paint on our clothes.
Adding the picture of Jamisen + Daddy at the bottom was potentially overkill of cute but too much cute is always appropriate in our house.
Note: We threw all the excess fingerpaint away. We were worried about washing it down the sink, fearing it might turn to glue. =)

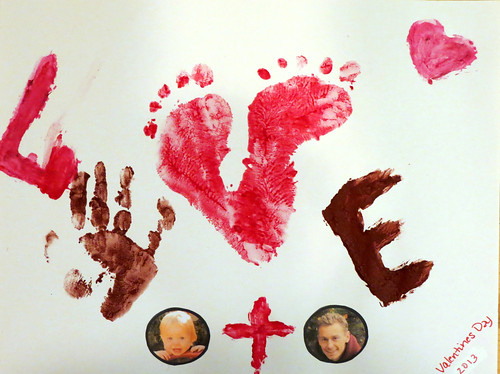
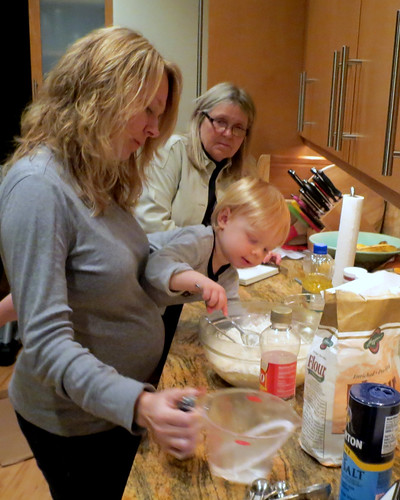

How fun! Brings back the days of foot painting at our house!
I love, love, love reading your blogs! Yours is one of the few that I keep around in my life and in my inbox. Good work!
The pictures are the crowning touch. Not too much overkill of cute at all.
Really cute! Looks like fun but working with paint and little ones is harder than you think! I needed about sixty sets of hand prints to make “Hand flowers” for center pieces on tables at a charity dinner,much harder than I thought! A little foam roller saved this project for me.Who doesn’t love homemade cards!
REALLY cute – how did you use the karo syrup that’s in the pics – didn’t see it in the recipe?
Isn’t it irritating that I didn’t pull it out? LOL! I noticed that last night too. I was going to try just a Karo Syrup and water soluble labcolors to make a clear paint wash but then it was getting late and Jamisen was already past bedtime so I didn’t make it. But I think that it would make a lovely color wash …
That’s adorable! I wonder if you could do it with gluten-free flour….off to think about that idea. =)
I’m sure you could! The flour is more like a medium for the color more than anything.
That’s GREAT! Looks like you had a lot of FUN:)
We all laughed SO hard. Jamisen was adorable throughout the process, protesting mightily about getting his feet and hands dirty =)