Yesterday, in the first installment of this tutorial I demonstrated how to make the star cut outs that form our Christmas Tree Soap Centerpiece. Now I’ll show you how to make a tree with all of those pieces!
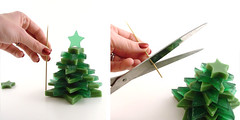 Step 5: Stack up your stars until the tree looks the way you want. Stand your wooden skewer next to the stack and trim it down if needed.
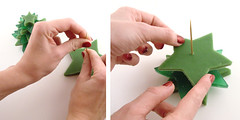 Step 6: Start with the bottom most star (the largest one) and thread the skewer through the center of the star. This will give you a stable base to continue threading the stars on. Thread the stars on, rotating them so each point of the star looks varied and different from the layer above and below. This gives your tree dimension and interest.
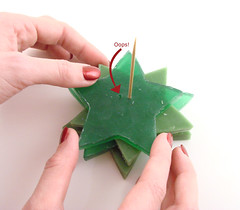 Don’t worry if you are off-center on one of your stars. Just remove the star and try again – the extra skewer hole will be hidden by the next star.
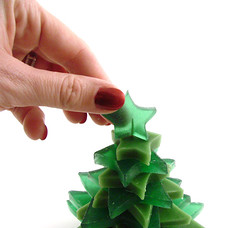 Step 7: When placing the last star, tip it up on end for a cute finish!
When moving your tree it’s best to hold it by the bottom star or better yet, place it on a little soap dish or plate. Your Christmas Tree Soap Centerpiece will look great, smell delightful and impress all who see it.


Love the tree and the ornaments!! I miss so much when I’m out of town!!!!!
Oh these are so cute and creative!
Must find those cookie cutters! Perfect treat for co-workers!
Oh my goodness! This is sooooo cute! I must find the graduating star cookie cutters now! Seriously I love this.