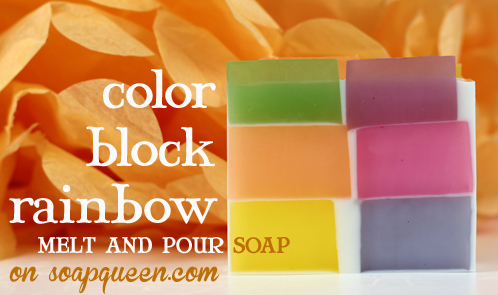
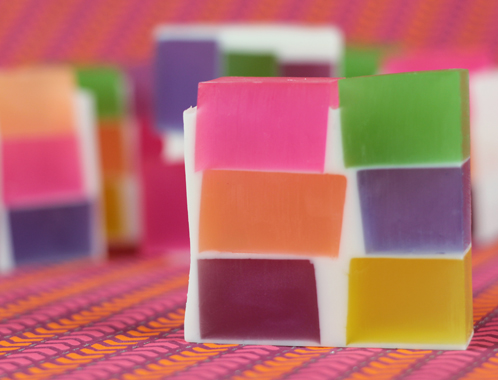
This fun and whimsical soap is perfect for anyone a little unsure of working with powder colorants because it uses Color Blocks! Color Blocks are pre-mixed, intensely colored little nuggets of soap. You just shave off a bit to get the color you want and mix it into your melted soap. There’s no pre-mixing with oils or glycerin and the colors work well every time. For this project, we went rainbows mixed with books; the colorful stacked blocks embedded in white soap kind of remind me of a perfectly disheveled book shelf. Stacks of read and well-loved books are one of my favorite sights ever (and you can always see what I’m currently reading here).
Recipe:
72 oz Clear Melt and Pour Base
22 oz White Melt and Pour Base
Electric Bubblegum Color Block
Shimmer Amethyst Purple Color Block
1.8 oz Pikake Flower Fragrance Oil
5 Pound Slide Bottom Wood Log Mold
Get everything you need for this project with the click of a button!
ONE: Cut up the melt and pour into smaller chunks, 1 to 2 ounces in size, for easier melting. In a heat safe container, melt the Clear Melt and Pour Soap Base on 30 second bursts in the microwave, stirring between bursts. When the soap base is fully melted, add 1.4 oz of the Pikake Fragrance Oil and mix in well.
TWO: Split the soap into six 12 oz portions. Color each of the portions with portions of each of the color blocks. Remember WYSIWYG (what you see is what you get) when working with the color blocks, so add color block shavings until you like the color. Add the Citrus Green LabColor one or two drops at a time to make the Green Oxide to a bit brighter color.
First time working with Bramble Berry’s color blocks? Check out this quick vid for useful tips!
THREE: Pour each of the colors into the 12 Bar Silicone Mold. You’ll need 18 cavities, so if you haven’t got two 12 Bar molds, you’ll have to go in two rounds. Allow the soap to fully harden.
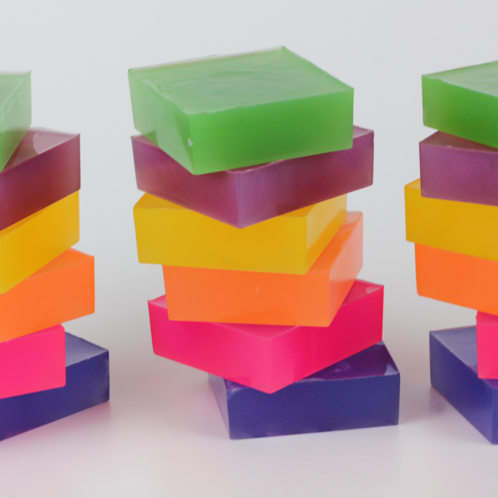
FOUR: Unmold 12 Bar Mold soaps. Cut each bar in 1/2. Arrange in the 5 Pound Wood Log Mold, grouping one of each color into two stacks of 3, fitting as many as possible in the mold. Note: to ensure that the layers all stick together nicely, make the blocks and pour the layers within a couple days of each other.
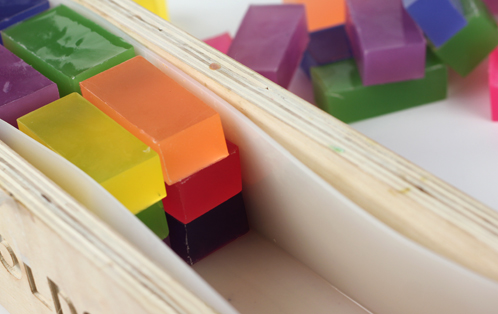
Once you are happy with the arrangement, remove the soap blocks and stack in the reverse order outside of your mold. They should be ready for you to grab quickly when it’s time to embed!
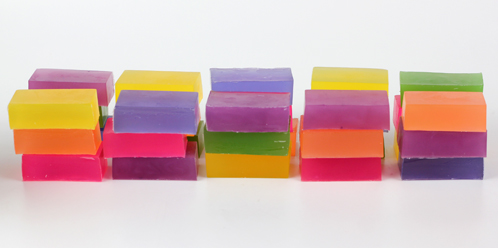
FIVE: Cut your White Melt and Pour soap into smaller 1-2 ounce pieces. In a heat safe container, melt the White Melt and Pour Soap on 30 second bursts in the microwave, stirring between bursts. When the soap base is completely melted, stir in the rest of the Pikake Fragrance oil.
SIX: Pour a thin layer of white soap in the bottom of the mold, and arrange your first layer of colored blocks. Spritz each block liberally with rubbing alcohol before embedding in soap.
SEVEN: Once all of the color blocks are in, spray the entire surface with rubbing alcohol and begin to pour the next layer of white soap. Pour white soap until the first layer of blocks are just barely covered. Add the next layer of colored blocks to the soap, again spraying with rubbing alcohol before embedding in soap. Once all of the blocks for the second layer are placed, pour another layer of white soap until the blocks are just covered, and place the third layer. When the third layer is placed, fill the mold up with white soap until the tops of the third layer of blocks are just peeking out. Spritz entire surface with rubbing alcohol and allow to harden for 6-8 hours.
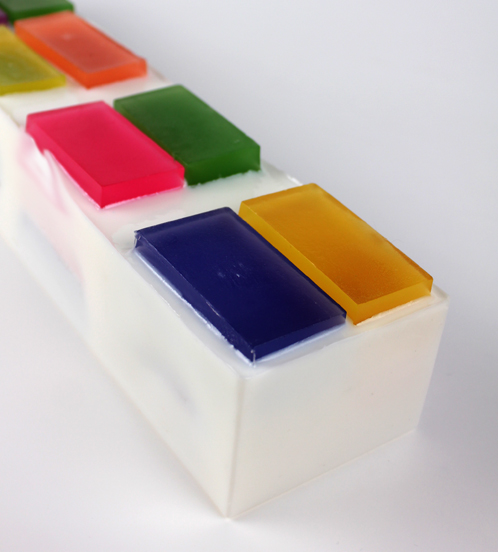
TIP: When cutting this soap, use a sharp, non-serrated knife. The larger scraping/cutting tools sometimes force the delicate layers apart.
Since this is melt and pour soap, it’s ready to cut and use right away!



Hello! I’m trying to find out why I need to spray on the alcohol? Is it just straight rubbing alcohol, like I’d keep in my med cabinet?
Thank you!
Very bright and pretty! Thanks for the great tutorial 🙂
soaps fun bright colors!
Fantastic!
Lovely! It’s neat seeing the silicone liner used in melt and pour as well. Will you only be carrying the liner for the 5 lb mold, or will it be available for the other wooden molds as well?
It’s in progress for the 2 pound mold as I write =)
Awesome!! And the 4 lb mold?
Hi Leslie!
We aren’t currently planning on a silicone mold for the 4 lb. wooden loaf mold at this time, but keep your eyes open for when the 2 lb. liner gets in! 🙂
-Becky with Bramble Berry
Beautiful! Love all the colors! I’d love to do something similar to this with CP soap!
That would be so much fun, Heather! If you do try something like this out in CP soap, you’ll have to share pictures with us. 🙂
-Becky with Bramble Berry
That’s cute! I love the bright colors!
This soap looks stuning! and so easy to make! Thanks 😉