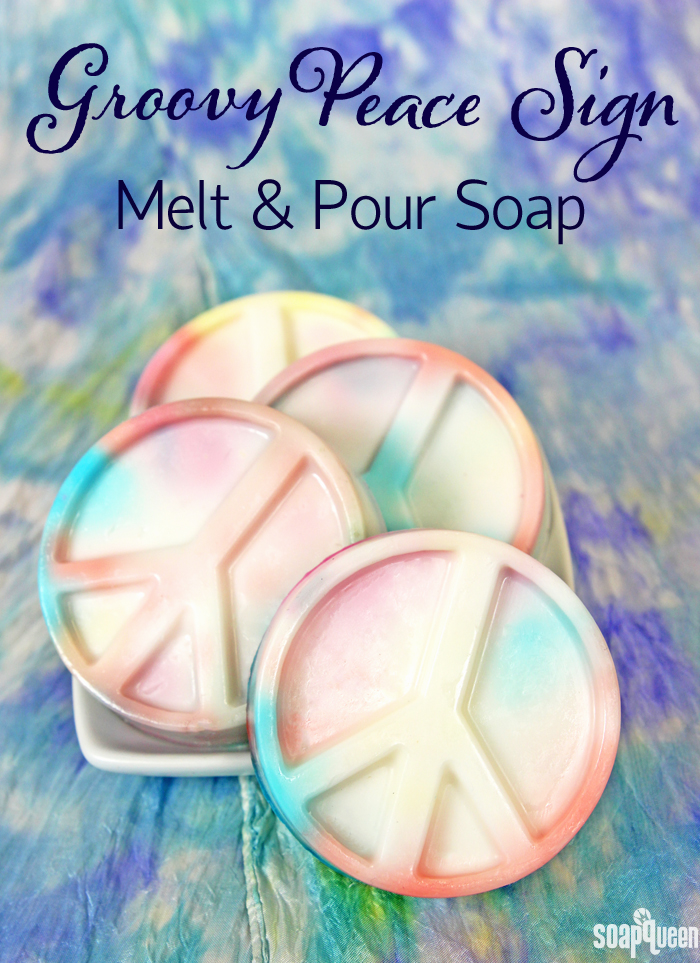
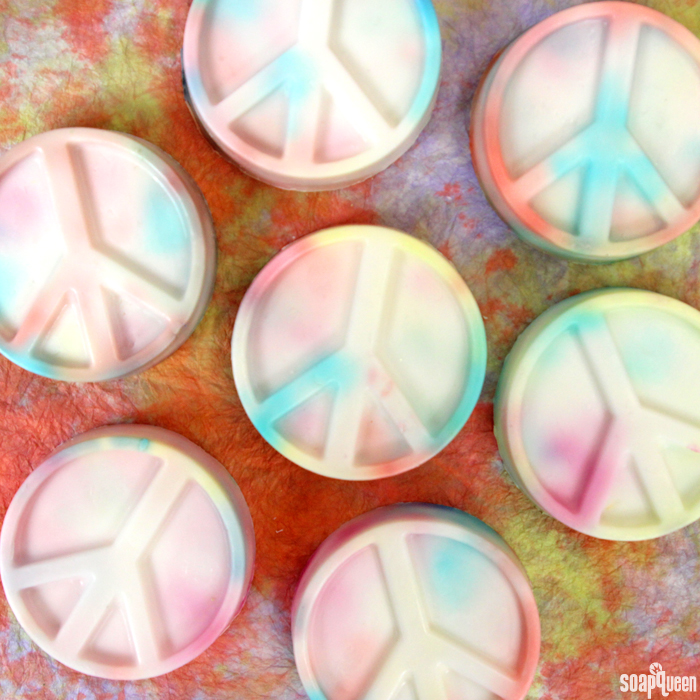
 The peace sign is an iconic symbol from the 1960’s. It symbolizes peace, love and joy. The sign was used to decorate jewelry, cars, signs and clothing. In this case, the symbol is used to decorate melt and pour!
This fun and easy project is made using the Peace Mold. To create the tie-dye effect, drops of LabColors are added to the mold. As the soap fills the mold cavity, the colors swirl in a random pattern, making each bar slightly different. To complete the 1960’s vibe, the soap is scented with Flower Child Fragrance Oil.
What You’ll Need:
11.6 oz. White Melt and Pour Soap Base
.3 oz. Flower Child Fragrance Oil
Set of 12 LabColors (Small)
Peace Mold
Optional: 99% Isopropyl Alcohol and droppers

Click here to add everything you need for this project to your Bramble Berry shopping cart!
DILUTING LABCOLOR: You’ll need to dilute your LabColors in order to use them in this project. We like diluting the small bottle of LabColor in 4 oz. of distilled water. For more on diluting LabColors, check out this blog post.
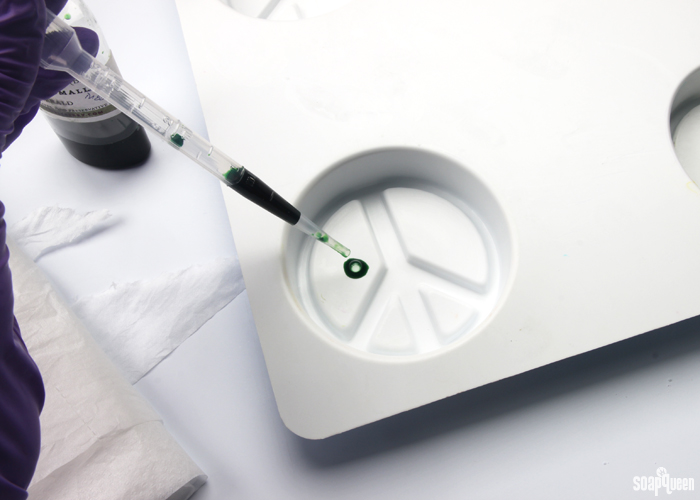
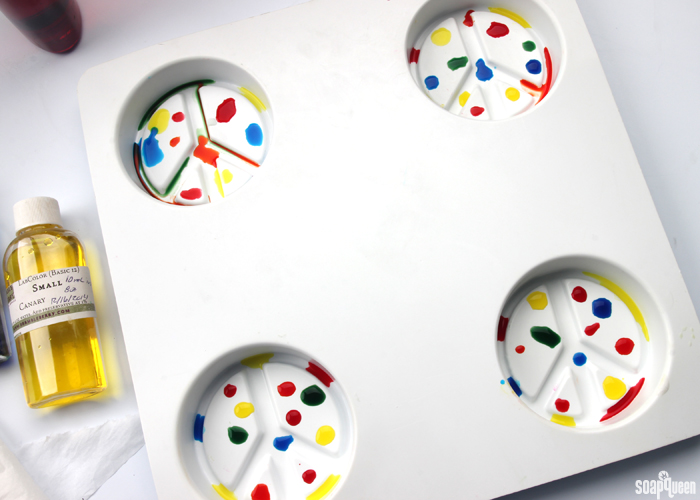
ONE: Using a dropper, add drops of diluted LabColor into each mold cavity. You can use whatever color combination you like! We used a combination of Canary, Blue Mix, Emerald, Red and Orange. Be careful not to add too many drops into each, or the colors may become muddled. We added about 10-15 drops into each cavity.
 TWO: Chop 11.6 oz. of White Melt and Pour Base into small, even pieces. Place the soap in a heat-safe container and melt in the microwave using 20 second bursts, stirring in between each burst. Using short bursts prevents the soap from scorching. Read more about burnt melt and pour and how to prevent it here.
THREE: Add .3 oz. of Flower Child Fragrance Oil and stir to fully incorporate.
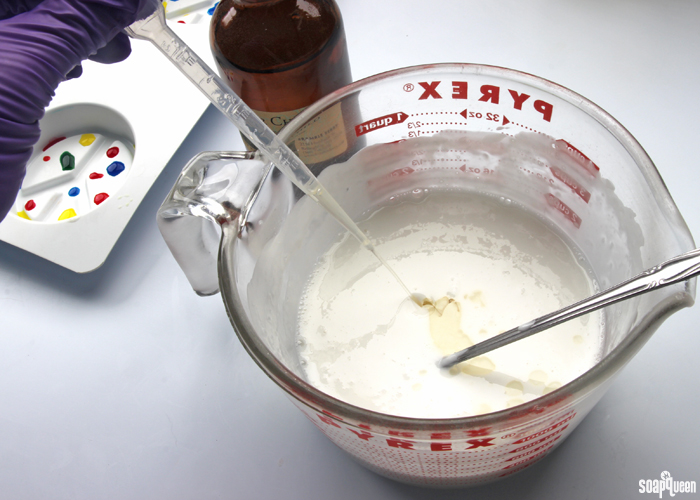 FOUR: Slowly and carefully pour the melted soap into each cavity. As you pour, the colors will swirl into the soap.
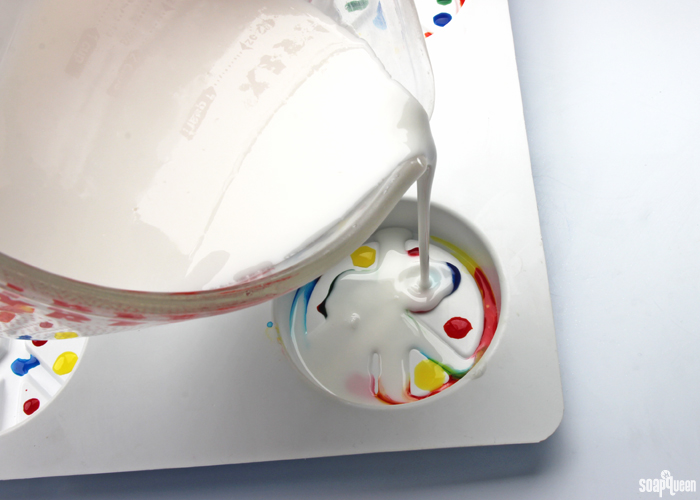 FIVE: Using a chopstick or dowel, mix the soap around to help the colors swirl more. Allow the dowel to touch the bottom of each cavity. Don’t over swirl! Just one or two swirling motions in each cavity does the trick.
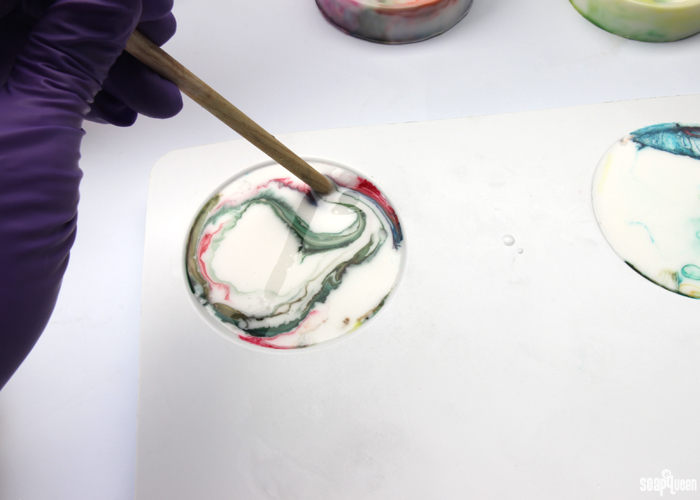
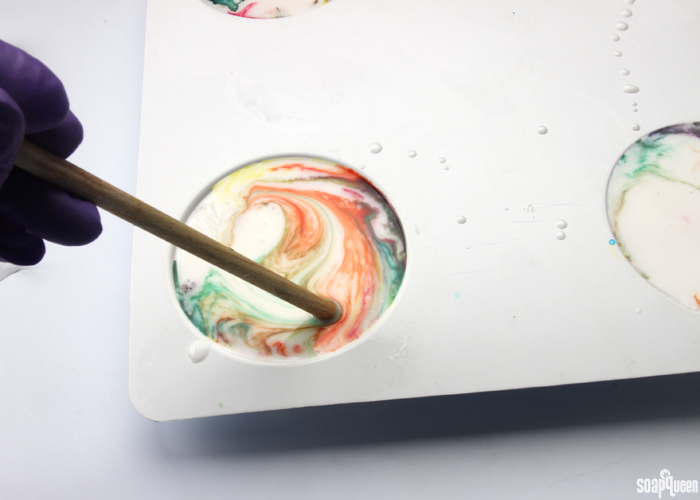 SIX: Spritz the top of the soap with 99% isopropyl alcohol to get rid of any bubbles. Allow the soap to fully cool, which takes about 2-4 hours. Pull at the sides of the cavities to break the air lock on the soap. Flip the mold over. Using your thumbs or the heel of your hand, push the soap out and enjoy! If you’re having trouble getting the soap out of the mold, pop the fully hardened soap into the freezer for 10-15 minutes. Then, use your thumbs to push out of the mold.
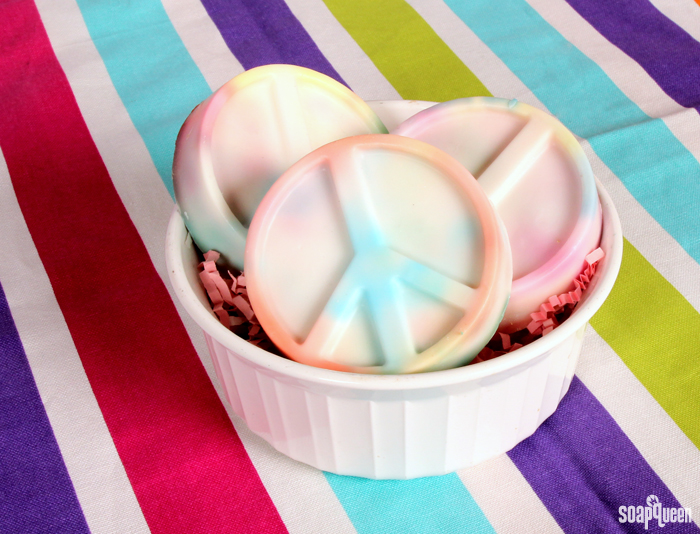
What time era do you feel inspired by?
- 11.6 oz. White Melt and Pour Soap Base
- .3 oz. Flower Child Fragrance Oil
- Set of 12 LabColors (Small)
- Peace Mold
- Optional: 99% Isopropyl Alcohol and droppers
- You’ll need to premix your LabColors in order to use them in this project. We like diluting the small bottle of LabColor in 4 oz. of distilled water.
- Using a dropper, add drops of diluted LabColor into each mold cavity. You can use whatever color combination you like! We used a combination of Canary, Blue Mix, Emerald and Red.
- Chop 11.6 oz. of White Melt and Pour Base into small, even pieces. Place the soap in a heat-safe container and melt in the microwave using 20 second bursts, stirring in between each burst. Using short bursts prevents the soap from scorching.
- Add .3 oz. of Flower Child Fragrance Oil and stir to fully incorporate.
- Slowly and carefully pour the melted soap into each cavity. As you pour, the colors will swirl into the soap.
- Using a chopstick or dowel, mix the soap around to help the colors swirl more.
- Spritz the top of the soap with 99% isopropyl alcohol to get rid of any bubbles. Allow the soap to fully cool, which takes about 2-4 hours. Pull at the sides of the cavities to break the air lock on the soap. Flip the mold over. Using your thumbs or the heel of your hand, push the soap out and enjoy!



Can you add clay and a carrier oil to this? if so, how much would you recommend?
You can add clay to this recipe, but I would recommend mixing it with 99% isopropyl alcohol. Alcohol helps the clay mix in and prevent clumping, while extra oil can make melt and pour oily and inhibit lather. You can mix 1 teaspoon of clay with 1 tablespoon of alcohol, then add 1 dispersed teaspoon at a time until you get the color or consistency you’re looking for.
Learn more about working with clay here: https://www.soapqueen.com/bramble-berry-news/sunday-night-spotlight-brazilian-clay/
-Kelsey with Bramble Berry
is there anyway to do these soaps without purchasing the lab color kit? or are the colors sold separately?
Absolutely! When you click the “Add to Cart” button, it adds the ingredients listed here to your cart. You can remove the LabColor kit and purchase the colors separately. 🙂
Find those here: https://www.brambleberry.com/Basic-Colors-Kits-C174.aspx
-Kelsey with Bramble Berry
Finally going to try this as a gift for a friend, using a plain round mold, and ginger patchouli FO. Can’t wait to see how it turns out!
That’s going to be such an awesome gift! Ginger Patchouli smells awesome, and goes perfectly with the fun colors. Let us know how it goes. 🙂
-Kelsey with Bramble Berry
Ginger Patchouli Fragrance Oil: https://www.brambleberry.com/Ginger-Patchouli-Fragrance-Oil-P6125.aspx
Groovy really is the only way to describe this soap! I like he idea of making a tie dye design with lab colors!
Thanks so much, glad you like the soap! 🙂
-Kelsey with Bramble Berry
Interesting technique. Thanks for the inspiration!
You’re welcome Maureen! Have fun soaping. 🙂
-Kelsey with Bramble Berry
Very cool! Do lab colors bleed?
So glad you like the soap Michael! LabColors are water based, so they will bleed inside the soap. However, we did wash with the soap and it lathers clear. I didn’t notice any color transfer on my hands. 🙂
-Kelsey with Bramble Berry