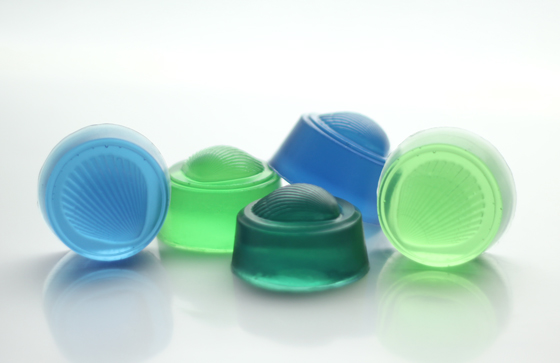
The seasons are changing, and one of the best indicators of that is the stormy grey skies that have blanketed Bellingham Bay. White caps may have replaced gentle waves, but that inspired us to create this ocean-hued melt and pour project. We took inspiration from sea glass, with its transparent blues and greens. To achieve these beautiful gem tones, we used Bramble Berry LabColors, which are super concentrated dyes. Using the same LabColor soap dyes, we created matching muslin bags for packaging the soap. It’s two projects in one!
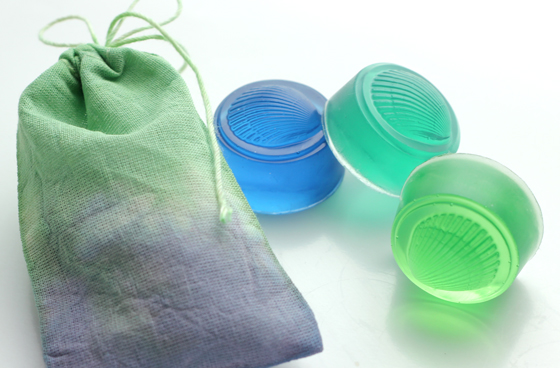
What You’ll Need:
6.1 oz Clear Melt and Pour Base
4 mL Kentish Rain Fragrance Oil
Diluted Emerald LabColor
Diluted Sapphire LabColor
Tongs
Clothes Pins
Click here to add everything you need for both projects to your Bramble Berry shopping cart! Remember, you can always remove items you don’t need.
COLOR PREP: You’ll use LabColors in both parts of this project. Unlike other colorants, LabColors must be diluted before use. If you’ve never diluted LabColors before, click here to learn how.
The Soap:
ONE: Cut the Clear Melt and Pour Base into 1-inch cubes. Melt in a heat-safe container on 30 second bursts in the microwave, stirring between bursts, until the soap base is fully melted.
TWO: Split the soap base into three batches: two weighing 2.3 ounces, and one weighing 1.5 ounces.
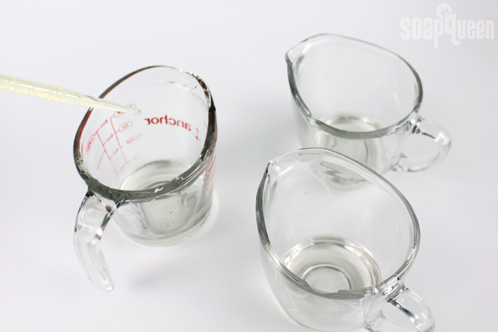
THREE: Add the Kentish Rain fragrance oil to the split batches: 1.5 mL in each of the 2.3 ounce batches, and 1 mL in the 1.5 ounce batch. Stir in well.
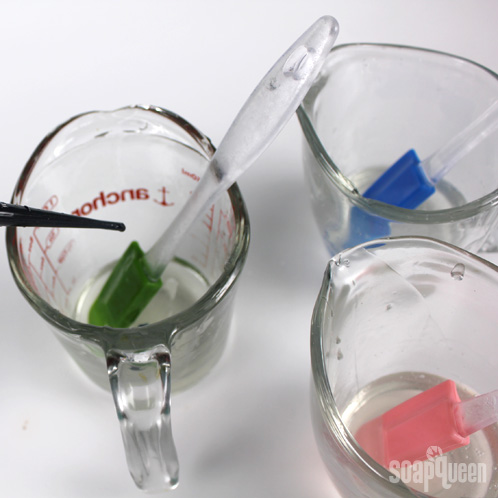
FOUR: To one of the 2.3 ounce batches, add 9 drops of diluted Emerald LabColor. To the second of the 2.3 ounce batches, add 12 drops of diluted Sapphire LabColor. To the 1.5 ounce batch, add 3 drops of diluted Emerald LabColor and 5 drops of diluted Sapphire LabColor. Mix the soap well.
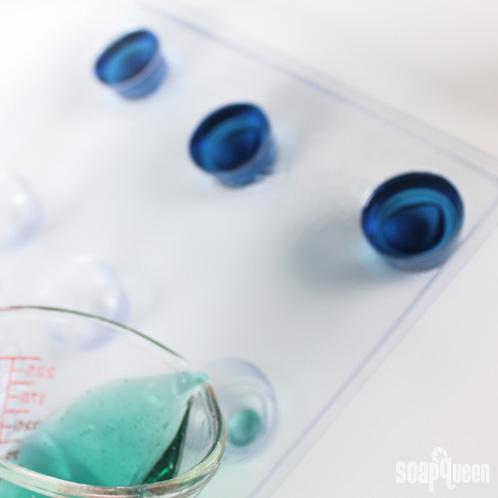
FIVE: Pour each colored soap batch into the Shell Wax Tart Mold. The Emerald and Sapphire soaps will each fill three cavities, while the blend of Emerald and Sapphire will fill two of the cavities.
SIX: Spray the soap with Rubbing Alcohol to eliminate any bubbles and allow the soaps to fully harden.
SEVEN: To avoid ‘sweating’ or ‘dew drops’ forming on the soap place a few finished soaps in a ziplock baggie before placing them in the muslin bags.
The Packaging:
ONE: Fill two heat-safe containers with 8 ounces (by volume) of water, and one container with about 8 ounces (by volume) of vinegar.
TWO: Set the muslin bags in the container of vinegar to soak.
THREE: Add 40mL of diluted Emerald LabColor to one 8 ounce portion of water, and 40 mL of diluted Sapphire LabColor to the other 8 oz portion of water. Stir well. These are your dye baths. (Again, be sure you are using diluted Lab Color!)
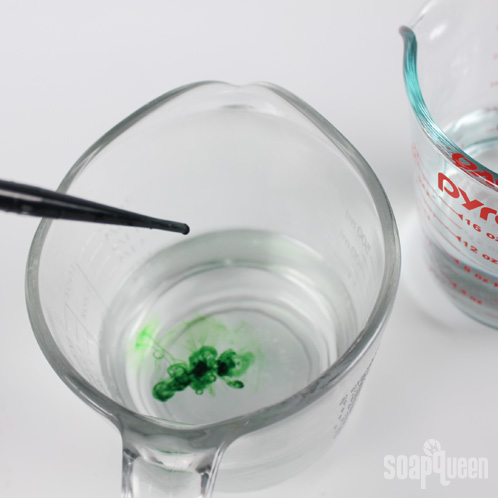
FOUR: Microwave the dye baths for about a minute or until the liquid is warm, but not scalding hot.
FIVE: Remove the muslin bags from the vinegar soak and squeeze to remove excess vinegar.
SIX: Dye the bags by dipping them into either the Emerald dye bath, the Sapphire dye bath, or a combination of both. Three fun techniques that I used are Tie Dye, Two-Color Transition and Ombre.
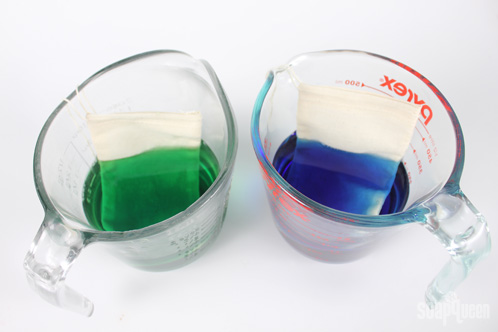
Two-Color Transition: Dip half the bag into one color. Use a clothespin to keep the entire bag from falling in the dye bath. After a few minutes, remove the bag from the first color, flip and dye the other half of the bag in the second color, allowing the bag to sit in the bath just low enough for the water level to touch the line where the first dip dye ends.
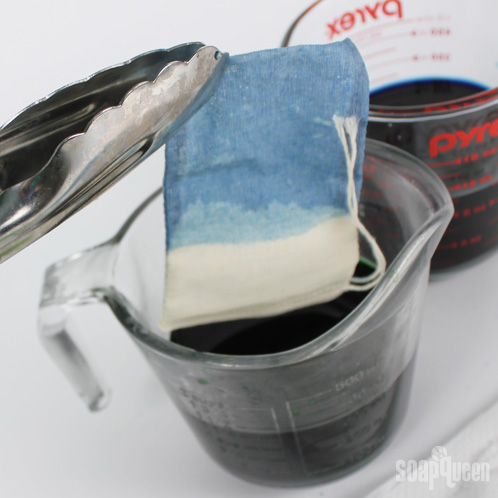
Ombre: Dye 1/3 of a bag in one color, using a clothespin to keep the rest of the bag out of the bath. After a few minutes, change the bag’s position so that a bit more of the bag is submerged. Allow to sit again for a few more minutes, then submerge the entire bag.
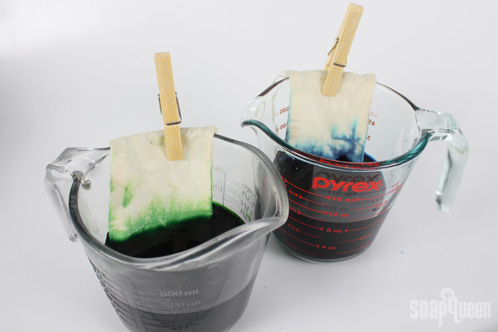
Tie-Dye: Use a rubber band twisted around the bag to create a pattern. Dye the bag in a single color for a gradient look, or in two colors for a multi-faceted look.




Do you have any tips on how much color to use if I only want to use one of the colors instead for three different colors?
Hi Jennifer!
We added about 24 drops of color total. If you want to do just one color, I would recommend starting out with about 20 drops and see what you think. If you want that color more saturated, add a couple more drops. 🙂
-Kelsey with Bramble Berry
I am having trouble getting the soaps out of the molds. Can you help?
Hi Patsy!
If you are using the mold shown in this tutorial, I would recommend bending the molds slightly to release the airlock. You can also try hitting the back of the mold to release the soap 🙂
-Amanda with Bramble Berry
I love this project! I live in south Florida, and I love the beach!
I’m making these for stocking stuffers for my friends in the north .
Can’t wait to start the next batch!
Hi Donna!
We are so glad that you like this project, it was one of our favorites to make. Be sure to let us know how they turn out and if you get any pictures, we’d love for you to share them on Bramble Berry’s Facebook page.
Happy Soaping!
-Becky with Bramble Berry
https://www.facebook.com/BrambleBerry
What a cool idea!! I haven’t made M&P in so long!! I like this a lot, great Christmas presents (or other occasions! But Christmas being in Summer here, it’s absolutely appropriate!!) 😀
Good morning!
We are so glad to hear that you are loving this project for your Christmas in the Summer! You’ll have to let us know how it turns out for you and if you get any fun photos, we’d love for you to share them with us on Bramble Berry’s Facebook page. =)
Happy Soaping!
-Becky with Bramble Berry
https://www.facebook.com/BrambleBerry