Bramble Berry’s new cupcake mold makes it easier than ever to whip out a batch of soapy cupcakes from scratch! You’ll be sweetly showering with cupcake goodness in no time.
Ingredients
16 oz White Soap Base
ELF Cupcake Mold
(Note: This mold has been discontinued.
It has been substituted with the Round (cupcake) Silicone Mold.)
OR Get everything you need by clicking on the “Buy It Now” button below.
ONE: Melt 16 ounces of white soap base in the microwave and mix in ½ ounce of Cherry Pop Fragrance Oil.
Note: The ELF Cupcake Mold has been discontinued. It has been substituted with the Round (cupcake) Silicone Mold. To create a two tone cupcake, make soap in the Round (cupcake) Silicone Mold, then top it with this Foaming Bath Whip Frosting.
TWO: Separate the scented soap evenly into two containers or mugs. Add the canary colorant to one container of soap and the cherry colorant to the other. Just a couple of drops of undiluted color will do the trick. Mix both well.
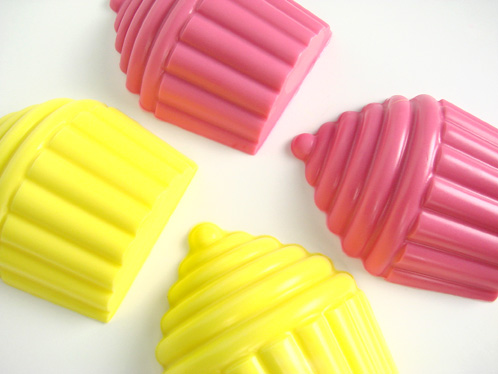
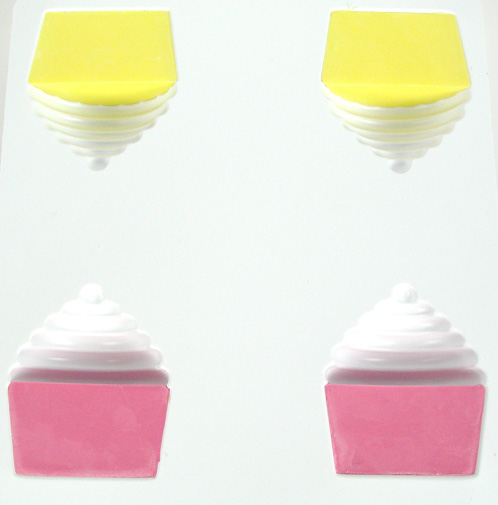
THREE: Fill up two cupcake cavities with the yellow soap and the other 2 cupcake cavities with the pink soap. Spritz with rubbing alcohol to eliminate air bubbles and let the soaps cool for about 2-4 hours.
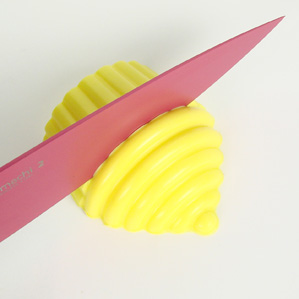
FOUR: Once the soaps have cooled, remove them from the mold and carefully cut off the frosting parts of each cupcake. Then cut the yellow frosting tops into small chunks and melt the soap back down in the microwave. Repeat with the pink soap.
SIX: While the pink and yellow soaps are in the microwave, place all of the cupcake bottoms back into the mold and firmly press them down.
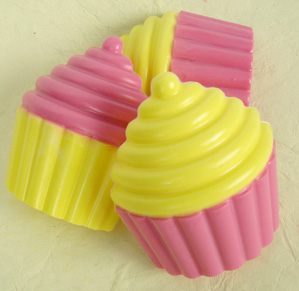
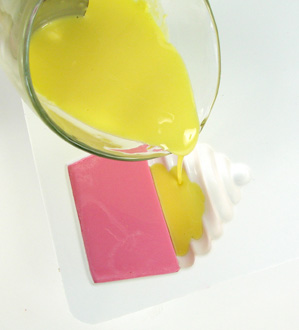
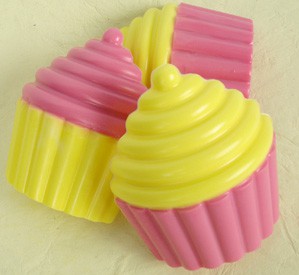
SEVEN: Once the pink and yellow soap is melted and isn’t so hot that it’s steaming (don’t want it to melt the cuppy base), spray the cupcake bottoms with rubbing alcohol (to ensure that the layers stick together) and fill up the frosting part of each cavity mixing and matching colors. Pink cupcake bottoms get yellow frosting and yellow cupcake bottoms get pink frosting. Give the soaps a final spritz with rubbing alcohol to eliminate air bubbles and let cool. Pop out after a thorough cool down (usually 6 to 8 hours).
Check out other popular cupcake projects like Whipped Soap Cupcakes, Cold Process Cupcakes and Bath Bomb Cupcakes




These molds are great! I love the slick and shiny look of the soap, and of course, I love the cupcake motif!
how adorable – I love that you love cupcakes as much as I do!
AWWWWWEsome! (You have to sing the word to convey just how awed we were by this technique) Our jaws are on the ground and our eyes are twinkling. YAY!!!!
You’re right. These molds are great for CP!
Amen!
I attempted but it didn’t look quit as plump as I would have liked. Let me know if you figure out another way to do it =)
Definitely, the same technique will work for the cherry on top. The soap is a really nice size too. It fits perfectly in the palm of my hand!
To make a “full” cupcake (360 degrees) would you be able to “glue” (using melted soap as glue) two sides together?
Too cute…and doesn’t add a single calorie to my diet! =)
Amazing, I think I may need to get one of these 🙂 Im thinking the cherry can be colored using the same technique??
Either way, I really like that it is a bar type product.
Those are truely ADORABLE! I wonder if I can use them for cp soap? I bet I can!
Michelle in NV
WOAH!!!! love this- def. putting the cupcake mold on my wishlist!