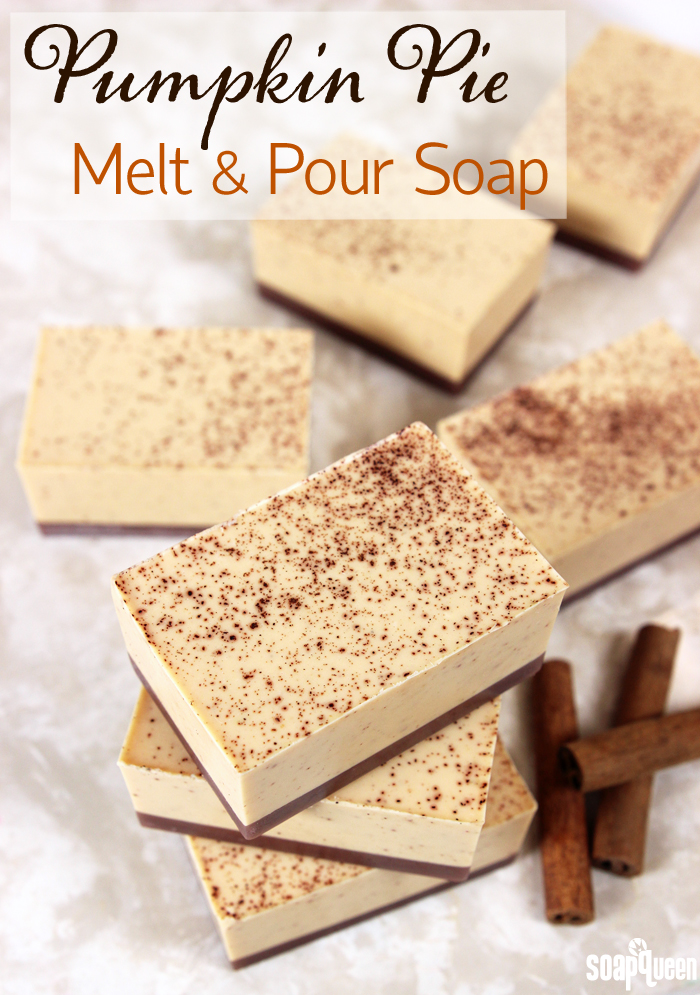
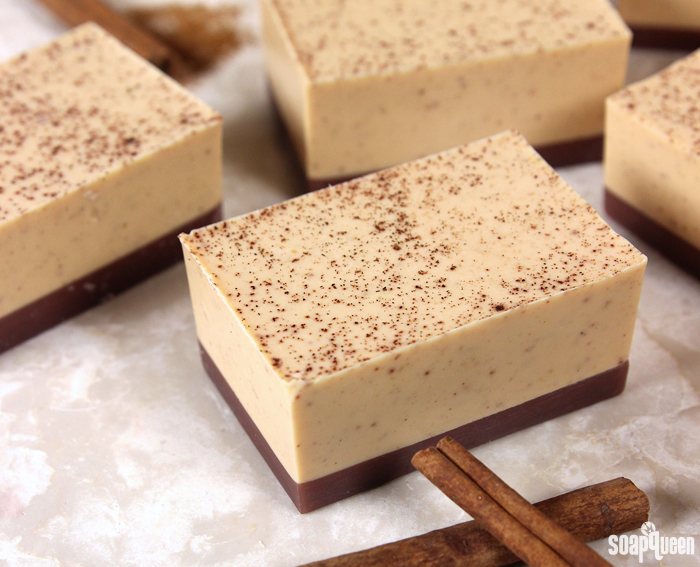
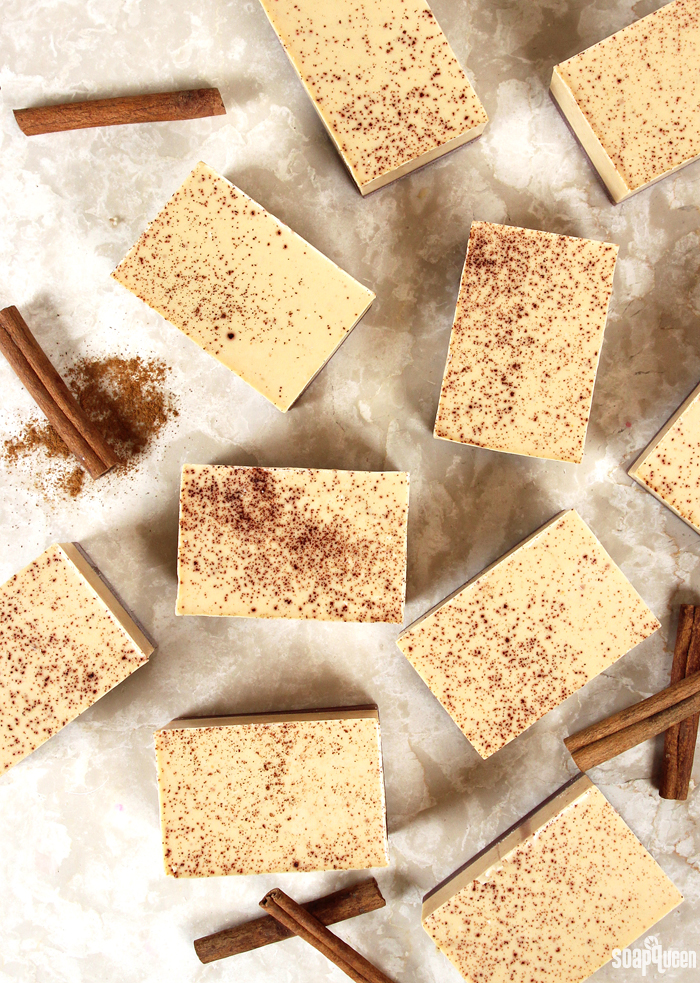
 While the day after Labor Day is not the official first day of fall, here in the PNW, it certainly feels like summer is over. Seasonal items are hitting the shelves, including the Pumpkin Spice Latte from Starbucks (happy #PSL day!), and everything pumpkin flavored. I love the warm and comforting taste (and smell!) of pumpkin treats. These Pumpkin Pie Melt and Pour bars celebrate the arrival of the #PSL and pumpkin-spice-everything. Scented with Pumpkin Pie Candle and Soap Fragrance Oil, these bars look and smell like your favorite autumn dessert.
These bars are made with the creamy and hydrating Goat Milk Melt and Pour Soap Base. This base is great for dry skin, and has a neutral custard color. Ground pumpkin seeds give the bars a very mild amount of exfoliation. To learn more about various exfoliant options, click here. A small amount of ground cinnamon is used for a realistic pumpkin pie appearance. Some people have a sensitivity to using cinnamon (particularly cinnamon essential oil). If your skin is sensitive to cinnamon, feel free to leave it out.
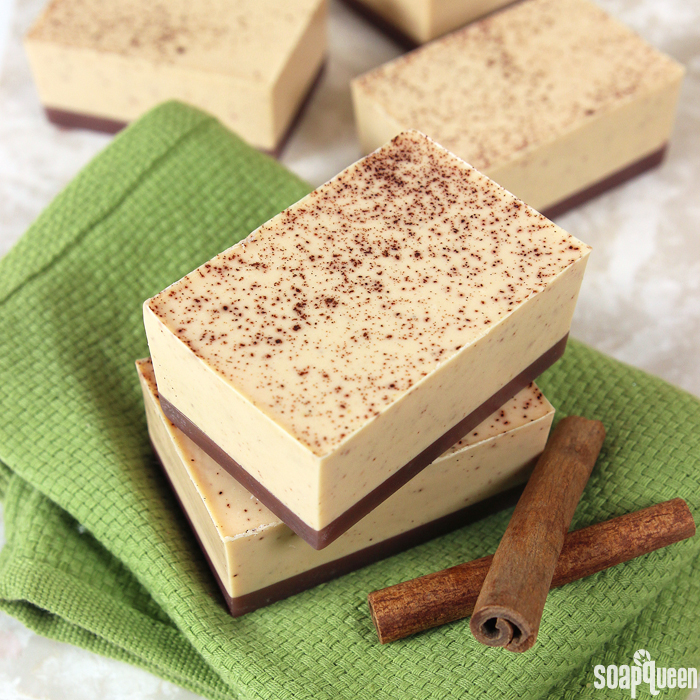
What You’ll Need:
12 Cavity Rectangle Silicone Mold
41 oz. Goat Milk Melt and Pour Base
12 oz. Clear Melt and Pour Soap Base
Perfect Orange Color Block
Shimmer Cappuccino Color Block
1 oz. Pumpkin Pie Candle & Soap Fragrance Oil
1 oz. Vanilla Color Stabilizer
3 Tbs. Ground Pumpkin Seeds
99% Isopropyl Alcohol
Optional: Dash of ground cinnamon

Click here to add everything you need for this project to your Bramble Berry shopping cart!
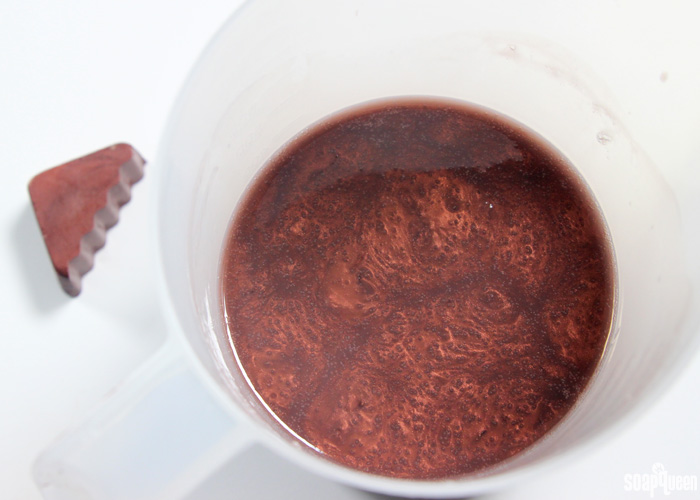
ONE: Chop and melt 12 oz. of the Clear Melt and Pour Base, and 1 oz. of the Goat Milk Melt and Pour Base in the microwave using 20 second bursts. A combination of bases is used to give a rich brown color, while still being slightly opaque. Once melted, add shavings of the Shimmer Cappuccino Color Block and stir until they have melted and the soap is a rich brown color. If necessary, place the soap back into the microwave using 10 second bursts to reheat.
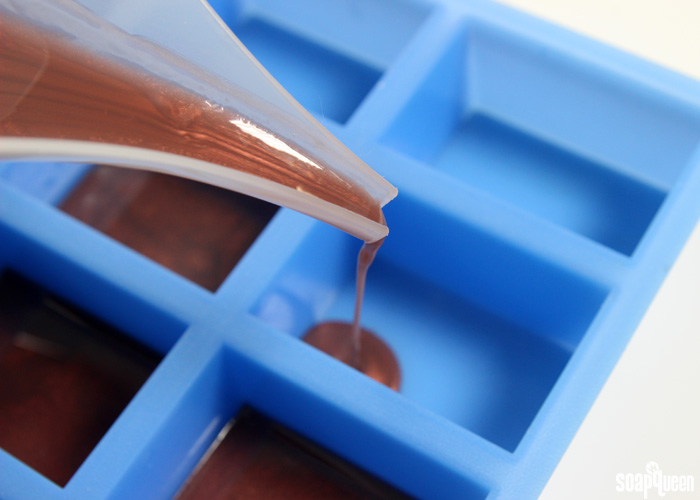
 TWO: Pour the brown soap evenly into all 12 cavities of the mold. Each cavity will receive about 1 oz. of soap. If it helps, weigh the first pour and eyeball the rest. After pouring, spray each cavity with rubbing alcohol to disperse any bubbles. Set aside to cool and harden.
 THREE: Chop and melt 40 oz. of Goat Milk Melt and Pour Base in the microwave using 30 second bursts. Once completely melted, add shavings of the Perfect Orange Color Block until you have reached a soft orange color. Keep in mind that because the base is white, the soap will never be bright orange. If you prefer a brighter orange color, you may consider using clear soap for this step.
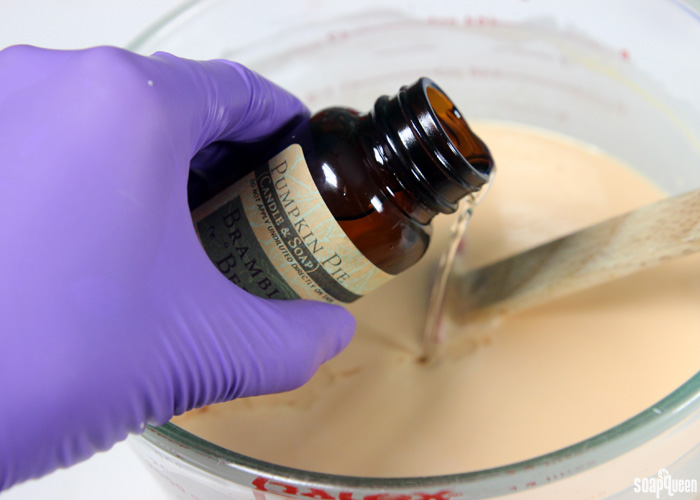
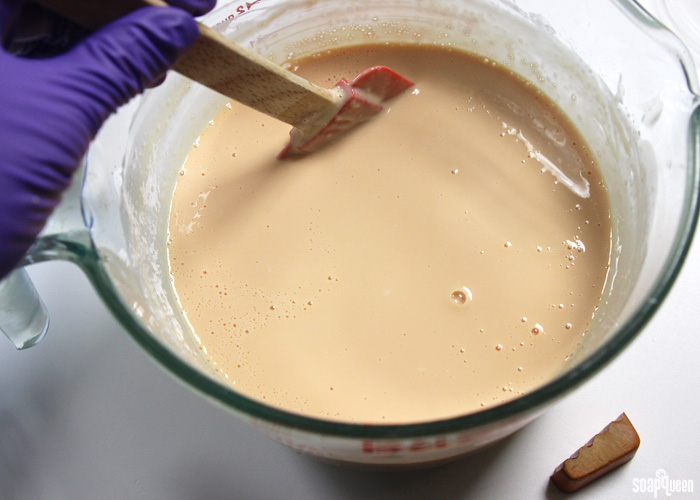 FOUR: Add 1 oz. of the Pumpkin Pie Candle and Soap Fragrance Oil and stir to combine. Then, 1 oz. of the Vanilla Color Stabilizer into the soap and stir to thoroughly combine. The Vanilla Color Stabilizer is used to prevent the Pumpkin Pie Candle and Soap Fragrance Oil from discoloring the soap. Learn more about vanilla color discoloration in this blog post.
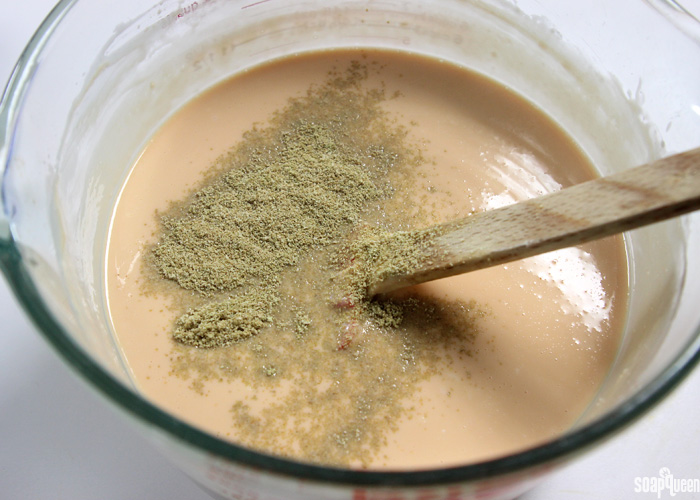
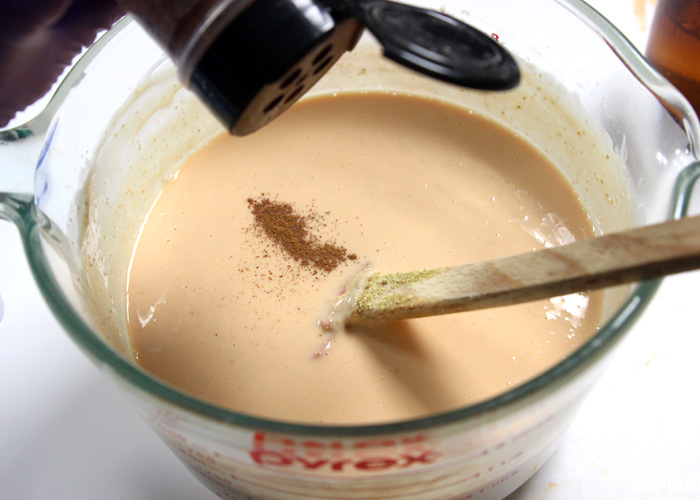
 FIVE: Add three heaping tablespoons of ground pumpkin seeds and stir to combine and get rid of any large chunks. Then, add a few dashes of ground cinnamon. A little goes a long way; you want just enough so that you see a few speckles in the soap. If your skin is sensitive to cinnamon, feel free to leave this step out.
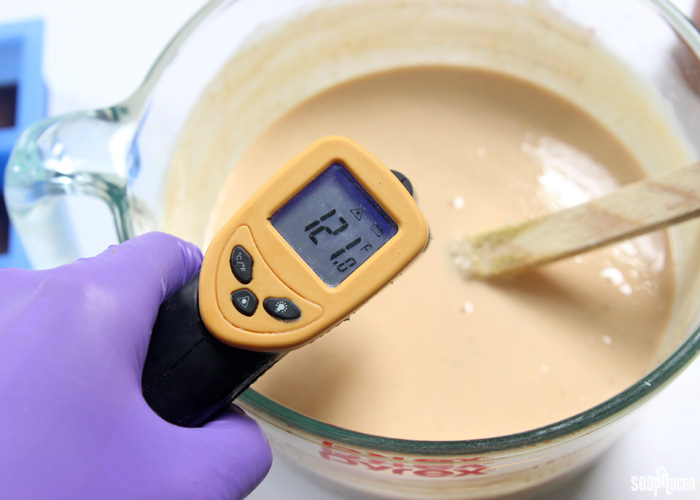
 SIX: Check the temperature of the orange soap. You want to make sure it is no hotter than 125 ° F. If it is too hot, the ground pumpkin seeds will not suspend and the soap may melt the dark brown layer below. Check to make sure the brown soap has cooled and developed a thick skin in order to support the orange soap. Spritz the brown layers with rubbing alcohol to help the orange soap stick, and gently pour the orange soap into each cavity. Spritz the soap with alcohol to disperse any bubbles.
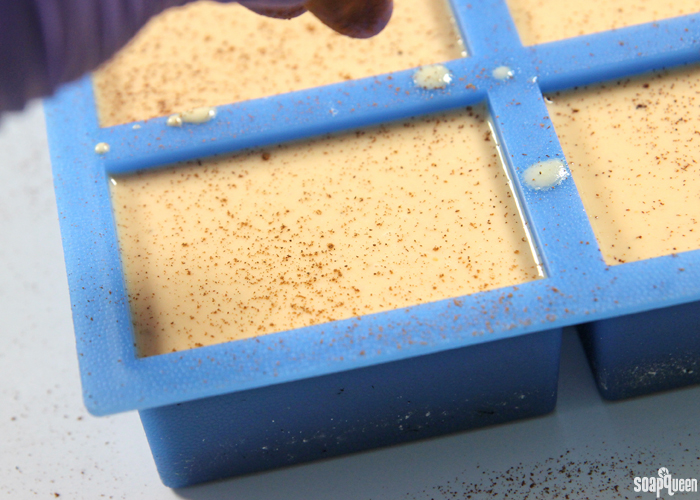
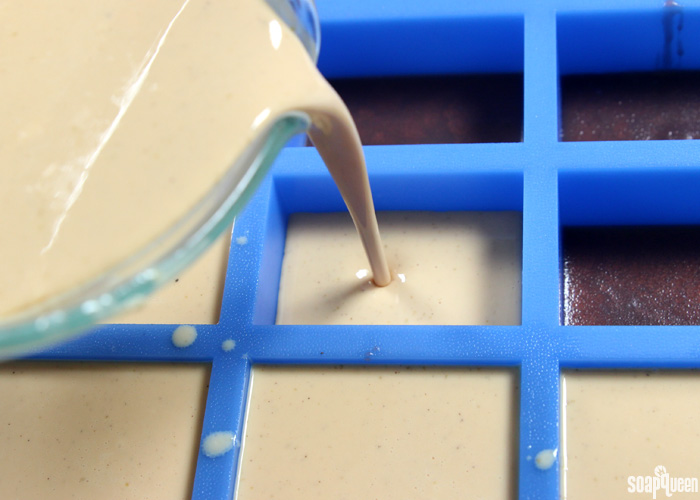 SEVEN: Immediately sprinkle the top of the soap with a fine dust of ground cinnamon. Allow to fully cool and harden, and enjoy! To avoid glycerin dew, wrap them immediately in plastic wrap, or another airtight packaging option.
What is your favorite pumpkin spice fall treat? I love pumpkin spice breakfast dishes, like this Pumpkin Pecan Baked Oatmeal!
- 12 Cavity Rectangle Silicone Mold
- 41 oz. Goat Milk Melt and Pour Base
- 12 oz. Clear Melt and Pour Soap Base
- Perfect Orange Color Block
- Shimmer Cappuccino Color Block
- Pumpkin Pie Candle & Soap Fragrance Oil
- 3 Tbs. Ground Pumpkin Seeds
- 99% Isopropyl Alcohol
- Optional: Ground cinnamon
- Chop and melt 12 oz. of the Clear Melt and Pour Base, and 1 oz. of the Goat Milk Melt and Pour Base in the microwave using 20 second bursts. A combination of bases is used to give a rich brown color, while still being slightly opaque. Once melted, add shavings of the Shimmer Cappuccino Color Block and stir until they have melted and the soap is a rich brown color. If necessary, place the soap back into the microwave using 10 second bursts to reheat.
- Pour the brown soap evenly into all 12 cavities of the mold. Each cavity will receive about 1 oz. of soap. If it helps, weigh the first pour and eyeball the rest. After pouring, spray each cavity with rubbing alcohol to disperse any bubbles. Set aside to cool and harden.
- Chop and melt 40 oz. of Goat Milk Melt and Pour Base in the microwave using 30 second bursts. Once completely melted, add shavings of the Perfect Orange Color Block until you have reached a soft orange color. Keep in mind that because the base is white, the soap will never be bright orange. If you prefer a brighter orange color, you may consider using clear soap for this step.
- Add 1 oz. of the Pumpkin Pie Candle and Soap Fragrance Oil and stir to combine. Then, 1 oz. of the Vanilla Color Stabilizer into the soap and stir to thoroughly combine. The Vanilla Color Stabilizer is used to prevent the Pumpkin Pie Candle and Soap Fragrance Oil from discoloring the soap. Learn more about vanilla color discoloration in this blog post.
- Add three heaping tablespoons of ground pumpkin seeds and stir to combine and get rid of any large chunks. Then, add a few dashes of ground cinnamon. A little goes a long way; you want just enough so that you see a few speckles in the soap. If your skin is sensitive to cinnamon, feel free to leave this step out.
- Check the temperature of the orange soap. You want to make sure it is no hotter than 125 ° F. If it is too hot, the ground pumpkin seeds will not suspend and the soap may melt the dark brown layer below. Check to make sure the brown soap has cooled and developed a thick skin in order to support the orange soap. Spritz the brown layers with rubbing alcohol to help the orange soap stick, and gently pour the orange soap into each cavity. Spritz the soap with alcohol to disperse any bubbles.
- Immediately sprinkle the top of the soap with a fine dust of ground cinnamon. Allow to fully cool and harden, and enjoy! To avoid glycerin dew, wrap them immediately in plastic wrap, or another airtight packaging option.



Just made this morning. First time making melt and pour. It turned out AWESOME! Cannot wait to use it!
Oh that’s awesome Lisa, so glad this turned out well! Enjoy. 🙂
-Kelsey with Bramble Berry
HI
I made this recipe less orange for Christmas, I love them! I just started making soaps.
Two questions. The top is shiney the from the alcohol, should I just dab with a paper towel before I wrap and also, where my thumb was when I pushed out the bar from the mould, the cinnamon came off just on those spots, Can I sprinkle some more on those spots?
Thanks!!!!
The alcohol should evaporate off the top fairly quickly! Once it does the wetness will disappear. It will naturally have a shiny “skin” on top, which you can put wrapping over. Also, you can spritz the top with alcohol and add a bit more cinnamon to get it to stick. Then, cover with plastic wrap. 🙂
-Kelsey with Bramble Berry
I sprinkled a little more cinnamon on top and it sold the issue.
They look great! Dawn
Glad to hear that Dawn! 🙂
Hi, I just made this project, so fun!! Smells amazing. I do have a couple questions.
1. What order should I list the ingredients on a label, if the two different MP bases have very similar ingredient lists? I know it’s by quantity from largest to smallest, but with two different soap bases I don’t want to list everything twice. (Same question with the color blocks…)
2. What is in the vanilla color stabilizer, and how would I list it on a label?
Thanks much!
Marisa
Hi Marisa!
I would recommend listing ingredients in both bases. I know it’s a lot to squeeze onto a label, but it is a bit easier than trying to figure out the order of each ingredient. So, you can list Goat Milk Melt and Pour Soap (ingredients), then Clear Melt and Pour Soap (ingredients). As for the Vanilla Color Stabilizer, it is considered a fragrance oil. Those ingredients are protected by trade secret laws and don’t need to be listed. So, you can say “Vanilla Stabilizer Fragrance” on the label, or something similar. 🙂
This post has more on labeling soap: https://www.soapqueen.com/bath-and-body-tutorials/cold-process-soap/how-to-label-cold-process-soap/
-Kelsey with Bramble Berry
Hello,
Newbie here just tried this recipe love the aroma, I’m not entirely sure what I’ve done but the Goats Milk M&P started hardening on me the moment I put the color block in. Any who I ploughed on mixing it until it hardened considerably and then I began to look up the various posts on what I could’ve possibly done wrong, (all I saw were CP soap) but nonetheless I went to teachsoap forum and there all that related were fragrance oils and the like (veered off topic for a bit lol. I then decided after rereading posts on M&P soaps to reheat on short bursts at the microwave and it went well for the most part, I added the rest of the ingredients and mixed and then poured into the mold. I noticed towards the end the same thing happened (it was hard and stringy). Is this common? Is there a way to prevent this? Thanks for your help, and I apologize in advance for my long post 🙂
Hi Lily!
How long were you melting the soap, and how much? What temperature did you add the color block, and was it shaved into small pieces? Let me know and I’ll help you troubleshoot!
-Kelsey with Bramble Berry
Hi Kelsey,
The 40 oz on 20 second bursts with mixing in between for about 2 mins. The color block was shaved into small pieces and added about 127 degrees. To explain it better it developed a film over the top (like when you boil milk) and then hardened and became stringy. Thanks!
Thanks so much! That sounds just perfect. I think the soap was a bit cool when you added the color block, then the room temperature color block dropped the temperature a bit more. Melt and pour soap starts to solidify around 130F. If that’s the case, just pop it back in the microwave for another 10-15 seconds. That will melt the soap and color block together and make the texture a bit more fluid and workable. 🙂
-Kelsey with Bramble Berry
Thanks for the tip! I did remelt it and add the rest of the ingredients but had the same film and stringyness appear. The instructions do say to add the Goats milk at 125 degrees, I didn’t have this issue with the Clear M&P. Maybe I’m a nervous nelly lol. The soap did turn out lovely for the most part and smells wonderful. Thanks again for the help, I look forward to trying again. 🙂
You’re welcome Lily! Glad those bars turned out well. If you notice that film again on the next batch let me know and we’ll troubleshoot from there. 🙂
-Kelsey with Bramble Berry
Why does my soap become leathery when I spritz alcohol on it? What am I doing wrong?
Hi Diya!
After you spritz that alcohol, are you moving the soap? When you spray alcohol on top of the soap it forms a bit of a film before evaporating. If the soap is shifted, that skin can wrinkle, causing that leathery appearance. If that’s the case, let the soap sit for 1-2 hours before moving it! That will give you a nice smooth top. 🙂
-Kelsey with Bramble Berry
Hi,
Would the cocoa butter base work with this recipe in place of goats milk?
Thanks Kate 🙂
Absolutely! I would recommend making a small test batch with the Clear Melt and Pour. If the bases are two different brands, they can dry at different rates and separate. If so, you’ll want to use the same brand for both layers. A small test batch will let you know before making the full recipe. 🙂
-Kelsey with Bramble Berry
I made this soap and it both smells and looks lovely, however I found the texture of the pumpkin seeds to be just too coarse. Next time I will use some ground nutmeg which I have used in a spiced cider soap I made in the past (scented with Brambleberry’s Apple Jack Peel – divine!)
So glad you like the soap Carla! I love that you can customize the soap based on your skin and personal preference. Also, the Applejack Peel Fragrance Oil will smell amazing in this recipe! 🙂
Applejack Peel Fragrance Oil: https://www.brambleberry.com/Applejack-Peel-Fragrance-Oil-P3905.aspx
-Kelsey with Bramble Berry
Hi before I make the pumpkin pie melt and pour soap just wanted to ask – the very last step when you have poured in the top layer it doesn’t say to spritz with rubbing alcohol but just to put cinnamon on top. Do you not need to do the final spritz of rubbing alcohol to prevent bubbles on top and then add the cinnamon???
Thanks so much 🙂
Hi Kate!
We recommend spritzing the top with alcohol to pop any bubbles, then sprinkling that cinnamon on. Looks like we forgot to add that to the steps – sorry about that! Thanks so much for catching it. We’ll update the post now. 🙂
-Kelsey with Bramble Berry
This is my second batch of soap but the first one I made used our. The process was no problem and made some good soap (which I am almost out of). Anyhow, that took several weeks to cure. The question I have with this pumpkin pie soap is, how long should it cure? I plan on making it tomorrow and wanted to be sure since it is not lye based.
Used lye, not our. Stupid autocorrect!
Hi Jason!
This soap is ready to use once it’s cool and hard! Melt and pour soap has already gone through the saponification process, so it doesn’t need to cure at all. That means you can use it right away. 🙂
For the soap you don’t use right away, we recommend wrapping it tightly with plastic wrap to help prevent glycerin dew. Read more about storing melt and pour soap in this post: http://www.soapqueen.com/bath-and-body-tutorials/tips-and-tricks/how-to-store-handmade-bath-products/
-Kelsey with Bramble Berry
Thanks! Getting ready to make it now…
You’re welcome! Have fun. 🙂
-Kelsey with Bramble Berry
What can be used in place of the orange color block-you are out of stock?
Hi Yvette!
Our Liquid Orange Colorant makes a gorgeous orange hue! I would recommend starting off with just a drop or so and mixing into your soap – a little goes a long way. If you want the color a bit brighter, you can add a couple more drops. 🙂
Liquid Orange: https://www.brambleberry.com/Liquid-Orange-P4060.aspx
We also have a really pretty Tangerine Wow Color Block you may like. It’s a bit lighter than the Perfect Orange Color Block, but would still look pretty in this recipe: https://www.brambleberry.com/Color-Block-Non-Bleeding-Tangerine-Wow-P5377.aspx
-Kelsey with Bramble Berry
Hi! If I have just a regular silicone loaf mold could I use that instead of the 12 cavity rectangle mold? And just put the bottom shimmery layer completely along the bottom of the loaf mold?
Hi Chelsea!
Absolutely! A silicone loaf mold would work just fine for this recipe. In that case, you would pour all the brown soap in the bottom, let that harden and then pour all of the creamy orange soap on top.
This recipe calls for about 53 ounces of soap. I would recommend checking to see how much your mold holds, as it may be more or less than 53 ounces. If that’s the case, you can adjust the soap amounts to fit your mold. 🙂
-Kelsey with Bramble Berry
Hi I made this soap and the layers separated. I used alcohol in between and the first layer was cool enough when I added the second. Is there any way to fix these?
Hi D!
Oh no, I’m sorry those layers separated! The good news is you can use a bit of melt and pour “glue” to help them stick together. To do so, melt a small amount of soap (1 ounce or so) in the microwave on 5 second bursts. Then, spread a small amount of the soap in between the layers and press them gently together. Let that sit cool and harden for 1-2 hours. That typically helps the soap stick together. 🙂
When spraying alcohol, you want to spray enough so that the first layer is covered, but not completely soaked. Also, make sure to spritz that right before you pour your second layer. If it is sprayed too early, the alcohol can evaporate and those layers can separate. Learn more about working with melt and pour layers in this video: https://www.youtube.com/watch?v=5oyh1Bf3Gxo
-Kelsey with Bramble Berry
Thanks so much!
You’re welcome! 🙂
This is going to be my second attempt at making soap! I only tried it on a whim last week with stuff from a craft store and thoroughly enjoyed it (but was disappointed when I saw the ‘not so organic’ ingredients). I hope my customers will like them (adding them as a little ‘thank you’ for purchasing.) I am afraid of the cold soap making method (eeek lye!), and want to ease in slowly! Very excited to receive all of these ingredients to get started!!! Who knows, I may end up selling soap, too!
Hi Cristina!
That’s so exciting! It’s amazing how fast the addiction to soapmaking sets in. 😉 Thanks so much for your order, and we can’t wait to see what you make next! If you like, you can share pictures of your creations on our Facebook wall. 🙂
Bramble Berry Facebook: https://www.facebook.com/BrambleBerry/
If you have any questions at all, let us know! We are happy to help. We also have a great article about getting started selling soap that may be helpful for you: http://www.soapqueen.com/business/5-tips-take-soaping-hobby-business-slideshare-presentation/
-Kelsey with Bramble Berry
I don’t have a microwave; would it be possible to make this using a double boiler?
Hi Cindy!
Absolutely! Double boilers are another great option for melting the melt and pour soap. They also keep it warm the entire time you’re working with the soap so you don’t have to remelt the base! 🙂
-Kelsey with Bramble Berry
Hello!
When you click the add everything to cart button, it only places 1lb of the Goat Milk Melt and Pour in there. I am guessing that was a mistake and that I’ll need a little bit more?
Thanks!
Hi Anna!
Hmm strange, when I click on the button it adds 3 pounds of Goat Milk Melt and Pour, and 1 pound of Clear Melt and Pour. Maybe try it once more, and let me know if you keep having problems 🙂
-Amanda with Bramble Berry
Do you think shea soap would work as well as the goat milk?
Absolutely, Shea Melt and Pour would work great in this recipe! It feels amazing on the skin as well. 🙂
Shea Melt and Pour Base: https://www.brambleberry.com/Shea-Melt-and-Pour-P3192.aspx
-Kelsey with Bramble Berry
Thank you! I have one more question. I have the pumpkin pie cybilla fragrance. Can you tell me how this pumpkin pie fragrance differs from the cybilla one. Will the Cybilla one work?
Hi Rebecca!
You can definitely use the Cybilla fragrance if you like! That one is a discontinued scent, so I am unable to smell the two and tell you the difference. Both will give you an awesome pumpkin scent though. 🙂
Pumpkin Pie Cybilla discolors as well, so you will still need to use the Vanilla Color Stabilizer. It may also have a slightly different usage rate. You can find out how much scent to add with our Fragrance Calculator: https://www.brambleberry.com/Pages/Fragrance-Calculator.aspx
-Kelsey with Bramble Berry
Cool! You need to do an edible recipe! I just wanna bite into one 😀
This would be amazing as an edible pumpkin pie bar as well! That’s a great idea. 🙂
-Kelsey with Bramble Berry
Awesome!
Thanks so much Jeaneane! 🙂
-Kelsey with Bramble Berry
I love how these look!
Thanks so much, glad to hear that! 🙂
-Kelsey with Bramble Berry
How many soap bars do the above ingredients yield?
Hi Mary!
This recipe makes 12 bars of soap – about 3 pounds total. 🙂
-Kelsey with Bramble Berry
Make sure you label them as non-edible! I know I’d totally eat one! I so love pumpkin everything, soft pumpkin cookies are my favorite.
They do look quite delicious! I’m with you, I love pumpkin and everything fall. 🙂
-Kelsey with Bramble Berry