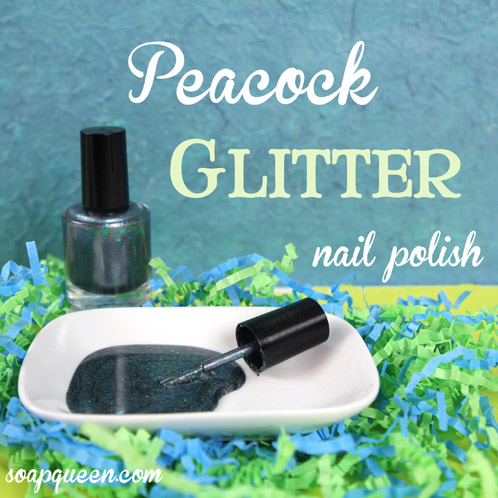
Strut your stuff with this fabulous Peacock Glitter Nail Polish. The polish is super simple to make, and in under a half an hour you can have your nails prepped and ready for a night out! The Vintage Grey Mica adds a touch of sophistication, and the subtlety of the green, blue and aqua-hued glitter make this a versatile polish for any occasion.
What You’ll Need:
3 Nail Polish Bottles (15 mL size)
Click here to add everything you need for this project to your Bramble Berry shopping cart!
Never made nail polish before? It’s easy! Check out this Soap Queen TV Nail Polish tutorial for a quick introduction to making your own polish.
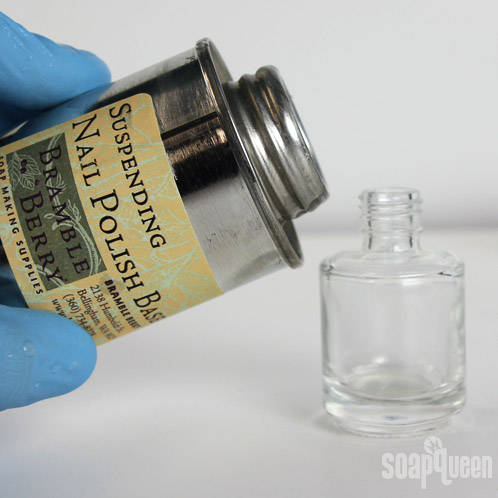
ONE: In a well ventilated space, pour the nail polish base slowly into the bottle. Fill until just below the shoulder of the bottle to allow for mixing room. If you spill, use an old rag to wipe the neck of the bottle. If you forget to do this, your lid may ‘glue’ itself to the bottle. Please note that nail polish is extremely flammable and should never be customized near any open flame or extremely hot heat source (say, a stove or something like that).
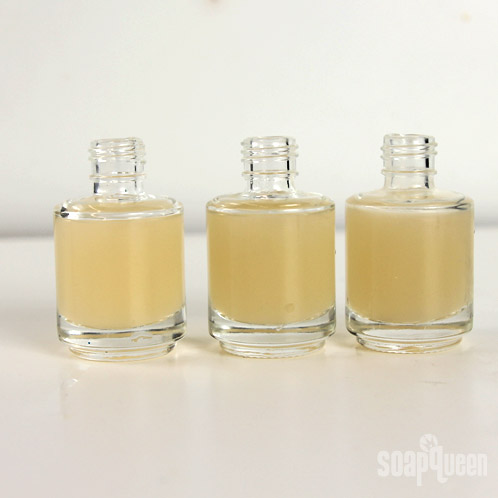
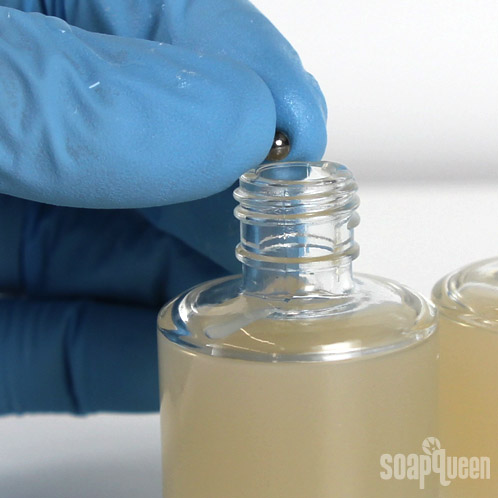
TWO: Drop a mixing ball into each nail polish bottle.
THREE: Using a mini scoop, add 4 – 5 scoops of colorant per bottle. This part can get messy because the mica is so fine, so consider pouring over a garbage can or an easily washable surface.
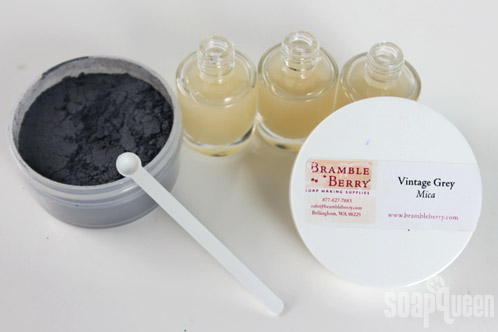
FOUR: Insert the brush into the bottle and twist the black cap over it until you hear a “click”. Once the cap is securely on the bottle, start shaking! Shake the bottle for 3 – 5 minutes to fully disperse the colorant into the nail polish base.
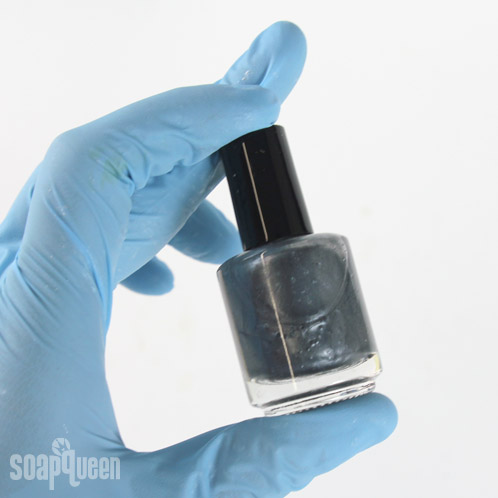
FIVE: When the colorant has been fully dispersed, add the Peacock Glitter. The amount of glitter is completely up to you, but we added about 10 – 12 scoops.
Tip: To avoid spilling glitter everywhere, consider using a Mini Funnel to channel the glitter directly into the bottle!
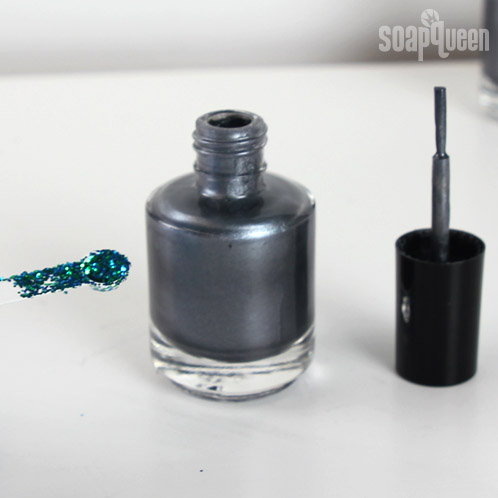
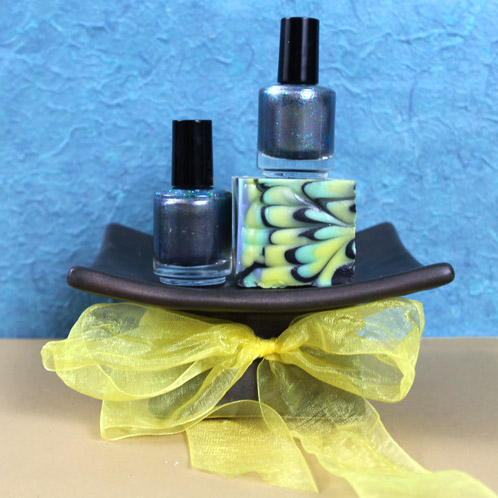
That’s it! You’re ready for a night out with perfectly peacock’ed nails.




Hi, I’m a newbie at making my own B&B products and I just purchase the nail kit for my nieces and I was wondering if you could add FO or EO to it and how much would you add? Thanks in advance
Hi Tonya!
You can! It adds a fun scent to the nail polish. 🙂
We recommend adding just about 1 mL of fragrance or essential oil per bottle of nail polish. Adding more than that can cause the polish to dry more slowly.
Read more about fragrance in nail polish in the Making Scented Nail Polish post: http://www.soapqueen.com/bath-and-body-tutorials/scented-nail-polish/
-Kelsey with Bramble Berry
Droppers: https://www.brambleberry.com/Droppers-With-Suction-Bulb-P3802.aspx
Besides being able to add your own color is the nail base used better then the average one in the store? are there different more harmful chemicals in the store ones? Thanks.
Hi Stephanie!
Handmade nail polish is a lot of fun to make because you can customize the colors! It can also be more cost effective, depending on the brand of polish you’re buying.
Also, I’m not entirely sure what ingredients are in the store brands of nail polish! It may help to check out the brand’s website, or contact them to find out more. 🙂
-Kelsey with Bramble Berry
Hi!
Great post!! I was wondering if you had any tips on making regular creamy lacquer (with out shiny or iridescent color). It seems like mica always gives it a shininess to the lacquer.
Thanks in advance!
Vanessa
Hi Vanessa!
You’re right, mica does add a bit of shine to polish. Instead, you could try using pigments instead, which have a more matte finish 🙂
Pigments:
https://www.brambleberry.com/Pigments-C45.aspx
-Amanda with Bramble Berry
Is making nail polish really this easy. I had no idea… nail polish base!!! Who knew, guess Im making nail poish now!!!
Hi Sabrina!
Isn’t it neat? The nail polish base makes it so easy! I hope you give it a try 🙂
-Amanda
I was wondering what should these be priced at once made?
Hi Shaunna!
It really depends on you, but you will want to take into account the supplies that you used, the time that you made it and don’t forget to pay yourself! In my experience, I’ve seen handmade nail polishes go for anywhere from $5-$10 (Etsy.com is a great price comparison resource). I hope this helps! If you are interested in learning more about how to price your products, you can check out these posts from the Teach Soap Website.
Pricing Your Melt and Pour Soaps: http://teachsoap.com/2012/03/06/pricing-your-melt-and-pour-soaps
Pricing Your Cold Process Soaps: http://teachsoap.com/2012/03/27/pricing-your-cp-soaps
I hope this helps! If you get any fun pictures of your custom nail polishes, be sure to share them with us on Bramble Berry’s Facebook page. 🙂
-Becky with Bramble Berry
https://www.facebook.com/BrambleBerry