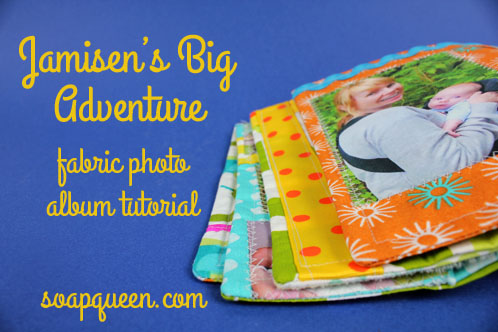
I’m an avid follower of Amanda’s blog SouleMama. When I wanted to create something special for Jamisen to receive during our gender reveal party, I was totally inspired by a gift she made for her daughter’s birthday. My plan was to make a baby book for Jamisen so he could see how he has grown over the years (and hopefully see that he too was once a little teensy baby like his sister is going to be). The only hurdle: it was a sewing project. And I don’t know how to sew. Yay! Growth opportunity! New hobby! Fun fun! Here’s my version of the Fabric Photo Book, and a peek at my extreme sewing adventure.
What you need:
Printable Fabric (for printing photos)
Printable Heat-Transfer Paper (optional: for book’s front cover title)
16 pieces of 10X11 inch Fabric (100% cotton quilting-weight fabric works great)
16 pieces of 10.5X11.5 inch Non-Woven Fusible Interfacing
Thread
Ribbon, Rick Rack and Other Trims (for embellishing pages and binding the book)
Rivets (optional: for the book binding)
And, a sewing machine (it makes this project much faster!)
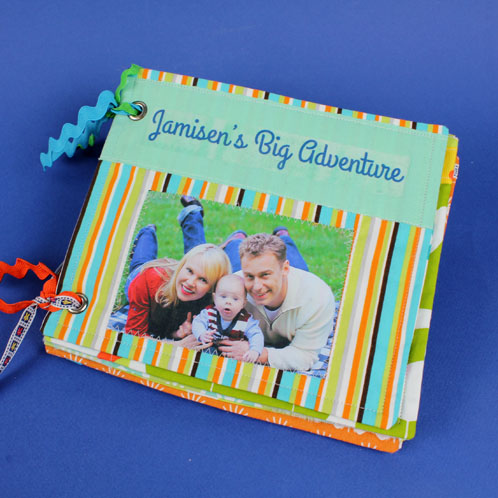
Print out your photos onto the printable fabric, following the manufacturer’s instructions. I printed the majority of my photos 2X3 inches, and a few of my favorites 3X5 inches. Include a variety of landscape- and portrait-oriented photos for great layouts!
Optional: Decide on a title and print on the heat-transfer paper following the manufacturer’s instructions.
Create each page using a combination of embellishments and photos. Reserve one page for use as the front cover. Start each page by laying out and sewing down rick rack, ribbon or trim.
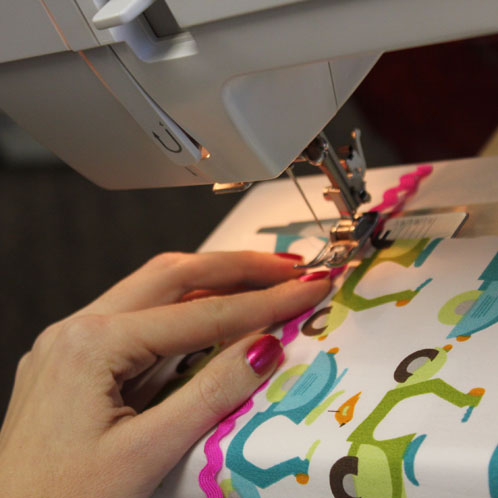
Next, arrange your photos on top of the embellishments in an aesthetically pleasing way. Stitch the photos to the page using a straight stitch, or try experimenting with your machine’s fancier stitches for a decorative border! For the front cover, choose an extra special or particular favorite photo.
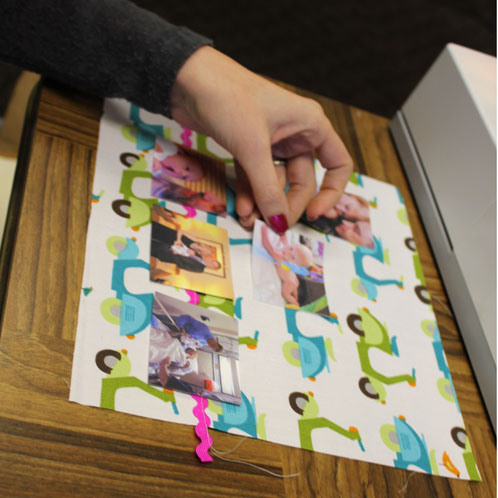
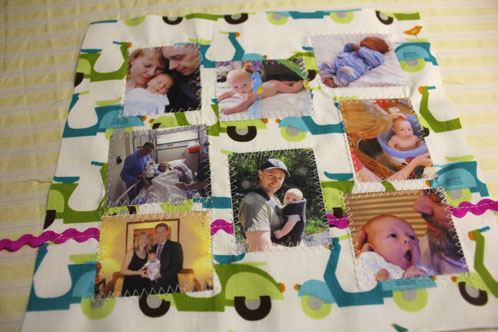
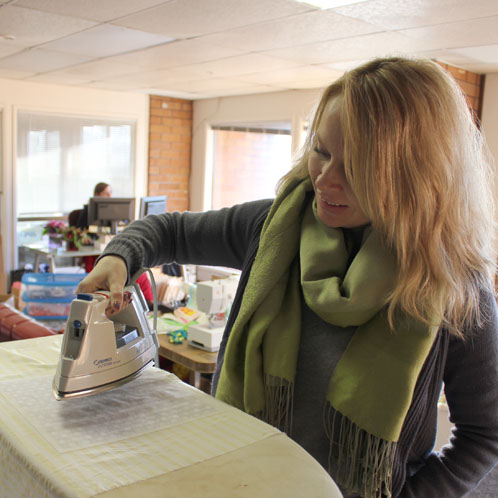
Once you’ve got all the pages completed, fuse one piece of the non-woven interfacing to each page following manufacturer’s instructions. The interfacing stabilizes the pages, giving them just the right amount of bulk.
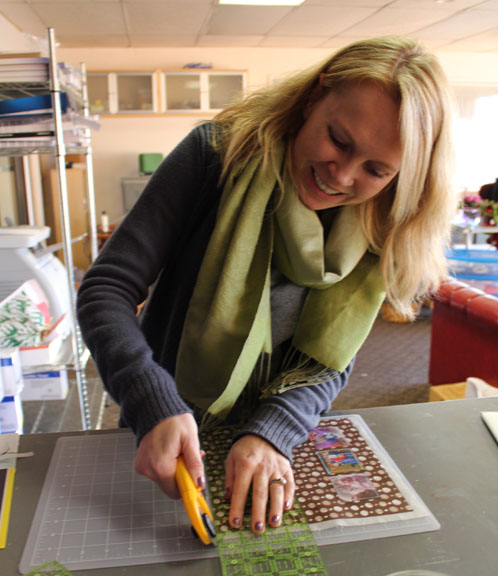
After fusing the interfacing, trim and square (or true) each piece.
Decide on the order of each page in the final book. Arrange them in a pile next to the sewing machine, right side up. Start with the first two pages, and flip the top so the right sides are facing each other. Sew around the edges, leaving a 3-5″ hole and back-tacking at the start and end of the stitch. Clip the corners as close to the seam as possible. Repeat until all pages are sewn together.
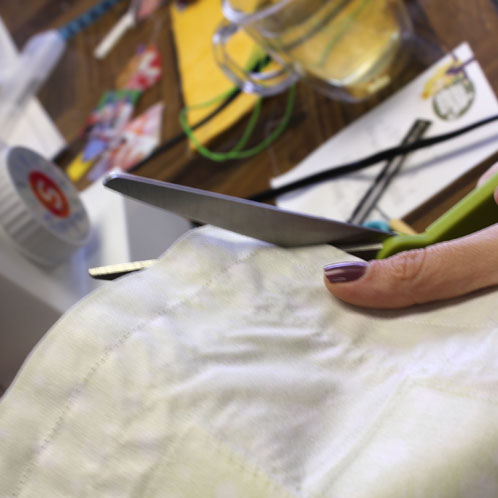
Iron the seam allowances toward the center of each page on both sides.
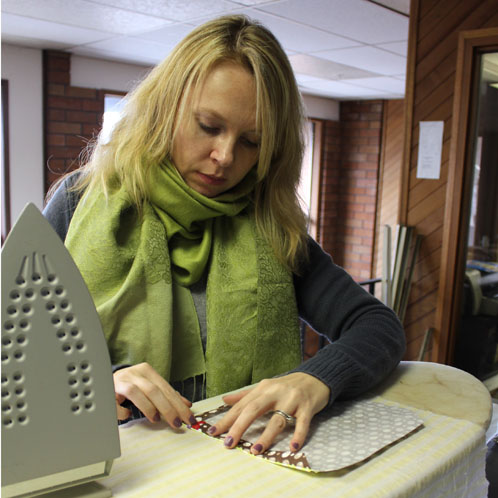
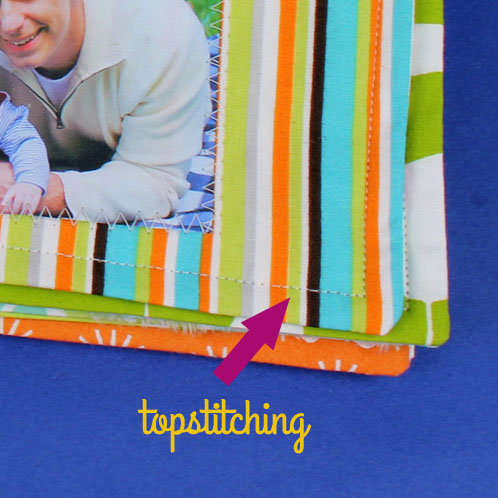
Turn the pages right-side-out through the hole. Use a chopstick to push out the corners, then press the pages for a nice, crisp look. You might want to use a pressing cloth when pressing the pages so not to apply direct heat to your photos and embellishments. Top stitch around the edge of each page.
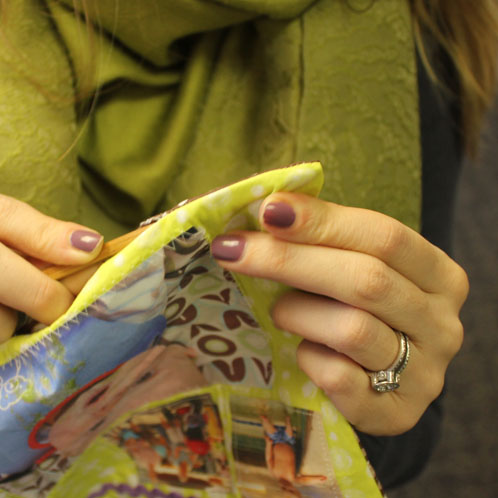
Arrange all of the pages in their designated order, and hand off to your Marketing Maven Amber to take care of installing rivets for the binding. Don’t have an Amber on standby? You can pick up a rivet tool (they’re also known as eyelets) at the local fabric store. Once the rivets are installed, thread extra trims and ribbons through them and tie. Or, you could bind the book accordion-style by sewing alternating edges together.
Here are some of my favorite page layouts from the book:



The most beautiful photo album I have ever seen! Your kids will be proud of their mom,once they grow up!
This is such a great idea and so precious! And thanks for sharing the Soulemama blog! I love it!! It’s book marked! 🙂
How delightful and special for him (and his future kids)! Imagine that being around for generations, perhaps!