
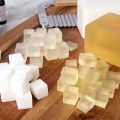
Check out this helpful soap tutorial (in two languages no less) on how to make thick, lumpy soap look like you meant to make it that way!
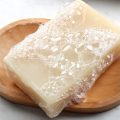
Besides color, texture is another medium that can be used to make your soap stand out on the shelf and provoke and immediate, “Wow! Cool! I gotta look at that unique soap!” reaction in shoppers.
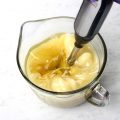
I can’t wait to try the whisk method. I’m embarrassed to say I’ve never done it! =)
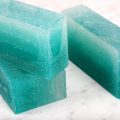
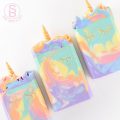
That blue soap is fabulous! I’ll definitely check out the tutorials. I texture my tops – sometimes on purpose and sometmes not, but I’m going to learn more techniques.
Now I have to add a whisk to my tool box! I understand men who need/want yet another tool (grin).
This tutorial is fabulous. I was looking at some of her other tutorials and I used the hot process tutorial she has posted. I made lavendar soaps with blue oxide colorant. It was a great experience and the instructions were right on point.
The heart one is the project I’m most excited about trying right now. It seems so simple but I’ve never even thought about it or attempted. I can’t wait for my next CP project. Tonight is all about Melt and Pour. =)
Wow! I was waiting around for the soap to get thick on purpose because I love the look! lol
Thinking a little differently about those finicky FOs now. 🙂
Add to bookmarks! Great site with cool looking technique! Can’t wait to give them a try! Thanks!
Heather
What a simple way to do toppings. Thanks!
OMG what a great site! I love what they do with soap and what a simple idea it is.
thanks,
Michelle in NV