If you are new to the Melt and Pour layering technique, learn the essential tips and tricks on the Basic Layers episode of Soap Queen TV (Episode 12). If you’re already a pro at layering you can get started on your Spooky Eyeballs.
(NOTE: The Heavy Duty Slim Short Rectangle Mold has been discontinued.
It has been substituted with the 12 Cavity Rectangle Silicone Mold.)
Get everything you need for this project in the click of a button!
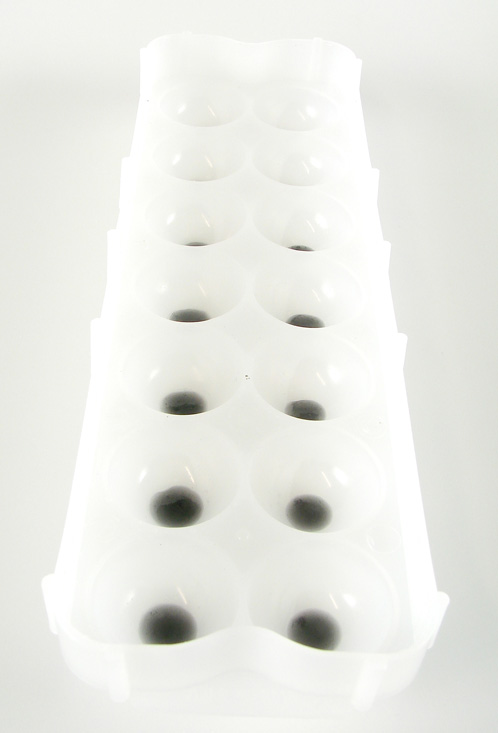
ONE: To make the pupils, melt 1 ounce of clear melt and pour and add a little bit of Liquid Black Colorant. Mix well and use your syringe to make a small black drop of soap in the middle of each cavity. Spritz with rubbing alcohol if you need to get rid of any air bubbles and let cool.
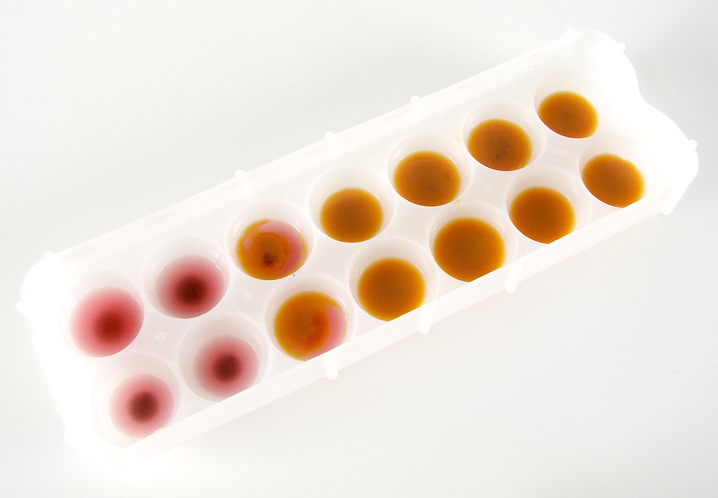
TWO: For the iris, melt 1-2 ounces of clear melt and pour. Mix in non-bleeding red and a tiny amount of Liquid Black. I filled up 4 cavities with the red then decided I wanted yellow eyes too. So I added a couple drops of Liquid Yellow and filled up the rest of my cavities.
Tip: Remember to spritz with rubbing alcohol before you pour so the layers adhere.
THREE: Melt another 1-2 ounces of white soap base and fill up the rest of the cavities with white soap base. Let cool and your eyeballs are done!
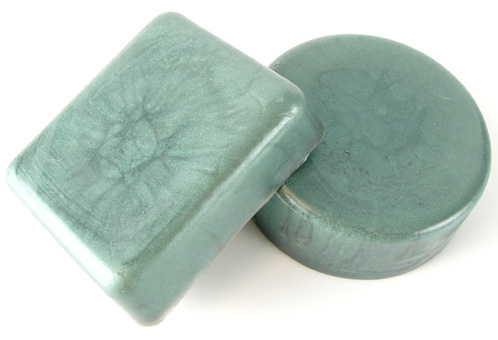
FOUR: Time to make our base soaps. Melt 35 oz clear soap base and mix in 1-2 tablespoons of Patina Sheen Mica and 1 oz of Pumpkin Spice Fragrance Oil. Fill up all four cavities of the Heavy Duty Round Mold and Slim Short Rectangle Mold (or any mold that you want to spice up with a spooky glare). Let cool.
(NOTE: The Slim Short Rectangle Mold has been discontinued. It has been substituted with the 12 Cavity Rectangle Silicone Mold.)
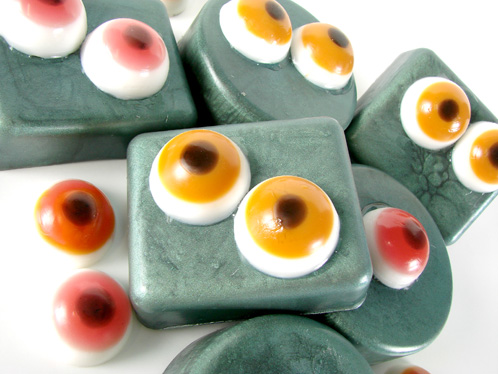
FIVE: Once all of the soap has cooled it’s time to “glue” on the eyeballs. Melt 1 oz of clear soap base. Dip the white end of the eyeball into the clear soap and quickly place it on the bar of soap. Repeat with the rest of your eyeballs. Let the clear soap cool and they’ll be ready for your spooky, Halloween gathering!
Yields: 14 eyeballs and 8 soaps


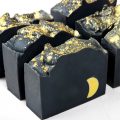
That’s just a function of the mica and cooling extremely quickly because of a cooler pour. It’s not something that can be replicated easily enough to do a commercial line based on it for example =)
how are you getting the cracked look on the soap?
so darn cute!
Mica is the best soaping invention since … soaping. =)
Thanks. They’re fun =)
It’s definitely the time of year for a few ghoulish soapy projects =)
Or a great take-home gift from a party =)
Love those soaps!!!! I can imagine a whole basket of them just sitting in someone’s bathroom for a H’ween party, or sitting out on a porch of a decorated spooky house.
Super cool!!!!! FASCINATING IDEA!!!
Creepy… I love it!
The mica in the base soap really makes the soap look spooky. These are so cute.