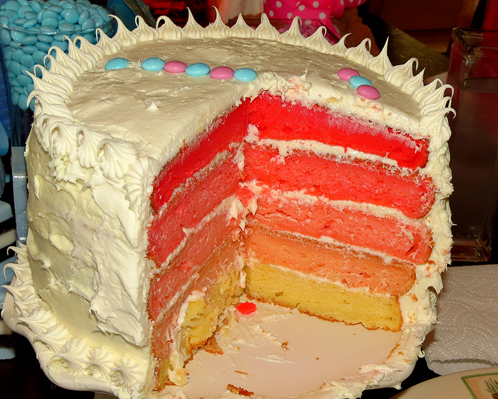
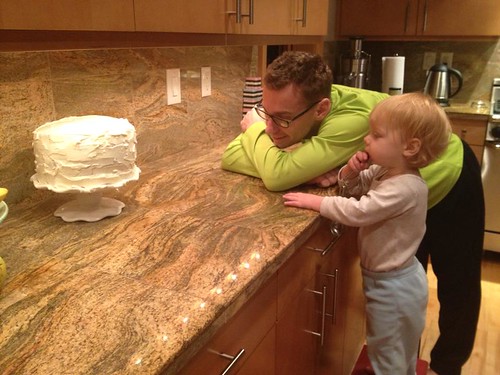
Oh, Pinterest. You are the best distraction source of inspiration for just about anything! When looking for fun treats for our gender reveal party, I took a cue from this cake pinned from Ms. Martha herself and ombre’d (is that a word?) it up. The plain white frosting was the perfect veil to hide the pink-colored cake inside. The best part is that this concept is so versatile; it can be tailored to you color needs!

Recipe:
3 Vanilla Boxed Cake Mixes + their standard ingredients
2 1/4 Cups Sour Cream
3 Eggs (in addition to the eggs called for on the box mixes)
About 2 (small) Boxes Instant Pudding
1 bottle Red Food Coloring (or color of choice)
4 containers of White Frosting
Tools:
9 inch round Cake Pan
(optional) Cake Leveler
(optional) Frosting Bag
(optional) Frosting Bag Tip
ONE: Follow the directions as stated on your cake box, except beat all of the eggs together before you toss them in. This will help create an amazing texture in your cake with fewer air bubbles.
TWO: Fold in the sour cream and mix until incorporated.
THREE: Add the instant pudding. Mix until incorporated.
FOUR: Pour the first layer into a 9 inch round cake pan. Bake the layer following according to instructions on the box. Remove from pan and set aside to cool.
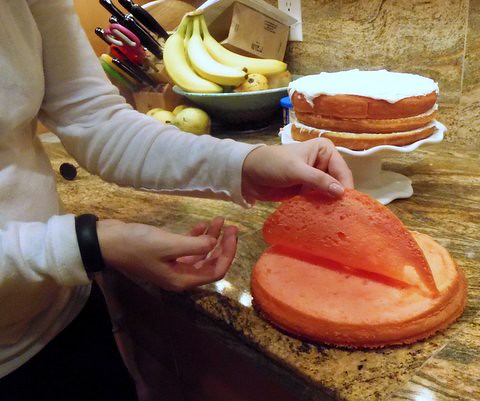
FIVE: Color the remaining batter with a bit of the food coloring for a nice, light pink. Pour the second layer into the pan and bake. Remove from pan and set aside to cool. Repeat this step, coloring each new layer slightly darker than the one before it. You will end up with 5 total cake layers. The final red layer seems so red in the batter but it cooks up nicely.
SIX: Chill the layers in the fridge overnight. This makes it easier to build and frost the final cake.
OPTIONAL: Trim each the tops of each layer of cake using a cake leveler. This isn’t necessary, but will make for a nice, level place for each consecutive layer to sit (and will prevent a lopsided cake!).
SEVEN: On a cake stand or plate, create the layers starting with the uncolored cake as the base. Frost just the top with about 1/2-1 cup of frosting. Continue to build from lightest to darkest, frosting between each layer.
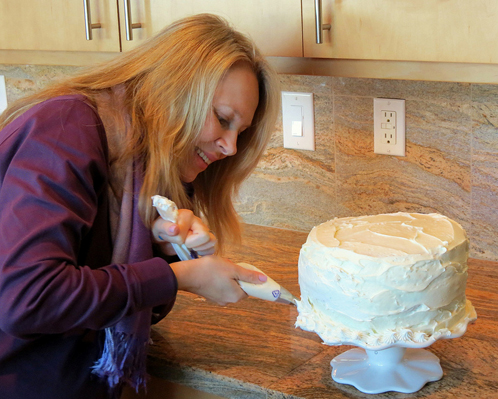
EIGHT: Frost the rest of the cake with the remaining frosting, and decorate how you like! I used Bramble Berry’s Frosting Bag and Frosting Tip to create fun accents and then used pink and blue M&M’s in the form of a question mark on the top of the cake. So much fun!
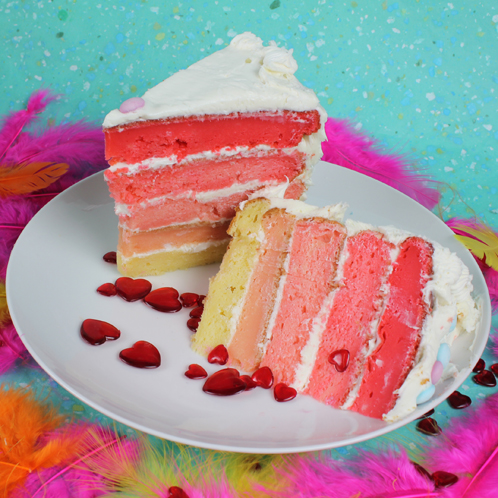
Be prepared for the family to want to eat the cake for breakfast!


You’ll find it almost not possible to find well-educated individual on this area, nevertheless you appear like you understand what you’re writing about! Bless You
Hi Annie!
I’m glad you enjoyed this post. This cake is so much fun to make! 🙂
-Amanda with Bramble Berry
Such an awesome cake. I’m stealing this idea for my Girl Scouts. Just when I was running out of end of year party ideas.
They would just love it! 🙂
-Becky with Bramble Berry
Thank you! Perfect inspiration for a spring/summer soap cake!
Soap cake!! No just cake this time : ) Yay!!
Beautiful and yummy! Can we turn this into a melt and pour soap tutorial? This way I won’t eat it as soon as I finish it. 🙂
What a fun idea! It could totally be a gorgeous Ombre Melt and Pour cake. =)
-Becky with Bramble Berry
Agreed Pinterest is AMAZING! what a fun cake 🙂
What time should I be there? I love cake for breakfast:)
Doesn’t it look delicious? A-M brought the leftovers to the office and they were gone by that afternoon! 🙂
-Becky with Bramble Berry
If the cake even makes it to breakfast! Those two men of yours look ready to dive in. Mine would be pouring the milk already 😀