Advanced Swirling Part 4: In The Pot Swirling
Guest post by Kat from Otion (Bramble Berry’s retail store)
Welcome back! This is part four of Kat’s advanced swirling tutorials. Please make sure to check out parts 1 (Understanding Color Theory Terminology) , 2 (Getting Brave with Color) and 3 (Soap Design and Color Matching) if you haven’t already. In this section, the secrets to successful swirling are revealed!
Must have materials:
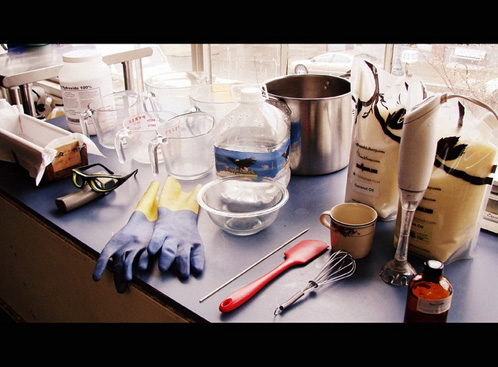
Before beginning, make sure to have all safety equipment and supplies at hand. Have your colors picked and prepared and your fragrance oil weighed, line your wooden mold and have divider inserts set up on the side. Snug fitting rubber gloves are ideal for maximum dexterity (Tip! Pick up some hair-dying gloves from the local beauty supply store). A rubber spatula is your best friend for swirling! This tool manipulates the swirl pattern and pulls it through the entire bar. Use a bamboo skewer for creating finer details and surface swirls. You will also need extra smaller heat resistant pitchers for dividing the soap into sections to color.
Best Mold Choices
Loaf or log type molds are perfect for in-the-pot swirling because the pattern is formed during the pour. This style is also recommended for layering and for double-pouring two colors side-by-side lengthwise. Keep in mind, this deep and narrow mold design makes it difficult to create linear swirls that go all the way through the soap.
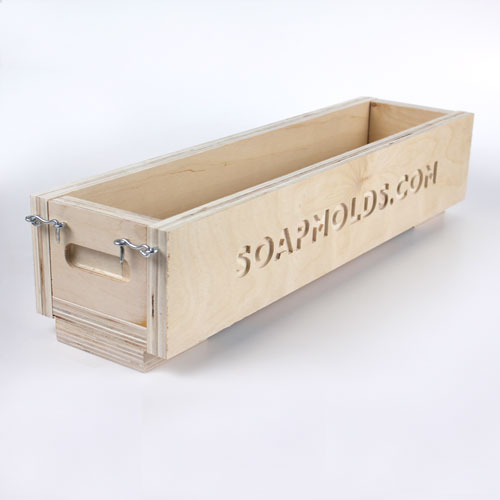
Slab molds are best for linear swirling because they are wider and shallower than log molds and have more surface area to create detailed patterns. You can purchase slab molds with plastic divider inserts that are placed in the poured soap, which uniformly pre-cuts the bars for you!
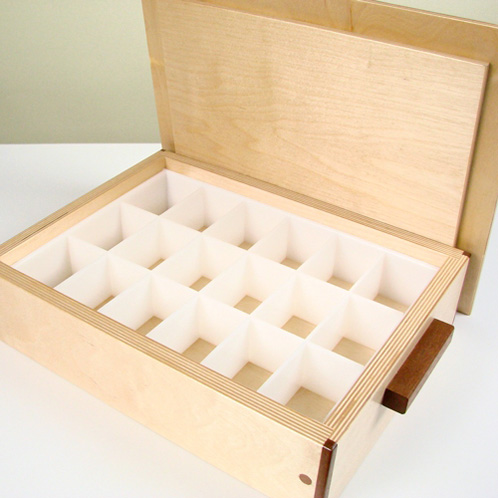
Vertical molds stand upright and are poured into from the top. These do not work for linear swirling but are great for in-the-pot.
Remember to line your wooden mold with freezer paper, shiny side up.
Swirl Saving Tips
- Lower temperatures give you longer working time, so does using Olive Oil. Keep oils and lye at around 100 degrees F.
- Do a background check on your fragrance for bad behavior in cold process. Some synthetic scents accelerate trace, rice, seize, superheat and discolor. Accelerating trace is most common and is swirling’s worst enemy because we want lots of time to make a beautiful swirl.
- Check up on color, too. There are a number ofmica pigments that morph in cold process and we don’t want our color to surprise us. Oxide pigments typically stay true and if you use liquid LabColors, make sure they are High pH.
- Thin to medium trace=GOOD. Thick, heavy trace=BAD. You can’t swirl mashed potatoes. Tip: Use 60% or more liquid oils in your batch to help keep your soap from accelerating quickly. Olive oil works great!
- Sometimes clumpy oxide pigments leave flecks of unicorporated color in your soap if they are not broken down in oil first. Ultramarine Blue and Violet and Green Chrome Oxide are good examples of colors that need to be prepared in advance. For a strong color, try ½ ounce olive oil and 1 tablespoon color mixed well with a whisk or frother tool.
- Thickly traced soap will sink through thinly traced soap, which is good and bad. It brings the pattern further into the bar, but it is much harder to shape.
- Spritz the top of the soap with 91% rubbing alcohol to prevent Soda Ash and cover with a “lid” (cardboard works great) and place a towel on top to insulate. Put the soap to bed for at least 24 hours (this keeps the heat in). Soda Ash is a harmless white powdery substance that can form on the surface of your soap. It will obscure the swirl pattern but can easily be scraped off or washed off.
In-the-Pot Swirling
Step 1: At a light trace, separate ¼ to ½ of the batch into two smaller containers; one for each color.
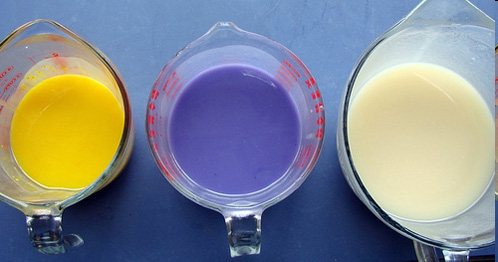
Step 2: Pour the colored soap back into the neutral soap in the pot; one color at 12 o’clock and 6 o’clock, the other at 3 o’clock and 9 o’clock. Pour steadily from high above to get the color all the way to the bottom of the pot.
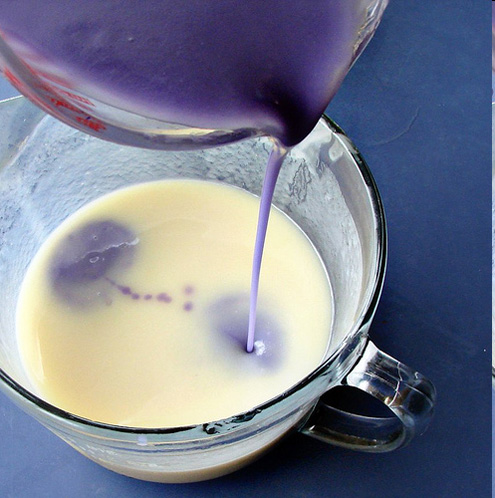
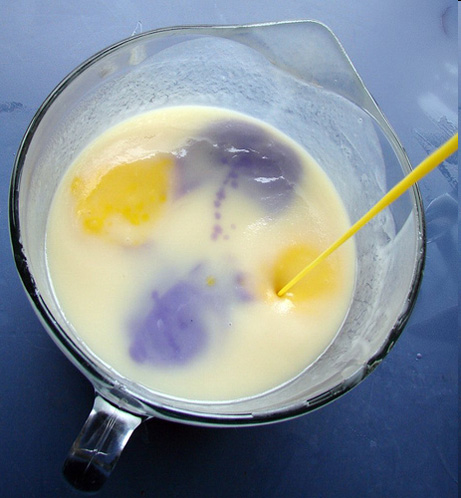
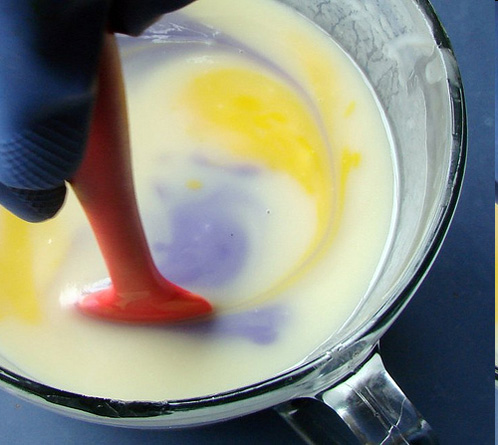
Step 3: Using a stir-stick or spatula, make a single turn clockwise through the soap to give the colors direction.
Step 4: Pour steadily at one end of the log mold and slowly move toward the other end while pouring.
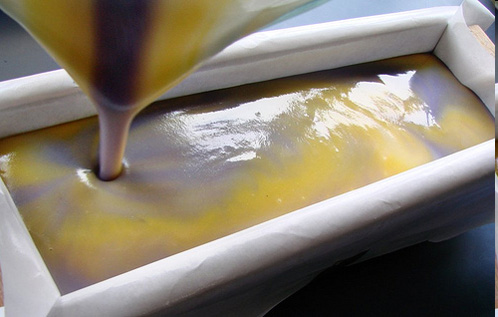
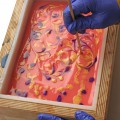
Step 5: Top off the loaf with thin lines of extra color and create a surface swirl with a reed or skewer.
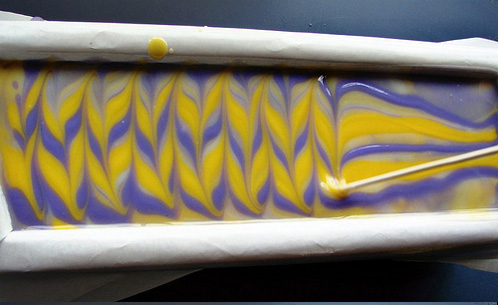
Step 6: Insulate well, cut into bars after at least 24 hours.
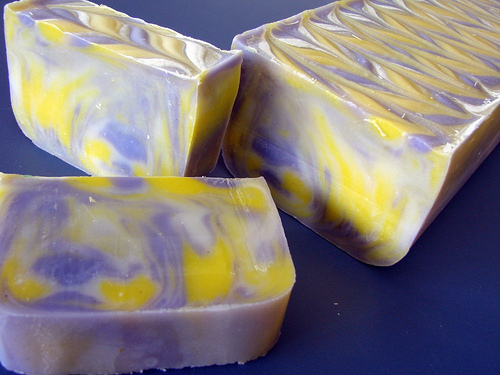
Stay tuned! Swirling in a slab mold is coming up!
-Kat

You make it look so easy
You can totally do it, Shelia! It just takes a little bit of practice and experimentation. And, we are definitely here to cheer you on. =)
-Becky with Bramble Berry
I love your blog and tips and have used many of them but I am a little annoyed that I paid for this same instruction on ITP Swirl last April and received a password for the Soap Queen Royale site. I would not have paid for it if I had known that all needed to do was wait a few months and I would have the same thing for free. I will think twice before I buy any other information from Brambleberry or Soap Queen.
Holy cow! this is amazing! You should make products for lush!
THANKS SO MUCH!!! I’m going to try this tonight!
Very well written! Thanks for sharing!
Thanks, this is something I have not yet mastered and have been soaping awhile. I’ve tried this method and it didn’t work for me. I think the secret is in the pouring. I’ve had only one successful batch and that was in the mold swirling and happened by accident.
Wow!!!! Wonderful tips Kat.
Thanks for sharing this gold information.
Claudia
Monterrey, Mexico