Loveable soap is easy to make. In truth, all soap is loveable but this tutorial will teach you how to make the LOVE soap pictured below. If you have never made melt and pour soap before, this project is for you! Check out the fool proof layering tips below and follow the step by step instructions for beautiful results.

4 oz Clear soap
12 oz White soap
15 drops Liquid Violet
6 Mini Scoops Red Blue Mica
1 teaspoon Tangerine Wow Neon
1 teaspoon Electric Bubble Gum Neon
Buy everything you need in the click of a button!![]()
Tips for layering melt and pour:
- Use the same brand of soap base for each layer. Different brands of soap base have different cooling temperatures (this will help the layers adhere). In this tutorial the clear and the white soap base are the same Bramble Berry brand.
- Spritz each layer with rubbing alcohol before pouring.
- Pour your layers in a timely fashion (don’t wait until the next day to pour your second layer).
- Make sure your layers are no hotter than 125 degrees when you pour (any warmer will melt the soap).
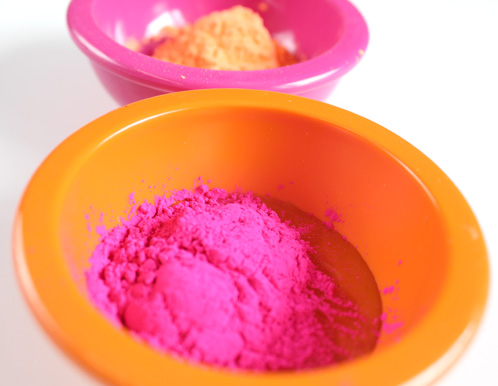
Orange Colorant
1 Tablespoon Liquid Glycerin
1 Teaspoon Tangerine Wow
Pink Colorant
1 Tablespoon Liquid Glycerin
1 Teaspoon Electric Bubble Gum
Mixing the Colorants: Blend the colorants and the liquid glycerin together with a mini mixer. Be sure to stir a little bit with the mixer before turning it on, otherwise you’ll be standing in a pink or orange cloud of colorant. If you’re unsure about pre-mixing colorants, there’s a “SoapQueen Short” video about it here.
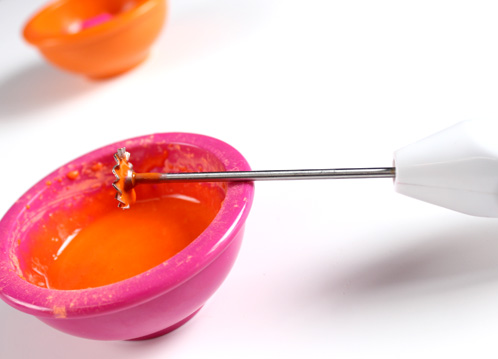
ONE: First, make the orange colored soap for the heart. In a small heat safe container, melt 2 ounces of clear soap base in the microwave for 30 seconds. If the soap is not melted after 30 seconds, continue melting the soap on 10 second bursts. You don’t want to overheat or boil the soap…that ends up in a stinky mess and may change the consistency of the soap. Add 5 mini scoops of the Tangerine and Liquid Glycerin mixture. Mix well.
Tip: The mini scoops give nice big drops of colorant in the soap.
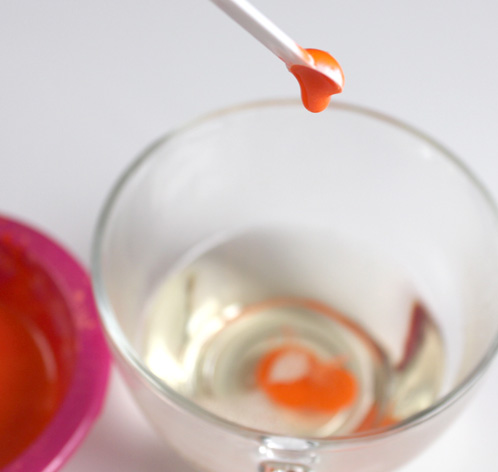
TWO: Use an injector or dropper to fill in all of the hearts in each cavity of the mold. Make sure to have a cup of boiling hot water by your side so you can clean up the injector before the soap hardens inside.
(NOTE: the Love Mold has been discontinued. It has been replaced with the 6 Cavity Valentine Hearts Silicone Mold. Follow the same process to inject soap into the cavities.)
THREE: To make the pink colored soap, repeat the same steps as you did to get the orange colored soap. Then add 5 min scoops of the pink colorant to the soap and mix well. Use an injector to fill in the letters L, V and E in each of the mold cavities. Let the soap cool for 15-20 minutes.
Bonus: You’ll have a little of the orange and pink colored soap left over for more LOVE soaps. Mixing colorants in fragrances in anything less than 1-2 ounces can be a little difficult, in my experience.
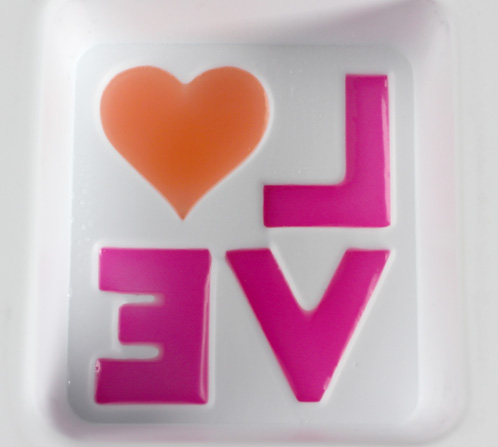
FOUR: While your hearts and letters are cooling you can start making the background and final layer of the soap. In a heat safe container, melt 12 ounces of white soap base in the microwave on 30 second bursts until melted. Add .25 oz of White Tea and Ginger Fragrance Oil and mix well. For the colorant, stir in 15 drops of Liquid Violet and 6 mini scoops of Red Blue Mica. Mix, mix, mix and let the soap cool to 125 degrees.
FIVE: Once the letters and hearts have hardened, liberally spritz the soap in the mold with rubbing alcohol. Then, after you’ve confirmed that the purple soap is around 120-130 degrees, pour the purple soap as the final layer and spritz with rubbing alcohol to get rid of any air bubbles.
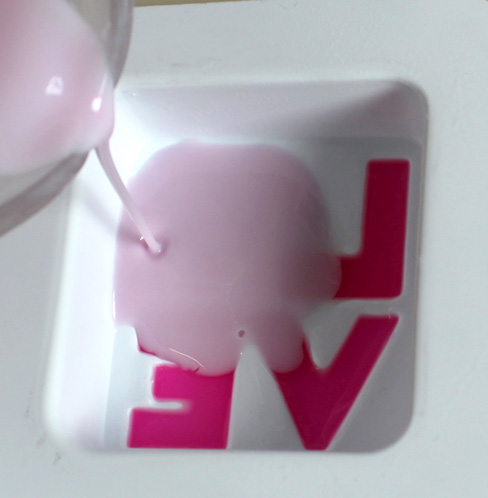
Let the soap cool for 6-12 hours before unmolding and it’s ready! All you need is love.



hi.
looks great.
is there an alternative to using alcohol at the base of the mould?
thanks
You can try to skip it but it helps the two colors on the soap adhere to each other. So it’s possible your letters might pop off if you don’t use it.