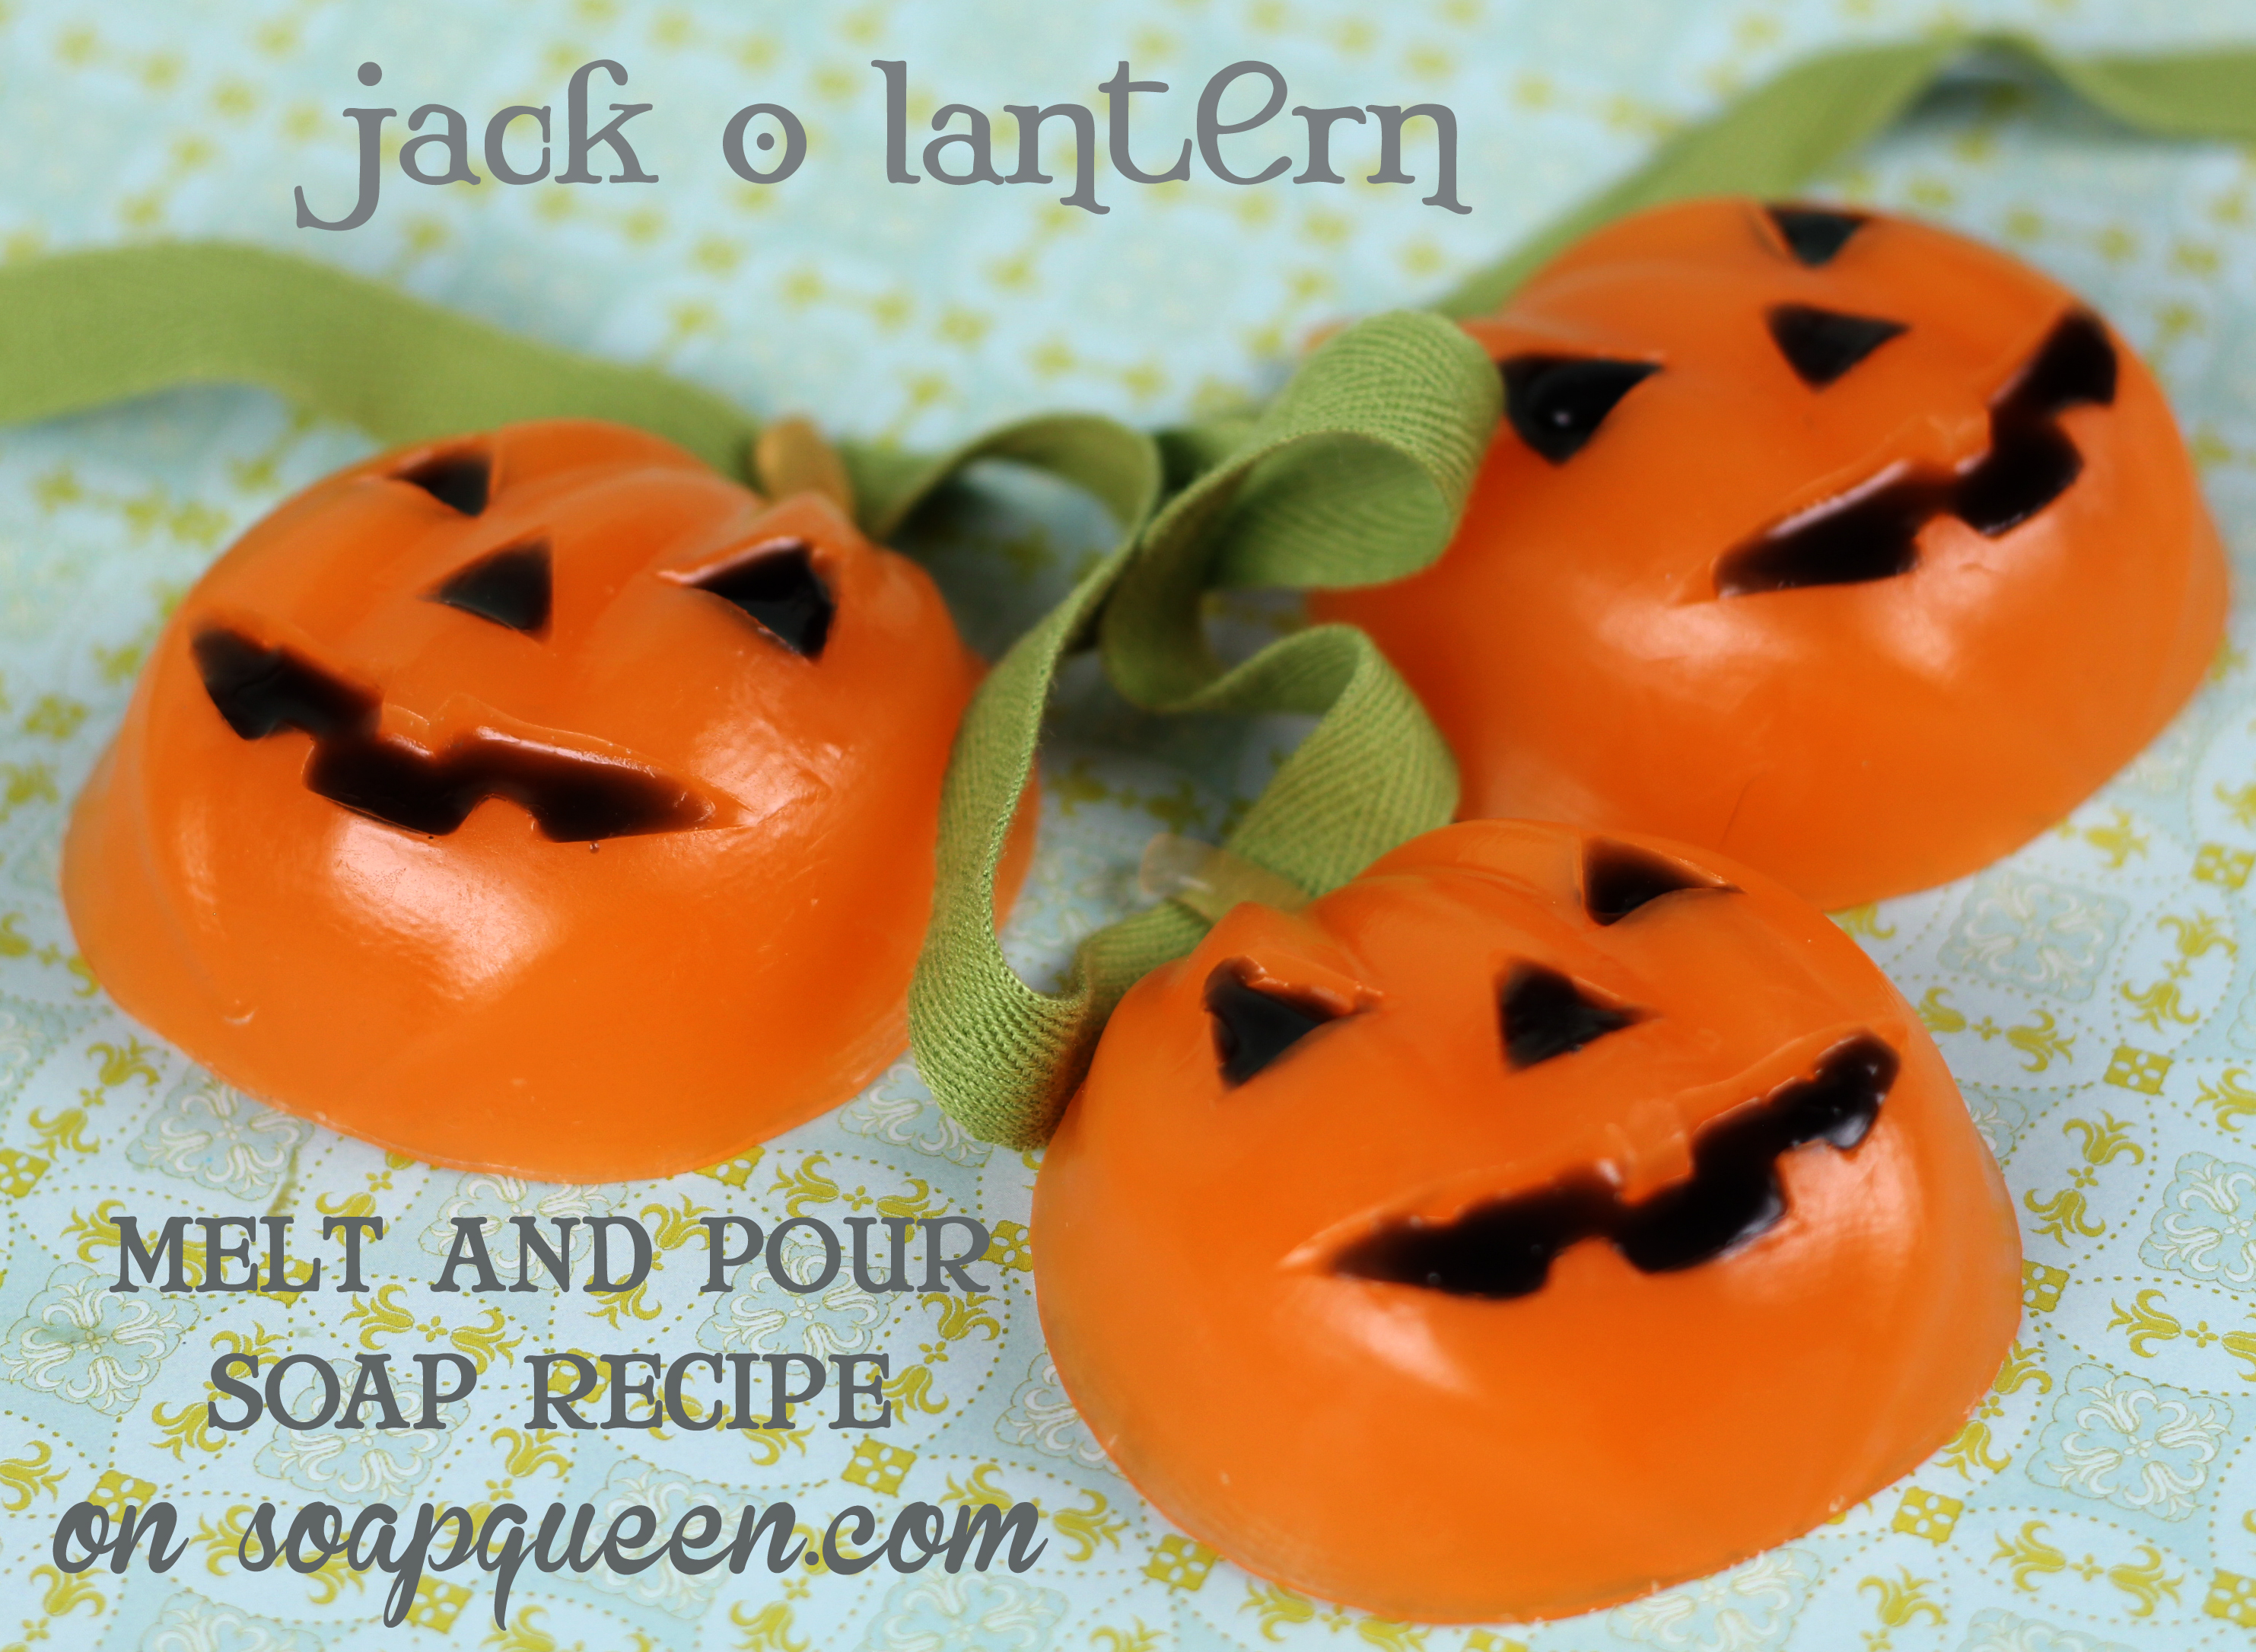
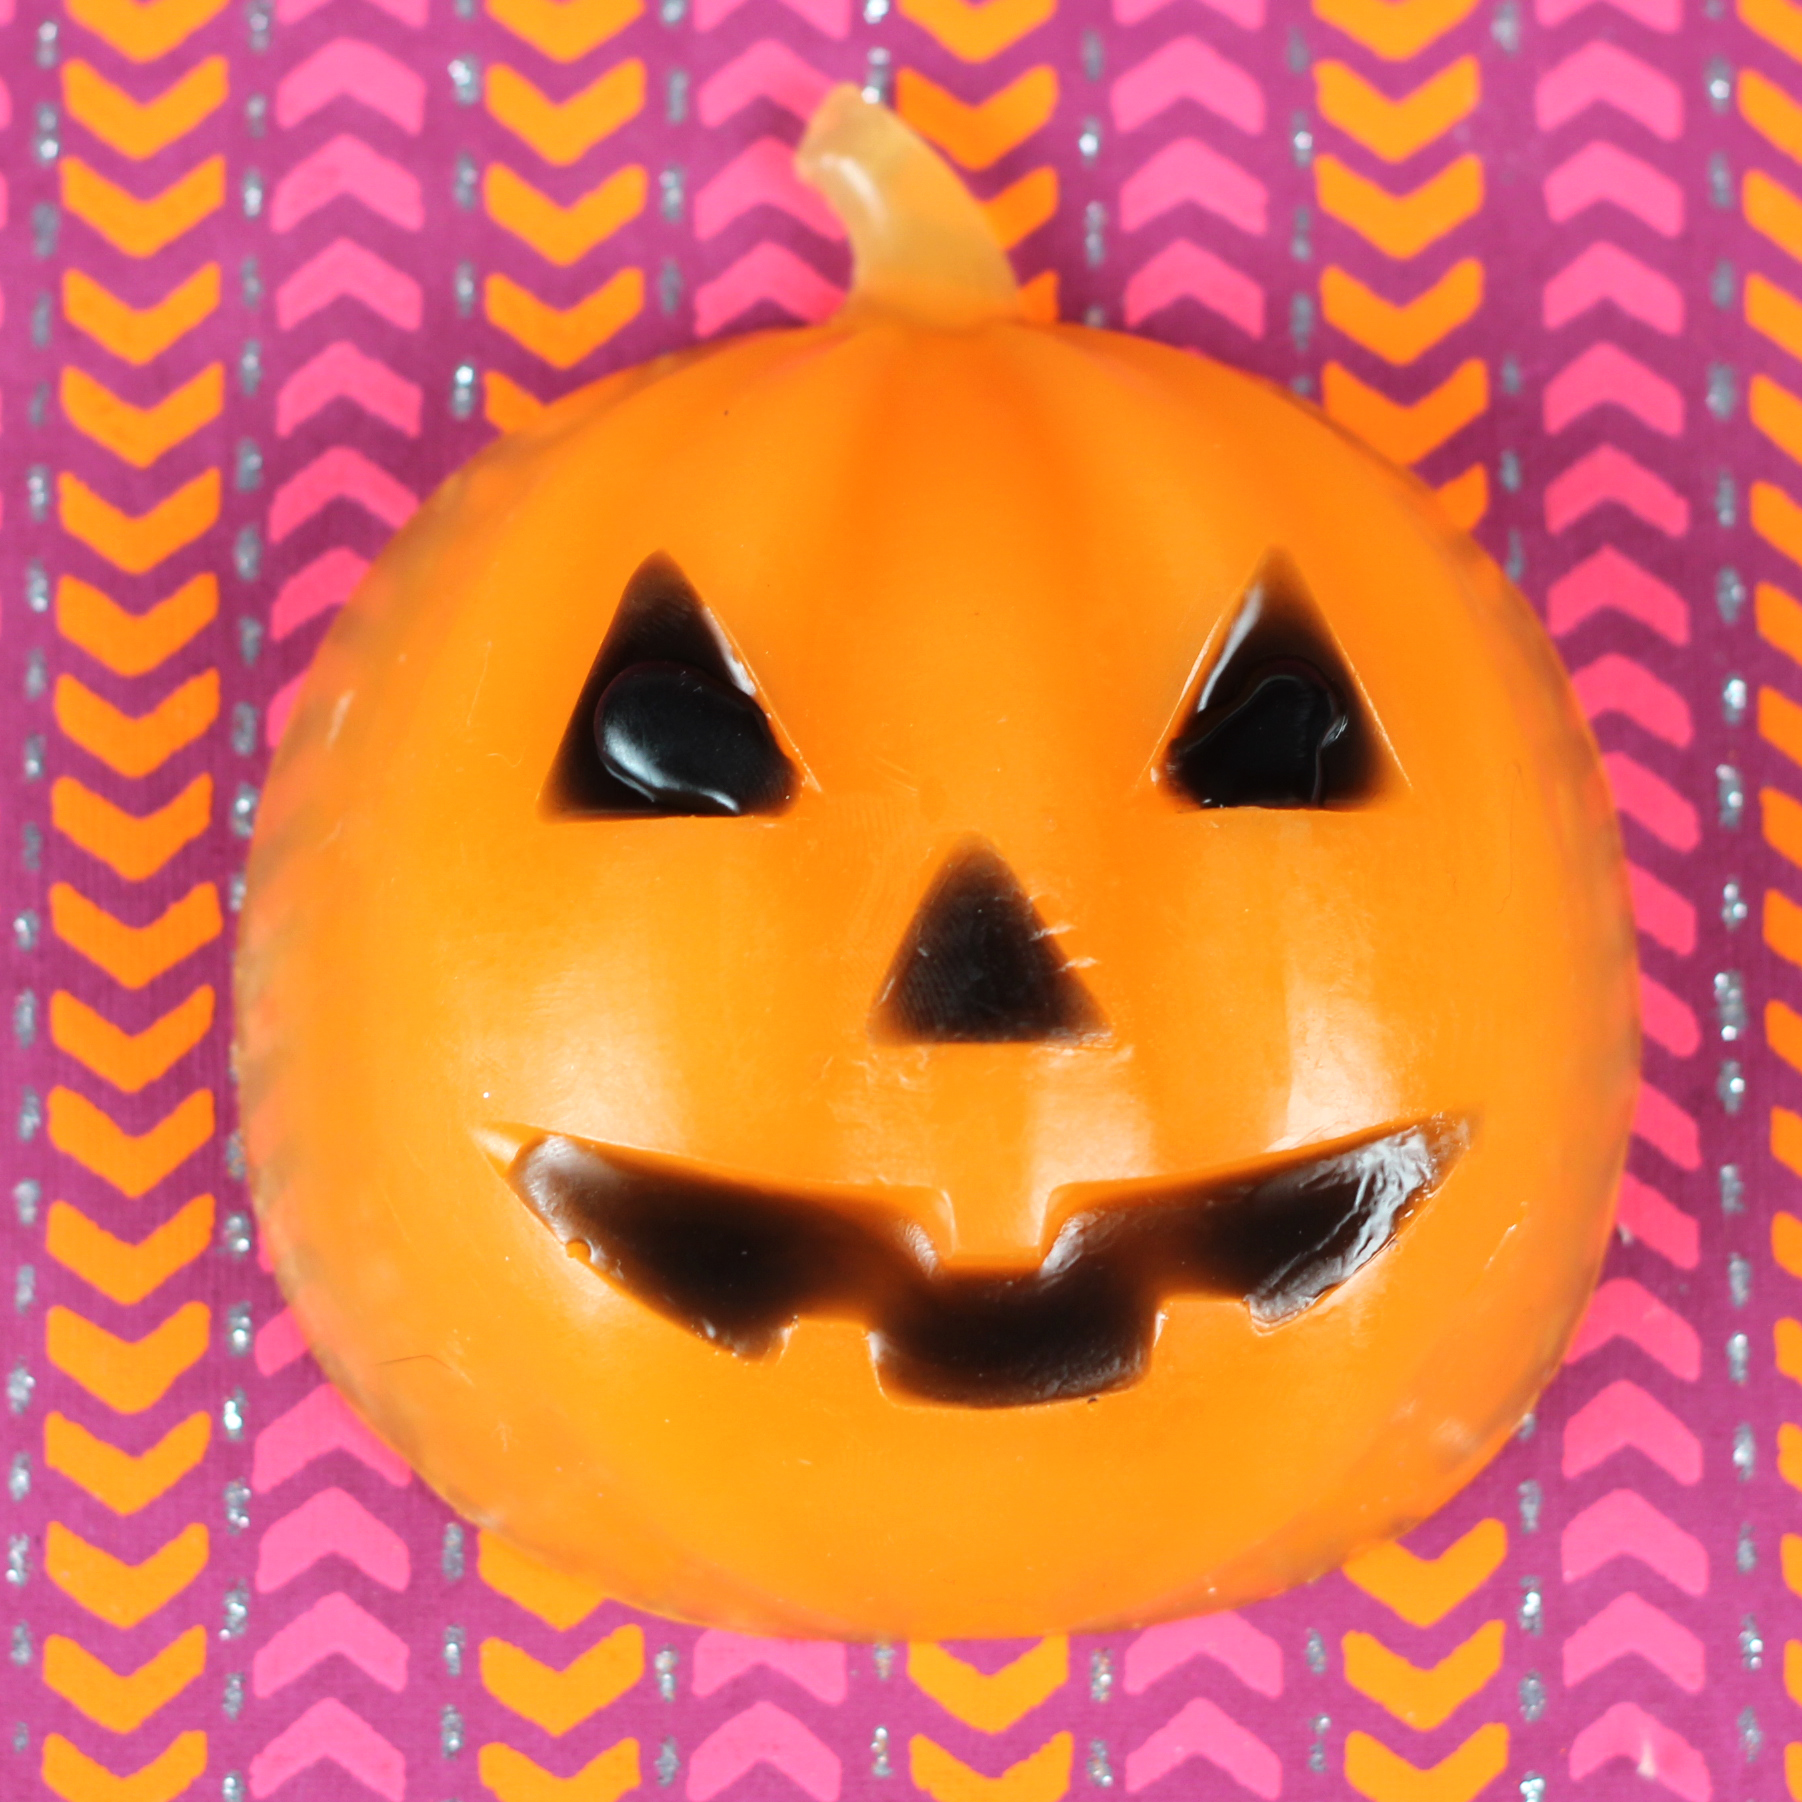
I think fall is officially here in the PNW (Pacific Northwest for you out of town readers). It may seem too early for some, but I actually had to wear a jacket this morning (rough life, I know). The chill in the air that can only mean one thing…it’s jack-o-lantern season! So dust off your pumpkin soap molds and grab your pumpkin spice fragrance oil. It’s time to “carve” your soapy pumpkins!
18.2 oz Clear Melt and Pour
(Note: This mold has been discontinued.
It has been substituted with the 12 Bar Round Silicone Mold.)
0.5 oz Pumpkin Spice Fragrance Oil
Injector Tool (optional)
Buy everything you need with the click of a button! ![]()
ONE: Cut the Clear Melt and Pour soap base into 1 inch chunks and melt in a heat-safe container on 30 second bursts in the microwave. Stir between bursts to avoid any clumps of soap forming.
TWO: Add 0.5 ounces Pumpkin Spice fragrance oil and mix well. Split one ounce of soap into a separate container.
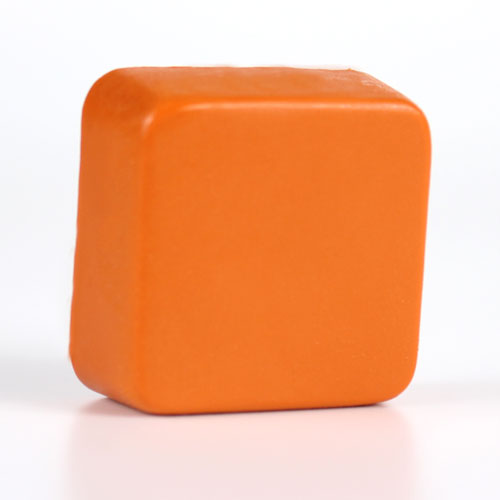
THREE: Using a clean-up tool, shave off some of the Perfect Orange Color Block into the larger portion of soap, and some of the Black Oxide Color Block into the smaller portion of soap. Mix until the shavings are fully melted. What you see is what you get, so if you’d like a more saturated color, add more color block shavings. Set aside the black colored soap for now.
Tip: Check out the Soap Queen TV (short) video on using the color blocks!
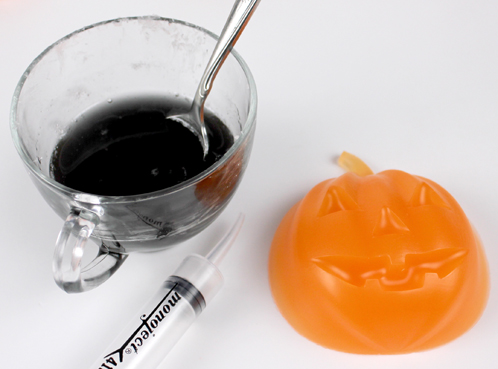
FOUR: Pour the orange colored soap into the molds. Spray with Rubbing Alcohol to get rid of any bubbles and allow to fully harden for 2-4 hours.
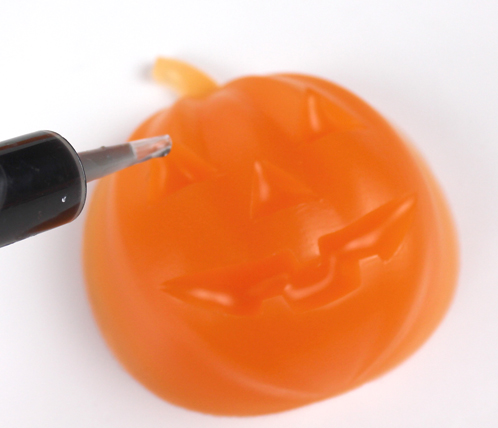
FIVE: Unmold the pumpkins. Reheat the black colored soap on 15 second bursts in the microwave. With the pumpkins face-up (he he!), spray with a light mist of rubbing alcohol. Use the injector tool and black soap to fill in the eyes, nose and mouth cavities of the pumpkin to create the jack-o-lantern face. Spray again with Rubbing Alcohol and allow to harden. Since this is melt and pour soap, it’s ready to use right away. Enjoy!
NOTE: the Halloween Pumpkin Mold has been discontinued. It has been replaced with the 12 Bar Round Silicone Mold. There are two methods to create a pumpkin design without a pumpkin mold. One method is to paint on a pumpkin design with black melt and pour soap. The other method is to carve eyes, a nose, and a mouth into the soap then follow the recipe to inject black soap into the cavities.



Love this, I need to get some injector tools for detail work on my Christmas soaps.
You won’t regret it, the injector has become my new best friend while doing detailed soap projects! 🙂
-Becky with Bramble Berry
These are adorable! What a cute little Halloween gift they would make! (I’ll bet they smell great, too.)
It really does smell great! Pumpkin Spice is one of my favorite holiday scents, but Pumpkin Pie comes in at a close second. 🙂
-Becky with Bramble Berry
Pumpkin Pie: https://www.brambleberry.com/Pumpkin-Pie-Cybilla-Fragrance-P3394.aspx
I have been making cute lil pumpkins, black cats and skull n crossbones for Halloween. This is my FAVORITE time of year!
This is one of my favorite times of the year too! All of your soaps sound so cute, we’d love to see pictures if you have some. You can share them with us on Bramble Berry’s Facebook page:
https://www.facebook.com/BrambleBerry
-Becky with Bramble Berry
Yes, indeed, on the fall in the air! Chilly. Cute pumpkins. I think I’m inspired to pull out the molds and start up the CP process again. Pumpkin soap is just too yummy!
Love it – so easy, creative and cool! Thanks for the great idea.