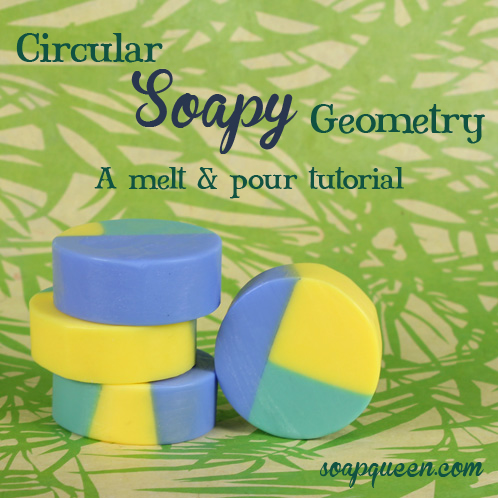
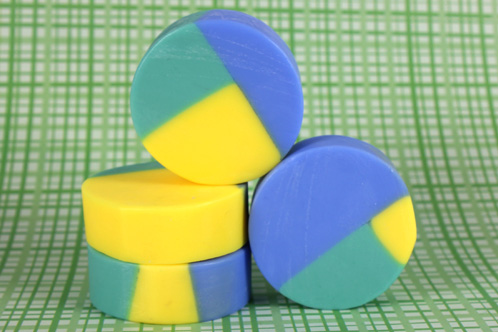
Lately I’ve been thinking about how I could use column molds in new ways to get even more versatility out of the molds. The Vertical Wood Mold and the Heavy Duty Column Mold are wonderful for making swirls and layers in soap (and yes, for melt and pour, you need to line that vertical wooden mold or else it leaks), but there’s more to soaping than just swirling. While browsing through old Soap Queen posts, I came across this Soapy Geometry idea using a loaf mold and then remembered the fantastic SoapyLove e’zine project here and presto, this soaperific project was born. This project turned out super high contrast and playing with the colors and amounts of soap you pour for each layer can result in infinite combinations (pastel, black and white, summer combos etc…). If you try this project, I’d love to see your results on our Facebook page =)
What You’ll Need:
50 oz. White Melt & Pour Base
Hydrated Chrome Green Color Block
.75 oz. Fresh Bamboo Fragrance Oil
Click here to add everything you need for this project to your Bramble Berry shopping cart!
MOLD PREP: Insert the flat plastic divider into the column mold. Run your finger down the seam until you hear the “snap”, ensuring that you have a smooth, even seam that won’t show up on your soap. Attached the end cap and you’re all set!
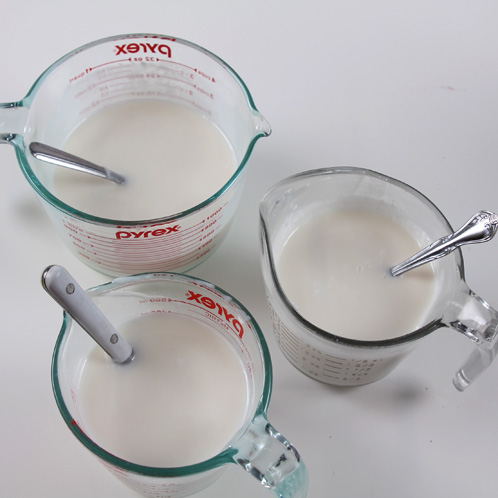
ONE: Begin by cutting the White Melt & Pour Base into small chunks and measure out about 16 oz. each into three separate containers. Be sure the containers are microwave safe! Melt the containers one by one in the microwave in short, 30 second bursts.
TWO: Now shave off portions of the colors blocks and add one color per container. Color blocks are WYSIWYGs (what you see is what you get), so add more color block for a darker color and less color block for a more pastel color. In order to keep crisp lines in the soap, make sure whatever colors you choose to use are non bleeding. Want a list of our colors that are non-bleeding? Here’s a blog post on just that. 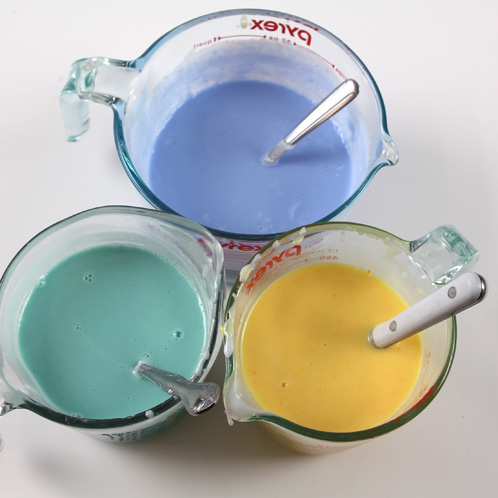
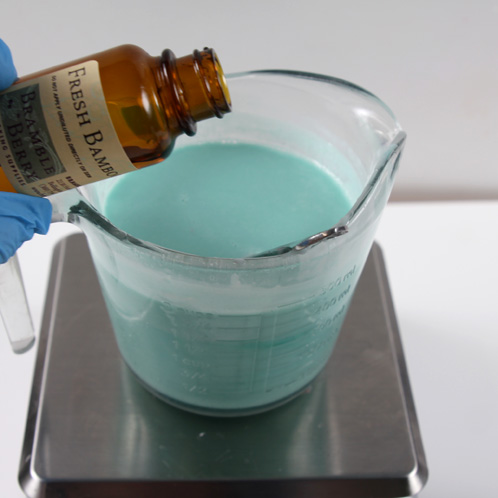
THREE: Next it’s time for fragrance. Pour .25 oz. of Fresh Bamboo Fragrance Oil per container. Remember to choose a fragrance that is not going to discolor your soap brown.
FOUR: Start getting your set up ready. You’ll want to find something to prop up under the mold so when you pour, each layer can dry smoothly. In my set up, I propped the mold on a small dish and put the scale behind the mold to keep it from sliding backward. If you’re worried about the soap leaking, wrap the bottom of the mold with saran wrap and use a rubber band to secure the saran wrap; then, put your end cap on. Extra insurance is a good thing.
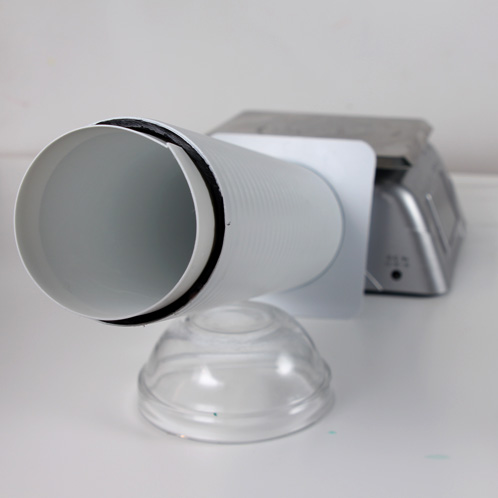
FIVE: By now your soap may have solidified a bit. Reheat the soap in short bursts of 30 seconds or less, taking time to stir the soap between each heating. It extremely important that the soap doesn’t get hotter than 160 degrees and burn because it will make it much harder to pour a smooth, even layer into the mold. Pouring your second layer too hot also will melt the first layer. Pouring the soap at 130 degrees or less is ideal.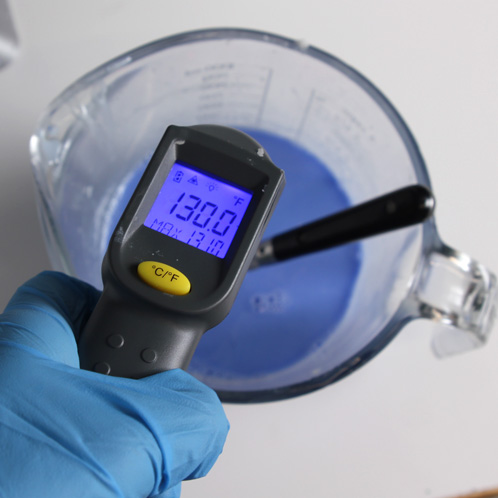
SIX: Once your soap has cooled, gently pour it into the mold. As it pools in the back, slowly lower the mold as you pour until it is resting on your bowl (or whatever you choose to use). The soap may not come all the way up to mouth of the mold, but that’s okay! The other colors will fill in the space, and you can always cut off the end of the soap when you unmold it. 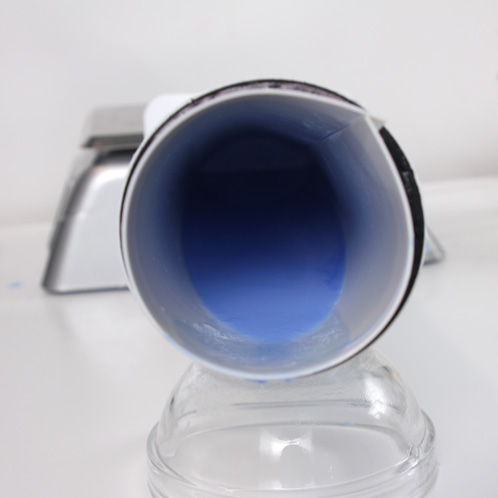
SEVEN: It’s very important to not rotate the mold until the soap is solid. Otherwise, you could risk breaking through the top skin and spilling soap around the inside of the mold. Wait at least two hours for the soap to harden, and then using a temperature gun, take the temperature of the soap in the back of the mold. I waited until my first layer was around 82 degrees at the soap’s deepest point just to be sure.
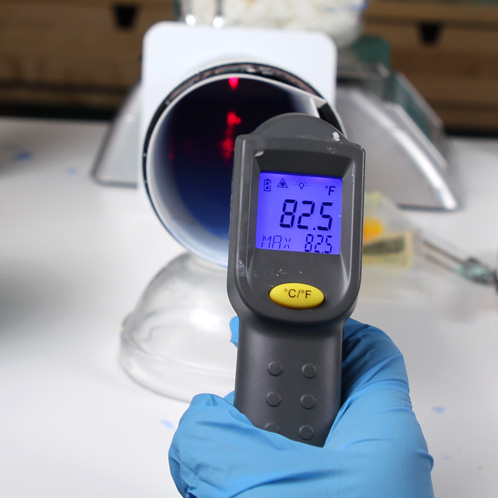
EIGHT: Gently rotate the mold and pour the second layer. You may not be able to pour the full 16 oz. of soap, so keep your container ready to catch any run-off.
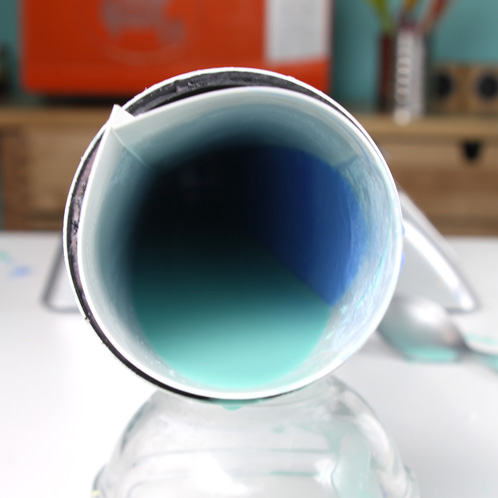
NINE: For the third and final layer, tip the mold up and rest it on its end. Check the temperature of the poured soap to make sure it’s dry enough to tip, and then gently pour in the remaining soap.
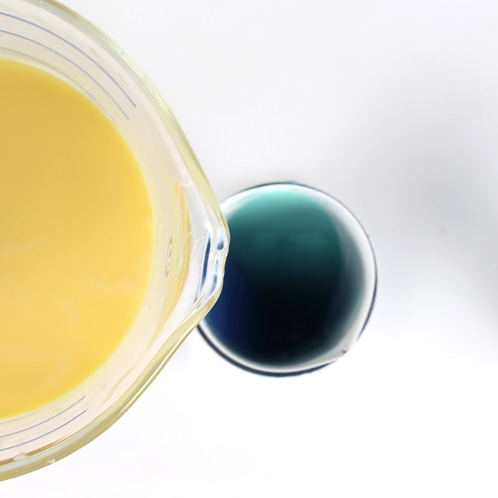
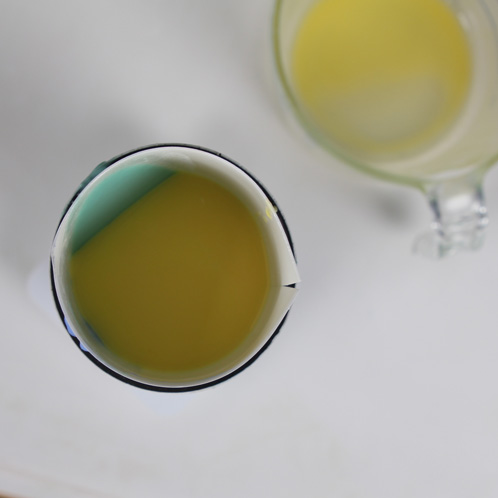
Let me the soap sit overnight before unmolding. Enjoy your new geometry-friendly soap!


Hi Christina!
So happy you’re giving this mold a try! That kit is great, it gives you a lot of options. If you get some pictures of the soap you make with this mold (or any other!), we would love to see them on our Facebook page! 🙂
https://www.facebook.com/BrambleBerry
-Amanda with Bramble Berry
This mold is in the order I’ll be placing for my daughter today (as part of the new Mini Silicone Column Mold Kit that you have on your site). She loves the look of the Soapy Geometry tutorial you did for the 9″ plastic mold and wants to do that soon), so I’m sure she’ll be thrilled that she can do that for a round soap as well!
Too cute! I might have to get that mold now ;-).
Good morning, Leilani!
You will just love this mold and it is so handy for all sorts of soapy projects. Here are a couple of fun tutorials that you can check out where Anne-Marie has used it:
Circle Swirled Soap in Column Mold: http://www.soapqueen.com/bath-and-body-tutorials/cold-process-soap/circle-swirled-soap-in-column-mold/
Falling for Pumpkin Pear Soap: http://www.soapqueen.com/bath-and-body-tutorials/cold-process-soap/falling-for-pumpkin-pear-soap/
Intergalactic Planetary Melt and Pour Soap Tutorial: http://www.soapqueen.com/bath-and-body-tutorials/melt-and-pour-soap/intergalactic-planetary-melt-and-pour-soap-tutorial/
Happy Soaping!
-Becky with Bramble Berry
Pretty!
Um. I’m a pre-beginning soapmaker (translation: I’ve been devouring blogs and videos and tutorials on CP, HP, CPOP, etc but have yet to actually start making my own), so this may be a really silly question, but does this only work with MP soap?
Hi Bagatha!
You can totally try this same effect out in cold process soap! Here are a few recipes that have layering techniques you can take inspiration from:
Neapolitan CP for Valentine’s Day: http://www.soapqueen.com/bath-and-body-tutorials/cold-process-soap/neapolitan-cp-for-valentines-day/
Sunset Ombre Soap Tutorial: http://www.soapqueen.com/bath-and-body-tutorials/cold-process-soap/business-in-a-box-sunset-ombre-soap/
Fall Sweater Stripes (Tutorial): http://www.soapqueen.com/bath-and-body-tutorials/cold-process-soap/fall-sweater-stripes-tutorial/
Making Sunshine Cold Process Soap: http://www.soapqueen.com/bath-and-body-tutorials/cold-process-soap/making-sunshine-cold-process-soap/
Let us know if you do try it out in CP, we’d love to see how your soap turns out. =)
-Becky with Bramble Berry
Looks awesome! Than you! Now I tempted to try it as well 🙂
Good morning, Veronika!
This is such a fun and funky design that you can do so much with and totally customized to your own liking. If you do end up trying out, let us know how it works for you! =)
-Becky with Bramble Berry
Awesome! I will have to try this 🙂
Hi Emily!
You will just love this recipe, it is so much fun and we’d love to see pictures of your final soaps. Be sure to share them with us on Bramble Berry’s Facebook page.
https://www.facebook.com/BrambleBerry
-Becky with Bramble Berry