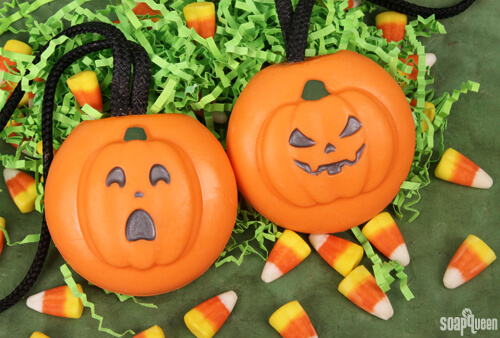
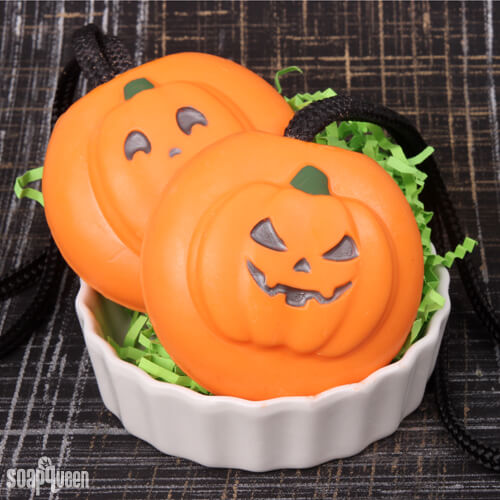
Isn’t this soap striking? It’s created using Pumpkin Souffle Fragrance Oil, plenty of orange colorant and a hint of black shimmer. The Spooky Pumpkin and Spooked Pumpkin 3D Molds create unique shapes that work incredibly well with soap rope. The rope allows the melt and pour to hang and avoid contact with excess water which helps the soap last longer.
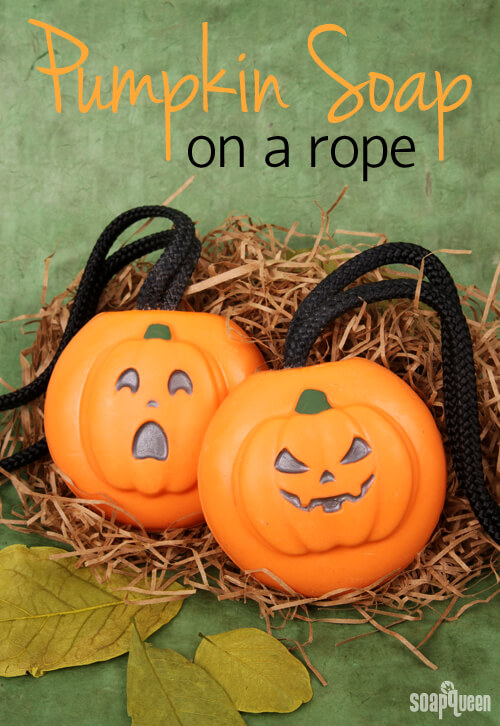
The 3D molds are made up of two pieces, a white opaque back and a clear (or white) front. The molds also include two thick rubber bands to ensure the front and back pieces stay together while pouring the soap. In the instructions below, the front half of the mold is filled first, and the two mold pieces are put together. If you prefer, you may also put the pieces together and pour all at once, as seen here. For more 3D mold tips and techniques, check out this Soap Queen TV 3D Mold Episode.
What You’ll Need:
Spooked Pumpkin 3D Mold
Spooky Pumpkin 3D Mold
(NOTE: These Molds have been discontinued. They have been substituted with the 4 Sphere Silicone Mold.)
9 oz. White Melt and Pour
Liquid Orange
Green Chrome Oxide Pigment
Luster Black Mica
2 Black Soap Rope
.25 oz. Pumpkin Souffle Fragrance Oil
.25 mL Vanilla Color Stabilizer

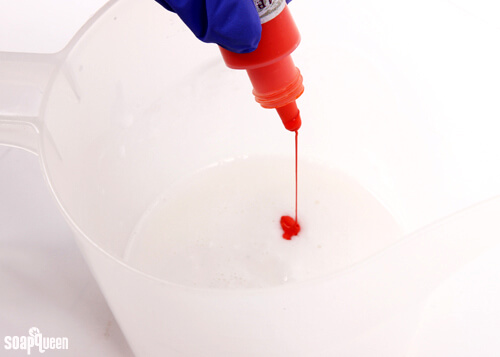
ONE: Cut and melt 9 oz. of white melt and pour base in the microwave using 10 second bursts, stirring in between each burst. Once the soap has melted, add drops of the Liquid Orange until the desired color is achieved. Thoroughly stir the color in with a spoon.
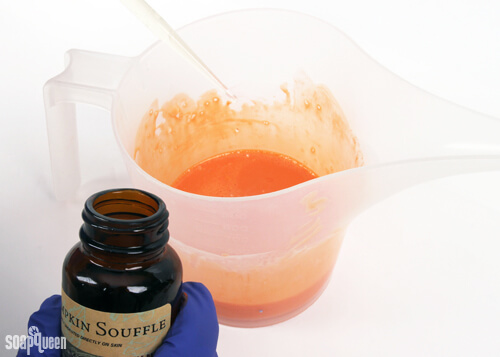
 TWO: Add the Pumpkin Souffle Fragrance Oil and Vanilla Color Stabilizer. Use a spoon to thoroughly combine.
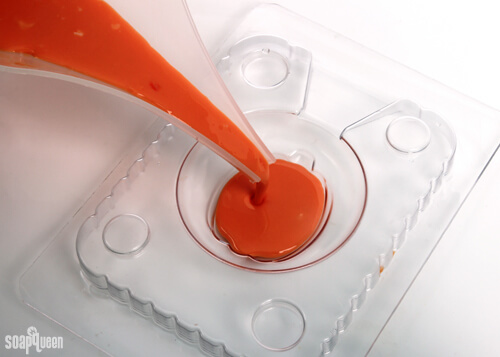
 THREE: Pour the orange soap into both clear mold cavities. Spray with isopropyl alcohol to disperse any bubbles.
(NOTE: The Spooked Pumpkin 3D Mold and Spooky Pumpkin 3D Mold have been discontinued. They have been substituted with the 4 Sphere Silicone Mold. Pour soap into the sphere mold and place the rope into the soap. Once the soap has hardened, remove from mold and follow step SEVEN to paint on a pumpkin design.)
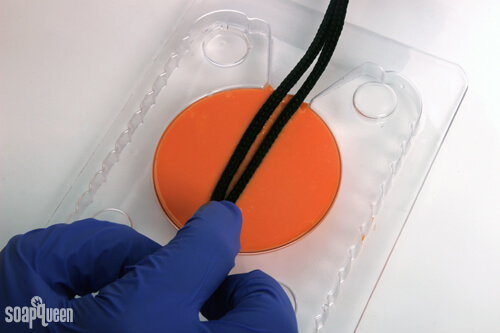
 FOUR: While the soap is still liquid, gently press the soap ropes into each mold and allow to fully harden.
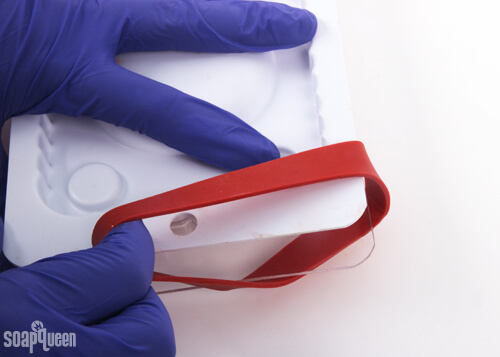
 FIVE: Once the poured orange soap has fully hardened, spray with 99% isopropyl alcohol or rubbing alcohol and press the white back of the mold onto the clear. Be sure the funnels are lined up to facilitate easy pouring. To help the two pieces stay together while pouring, place both heavy duty rubber bands around both the top and the bottom of the mold.
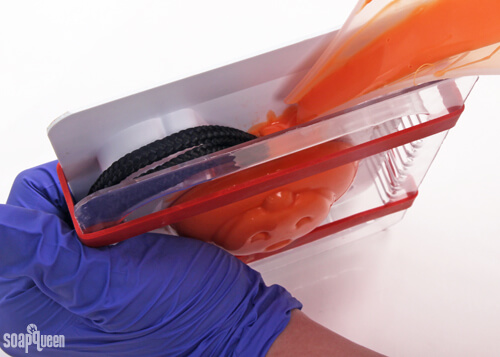
 FIVE: Reheat the remaining orange soap in the microwave using 5-7 second bursts, stirring in between each burst. Pull the rope to the side, and begin to slowly pour the melted soap into the funnel at the top. Once full, tap down to settle any soap at the top. I spray alcohol liberally around the top just to make sure I don’t have a bunch of bubbles in the top and it’s all soap. Allow the soap to fully cool and harden.
Note: Some soapers find it a little tricky to know when the soap cavity is full. If you’d like, you can pour the white side of the mold first and fill while looking at the clear side of the mold.
 SIX: Remove the soap from the molds. If necessary, remove hardened soap from the rope, and clean up the edges of the soap. There will be clean up. Use a cheese knife or the clean up tool (pictured below).
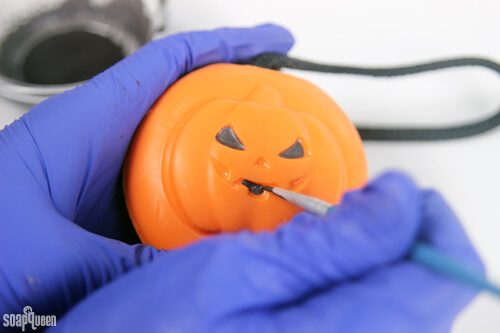
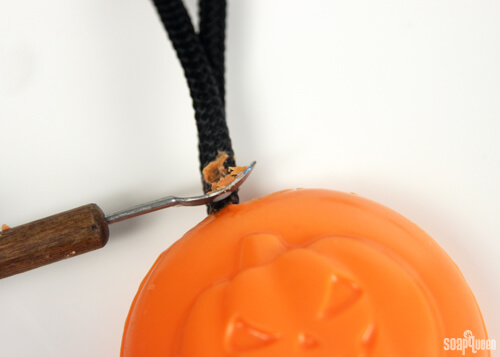 SEVEN: Now it’s time to add some detail! In a small container, add 1/16 tsp. of Luster Black Mica and 1/16 of a tsp. of isopropyl alcohol. Stir to combine. The mixture should be liquid, and highly pigmented. Use a small paint brush to fill in the eyes, nose and mouth. In a separate small container, add 1/16 tsp. of Green Oxide and 1/16 tsp. of isopropyl alcohol and stir to combine. Use a small paint brush to fill in the stem, and allow to dry.
Pumpkin soap is a holiday hit (#pumpkinspiceeverything, anyone?). The theme lends itself to so many fun ideas! What is your favorite fall-inspired soap project?
Will the mica / alcohol paint on technique work on regular CP soap?
Hmm, I’m not entirely sure! Are you wanting to paint with mica on cold process that is already made and unmolded? We haven’t given that a try so I’m not sure if the paint will stick. I would recommend testing one of the bars to see how it goes! 🙂
You can also mix mica and oil to paint on wet soap: https://soapqueen.com/bath-and-body-tutorials/tips-and-tricks/how-to-mica-paint-on-cold-process-soap/
-Kelsey with Bramble Berry
Hello ! I’m fairly new to M&P (more of a CP fan)… but I want to make this pumpkin soap as a gift for my daughter’s friends in Halloween. I have all the ingredients required, except for the liquid orange. Is there any other way to achieve this shade in M&P? I have pink and gold oxides, red palm oil and some lab colors (red and yellow).
I hope you can help. Thanks a bunch !!
Hi Rosy!
That sounds like such a fun Halloween gift for your daughter’s friends! I think the red and yellow LabColors would be the best way to go. That will give you a gorgeous orange hue. I would recommend starting off with just a drop of each color in your melted soap. Then, you can add more yellow or red until you get an orange color you like. 🙂
-Kelsey with Bramble Berry
LabColors: https://www.brambleberry.com/LabColors-C171.aspx
Awesome, Kelsey !! : ) …The soaps are going to make such a terrific and unique gift !! I hope the girls like them… I appreciate your advice ; )
You’re welcome! I think they will be a big hit. 🙂
-Kelsey with Bramble Berry
Hi
The black and green sections of the pumpkin are highly pigmented, according to your instructions. Do these colors come off easily when using this soap?
Thank you!
Hi Lynn!
For the first one or two uses, the mica will come off. However, it’s very easy to wash them off your hands! Then, as you continue to use them, the color will wash off and you’ll just have orange pumpkins. 🙂
-Kelsey with Bramble Berry
I love the idea of putting the rope in before hand. I was trying to do like the video and the end of the rope would sometimes migrate to the edge of the soap and you could see it. Renewed my interest for soap on a rope!
So glad to hear that Toni! Adding it before ensures that rope stays in place. 🙂
-Kelsey with Bramble Berry
I love this! Another order in the works soon…. 🙂
Love the 3d mold filling technique too, think ill use this from now on for my soap on a rope. Thanks!
Hi KeMira!
So glad you like the post! 🙂
-Kelsey with Bramble Berry