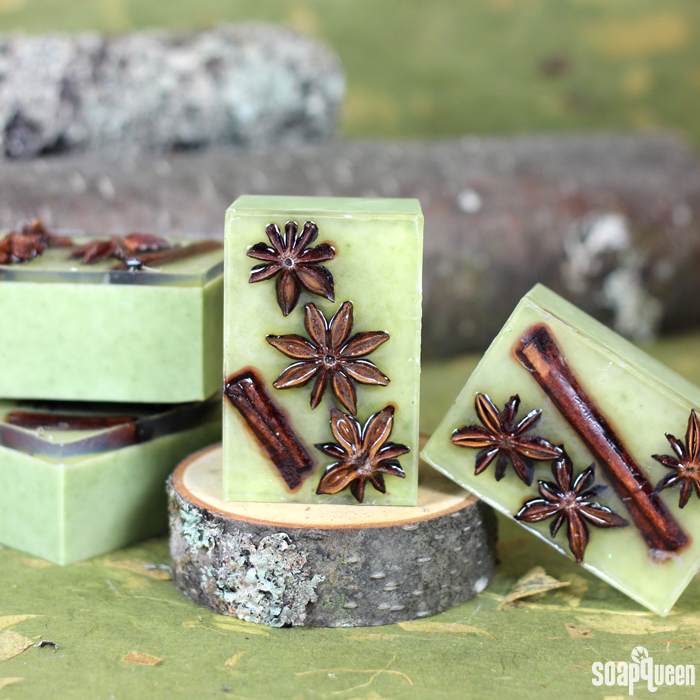
I’m a huge, huge fan of black licorice. I know the flavor is a bit polarizing and my stance might be a little controversial…but I think it’s delicious! While anise and licorice are completely different, they smell very similar. Produced from the seeds of the anise star, Anise Essential Oil has a wonderful warm and slightly medicinal smell. These Star Anise Melt and Pour Bars are made with a fresh combination of Anise Essential Oil and Orange 10X Essential Oil. The orange notes brighten the anise and create a fantastic blend.
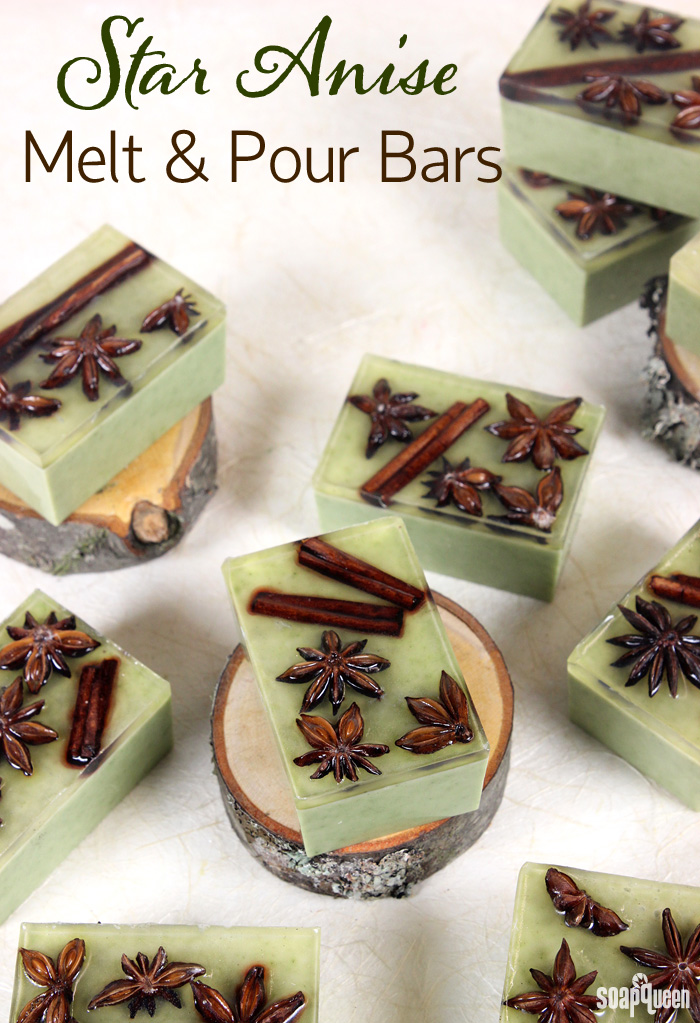
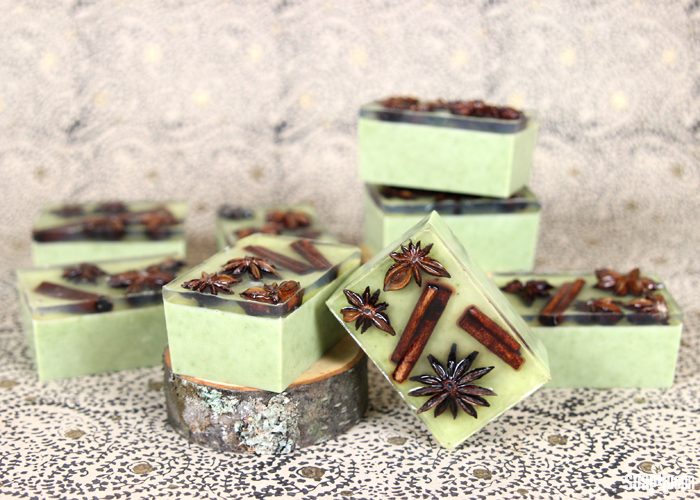
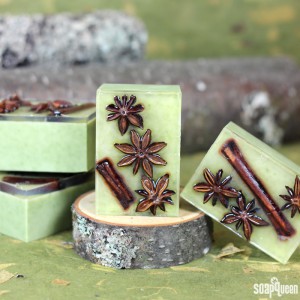
To create a rustic look that complements the smell, real anise stars and cinnamon sticks are embedded into the top of the soap. I just love the way the anise stars look. They give a great holiday feel without being “too Christmas-y.” The green color in these bars come from a natural blend of green zeolite clay and spirulina powder. The anise star can be poky, so keep that in mind when washing with these bars. You may prefer to wash with the bottom of the soap to avoid any scratchiness or peel off the clear melt and pour layer that the scratchy hard embeds in them. Or, you may prefer to use these bars solely as hand soap. They’re just too pretty not to use in some way =)
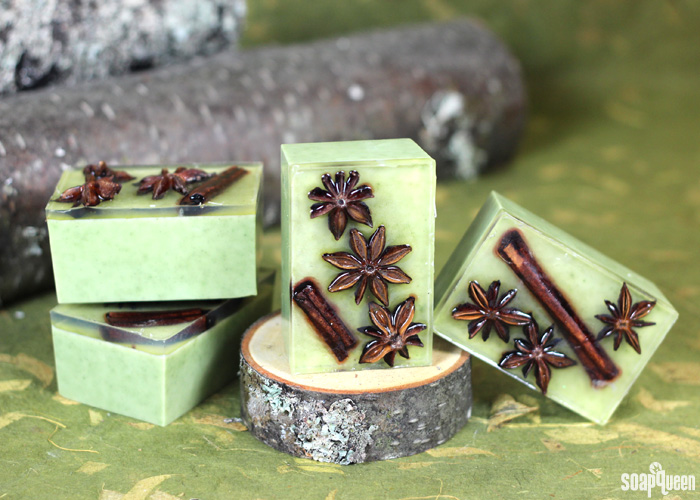
What You’ll Need:
12 Cavity Rectangle Silicone Mold
50 oz. Shea Melt and Pour Base
13 oz. Clear Melt and Pour Base
Green Zeolite Clay
Spirulina Powder
.3 oz. Anise Essential Oil
.2 oz. Orange 10x Essential Oil
Anise Stars
Cinnamon Sticks
99% Isopropyl Alcohol
 Click here to add everything you need for this project to your Bramble Berry shopping cart!
FRAGRANCE PREP: Mix together the Anise Essential Oil and Orange 10X Essential Oil in a fragrance safe, glass container. Set aside.
COLORANT PREP: In a small container, mix together 1 tsp. spirulina powder in 1 Tbs. 99% isopropyl alcohol. Use a spoon to mix and remove any clumps. In a separate container, mix together 2 tsp. green zeolite clay and 2 Tbs. 99% isopropyl alcohol and stir to remove any clumps.
ONE: Chop and melt 50 oz. of Shea Melt and Pour in the microwave using 30 second bursts. Once completely melted, add the essential oil blend and use a spoon or spatula to stir in thoroughly.
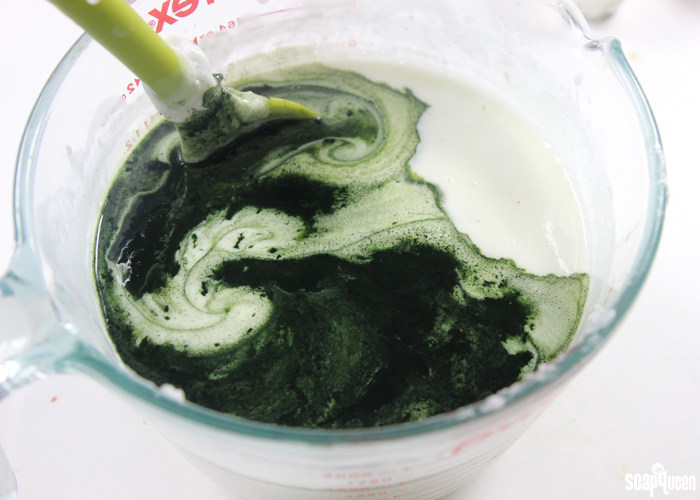
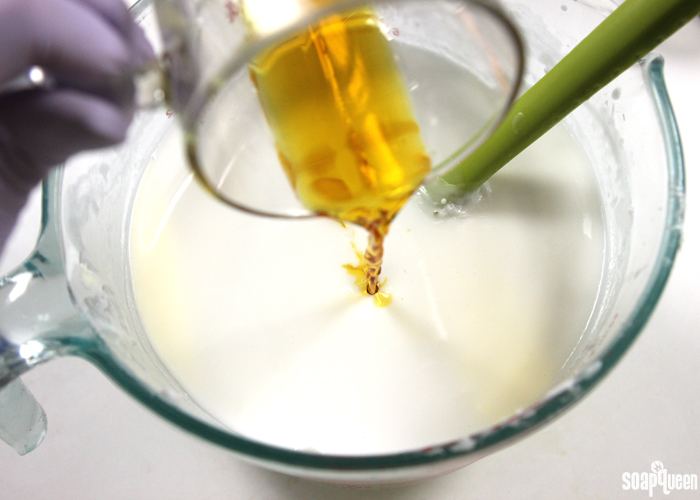 TWO: Add all of the dispersed green zeolite clay and 1 Tbs. of the dispersed spirulina powder. Thoroughly mix in the colorants until there are no clumps.
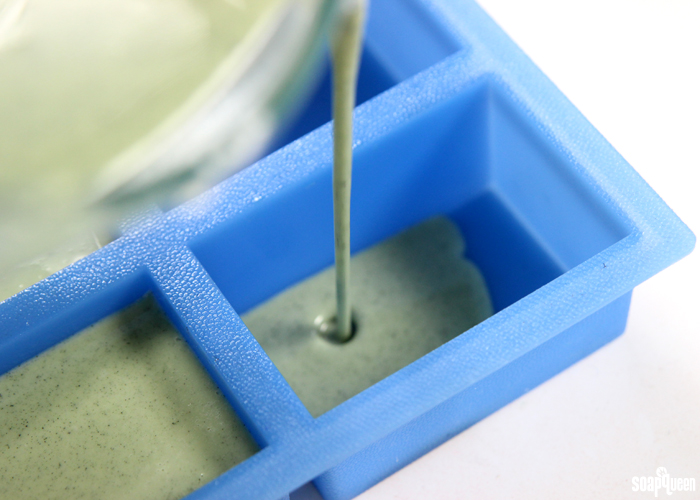
 THREE: Check the temperature of the soap. You want the soap to be around 120-130 ° F. If the soap is too hot when it’s poured into the mold, the majority of the clay will sink to the bottom. Pour the melted soap evenly into each mold cavity and spritz the top of the soap with rubbing alcohol to disperse any bubbles. Set the soap aside to allow to cool and harden. I love these silicone molds because they are so easy to release the soap from.
 FOUR: Once the poured green soap has cooled enough to develop a thick skin, arrange the anise stars and cinnamon sticks on the top of each soap to your preference. Then, chop and melt 13 oz. of Clear Melt and Pour in the microwave using 20 second bursts.
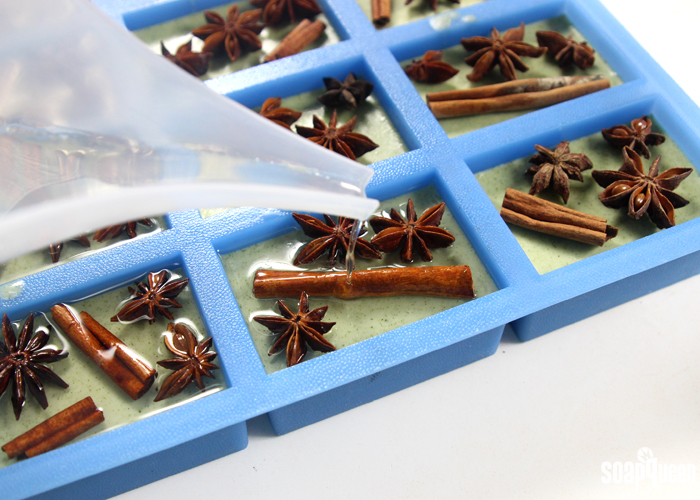
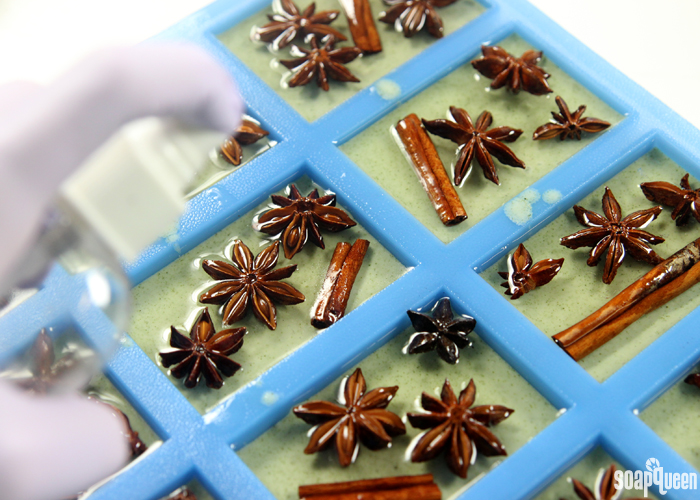
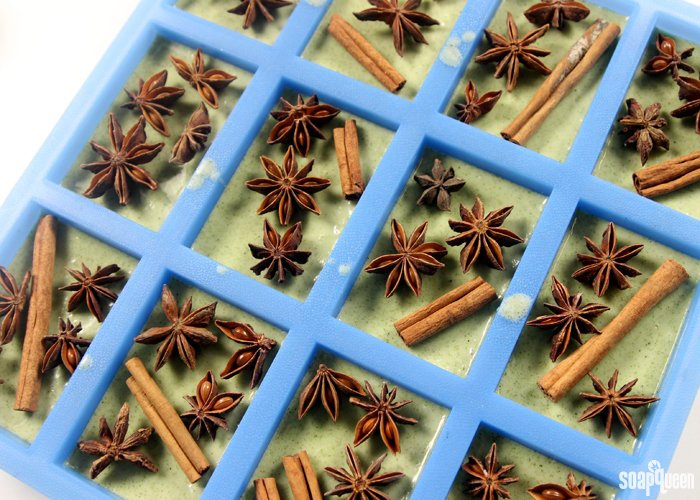 FIVE: Once the clear soap is completely melted and is no hotter than 130 ° F, spritz the top of each soap with rubbing alcohol, and carefully pour a thin layer of clear soap on the top of each mold. You want the clear soap to just cover the anise stars and cinnamon sticks. Immediately spritz with alcohol to disperse any bubbles. Repeat with all cavities and allow the soap to fully cool and harden.
 SIX: Once hardened, remove from the mold by pulling on the side of each cavity to break the airlock. Then, flip the mold over and press gently on the back of each cavity with your thumb or the palm of your hand until the soap releases. To prevent glycerin dew, wrap each soap in plastic wrap or another airtight container. Wash carefully with each bar, as the anise stars can be a little poky. =) Because of this, you may prefer to use these as hand soap, or wash with the bottom side.
What’s your favorite way to incorporate botanicals into your soapy projects?
- 12 Cavity Rectangle Silicone Mold
- 50 oz. Shea Melt and Pour Base
- 13 oz. Clear Melt and Pour Base
- Green Zeolite Clay
- Spirulina Powder
- .3 oz. Anise Essential Oil
- .2 oz. Orange 10x Essential Oil
- Anise Stars
- Cinnamon Sticks
- 99% Isopropyl Alcohol
- Chop and melt 50 oz. of Shea Melt and Pour in the microwave using 30 second bursts. Once completely melted, add the fragrance blend and use a spoon or spatula to stir in thoroughly.
- Add all of the dispersed green zoelite and 1 Tbs. of the dispersed spirulina powder. Thoroughly mix in the colorants until there are no clumps.
- Check the temperature of the soap. You want the soap to be around 120-130 ° F. If the soap is too hot when it’s poured into the mold, the majority of the clay will sink to the bottom. Pour the melted soap evenly into each mold cavity and spritz the top of the soap with rubbing alcohol to disperse any bubbles. Set the soap aside to allow to cool and harden.
- Once the poured green soap has cooled enough to develop a thick skin, chop and melt 13 oz. of Clear Melt and Pour in the microwave using 20 second bursts. Then, arrange the anise stars and cinnamon sticks on the top of each soap to your preference.
- Once the clear soap is completely melted and is no hotter than 130 ° F, spritz the top of each soap with rubbing alcohol, and carefully pour a thin layer of clear soap on the top of each mold. You want the clear soap to just cover the anise stars and cinnamon sticks. Immediately spritz with alcohol to disperse any bubbles. Repeat with all cavities and allow the soap to fully cool and harden.
- Once hardened, remove from the mold by pulling on the side of each cavity to break the airlock. Then, flip the mold over and press gently on the back of each cavity with your thumb or the palm of your hand until the soap releases. To prevent glycerin dew, wrap each soap in plastic wrap or another airtight container. Wash carefully with each bar, as the anise stars can be a little poky. =) Because of this, you may prefer to use these as hand soap, or wash with the bottom side.



I made this soap on Saturday and found the transparent side of the soap started to crystallise around the edges after 4 days. Any idea what may have caused that to happen?
Does it have little beads of moisture on it, or does it look like it has a film?
-Kelsey with Bramble Berry
We made this wonderful soap-bars as giveaways for the Holidays and it was such a success!!! We barely saved one for ourselves, and everyone was amazed by the deep and rich licorice smell!
That’s awesome, so glad to hear that Lorenzo! 🙂
-Kelsey with Bramble Berry
Love the smell of anise, its intoxicating. I have to try this soap combination.
Have fun giving this recipe a try Shellie! Your whole soaping area will smell like lovely anise. 🙂
-Kelsey with Bramble Berry
I tried these over the weekend and my top layer didn’t stick to the bottom layer. I used 99% alcohol in between and followed the recipe to a T. Any ideas?
Hi Marilyn!
I have a couple suggestions for helping the layers stick! We recommend spritzing with 99% isopropyl alcohol right before the second layer is poured. If the alcohol is spritzed too early, it can evaporate. You want your layer covered with alcohol, but not completely soaked. Learn more about working with layers in this video: https://www.youtube.com/watch?v=5oyh1Bf3Gxo
Read more about 99% isopropyl alcohol here: http://www.soapqueen.com/bramble-berry-news/sunday-night-spotlight-99-isopropyl-alcohol/
Another way to help the layers stick is a nice sharp knife. I’ve found my layers separated on me when I used a dull knife, even with alcohol. I like using a sharp kitchen knife with a smooth blade.
For the soap now, you can “glue” those layers back together with melt and pour! To do so, melt 1-2 ounces of soap on 5 second bursts. When it’s melted, brush a light layer on and gently press the separated soap on top. Let that harden for 1-2 hours. That should help your soap stick together. 🙂
-Kelsey with Bramble Berry
SQ, How to deal with the color of the Anise and Cinnamon bleeding through after a month? Any suggestions?
Hi Tina!
Because star anise and cinnamon are natural products, they can bleed in the soap. That’s normal! If you want to stop that from happening, you could try boiling the star anise and cinnamon to release some of that color. We didn’t test that out, so I would definitely recommend a small test batch to see if it prevents that bleeding. 🙂
-Kelsey with Bramble Berry
I was fairly pleased with my results, enough so that I would like to try again and perfect the method. Right after I poured the top clear coating, The under layer of the green soap started to bubble up into the clear topping. It just kinda clouded up, my Star Anise and cinnamon also floated up but that was not a real issue. I’m guessing I didn’t wait long enough for the green layer to harden or my clear layer was too hot when I poured.
Hi Joanne!
So glad that soap turned out well! I think the clear layer may have been a bit hot when it was poured. If the soap is a bit hot, in can melt the layer below and make it look a bit cloudy. The good news is it’s still totally fine to use and looks great. 🙂
For the next batch, we recommend letting the clear soap cool to around 125F. That will prevent the soap below from melting!
-Kelsey with Bramble Berry
I am a beginner at soap making and this recipe was VERY easy. The bars came out beautifully.
A few notes on my experience with this recipe:
–Seems like I had too much of the first layer (the green one) and not enough of the second layer (the clear one). I’m not sure if I measured incorrectly or if the amounts in the recipe need modification.
–A lot of the star anise I had were broken (or just ugly). I used them anyway, so my decorations don’t look as perfect and professional as the photo. (I’m ok with that though…I like the rustic feel of them.)
Thanks for the great recipe. I’m giving them as Christmas gifts and I can’t wait to see everyone’s reaction!!!
You’re welcome Jessica, so glad you enjoyed the recipe! With this recipe, we wanted the clear layer to be big enough to gold the star anise in place. If you like, you can definitely make the clear layer a bit bigger! That would look really pretty. I would recommend increasing the clear soap about by 3 ounces or so.
Merry Christmas Jessica, hope your friends and family love their handmade bars! 🙂
-Kelsey with Bramble Berry
These were super easy and smell and look amazing. But I ran into one small issue. Because the stars “float” a bit they come above the clear layer. That isn’t a cosmetic issue. BUT it holds the plastic wrap up just a smudge and darned if they are not sweating where that happens. Is there anything I can do? Does the sweating hurt anything other than being a bit unclear in that area? Next time I will leave more room and push them into the green layer a bit more. But everyone getting them so far has loved them!
Hi Sherry!
So glad people are loving that soap! The stars actually floated a bit for us too and do like to peek through the clear layer. The good news is you can shrink that plastic wrap on tightly to help prevent sweating! I would recommend using a heat gun on low to help shrink the plastic wrap on. That way it will wrap around those stars and protect your soap from moisture in the air. You can see how to do that in this packaging video: https://www.youtube.com/watch?v=lD4bJgtaHMg
For next time I think making the clear layer a little thicker will definitely help! That’s a great idea Sherry. 🙂
-Kelsey with Bramble Berry
I love this! gotta make it
Thanks Lorri, so glad you love it! Have fun giving it a try. 🙂
-Kelsey with Bramble Berry
Hi Kelsey, thanks for the gorgeous soap recipe. I do have one question – what is your take on mixing Shea rebatch and melt&pour? I was thinking it may create an interesting mix of textures.
Thanks so much,
Preeti
Hi Preeti!
You’re welcome, so glad you like the recipe! As for mixing melt and pour and rebatch, I’m not entirely sure – we haven’t done a lot of testing with it. My worry is that the melt and pour hardens a lot quicker than the rebatch, which may cause some separation. That is definitely something we’ll keep in mind for future testing though! Thanks for the suggestion. 🙂
If you give it a try, let us know how it goes! I’m really curious to see how it works.
-Kelsey with Bramble Berry
Ohmystars! They are absolutely GORGEOUS!!!!! WOW!!! <3
Thank you so much France, glad you like the soap! 🙂
-Kelsey with Bramble Berry
Wouldn’t the star anise and cinnamon hurt when you use the soap?
Hi Jasmyn!
The anise on top is covered with a thin layer of melt and pour to make it nice and smooth. You will want to wash with care though! You can use the other side of the soap, which is smooth, or leave the anise and cinnamon out if you like. The soap will still look lovely without it. 🙂
-Kelsey with Bramble Berry