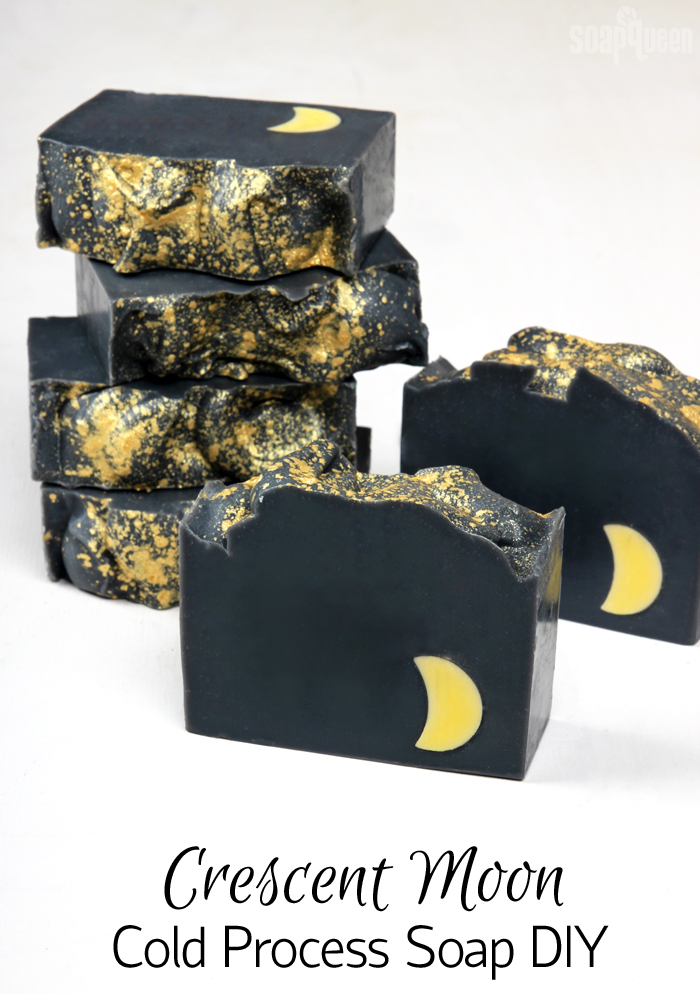
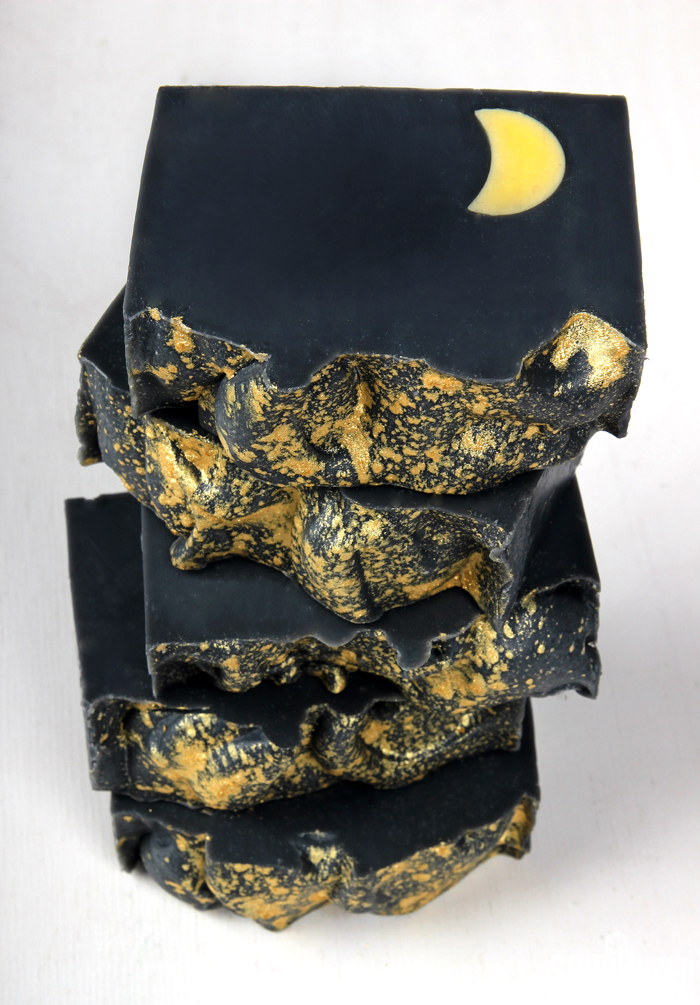
Fall officially started last week, which means it’s time for Halloween projects! Halloween is one of my favorite holidays. It’s an excuse to embrace dark colors, moody fragrances and spooky themes. For this Crescent Moon Cold Process Soap, I wanted to create a bar of soap that would be appropriate for Halloween and beyond.
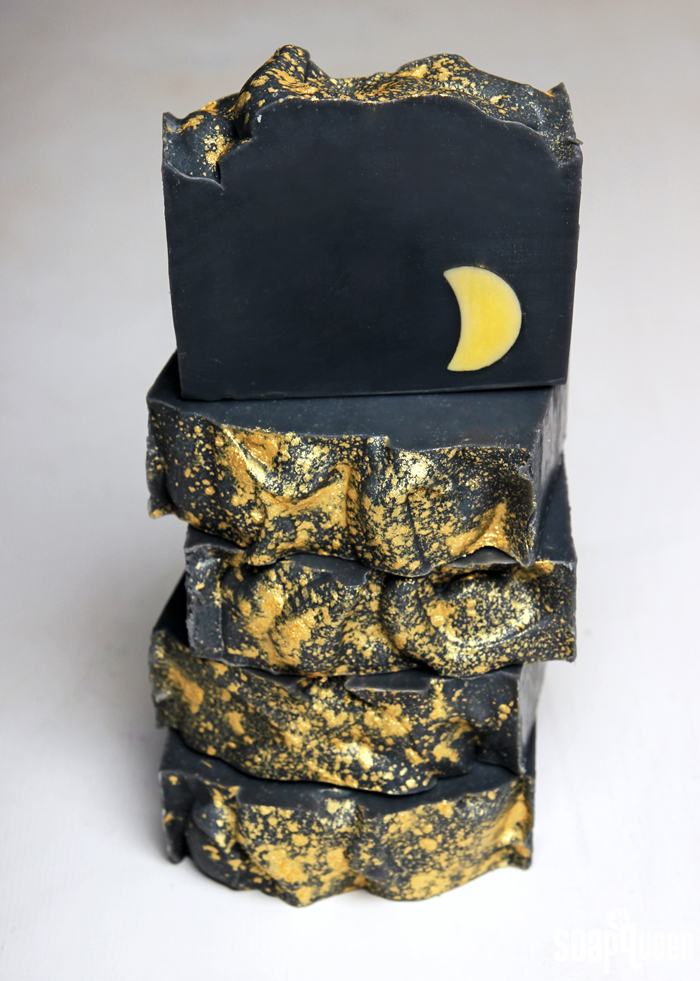
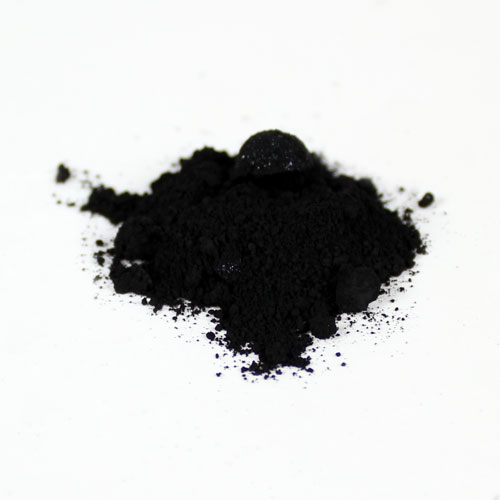
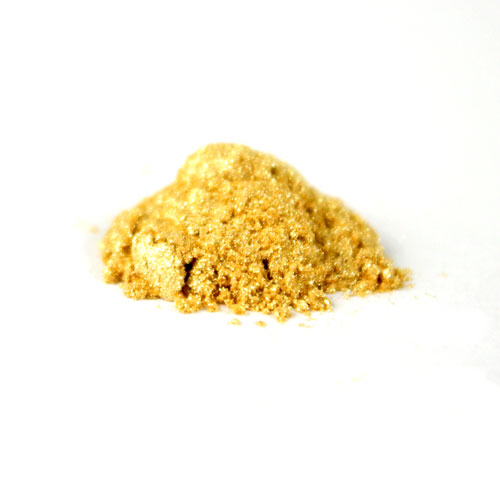
These bars are a sophisticated take on Halloween with a striking yet simple design. Black Oxide gives the bars a dark gray hue. If you want a darker color, feel free to add more colorant. Just keep in mind the more you add, the darker the lather will be. The crescent moon shape is created with melt and pour soap and the Mini Moon Silicone Column Mold. Gold Sparkle Mica on top really pops against the dark gray. The bars are scented with Tobacco & Bay Leaf Fragrance Oil, which is a wonderfully smoky and complex fragrance. It’s great for both men and women.
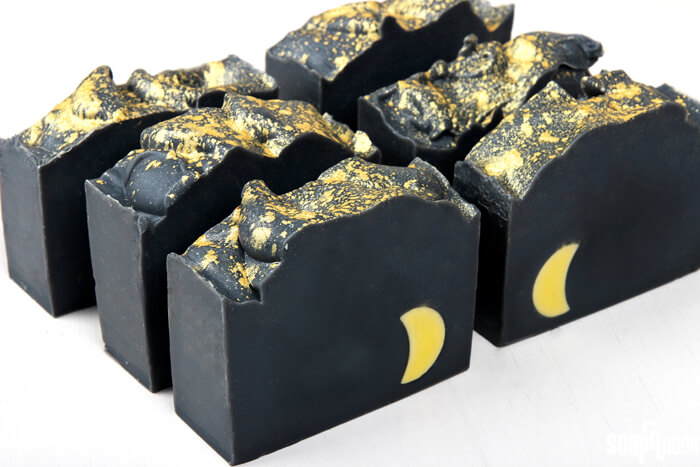
This project is appropriate for both beginning and intermediate soapers. It requires a medium to thick trace, so you don’t need to worry about over blending with the stick blender. But, keep temperatures in mind. Melt and pour soap begins to melt around 120-130 ° F. If this soap gets too hot, the moon embed could melt. I recommend soaping around 100-110 ° F and not insulating the soap to keep temperatures cool.
What You’ll Need:
Embed:
Mini Moon Silicone Column Mold
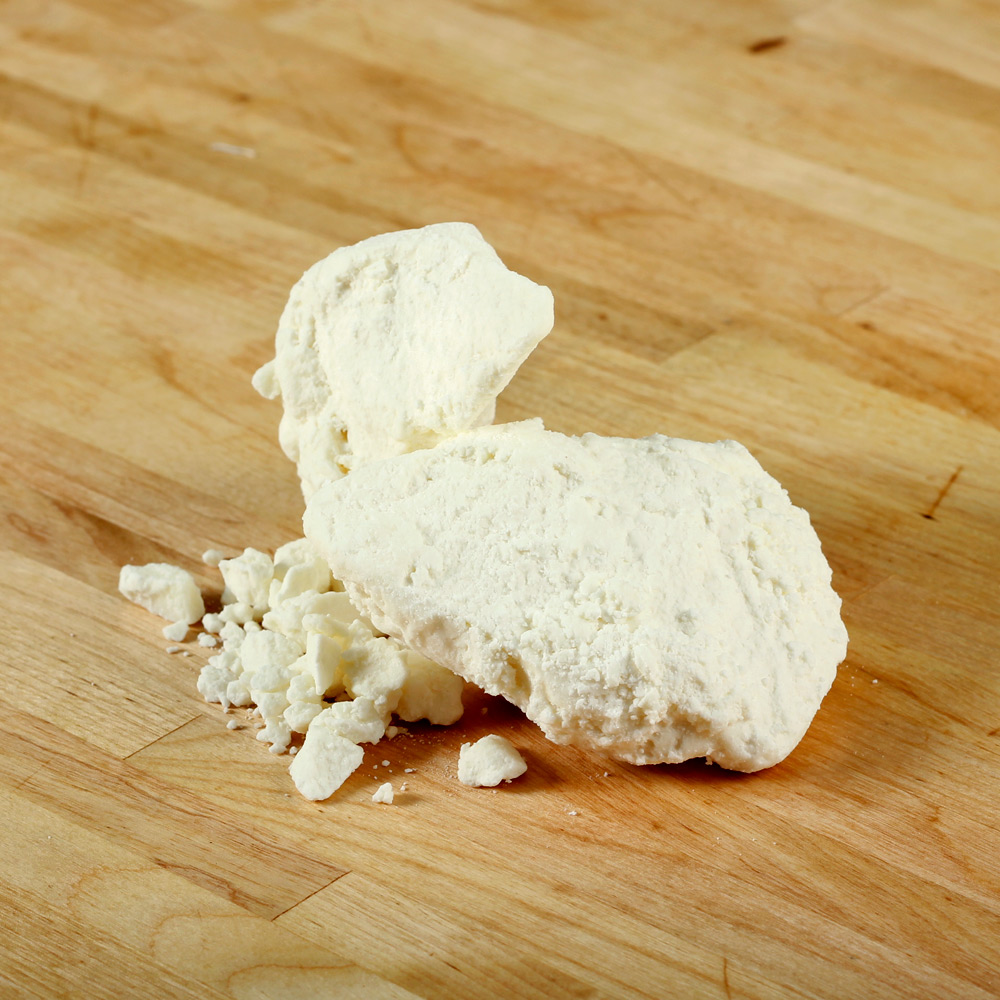
LCP White Melt and Pour Base
Shimmer Sparkle Gold Color Block
Shimmer Yellow Color Block
Base:
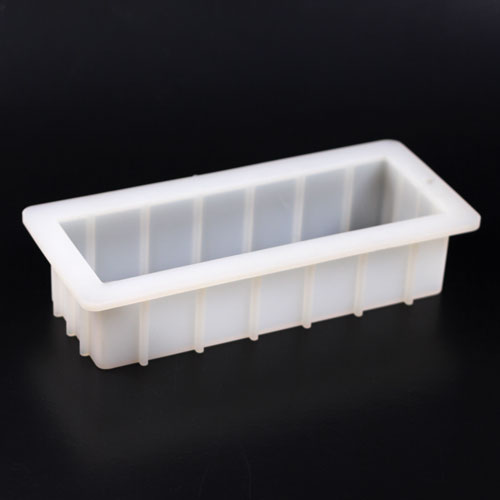
10″ Silicone Loaf Mold
10.8 oz. Coconut Oil (30%)
10.8 oz. Palm Oil (30%)
10.8 oz. Olive Oil (30%)
2.5 oz. Mango Butter (7%)
1.1 oz. Castor Oil (3%)
5.2 oz. Sodium Hydroxide Lye
11 oz. Distilled Water
2 oz. Tobacco & Bay Leaf Fragrance Oil
Black Oxide
Gold Sparkle Mica

Click here to add everything you need for this project to your Bramble Berry shopping cart!
Make the Moon Embeds:
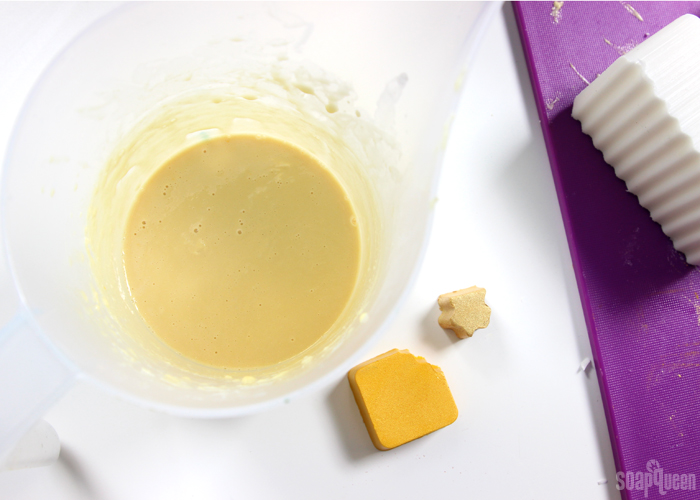
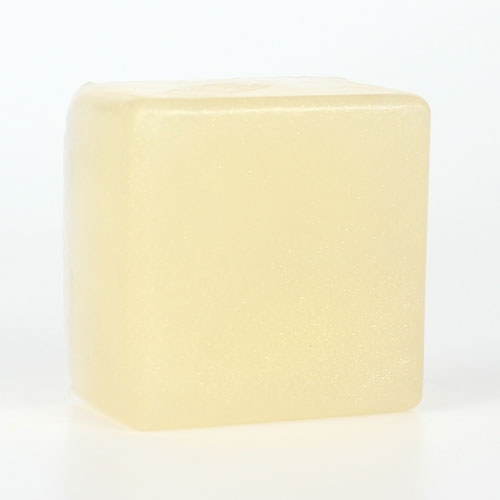
ONE: Chop and melt 4 ounces of LCP White Melt and Pour Base using 10 second bursts. Add shavings of the Shimmer Yellow Color Block and Gold Sparkle Mica Color Block until you achieve a soft yellow color. Place the Mini Moon Silicone Column Mold into a container to position the mold upright.
TWO: Carefully pour the soap into the Mini Moon Silicone Column Mold. Click here to learn more about how to use the Silicone Column Molds. Allow the soap to fully cool and harden for several hours. Remove from the mold, and trim if necessary. Cut the moon embed to fit in the 10″ Silicone Loaf Mold lengthwise.
Make the Base
If you’ve never made cold process soap before, stop here! I highly recommend checking out our FREE four part SoapQueen.tv series on Cold Process Soapmaking, especially the episode on lye safety. And if you’d rather do some reading, Bramble Berry carries a wide range of books on the topic, including my newest book, Pure Soapmaking. You can also checkout the digital downloads for that instant gratification factor.
SAFETY FIRST: Suit up for safe handling practices! That means goggles, gloves and long sleeves. Make sure kids, pets, and other distractions and tripping hazards are out of the house or don’t have access to your soaping space. Always soap in a well-ventilated area.
COLOR PREP: Disperse 1/2 teaspoon of the Black Oxide colorant into 1/2 tablespoon of sunflower or sweet almond oil (or any other liquid oil). Use a mini mixer to help get rid of any clumps. Have the Gold Sparkle Mica nearby to sprinkle on top at the very end.
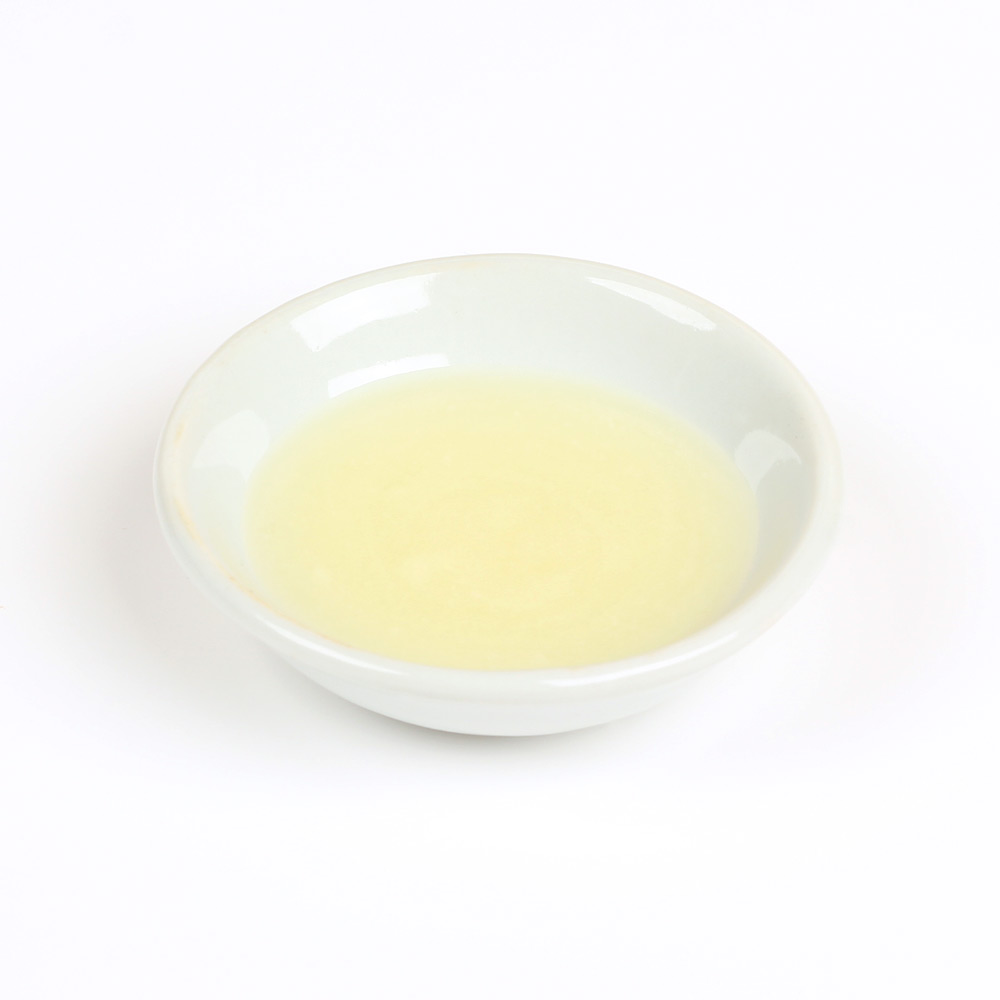
FRAGRANCE OIL PREP: In a glass fragrance oil safe container, measure 2 ounces of Tobacco & Bay Leaf Fragrance Oil. Set aside.
ONE: Slowly and carefully add the lye to the water and gently stir until the lye has fully dissolved and the liquid is clear. Set aside to cool.
TWO: Fully melt and combine the coconut oil, olive oil, palm oil, castor oil and mango butter (remember to fully melt then mix your entire container of palm oil before portioning). Once the lye water and the oils have cooled to 130 degrees or below (and are ideally within 10 degrees of each other), add the lye water to the oils and stick blend until thin trace. If you’d like a harder bar of soap that releases faster from the mold, you can add sodium lactate to the cooled lye water. Use 1 teaspoon of sodium lactate per pound of oils in the recipe. For this recipe, you’d add about 2 teaspoons sodium lactate.
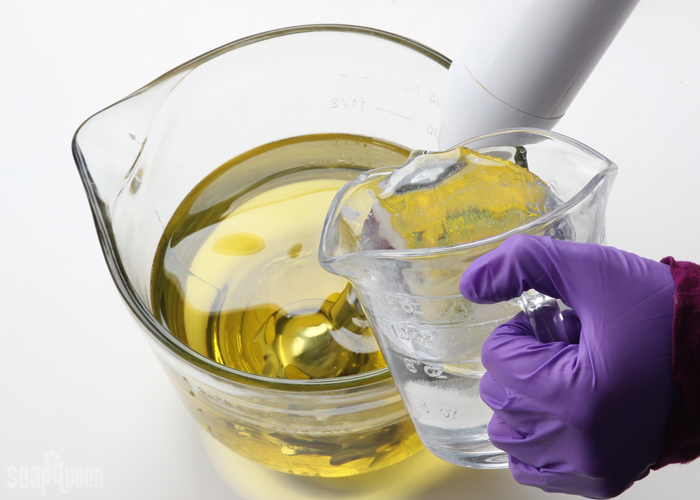
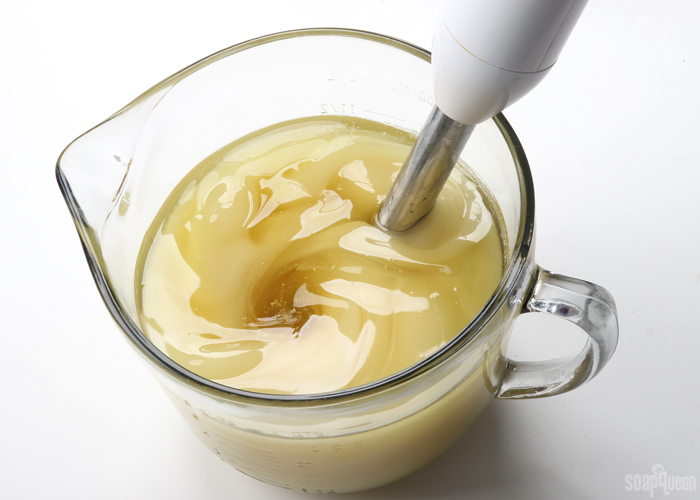 THREE: Once you’ve reached a thin trace, add 1/2 teaspoon of dispersed Black Oxide. Use a whisk to fully mix in the colorant.
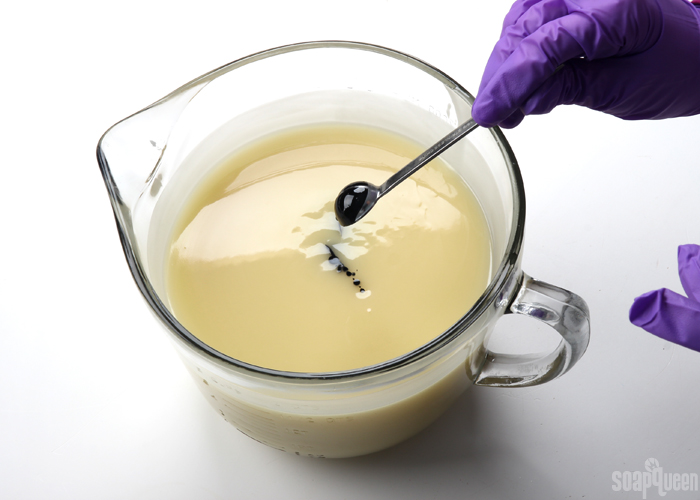
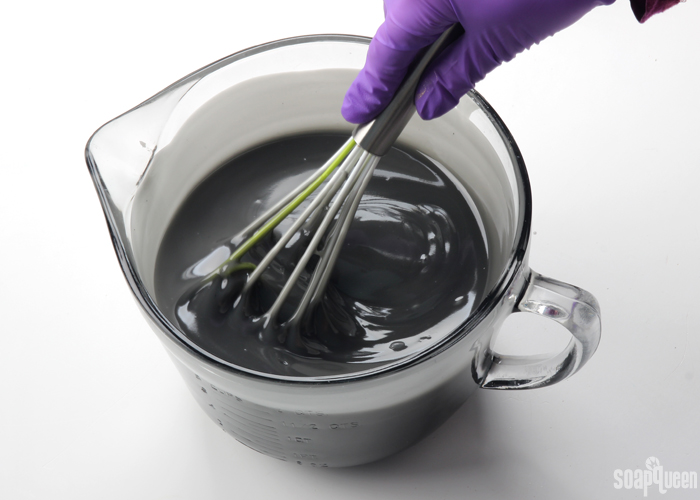 FOUR: Add the Tobacco and Bay Leaf Fragrance Oil. If the soap is still quite thin, use the stick blender to fully mix in the fragrance oil until the soap is a medium trace.
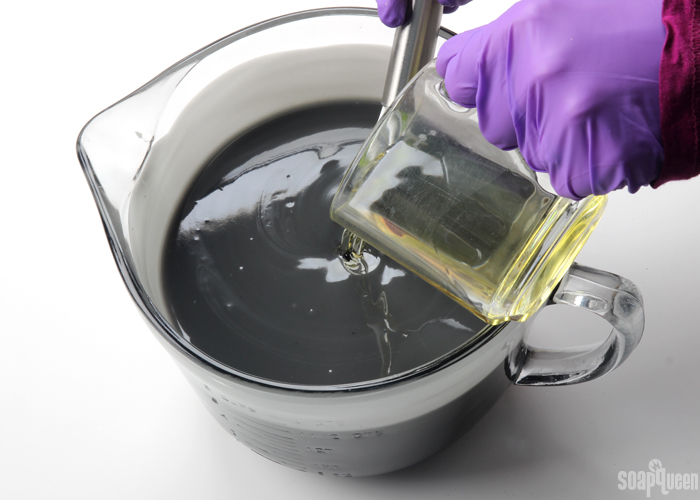
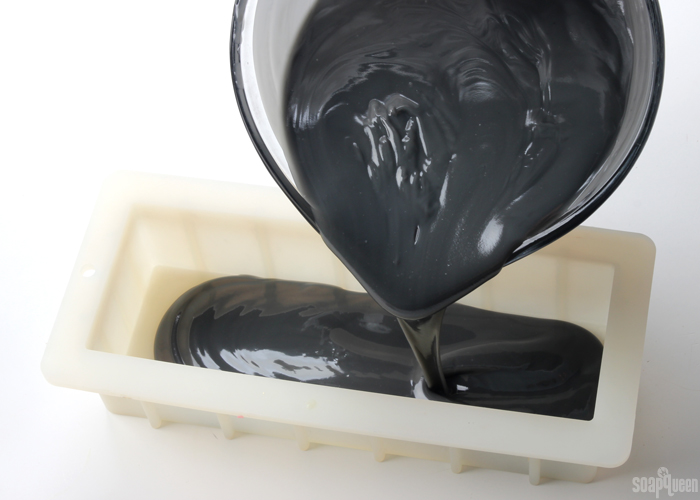
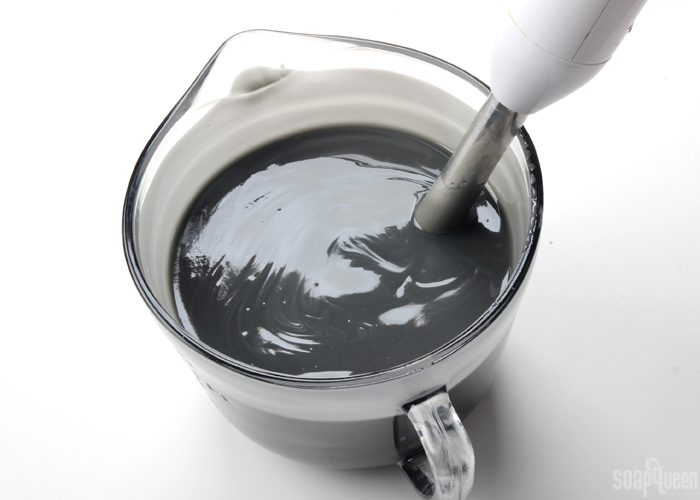 FIVE: Pour a small amount of the black soap into the mold, and tap it firmly on the counter.
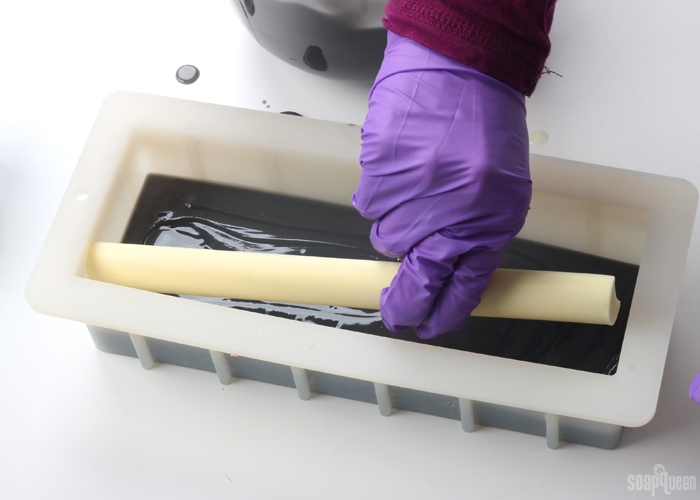
 SIX: Place the moon embed into one the black soap, toward a corner. Feel free to place it in any direction you’d like.
 SEVEN: Gently pour the remaining black soap into the mold, and tap firmly on the counter to help eliminate bubbles.
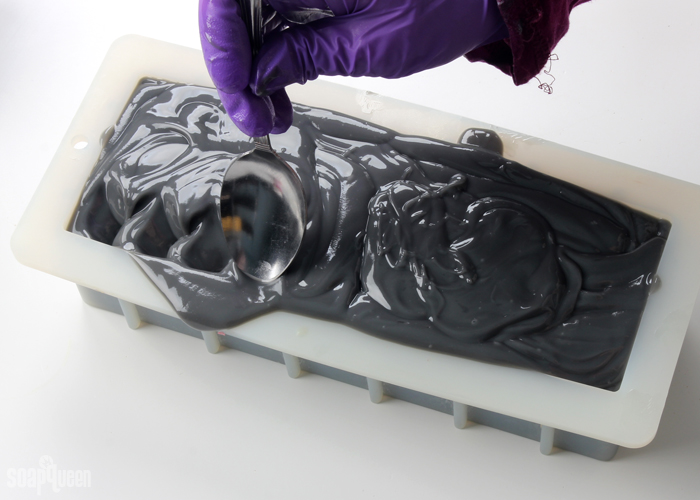
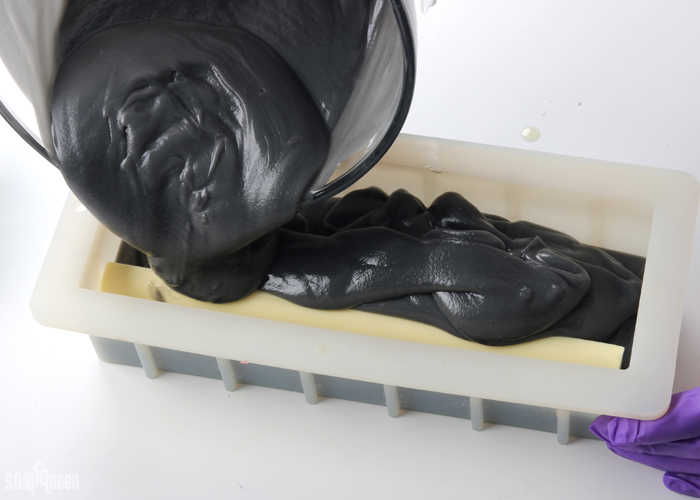 EIGHT: Use a spoon to build the soap towards the center of the mold, and create peaks and divots. There is no right or wrong way to create texture on top of soap, so just have fun with it. =)
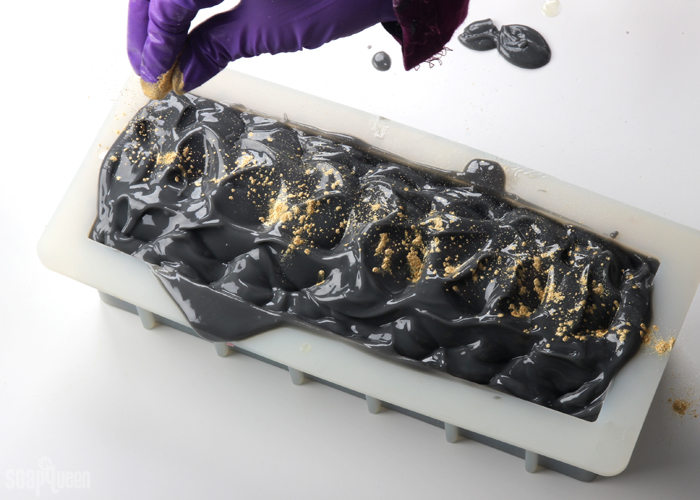
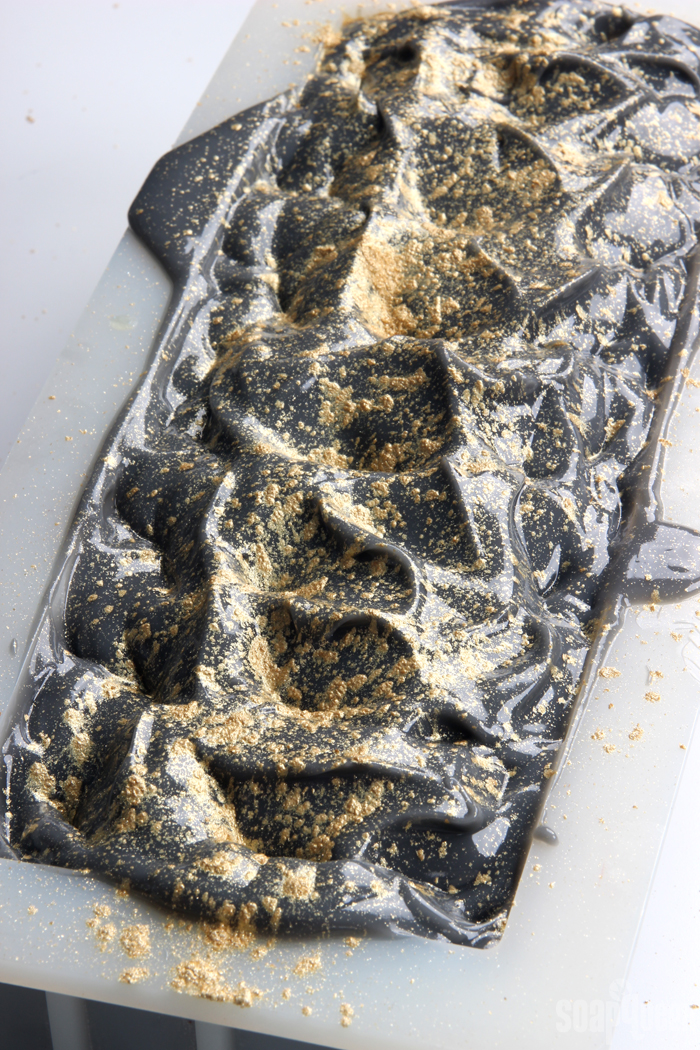
 NINE: Once you’re happy with the top, sprinkle Gold Sparkle Mica on top of the soap, concentrating it toward the center.
 TEN: Spritz the soap with 99% isopropyl alcohol to help avoid soda ash. Allow the soap to stay in the mold for 2-3 days. Unmold and cut into bars. Allow the bars to cure for 4-6 weeks. Enjoy!
- Mini Moon Silicone Column Mold
- LCP White Melt and Pour Base
- Shimmer Sparkle Gold Color Block
- Shimmer Yellow Color Block
- 10″ Silicone Loaf Mold
- 10.8 oz. Coconut Oil (30%)
- 10.8 oz. Palm Oil (30%)
- 10.8 oz. Olive Oil (30%)
- 2.5 oz. Mango Butter (7%)
- 1.1 oz. Castor Oil (3%)
- 5.2 oz. Sodium Hydroxide Lye
- 11 oz. Distilled Water
- 2 oz. Tobacco & Bay Leaf Fragrance Oil
- Black Oxide
- Gold Sparkle Mica
- Chop and melt 4 ounces of LCP White Melt and Pour Base using 10 second bursts. Add shavings of the Shimmer Yellow Color Block and Gold Sparkle Mica Color Block until you achieve a soft yellow color. Place the Mini Moon Silicone Column Mold into a container to position the mold upright.
- Carefully pour the soap into the Mini Moon Silicone Column Mold. Click here to learn more about how to use the Silicone Column Molds. Allow the soap to fully cool and harden for several hours. Remove from the mold, and trim if necessary. Cut the moon embed to fit in the 10″ Silicone Loaf Mold lengthwise.
- Slowly and carefully add the lye to the water and gently stir until the lye has fully dissolved and the liquid is clear. Set aside to cool.
- Fully melt and combine the coconut oil, olive oil, palm oil, castor oil and mango butter (remember to fully melt then mix your entire container of palm oil before portioning). Once the lye water and the oils have cooled to 130 degrees or below (and are ideally within 10 degrees of each other), add the lye water to the oils and stick blend until thin trace. If you’d like a harder bar of soap that releases faster from the mold, you can add sodium lactate to the cooled lye water. Use 1 teaspoon of sodium lactate per pound of oils in the recipe. For this recipe, you’d add about 2 teaspoons sodium lactate.
- Once you’ve reached a thin trace, add ½ teaspoon of dispersed Black Oxide. Use a whisk to fully mix in the colorant.
- Add the Tobacco and Bay Leaf Fragrance Oil. If the soap is still quite thin, use the stick blender to fully mix in the fragrance oil until the soap is a medium trace.
- Pour a small amount of the black soap into the mold, and tap it firmly on the counter.
- Place the moon embed into one the black soap, toward a corner. Feel free to place it in any direction you’d like.
- Gently pour the remaining black soap into the mold, and tap firmly on the counter to help eliminate bubbles.
- Use a spoon to build the soap towards the center of the mold, and create peaks and divots. There is no right or wrong way to create texture on top of soap, so just have fun with it.
- Once you’re happy with the top, sprinkle Gold Sparkle Mica on top of the soap, concentrating it toward the center.
- Spritz the soap with 99% isopropyl alcohol to help avoid soda ash. Allow the soap to stay in the mold for 2-3 days. Unmold and cut into bars. Allow the bars to cure for 4-6 weeks. Enjoy!







I’m Mr,Robert Cook and I’ll like to make a purchase of ( Soap ), Kindly get back to me with the types sizes and prices ranges on each of the one you carry and also advice whether there’s an extra charge using credit card as payment.
Best Regards,
We don’t sell soap. But you can get all the supplies you need to make this soap at https://www.brambleberry.com/
I just finished making this soap 10 minutes ago and the top is splitting and has huge cracks 😔 did I soap too hot? I waited until my oils and lye mixture were at 130 degrees Fahrenheit
Cracking is usually caused by heat. The 130F is a good temperature to soap at – how did you store the soap? It can get pretty hot as it sits in the mold.
I did add sodium lactate as called for in the tutorial. Could the Shea butter be the cause of the stickiness?
No, shea butter is fairly firm so it actually helps make the bars harder. Is that soap still soft? It should start to harden in about 5 days or so, up to a week.
How do I go about drying, packaging/storing CP soap with M&P embed? My concern is that while the CP portion needs to dry out/cure, the M&P portion needs to be wrapped to prevent glycerin dew. I do not wish for the moon to get dewy but want my soap to cure properly. Thank you for your time!
When making this soap we recommend using LCP (like cold process) melt and pour soap. Because it has less glycerin, it has little to no sweating. Once your soap is cut, cure it unwrapped in a cool, dry place. If you have a fan or dehumidifier, you can run that over the bars as they cure to keep them dry.
LCP White Melt and Pour Soap: https://www.brambleberry.com/SFIC-LCP-White-Melt-And-Pour-Soap-Base-P3190.aspx
Just to confirm, CP soap with this LCP melt and pour soap could be stored (after curing) in breathable packaging or no packaging at all? Thank you so much for your reply!
Once that soap is cured you can package it like usual. To prevent against any possible sweating, you may want to wrap that soap in mostly airtight packaging just to be extra careful. It may be stored in a more humid area, so the wrapping will keep it dry.
I finally made the soap and my soap is a sad, light grey… I did make a few changes and was wondering if the changes were the cause. Mango butter was replaced with Shea butter and fragrance oil was replaced by blend of lavender, fir needle, and frankincense essential oils. Could any of these cause the sad light grey of my soap? I used all the dispersed black oxide because I noticed it wasn’t as dark as the photo in this tutorial. Lastly, my soap did not harden as much as I expected it to after sitting in the mold for 2 days. It was sticking to the side of the mold when I tried to un-mold and left marks on the side of the soap loaf. I decided to leave it in the mold and didn’t un-mold until 5 days after I made the soap. The soap is sticky still! Wasn’t the addition of sodium lactate suppose to help the soap harden and be easier to un-mold? Thank you so much for your replies! I tried to find answers online myself but found none.
Your soap can be lighter depending on the oils you use. Did you notice your batter was pretty light before you mixed in the Black Oxide? Also, was your soap at a fairly thin trace? If the soap is poured at a thinner trace and kept in a cool spot it can take a bit longer to harden. Let me know and I’ll help you troubleshoot.
My soap batter was of a cream yellow before I added the black oxide. I added the black oxide at medium trace then used a balloon whisk to whisk till combined and pour into my mold. The room that I keep the soap in about 70 degrees F. Is that too cold? Thank you!
For your next batch, you can prepare extra Black Oxide. If you notice your batter is still a light gray, add more dispersed color until it’s a shade you like. If you have leftover color, you can store it in an airtight container in a cool, dry place. It will last as long as the oil shelf life. Make sure to mix well before using it again, as the color can settle.
Find a list of oil shelf lives here: http://www.soapqueen.com/bath-and-body-tutorials/tips-and-tricks/free-beginners-guide-to-soapmaking-common-soapmaking-oils/
As for the trace, that sounds just right. The room temperature is as well – you don’t want the soap to get too hot or the embeds can melt. Did you add sodium lactate to your batch?
Is it possible to use Lots of Lather Quick Mix for this soap? (not for the embed, the black part)
Absolutely, that will work just fine. Just make sure to run your recipe through the Lye Calculator to get the correct lye and water amounts: https://www.brambleberry.com/Pages/Lye-Calculator.aspx
-Kelsey with Bramble Berry
i need ask can i use charcoal to give soap black color and follow the same recipe and whether that effects beacuse coal will be dedicayes soap for oily skin
The charcoal will color the soap and add oil absorbing properties to your recipes. If you’re not a fan of those oil absorbing properties, you can add a smaller amount in your soap and use more moisturizing oils. You can also use Black Oxide instead: https://www.brambleberry.com/Black-Oxide-Pigment-P4044.aspx
-Kelsey with Bramble Berry
Hi there , Just made this soap and am pleased with the result except for the colour mine came out grey. I followed the recipe exactly but it didn’t get anywhere near the beautiful dark black that you got. Any advise on how to get it black next time ?
Thanks 🙂
After you prep your colorants, they can settle to the bottom of the cup. It really helps to mix them up right before you get started so the color is evenly disbursed! Make sure you’re getting both color and oil when you add the 1/2 teaspoon. Also, several factors can affect the color like your oils, fragrance, etc. If you notice it looks a little light in the soap, go ahead and add more color until you get the shade you’re going for. 🙂
-Kelsey with Bramble Berry
Thanks Kelsey after cutting it the gray isn’t to bad it looks great. I’d still prefer black so will do as you say next time and remix the colourant 🙂
Hi Kelsey after a day or two the colour went really dark and I was so pleased but now two weeks into curing it seems to be going a kind of greenish tinge any ideas why?
Hmm, I’m not quite sure! What fragrance did you use in your soap?
-Kelsey with Bramble Berry
Hi Kelsey, sorry for the late reply I used BB love spell…any ideas why the colour changed?? The colour went a yellowey/greenish and has the same colour lather im confused.
I think it’s the LoveSpell! It discolors a bright yellow, so it’s likely causing that greenish color in combination with the black. It’s just fine to use still! To prevent that color in the next batch, it helps to use a fragrance that doesn’t discolor. You can find out which of our fragrances discolor in the descriptions on BrambleBerry.com. 🙂
Learn more in this post: http://www.soapqueen.com/bath-and-body-tutorials/tips-and-tricks/why-did-my-soap-turn-brown/
-Kelsey with Bramble Berry
Can I do CP and achieve the same results? Thanks
Without having to buy the LS M&P base……make it from scratch fully CP is what I mean to ask…
You sure can! A cold process embed would work great with this recipe. You can use the same recipe as the cold process base, just resized for the column mold. You’ll want to use your embed within a couple days of making it. That way the embed and the base cure at the same time. That will prevent the embed from warping. 🙂
Read more about how to resize recipes here: https://www.soapqueen.com/bath-and-body-tutorials/tips-and-tricks/how-to-resize-cold-process-soap-recipes/
That post was written when we had our old Lye Calculator. It will look slightly different, but it does work the same!
-Kelsey with Bramble Berry
I made this with a full moon (had some embeds left over from a prior project). I colored it with activated charcoal and fragranced it with the Vermont Maple fragrance oil. I gave the soap to 2 of my friends whose birthday is on Halloween and they loved it.
Thanks!
That sounds awesome Andrea! What a lovely handmade gift, especially with delicious Vermont Maple. 🙂
-Kelsey with Bramble Berry
Vermont Maple Fragrance Oil: https://www.brambleberry.com/Vermont-Maple-Fragrance-Oil-P6651.aspx
hi there,
I have problem to get Tobacco & Bay Leaf Fragrance Oil. What would you recommand me as alternative fragrance oil? Maybe more common used.
Thank you
Hi there! Tobacco and Bay Leaf is a fairly unique scent, but you can use any fragrance you have on hand. Anything with smoky, herby notes would work well for this color scheme. What fragrances do you have on hand? Let me know and I can help you choose one for this recipe. 🙂
-Kelsey with Bramble Berry
Oh, many thanks Kelsey, you are very kind.
For example I am able to buy these:
eukalyptus
levander
peppermint
cedar
patchouli
orange
And I am also thingking I split this recipe to two different solid colors. One soap will be black as it is in recipe and second half of base red using red mica and poppy inside (design and peeling effect).
What do you think about this plan?
Tobacco and Bay Leaf is fresh, green and herby. So, I think a mix of lavender, patchouli and a touch of cedar will give you a similar scent! Learn more about blending essential oils here: https://www.soapqueen.com/bath-and-body-tutorials/tips-and-tricks/how-to-blend-essential-oils-safely/
Also, I think that design sounds lovely! If you’re going for a red, it can be tricky in cold process soap. Reds turn pink when they mix with white soap. We have a post that talks about what colors to use to get a nice red. 🙂
How to Get the Perfect Red in Cold Process Soap: https://www.soapqueen.com/bath-and-body-tutorials/the-perfect-red-in-cold-process-soap/
-Kelsey with Bramble Berry
Do you think would be OK to use ratio 2:2:1 (lavender : patchouli : cedar) all together 2 oz?
I am also thinking about different color, maybe green or so, but what´s better to use, oxide or mica?
Thank you
You can definitely use that essential oil combo if you like! The ratio is personal preference. If you find you want more of one essential oil, you can adjust the ratio. 🙂
Learn more about blending essential oils here: https://www.soapqueen.com/bath-and-body-tutorials/tips-and-tricks/how-to-blend-essential-oils-safely/
-Kelsey with Bramble Berry
Can I use the crescent moon mold in a melt and pour soap?
Absolutely, that would look really cute! You can use Clear Melt and Pour Soap and the Black Oxide Color Block for the base. 🙂
Learn more about embedding in melt and pour here: https://www.youtube.com/watch?v=EMYygHyUrzY
Clear Melt and Pour Soap: https://www.brambleberry.com/SFIC-LCP-Clear-Melt-And-Pour-Soap-P4383.aspx
Black Oxide Color Block: https://www.brambleberry.com/Color-Block-Non-Bleeding-Black-Oxide-P5369.aspx
-Kelsey with Bramble Berry
Can I use a yellow mica to color the melt and pour moon? I have everything except the yellow color block! 🙁
Thx!
Absolutely! A yellow mica would work well for the moon. You can add the powder directly to the melted soap and stir to incorporate, or mix it with a bit of rubbing alcohol beforehand to help it mix in more smoothly. 🙂
Read more about coloring melt and pour with micas here: http://www.soapqueen.com/bath-and-body-tutorials/tips-and-tricks/talk-it-out-tuesday-colorants/
-Kelsey with Bramble Berry
I have a question about the mango butter. Every time I use it in cold process soap my batter accelerates FAST! I don’t have time to even get the fragrance in before it starts to get really really thick. What is the trick to using mango butter as well as cocoa butter, illipe butter, and kokum butter as they all seem to do this?
Hi Lianne!
Butters can accelerate trace a bit, but it shouldn’t trace that fast. How much butter are you using? Also, what temperatures are your lye and oils? Let me know and I’ll help you troubleshoot. 🙂
-Kelsey with Bramble Berry
I use less then 5% of any given hard butter. I usually soap around 100 degrees as I find the hotter temps also can cause acceleration.
Also, I don’t know if this has any bearing on the issue but all of my butters are unrefined and not deodorized.
That amount sounds just right, and unrefined butters typically don’t affect trace too much. What other oils are you using in your recipe and at what percentage? Thanks for answering my questions!
-Kelsey with Bramble Berry
this was in a 5 lb loaf mold: avocado oil 7.37%, canola oil 7.37%, castor oil 7.37 %, cocoa butter 5.79 %, coconut oil 22.11 %, olive oil 22.11 %, palm oil 22.11% shea butter 5.79 %. no prob, any help you can provide will be greatly appreciated! I have seen you tube videos when other people have used mango butter as well and had the same issue with their soap accelerating really fast.
Thanks so much for your recipe! I think it’s a mix of temperatures and the castor oil. At higher percentages, castor oil can accelerate trace. I would recommend dropping it to 2-3% and adding more olive oil to cover the loss. Then, up your temperatures to 110-115F. That should give you some more time to work! 🙂
Remember to run your recipe through the Lye Calculator after any substitutions: https://www.brambleberry.com/Pages/Lye-Calculator.aspx
-Kelsey with Bramble Berry
ok I will try those suggestions. thanks for all your help I really appreciate it.
You’re welcome Lianne! Let me know how your next batch turns out. 🙂
-Kelsey with Bramble Berry