Here on the western side of Washington state, we don’t get a lot of snow. Luckily, the mountains are nearby when we want to enjoy skiing, snowboarding, sledding, or just building a snowman. Personally, I have my fingers crossed for a little snow below the mountains this year; our yard has a little hill that would be perfect for sledding!
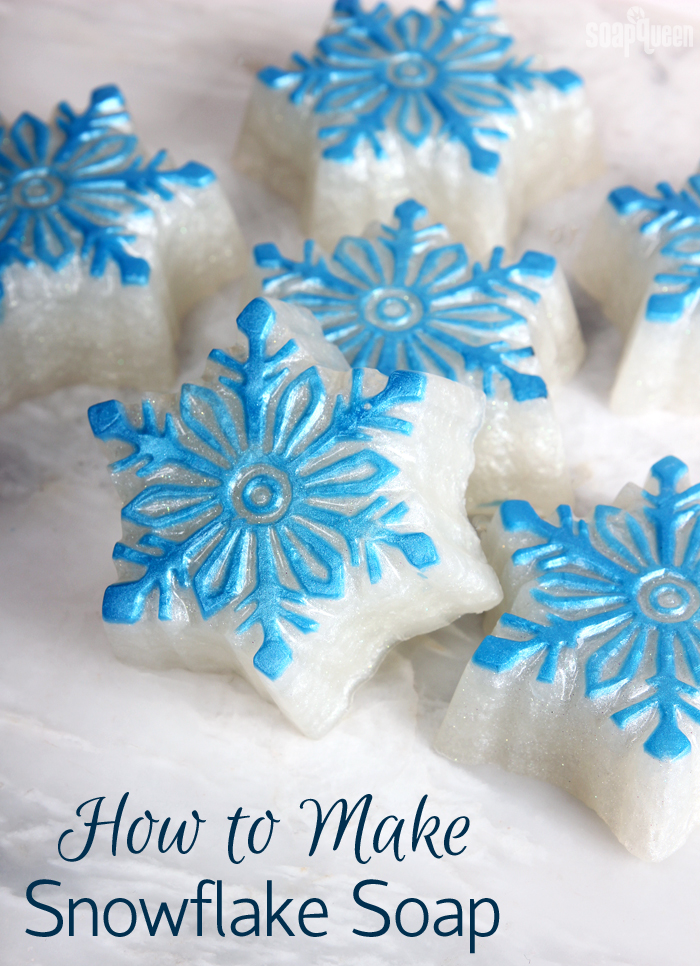
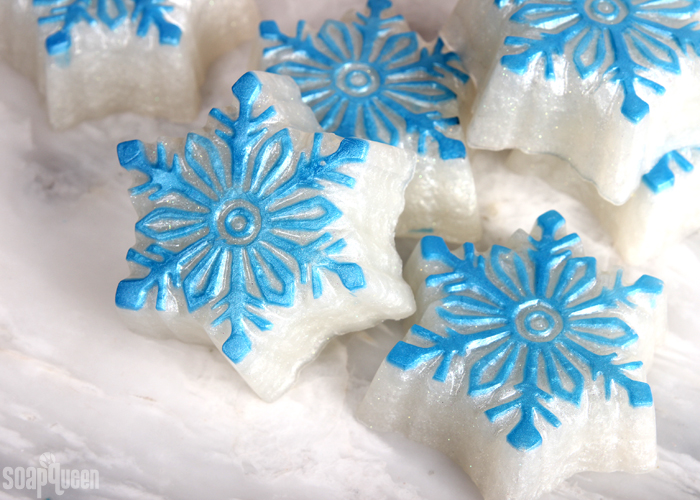
The thought of fresh snow led me to create these super sparkly snowflake melt and pour soaps. They would make a great holiday gift. It’s also a fun project to do with family and friends who are staying during the holidays. If it doesn’t snow, I’ll probably whip up another batch with my mom to make our own white Christmas! =)
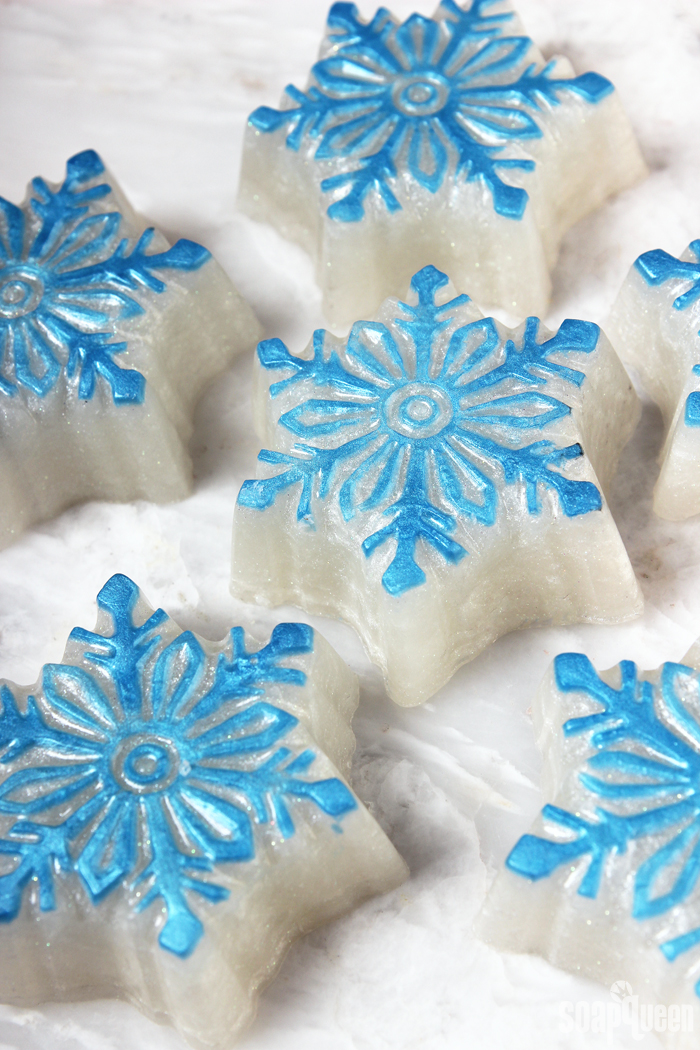
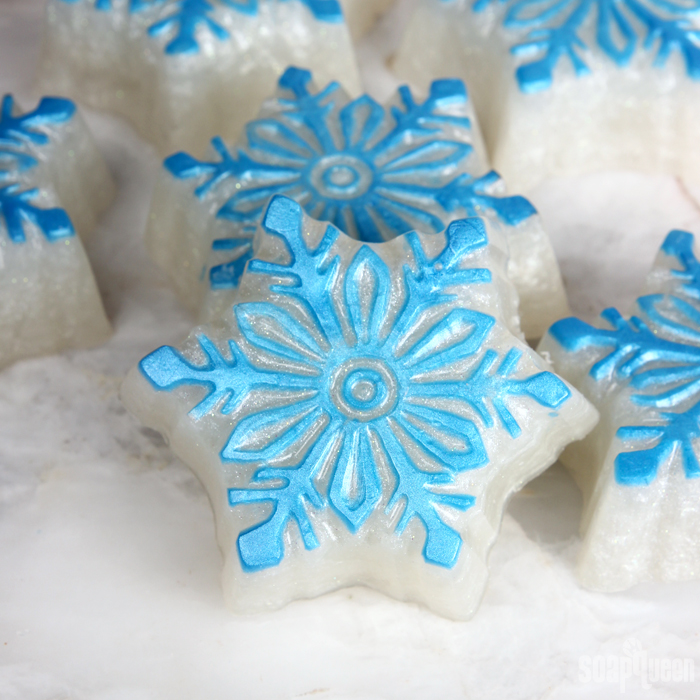
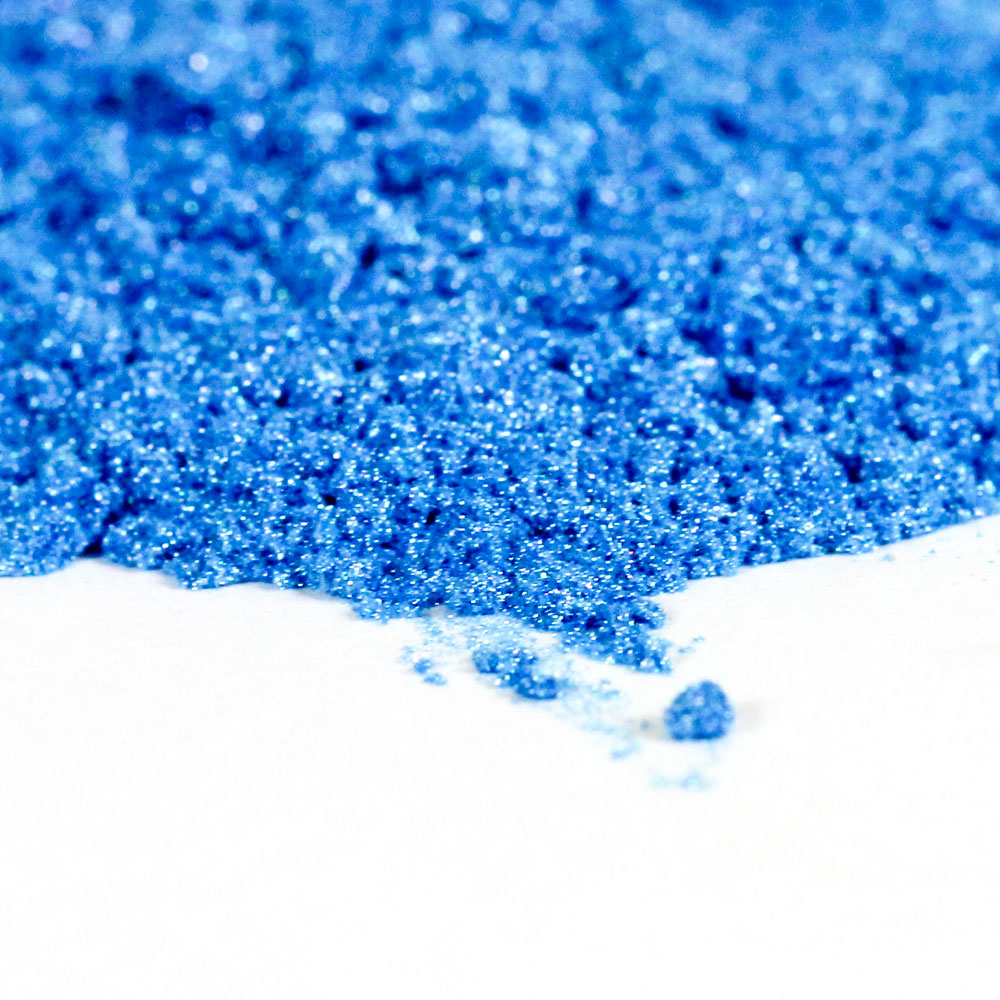
These soaps are scented with Fresh Snow Fragrance Oil, which is a clean, ozone-y fragrance. It reminds me a bit of clean laundry. A small amount of soap is colored with Slushy Blue Mica and placed in the snowflake details with an Injector Tool. This does take require a steady hand and a little patience. Having a spray bottle full of rubbing alcohol helps the soap “spread” into the details more easily, and a Clean Up Tool is great for fixing any mistakes.
What You’ll Need:
Two Snowflake 2 Molds
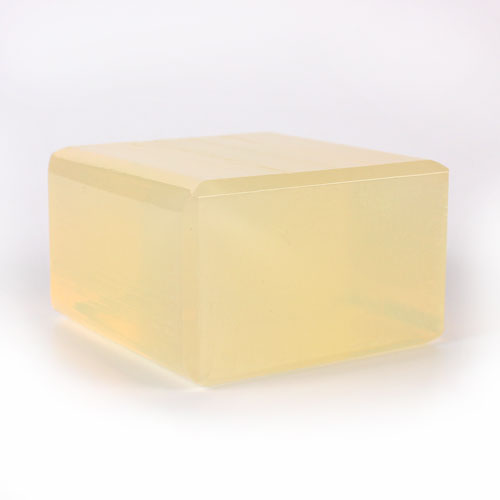
27 oz. Clear Melt and Pour Base
0.4 oz. Fresh Snow Fragrance Oil
Slushy Blue Mica
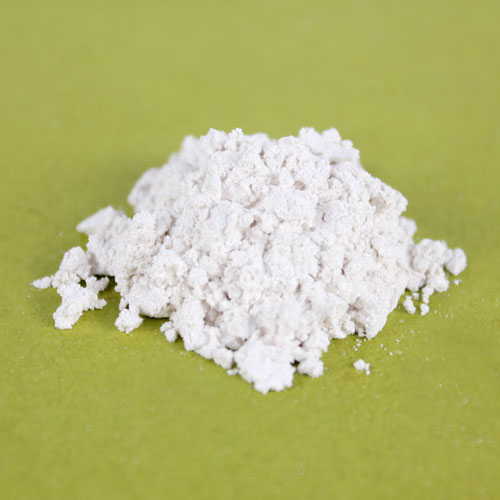
Super Pearly White Mica
Snowflake Sparkle Mica
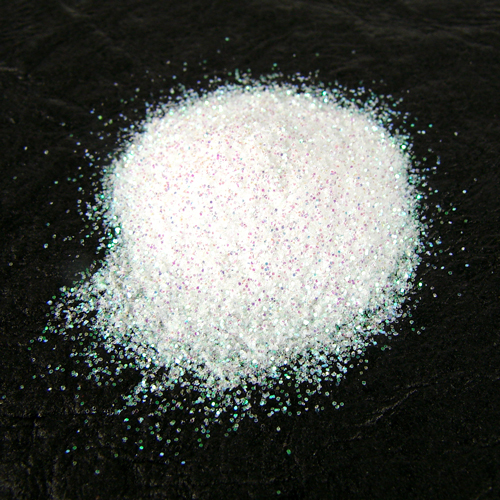
Fine Iridescent Glitter
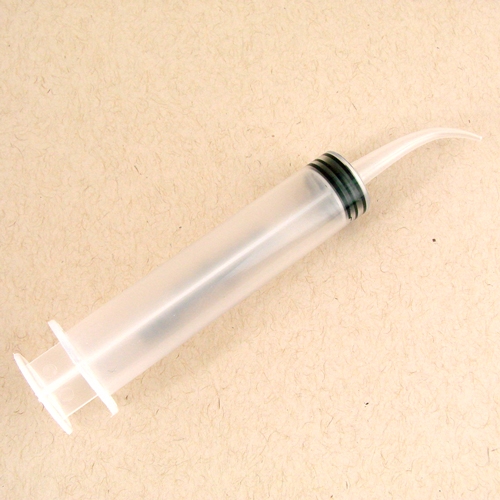
Injector Tool
99% Isopropyl Alcohol in Spray Bottle
Optional: Clean Up Tool & Infrared Thermometer

Click here to add everything you need for this project to your Bramble Berry shopping cart!
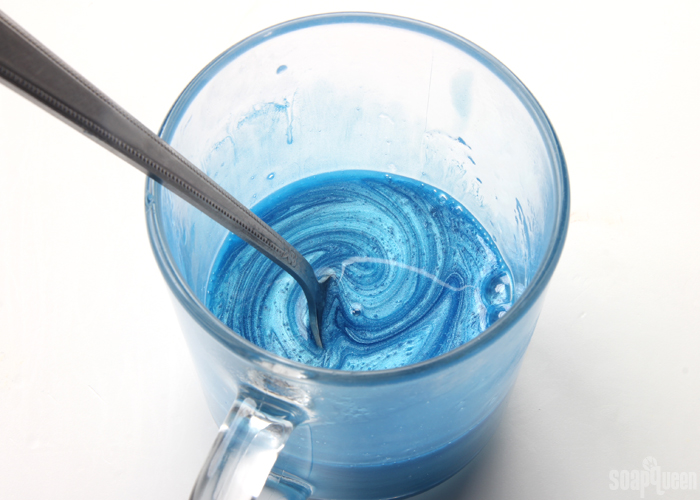
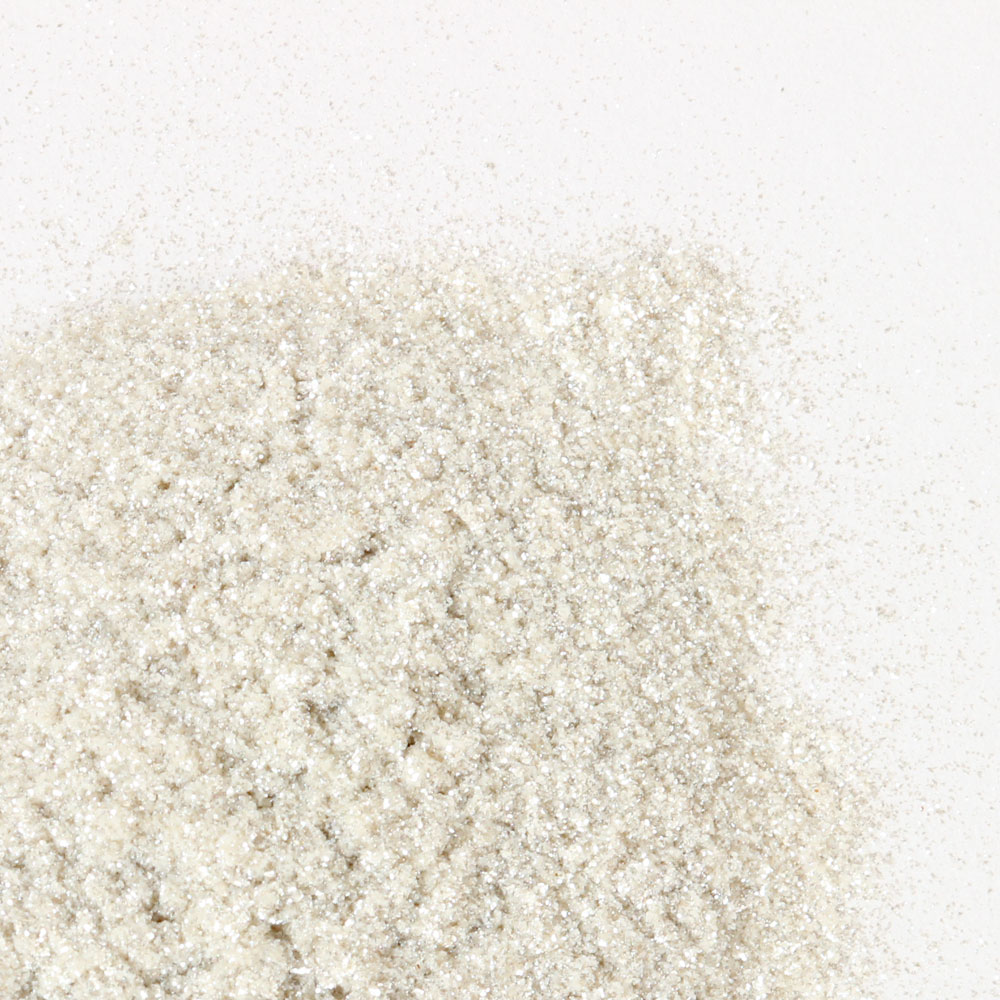
PREP COLORANTS: Dispersing powdered colorants in 99% isopropyl alcohol makes them easier to incorporate into melt and pour. It also helps prevent clumps. In a small container, mix together 1/2 teaspoon Slushy Blue Mica into 1/2 tablespoon alcohol. In a separate container, mix together 1 teaspoon Snowflake Sparkle Mica and 1/4 teaspoon Super Pearly White Mica into 1 tablespoon alcohol. Set colorants aside.
ONE: Chop and melt 3 ounces of Clear Melt and Pour Soap in the microwave using 5-7 second bursts. Because you’re melting such a small amount of soap it can be easy to burn, so use short bursts. Once melted, stir in the Slushy Blue Mica mixture.
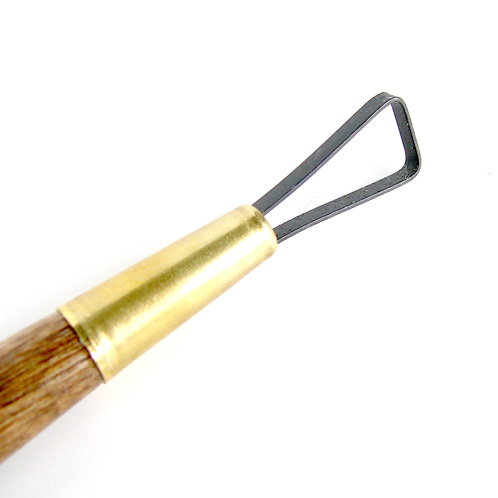
TWO: Spray the mold cavities lightly with alcohol. This helps the soap spread into the details. Use scissors to cut a small section off the end of the Injector Tool to make the hole slightly larger. Use the Injector Tool to fill in the snowflake details with blue soap. Work carefully but quickly as the soap will begin to cool and harden in the Injector Tool. Throughout the process, spray the soap with alcohol to get rid of any bubbles. If necessary, reheat the blue soap in the microwave using 3-5 second bursts. If you make any mistakes, allow the soap to harden and use the Clean Up Tool to fix any mistakes.
TIP: Have a cup of hot water nearby to clear out the Injector Tool while filling in the details. This helps prevent the soap from hardening in the tool, which is hard to remove.
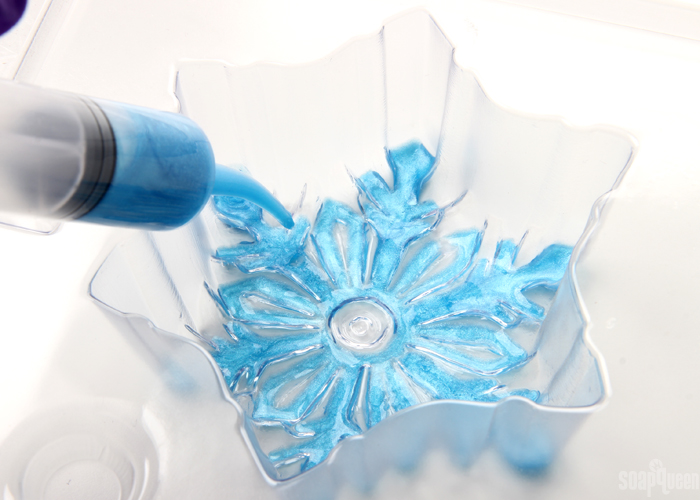
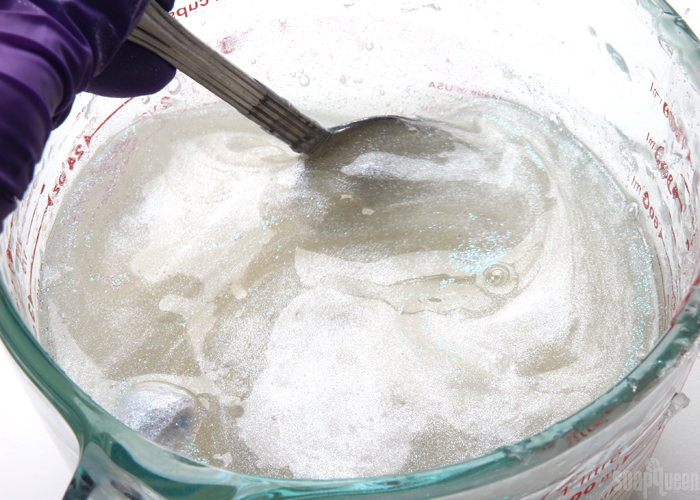
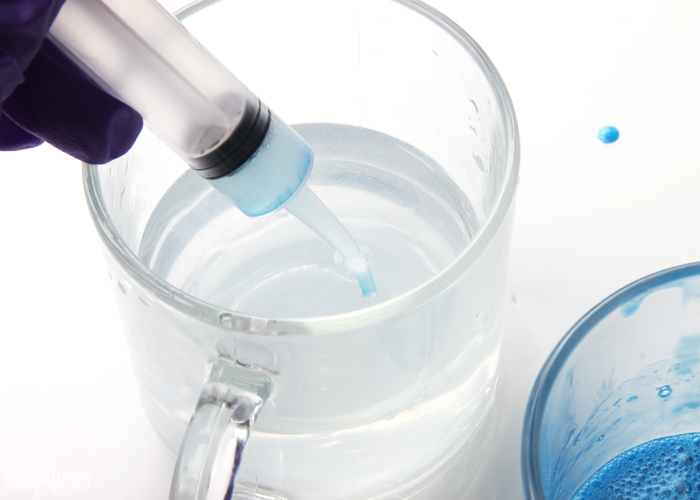 THREE: Chop and melt 24 ounces of Clear Melt and Pour Soap base in the microwave using 30-45 second bursts. Add the Snowflake Sparkle Mica and Super Pearly White Mica mixture to the soap and stir in with a spoon. Add 1/2 teaspoon of Fine Iridescent Glitter to the soap and stir in.
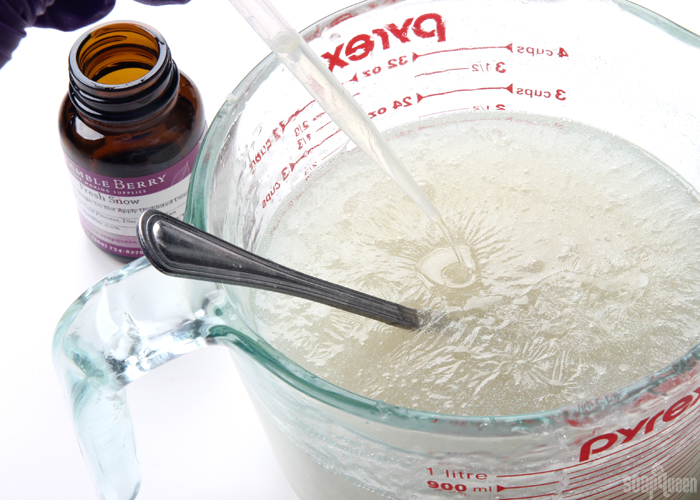
 FOUR: Add the Fresh Snow Fragrance Oil and use a spoon to fully mix in.
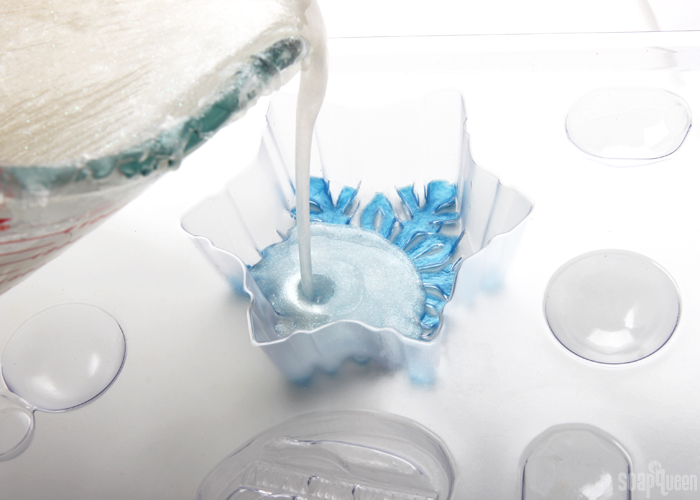
 FIVE: Check the temperature of the white soap. If it’s above 130 ° F, allow it to cool until it’s about 120-125 ° F. If it’s too hot, it will melt the blue details below. Once it’s the appropriate temperature, spritz each cavity with alcohol to help the layers stick and pour the white soap into each cavity. Spritz the soap with alcohol to help get rid of any bubbles. Allow the soap to fully cool and harden overnight. Release the soap from the mold, and wrap in plastic wrap to help avoid glycerin dew.
- Two Snowflake 2 Mold
- 27 oz. Clear Melt and Pour Base
- 0.4 oz. Fresh Snow Fragrance Oil
- Slushy Blue Mica
- Super Pearly White Mica
- Snowflake Sparkle Mica
- Injector Tool
- 99% Isopropyl Alcohol in Spray Bottle
- Optional: Clean Up Tool
- Chop and melt 3 ounces of Clear Melt and Pour Soap in the microwave using 5-7 second bursts. Because you’re melting such a small amount of soap it can be easy to burn, so use short bursts. Once melted, stir in the Slushy Blue Mica mixture.
- Spray the mold cavities lightly with alcohol. This helps the soap spread into the details. Use scissors to cut a small section off the end of the Injector Tool to make the hole slightly larger. Use the Injector Tool to fill in the snowflake details with blue soap. Work carefully but quickly as the soap will begin to cool and harden in the Injector Tool. Throughout the process, spray the soap with alcohol to get rid of any bubbles. If necessary, reheat the blue soap in the microwave using 3-5 second bursts. If you make any mistakes, allow the soap to harden and use the Clean Up Tool to fix any mistakes. TIP: Have a cup of hot water nearby to clear out the Injector Tool while filling in the details. This helps prevent the soap from hardening in the tool, which is hard to remove.
- Chop and melt 24 ounces of Clear Melt and Pour Soap base in the microwave using 30-45 second bursts. Add the Snowflake Sparkle Mica and Super Pearly White Mica mixture to the soap and stir in with a spoon.
- Add the Fresh Snow Fragrance Oil and use a spoon to fully mix in.
- Check the temperature of the white soap. If it’s above 130 ° F, allow it to cool until it’s about 120-125 ° F. If it’s too hot, it will melt the blue details below. Once it’s the appropriate temperature, spritz each cavity with alcohol to help the layers stick and pour the white soap into each cavity. Spritz the soap with alcohol to help get rid of any bubbles. Allow the soap to fully cool and harden overnight. Release the soap from the mold, and wrap in plastic wrap to help avoid glycerin dew.






What other fragrance oils will work for this project? I will be using goat milk base. Thank you
You can use any of our skin-safe fragrance oils in this recipe: https://www.brambleberry.com/Fragrance-Oils-C161.aspx
Find out how much to add with our Fragrance Calculator: https://www.brambleberry.com/Pages/Fragrance-Calculator.aspx
Some great options are Winter Gardenia, Sparkling Snowdrop, and White Rose fragrance oils. They’re winter scents that complement this soap design.
Winter Gardenia: https://www.brambleberry.com/Winter-Gardenia-Fragrance-Oil-P5924.aspx
Sparkling Snowdrop: https://www.brambleberry.com/Sparkling-Snowdrop-Fragrance-Oil-P6650.aspx
White Rose: https://www.brambleberry.com/White-Rose-Fragrance-Oil-P6124.aspx
Would this work with CP?
Thanks
I think this would work for cold process! I would recommend cutting a wider opening in the Injector Tool to allow for the thicker cold process soap. Make sure to keep that at a very thin trace as well. Slushy Blue Mica works for cold process, so you won’t need a different color. Then, pour the white carefully over the details. Don’t spray alcohol or the layers may separate. Just pour slowly after the details have had a chance to harden a bit. A small test batch would be helpful to get the trace and color amounts right.
Learn more about coloring cold process soap here: http://www.soapqueen.com/bath-and-body-tutorials/tips-and-tricks/talk-it-out-tuesday-colorants/
And use our Fragrance Calculator to find out how much scent to use: https://www.brambleberry.com/Pages/Fragrance-Calculator.aspx
Cold process soap does take longer to unmold from plastic. It helps to add sodium lactate. Get more tips in this post: https://www.soapqueen.com/bath-and-body-tutorials/tips-and-tricks/unmolding-cold-process-soap-from-plastic-molds/
-Kelsey with Bramble Berry
I love this mould! I usually reverse it though, white snowflake on a blue background, but I’ll definitely have to try it this way.
Either way would look really beautiful! I love shimmery blue and white together.
-Kelsey with Bramble Berry