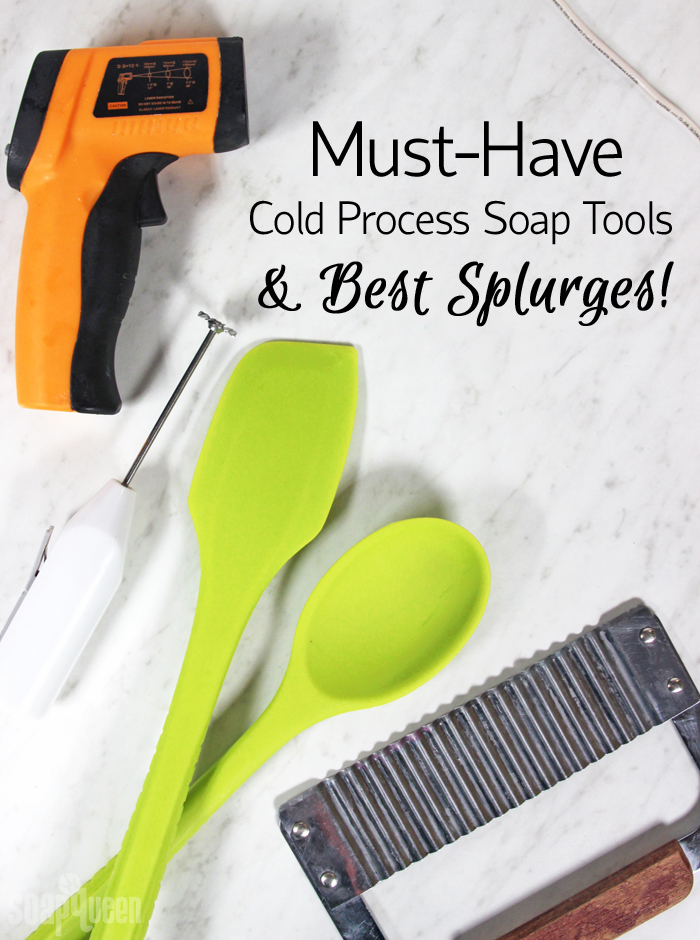
There are so many fun tools and ingredients to create cold process soap. From the basics like stick blenders and molds, to fancier items like the Comb Swirl Tool, tools can really expand what a soaper can do. I have been making soap for over 20 years, and all the new soaping tools that have come out since then are pretty amazing! I have used just about all of them, and there are definitely some tools that I can’t do without.
I rounded up my very favorite tools (and one crucial ingredient!) in a few different categories below based on the convenience they provide, versatility and value. Of course everybody has a different idea of what is essential, a must-have, and what’s a luxury item. But, these are the tools I find myself always reaching for, and what makes soaping so much easier for me and my team! Is there a soaping tool you just can’t live without?

- Safety Gear (Safety Goggles, Gloves, etc.)
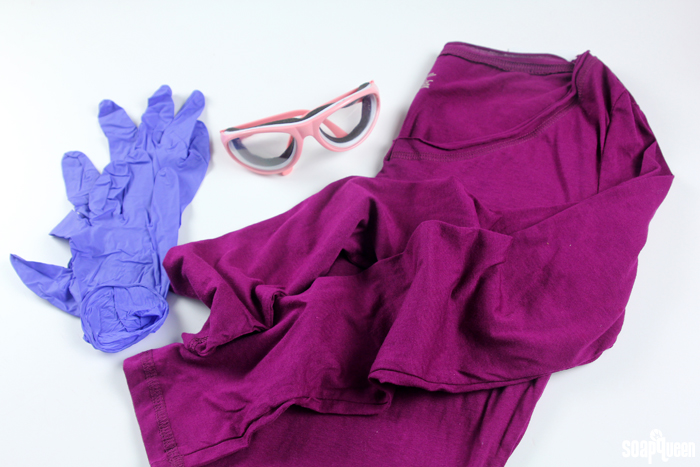
While you can get away with a lot of fancy soaping tools, safety gear is a must. Cold process soaping requires working with sodium hydroxide lye which is a caustic chemical. Lye has the ability to cause skin and eye irritation if it comes in direct contact. But, just like driving a car, it’s perfectly safe when handled correctly. The easiest and most effective way to protect yourself when working with lye is to wear a long sleeved shirt, pants, closed-toed shoes, safety goggles and gloves. This greatly reduces any chance for serious injury. If working with lye makes you nervous (I understand!) this post may help calm your nerves. In addition, the Sodium Hydroxide Lye Safety Guide has everything you need to know about working with lye in soap.
- Sodium Hydroxide Lye
Speaking of lye, you can’t make cold process soap without it. There is no ifs-ands-or-buts about it, cold process soap requires lye to become…well, soap! When oils and lye water are emulsified, the saponification process begins. This means the sodium hydroxide lye solution starts turning the oil into soap. If you’re a visual learner, this video may help you understand saponification a little better. I highly recommend purchasing lye that is intended for soap making. Lye from hardware stores can contain other ingredients that may cause unpredictable results.
- Stick Blender
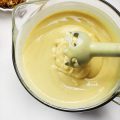
Before the days of stick blenders, soapers would stir together lye and oils together for hours to create soap. I don’t know about you, but I don’t want to spend hours making one batch of soap. That’s where a reliable stick blender comes in! A stick blender emulsifies oil and lye together in seconds, rather than hours and hours. Some soapers still prefer to skip the stick blender and stir their oils and lye by hand…and more power to ’em! But personally, I can’t do without it.
Note: Our stick blenders are out of stock because we’ve created our own “Best Ever Soaping Stick Blender”and the new ones are due in December 11, just in time for the holidays.

- Easy Pour Containers
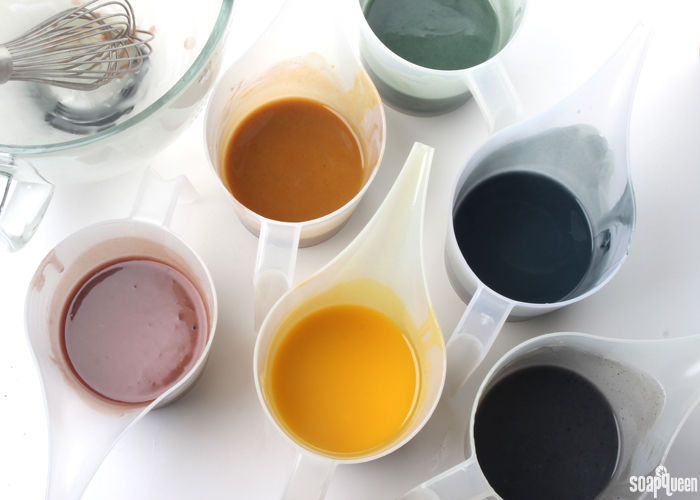
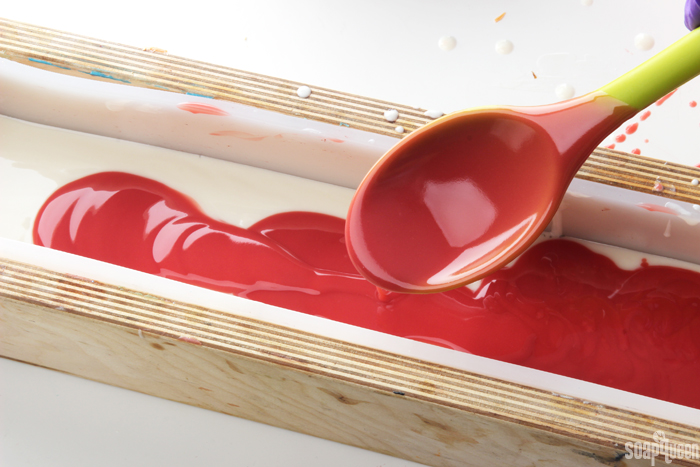
I use Easy Pour Containers for just about every batch of soap I make that involves multiple colors. The long pour spout is great for precise pouring, and really comes in handy for swirls. In particular, they make linear swirls a breeze. They are also easy to clean, which is always a bonus!
- Infrared Thermometer
Temperature affects cold process soap in so many ways. For example, if your soap is too hot it can crack, volcano or develop “alien brain.” If it’s too cold it can develop soda ash. Read more about how temperature affects soap here. In order to have consistently successful batches of soap, a reliable thermometer is a must. A candy thermometer works as well, but I love using a infrared thermometer that I don’t need to clean. This is especially true when testing the temperature of lye!
- Silicone Tool Set & Whisks
This seems really basic, but a sturdy set of silicone spatulas and whisks are so valuable for cold process soaping. From plopping soap into the mold with the Round Silicone Spoon to create a spoon plop, to using the Silicone Spatula to get every last bit of soap, I use these tools everyday. I love the silicone whisks for mixing in fragrance oils.The bright green color makes them easy to find and distinguish from your cooking utensils.
- Mini Mixer
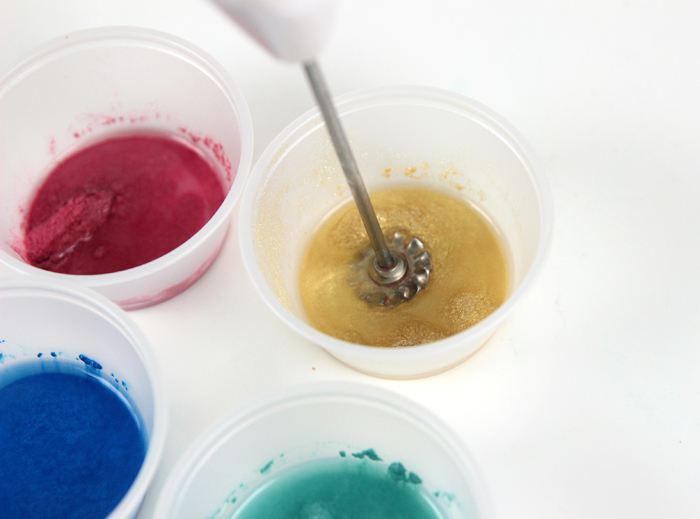
Oh little Mini Mixer, how I love you so. If my soap includes any colorants, I use this tool to disperse them in lightweight liquid oil. And because I love color, I use it in roughly 99.9% of my soap batches. =) Sometimes you can get away with using a spoon to disperse micas because they have such small particles. But for larger, heavier colorants like pigments and oxides, the mini mixer helps get rid of clumps. Learn how to disperse colorants for soap here. It has plenty of power for mixing colorants in lightweight oils, but I don’t recommend it for thicker mixtures like lotions or soap.
- Hanger Swirl Tool
I love how many designs you can create with such a simple and inexpensive tool. From the basic Hanger Swirl, to modified versions like the Butterfly Swirl, the Hanger Swirl Tool creates some really beautiful designs. It can be bent to fit a wide variety of molds; in particular I use it in the 10″ Silicone Loaf Mold, Tall Narrow Wood Loaf Mold, and the 5 Pound Mold with Sliding Bottom. While I don’t use it for every batch, it’s included in this section because it’s really worth the small investment!

- Multi-Bar Cutter
Cutting even and straight bars can be tricky. The Multi-Bar Cutter gives you perfectly straight and even bars of soap every time. It really makes your bars look professional, and is a must for business owners who need an exact weight for each bar. It’s definitely a splurge, but I have yet to find a soaper who didn’t think it was worth it. This video shows you how to use the cutter, and replace a wire if it happens to break. To avoid wires from breaking, I like to cut my soap immediately after unmolding. That way, the soap is still slightly soft and the wires can cut the soap easily. Unfortunately, melt and pour soap is too firm for this tool.
- Multi-Pour Sectioning Tool & Multi-Pour Tool for 10″ Silicone Mold
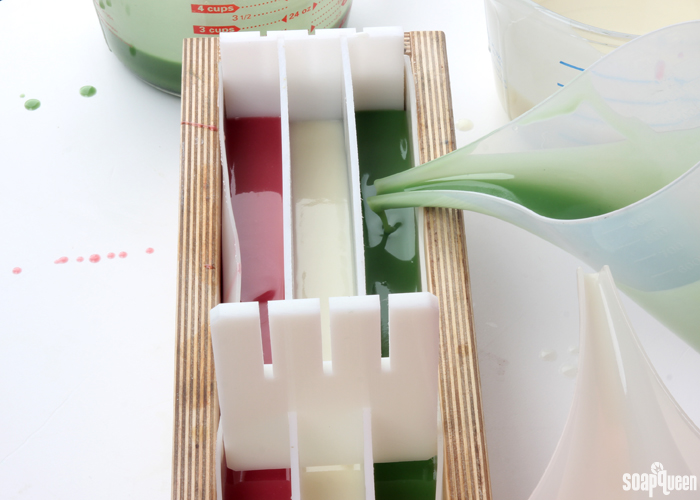
The Multi-Pour Sectioning Tool and Multi-Pour Tool for 10″ Silicone Mold can be placed into their corresponding molds to create 2-4 vertical sections of soap. The dividers are then carefully pulled up and out. Once you have sections, they can be swirled to create designs like the Circling Taiwan Swirl, or left alone to create stripes as shown in the Cindo de Mayo Cold Process Soap. It’s a bit of a luxury item because you can create dividers with cardboard (shown here), but that’s kind of a hassle. The Multi-Pour Sectioning Tools can also be used over and over again, which I think makes them worth the investment!
- Soap Shaver
I use this tool all the time! Simply slide the soap across the blade to remove soda ash, knife marks, bubbles and more. You can use it for the top, bottom, sides and front of the bars. It can also be adjusted to remove larger slices, in order to remove deeper blemishes. I like to spritz the shaver with a little alcohol to give the bars a little more slip and glide when using this tool. Of course be very careful when you’re using it, the blade is extremely sharp! This shaver makes bars look clean and professional. - Soap Beveller
Speaking of making your bars look professional, the beveller deserves a shout out too! Slide the soap across the taut wire in the corner to smooth edges of the bars. Like the Soap Shaver, it has a bench hook to secure it on a table or countertop. I like to save the shavings to make confetti soap.
- Swirl Tool Kit
If you love complex swirls like the Peacock Swirl and French Curl Swirl, the swirling tools are a must. Yes, it would be possible to create these swirls by hand…but these tools make it about 300% easier. Check out this video to learn how to use them, then see it in action in the Perfect Peacock Swirls video.
So there you have it! My top picks for soaping tools, including the essentials, must-haves and luxuries. As a soaper, is there a tool you can’t soap without? Or, what soaping splurge do you think is totally worth it?


My favorite soap splurge was on the 18 Bar Unfinished Birchwood Mold and the silicone liner. The bar size is fantastic and it is so easy to use. Having the silicone liner I don’t have to line the wood soap mold.
So glad you’re enjoying it Lesley! The wood molds are definitely nice to have in your collection. 🙂
-Kelsey with Bramble Berry
18 Bar Unfinished Birchwood Mold: https://www.brambleberry.com/18-Bar-Unfinished-Birchwood-Mold-P5168.aspx
Silicone Liner: https://www.brambleberry.com/Silicone-Liner-for-18-Bar-Mold-P5639.aspx
May I ask where you find that enormous glass Pyrex mixing container? I am currently using a stainless steel mixing bowl, but it’s so wide and shallow that I often end up splashing when I use my stick blender! I’ve only ever seen the glass ones in the small, 2-cup sizes!
Hi Karen,
I found my big one at Walmart.
Thanks Olivia! You can also find it on BrambleBerry.com. 🙂
5 Quart Glass Mixing Bowl with Lid: https://www.brambleberry.com/5-Quart-Glass-Mixing-Bowl-with-Lid-P5606.aspx
-Kelsey with Bramble Berry
I make M&P soaps currently and want to get into CP soaps, but I’m worried about the added expense- do I need new tools, molds and bowls that are separate from my M&P equipment?
Many thanks in advance.
Jenny
You can use the same bowls and tools for melt and pour and cold process soap! We do that all the time in the Soap Lab. Just make sure to use different equipment for food. 🙂
-Kelsey with Bramble Berry
thank you so much Kelsey for replying to my question. 🙂 Can I use the same silicone molds? That’s probably a silly question but just want to make sure before I make a Xmas list of wants from Brambleberry. 🙂
You sure can! Silicone molds work well for cold process and melt and pour soap. 🙂
-Kelsey with Bramble Berry
I’ve been dropping a lot of hints that I wanted a beginner’s soap kit for Christmas, so this is a great list of what I need to gather up in the meantime!
That would make an amazing gift! I hope you get some really nice goodies for Christmas Nikki. 🙂
-Kelsey with Bramble Berry