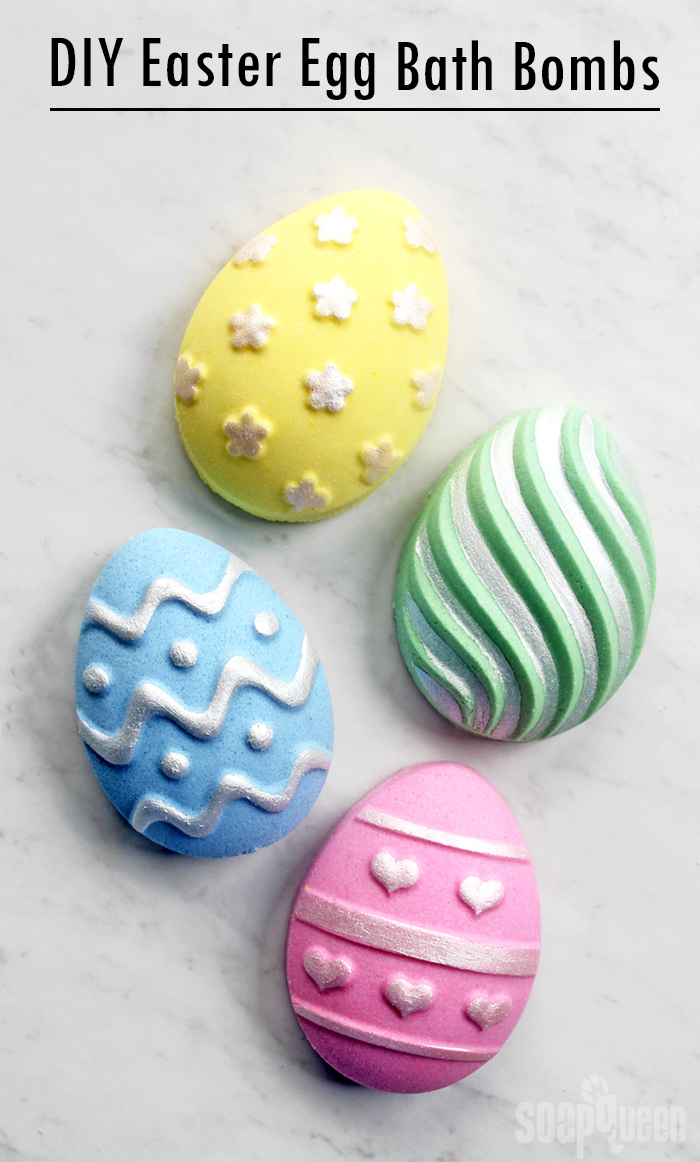
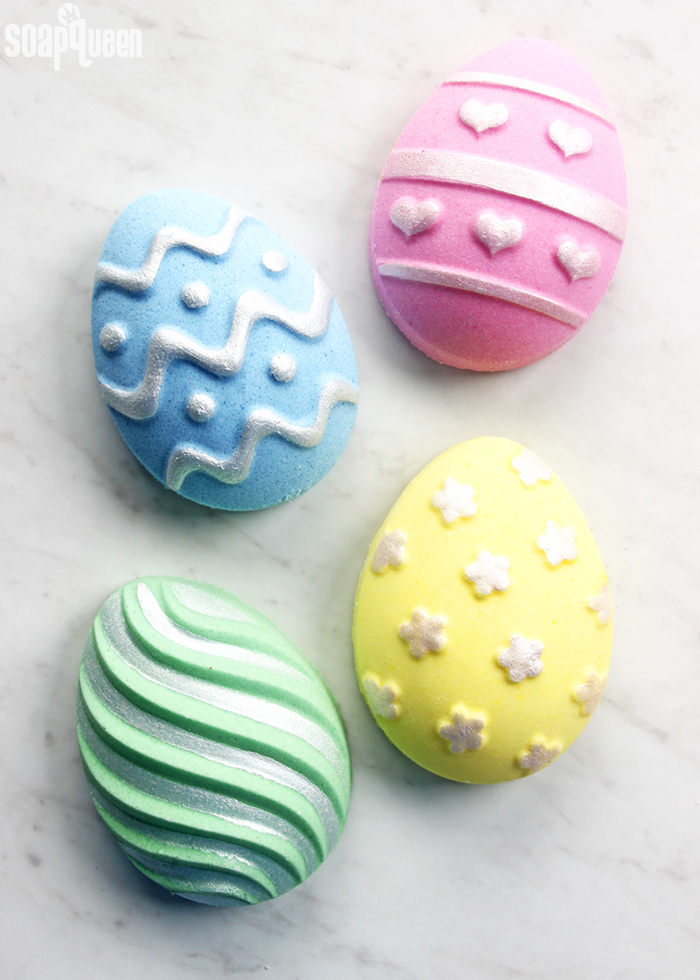
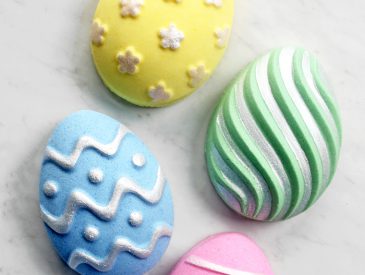
After what feels like the longest winter in recent years, I’m ready for spring-inspired colors and scents. And since spring is officially here (warm weather, where are you!?), Easter is right around the corner. These Easter Egg Bath Bombs are a colorful way to celebrate the holiday. They make great gifts; I guarantee friends and family will be thrilled to receive something other than chocolate bunnies!
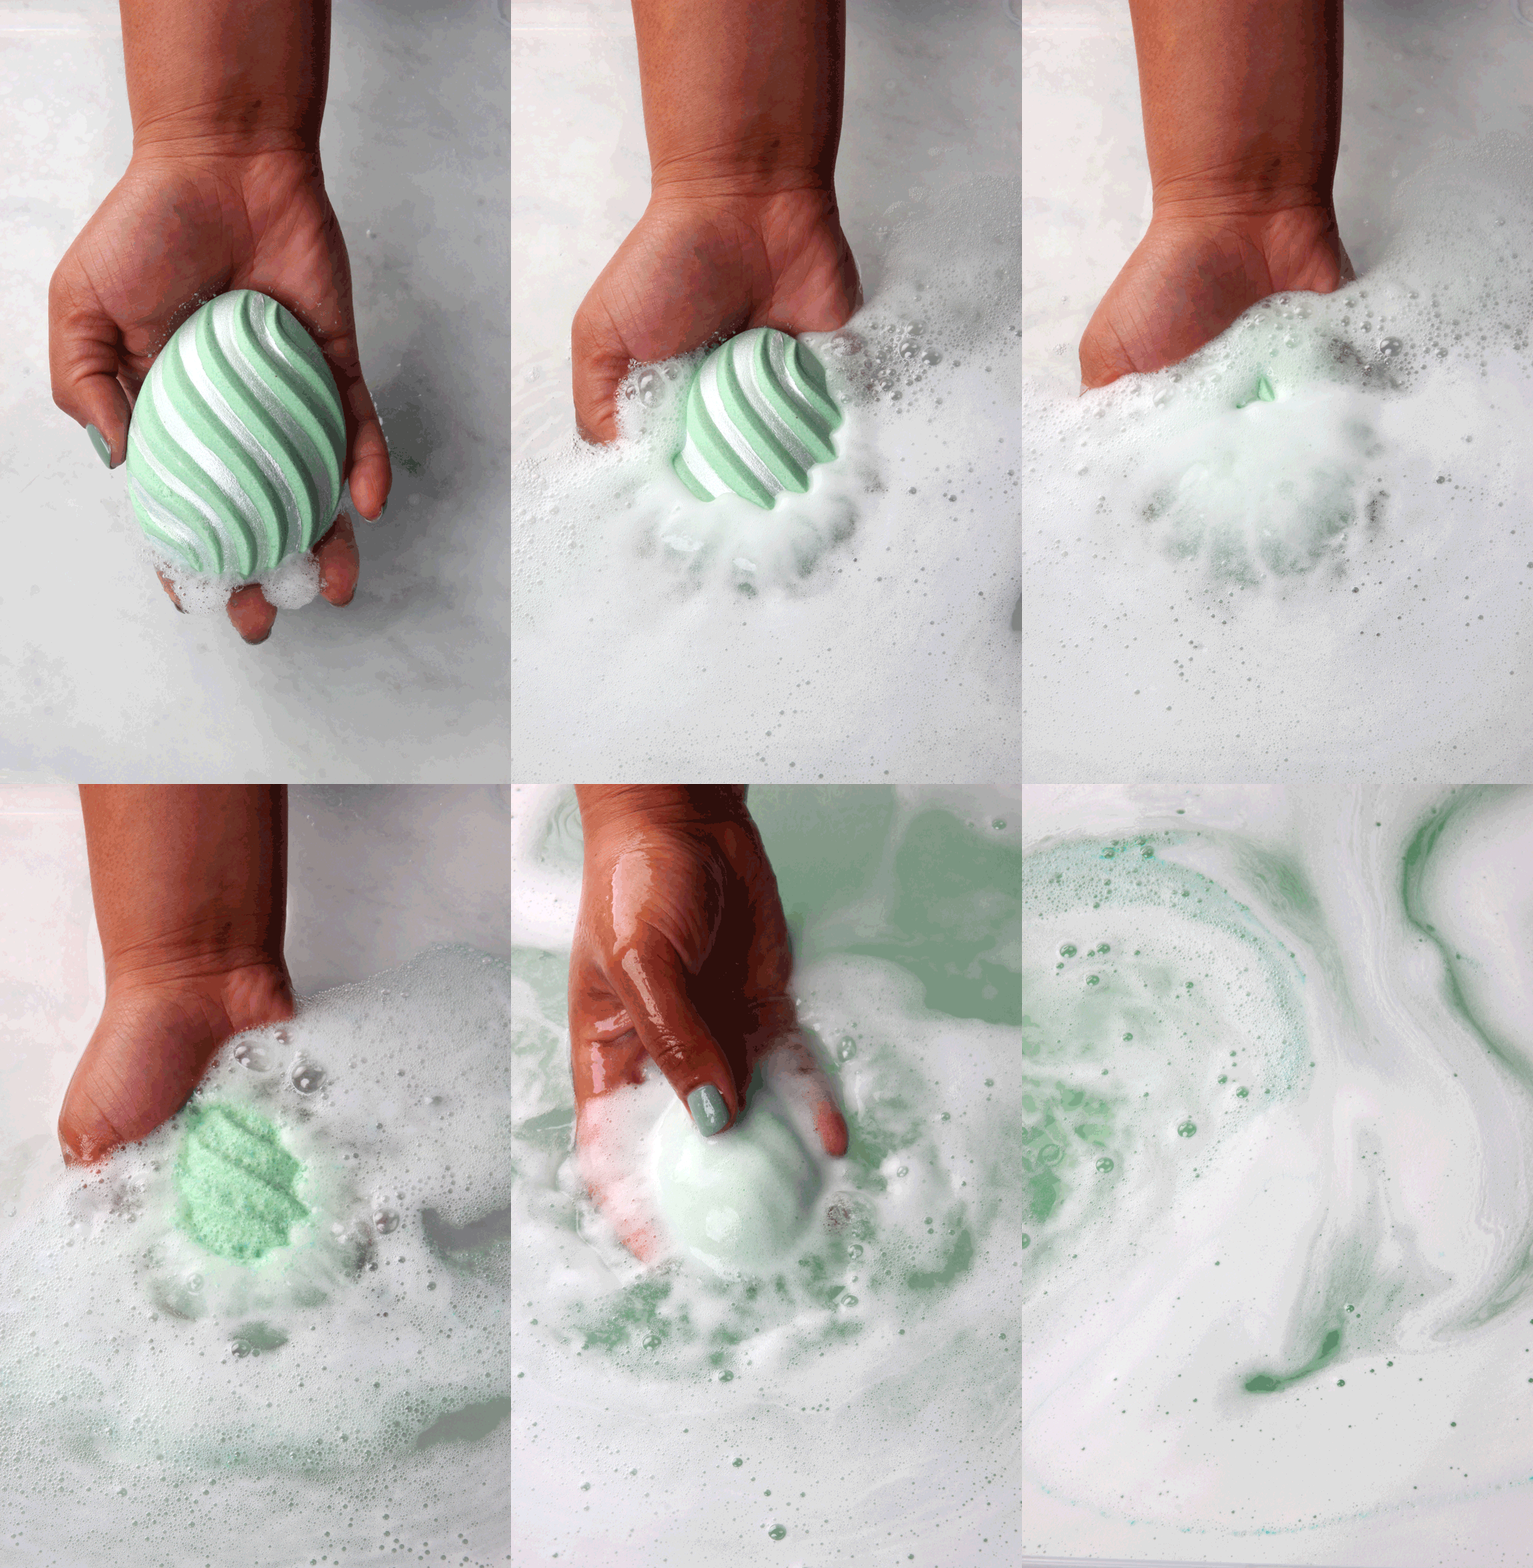
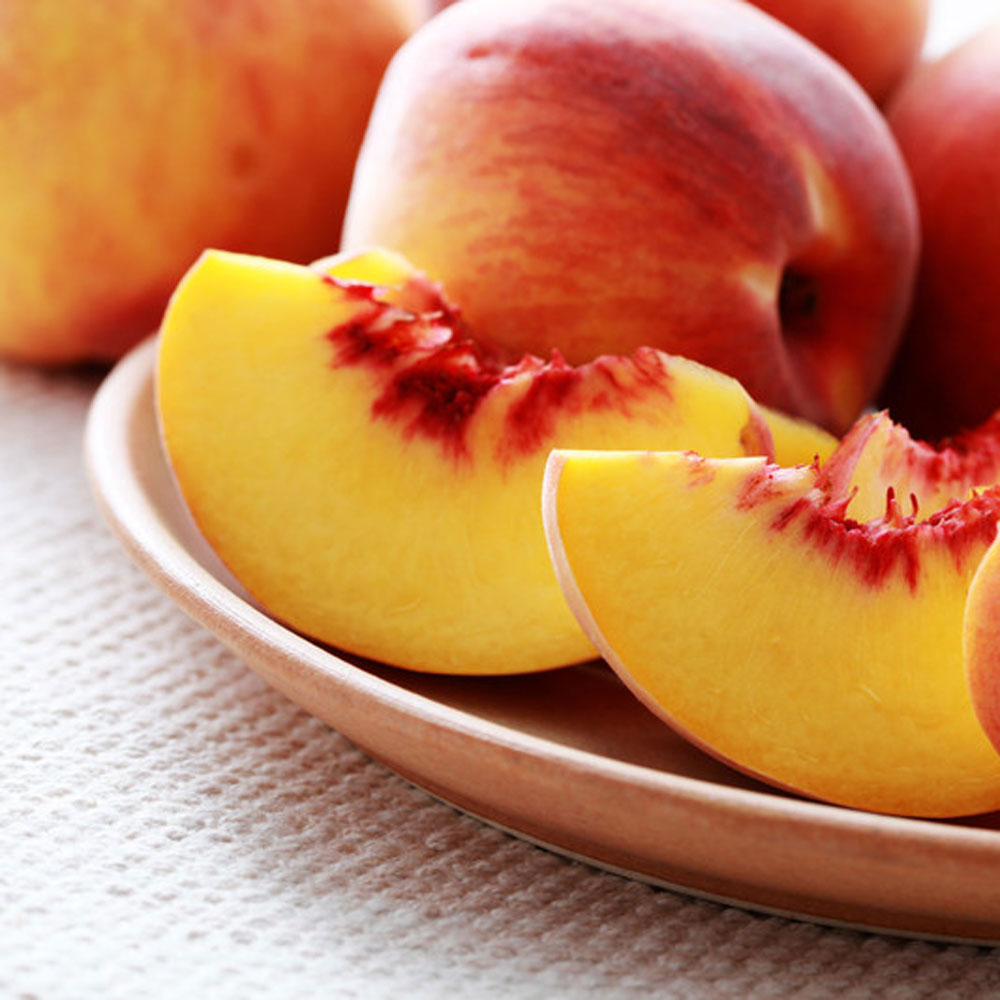
This basic bath bomb recipe contains baking soda and citric acid to create the fizzing reaction in the tub. Coconut oil adds hydration to the water, and also helps the bath bombs retain their shape. Polysorbate 80 is added to help the coconut oil disperse evenly in the water rather than pooling at the top. It’s an optional ingredient, but I love the way it makes the water feel. Peach Fragrance Oil adds a sweet and juicy scent.
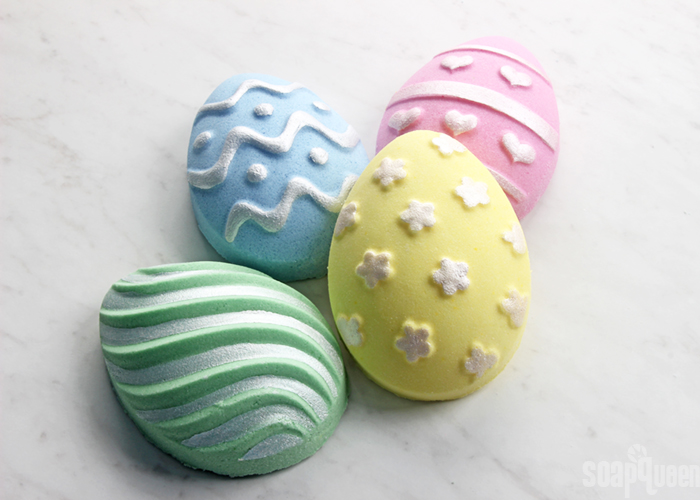
Once the main mixture of bath bombs is created, it’s split into four containers and colored with La Bomb Colorants. La Bomb Colorants are specially formulated bath bombs. They don’t leave any color on your tub and won’t set off the fizzing reaction early like water-based colorants can. Learn more about La Bomb Colorants here.
What You’ll Need:
Easter Egg Mold
2 cups Sodium Bicarbonate (Baking Soda)
1 cup Citric Acid
2 oz. Coconut Oil
2 mL Polysorbate 80
9 mL Peach Fragrance Oil
Bath Bomb Colorants: Rosy Pink La Bomb, Irish Green La Bomb, Cornflower Blue La Bomb, Daisy Yellow La Bomb
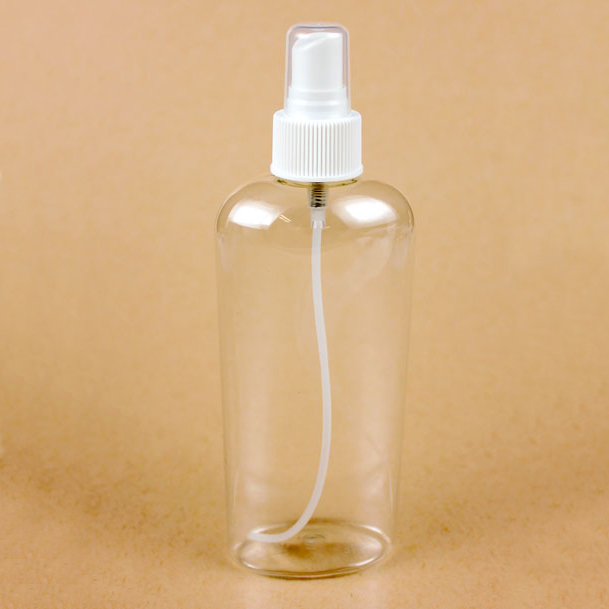
Witch Hazel in Spray Bottle
99 % Isopropyl Alcohol
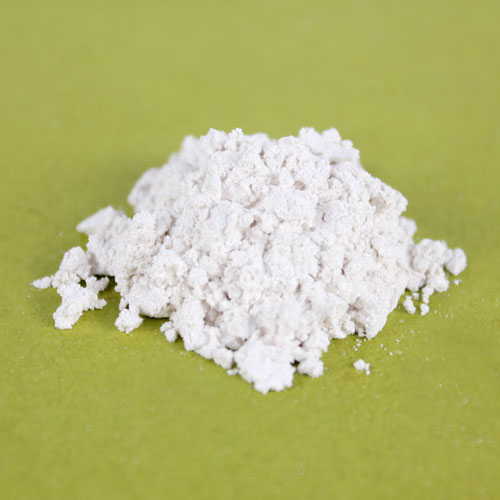
Super Pearly White Mica
Droppers

Click here to add everything you need for this project to your Bramble Berry shopping cart!
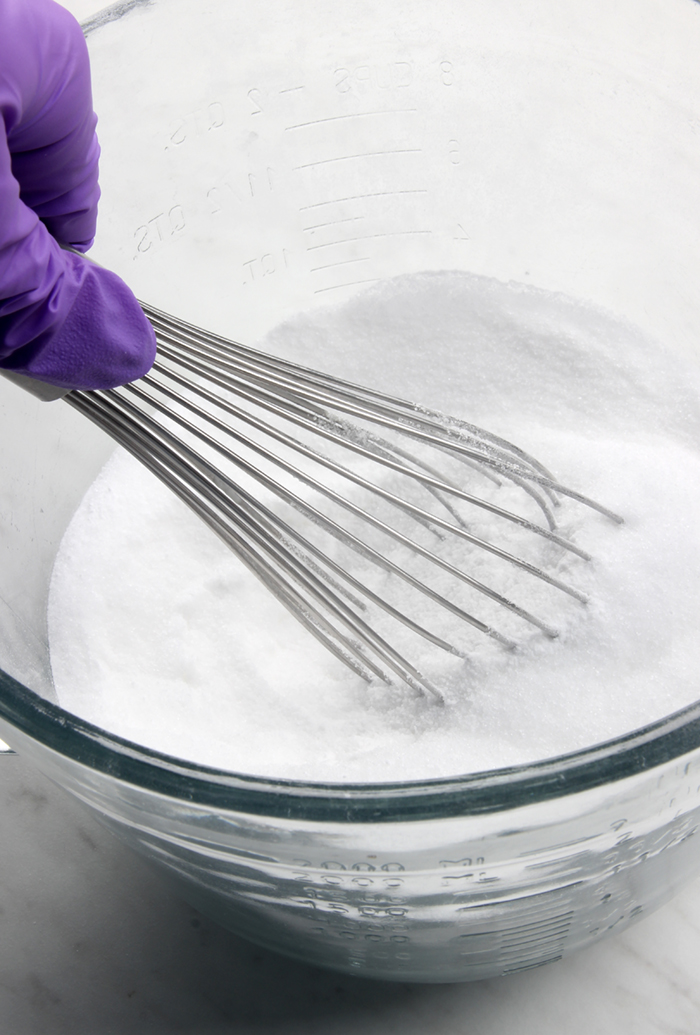
ONE: In a large bowl, combine the baking soda and citric acid. To get rid of clumps in the mixture, you can break them up with your hands or push the powders through a sifter. Citric acid has a tendency to take off nail polish, so wear gloves to protect your manicure. Thoroughly stir the ingredients together.
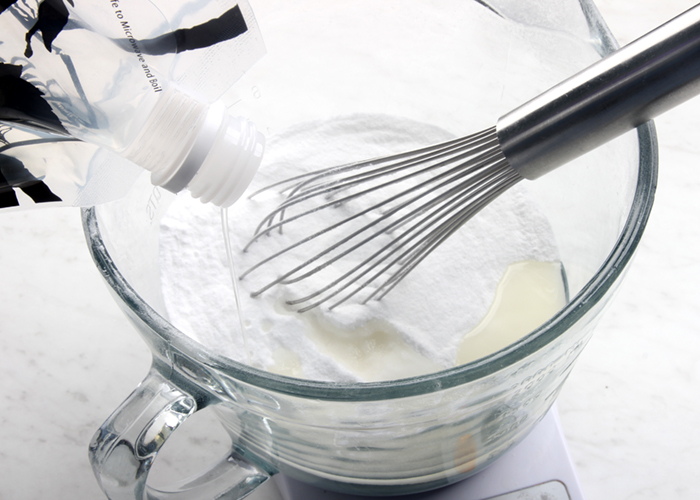
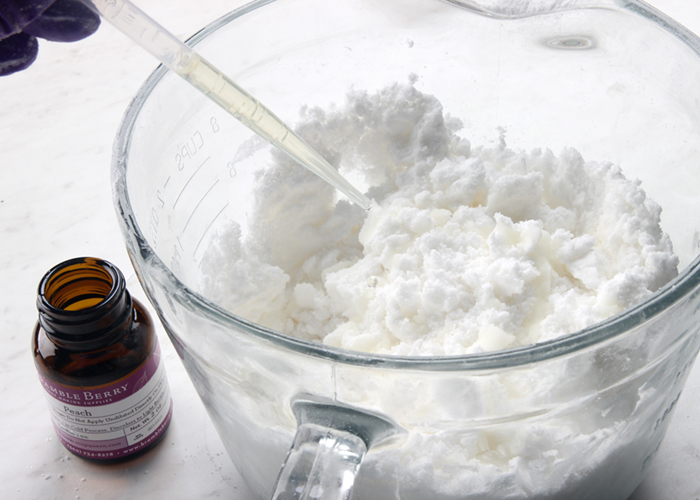
 TWO: Add the coconut oil, polysorbate 80, and Peach Fragrance Oil. Use your hands to thoroughly mix the wet and dry ingredients together.
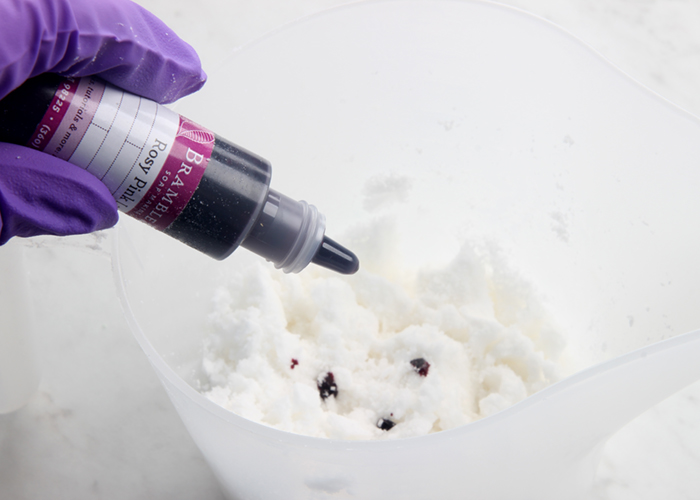
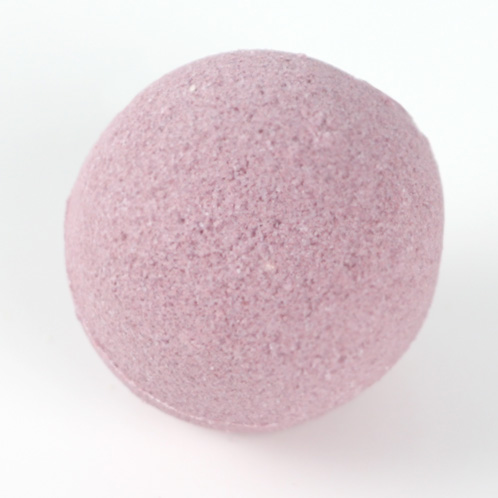
 THREE: Once the ingredients are completely mixed, split the mixture evenly into four containers. You can eyeball it or weigh about 7.5-8 oz. in each container. To one container, add 2-3 drops of the Rosy Pink La Bomb Colorant. Use your hands to thoroughly mix until there are no streaks of color.
 FOUR: Check the moisture level of the mixture. It should hold its shape when squeezed in your hand. If it doesn’t, spritz the bath bomb mixture with witch hazel and mix after every couple sprays. How much witch hazel you need depends on the humidity level in your area. Once you reach the correct texture, fill one cavity with the pink bath bomb mixture. Pack it firmly into the mold. Use your fingers to smooth the back of the fizzy.
NOTE: You may have a very small amount of each color leftover. Have an extra mold ready to use up the extra and make a tester bath bomb!
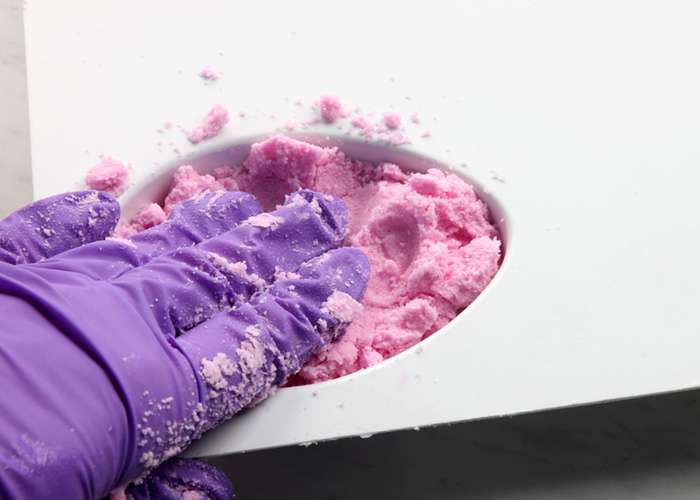
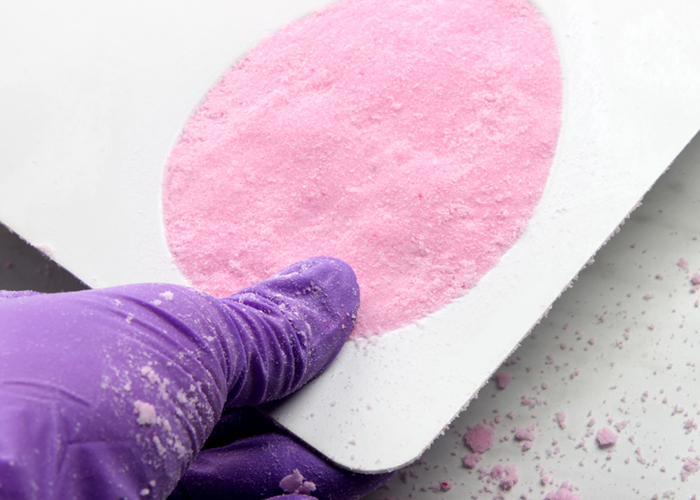 FIVE: Repeat this process with each container, adding 2-3 drops of the Daisy Yellow La Bomb, Irish Green La Bomb, and Cornflower Blue to each. After the color is mixed, add spritzes of witch hazel if necessary. Then, firmly pack each color into the separate cavities. Place any extra bath bomb mixture into a separate mold. We found there was enough leftover to create one multi-colored bath bomb in the 6 Cavity Heart Silicone Mold.
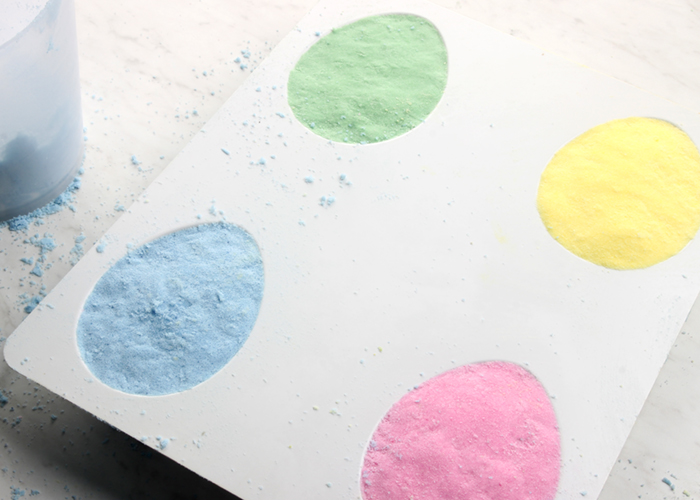 SIX: Let the bath bombs dry in the mold for at least 3-4 hours or up to overnight. If they are unmolded too early, they may crumble and lose their shape. To unmold, pull on the sides of each cavity to break the airlock. Then, flip the mold over and press each cavity with your thumbs. Tapping the back of the mold firmly can also help! Once removed, you can leave the bath bombs as is or continue to the next step.
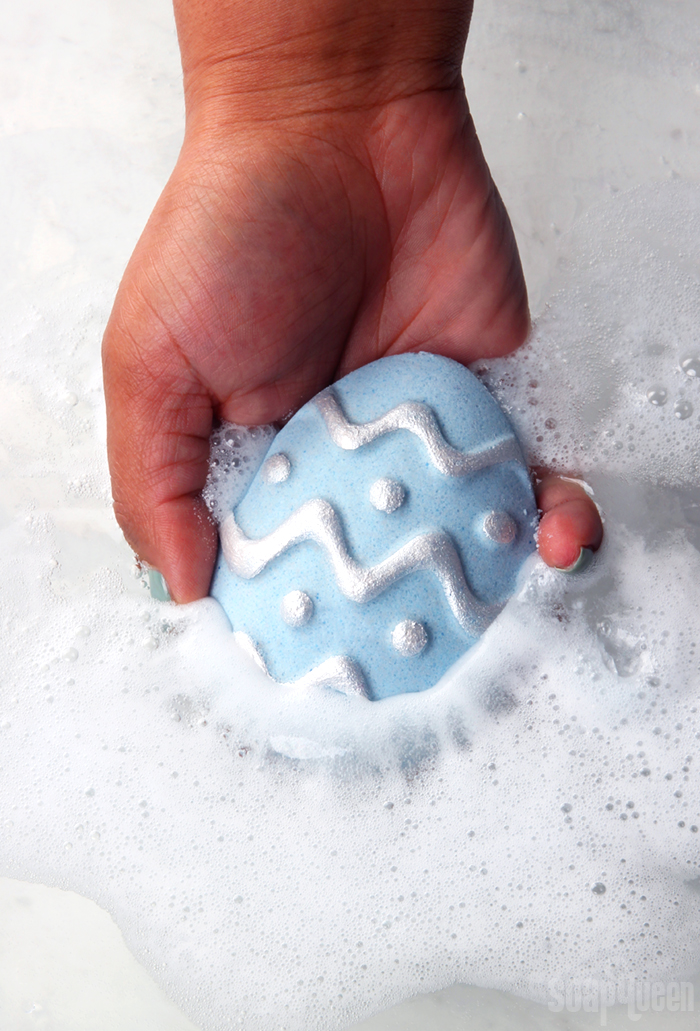
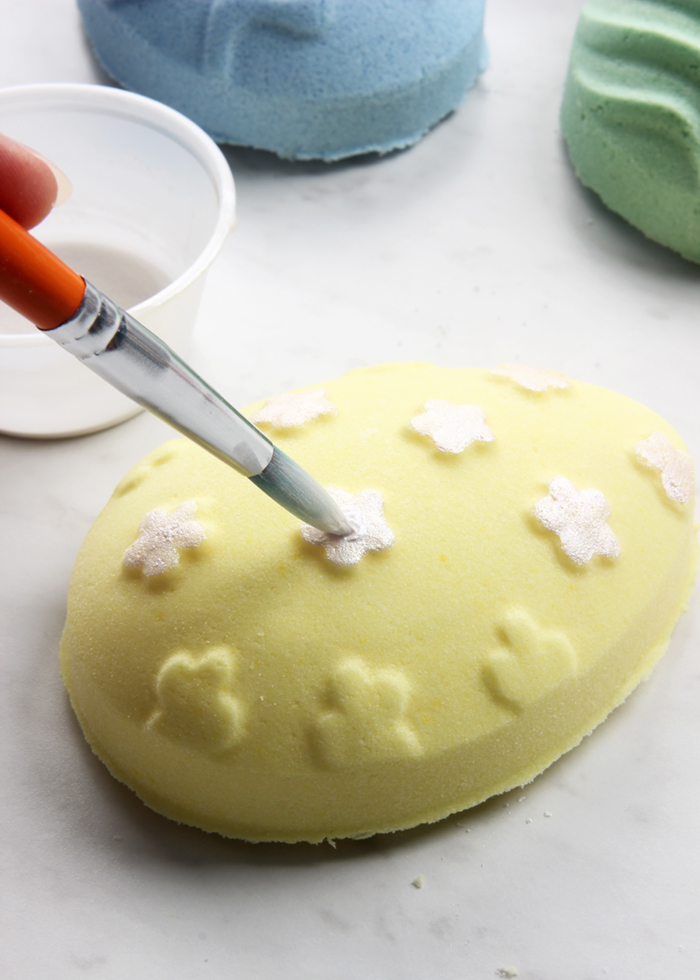
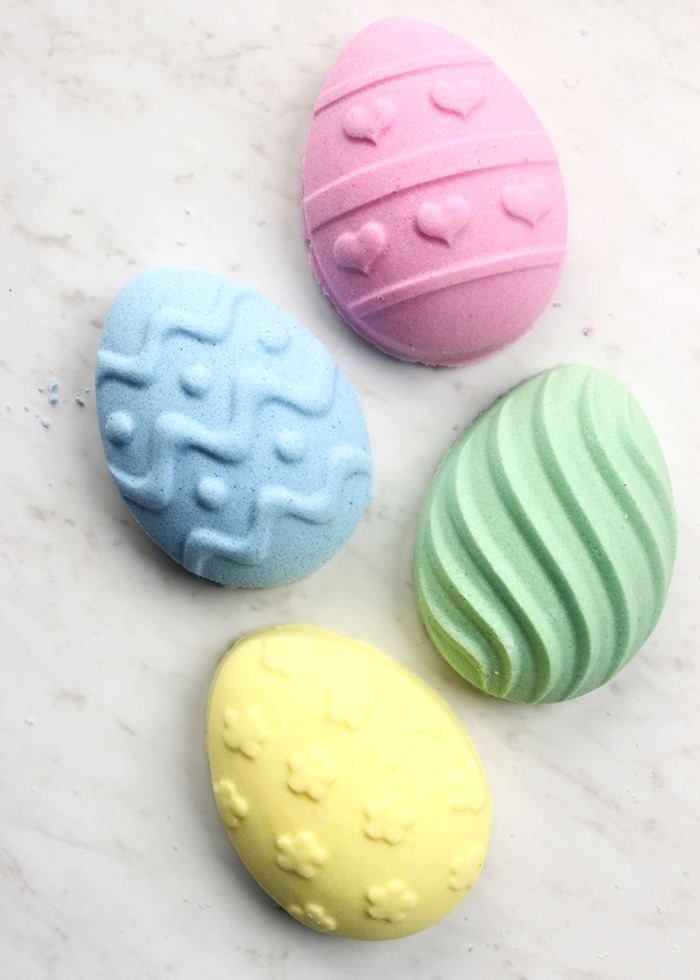 SEVEN: To give the bath bombs a special touch, the details can be painted with a mixture of mica and 99% isopropyl alcohol. We mixed 1/2 tsp. Super Pearly White Mica with 1/2 tsp. 99% isopropyl alcohol and used a small brush to paint the details on each bath bomb. The alcohol dries quickly, leaving the mica behind. You can swap the mica for whatever color you like, but oxides and pigments are not recommended because they’re too large and clumpy. Once you’re done painting, the bath bombs are ready to enjoy!
- Easter Egg Mold
- 2 cups Sodium Bicarbonate (Baking Soda)
- 1 cup Citric Acid
- 2 oz. Coconut Oil
- 2 mL Polysorbate 80
- 9 mL Peach Fragrance Oil
- Bath Bomb Colorants: Rosy Pink La Bomb
- Irish Green La Bomb
- Cornflower Blue La Bomb
- Daisy Yellow La Bomb
- Witch Hazel in Spray Bottle
- 99 % Isopropyl Alcohol
- Super Pearly White Mica
- Droppers
- In a large bowl, combine the baking soda and citric acid. To get rid of clumps in the mixture, you can break them up with your hands or push the powders through a sifter. Citric acid has a tendency to take off nail polish, so wear gloves to protect your manicure. Thoroughly stir the ingredients together.
- Add the coconut oil, polysorbate 80, and Peach Fragrance Oil. Use your hands to thoroughly mix the wet and dry ingredients together.
- Once the ingredients are completely mixed, split the mixture evenly into four containers. You can eyeball it or weigh about 7.5-8 oz. in each container. To one container, add 2-3 drops of the Rosy Pink La Bomb Colorant. Use your hands to thoroughly mix until there are no streaks of color.
- Check the moisture level of the mixture. It should hold its shape when squeezed in your hand. If it doesn’t, spritz the bath bomb mixture with witch hazel and mix after every couple sprays. How much witch hazel you need depends on the humidity level in your area. Once you reach the correct texture, fill one cavity with the pink bath bomb mixture. Pack it firmly into the mold. Use your fingers to smooth the back of the fizzy. NOTE: You may have a very small amount of each color leftover. Have an extra mold ready to use up the extra and make a tester bath bomb!
- Repeat this process with each container, adding 2-3 drops of the Daisy Yellow La Bomb, Irish Green La Bomb and Cornflower Blue to each. After the color is mixed, add spritzes of witch hazel if necessary. Then, firmly pack each color into the separate cavities. Place any extra bath bomb mixture into a separate mold. We found there was enough leftover to create one multi-colored bath bomb in the 6 Cavity Heart Silicone Mold.
- Let the bath bombs dry in the mold for at least 3-4 hours or up to overnight. If they are unmolded too early, they may crumble and lose their shape. To unmold, pull on the sides of each cavity to break the airlock. Then, flip the mold over and press each cavity with your thumbs. Tapping the back of the mold firmly can also help! Once removed, you can leave the bath bombs as is or continue to the next step.
- To give the bath bombs a special touch, the details can be painted with a mixture of mica and 99% isopropyl alcohol. We mixed ½ tsp. Super Pearly White Mica with ½ tsp. 99% isopropyl alcohol and used a small brush to paint the details on each bath bomb. The alcohol dries quickly, leaving the mica behind. You can swap the mica for whatever color you like, but oxides and pigments are not recommended because they’re too large and clumpy. Once you’re done painting, the bath bombs are ready to enjoy!








I’ve seen this tutorial and others using the Labomb colorants and these are the first ones I’ve seen that show a demonstration. I’m looking for a coloring for my bath bombs that have a high color pay off in the bath water and so I’m wondering if this specific recipe did color the water the color of the bath bombs and if not, what concentration of Labomb colorant would you recommend to give me a high color pay off(and by high color pay off I mean the type of color brands like Lush has when you use their products).
My current recipe is:
10 oz Baking Soda
5 oz Citric Acid
1 tsp Kaolin Clay
5 ml Polysorbate 80
.35 oz Coconut Oil
6-8 ml Fragrance Oil
Witch Hazel(as needed)
and I currently use Micas but am unhappy with the color pay off(I’m really looking for something with enough color pay off to make the bath water that color)
It’s tricky because the more color you add, the more likely it will transfer to the sides of the tub.
You may have more luck with micas. They add a bright color to bath bombs: https://www.brambleberry.com/Micas-C46.aspx
You can start with about 1/8th tsp. per pound of bath bomb mixture. The polysorbate 80 will help with some of the color transfer, but with a lot of color it won’t prevent it entirely. I would recommend testing a few different color amounts to see how you like the results.
is there anything someone can recommend that I could use to spray instead of witch hazel? I am hosting a large group to make some fun bombs together but I am sure someone will have an adverse reaction to witch hazel, possibly myself! any recommendations REALLY appreciated.
You can use 99% isopropyl alcohol to wet the bath bombs if you like. We have found that alcohol tends to dry the bath bombs out and can cause cracking. To combat that, you can add a lightweight oil like sweet almond or avocado. Oil helps wet the bath bomb and also helps moisturize the skin.
-Kelsey with Bramble Berry
Sweet almond oil: https://www.brambleberry.com/Sweet-Almond-Oil-P3205.aspx
Avocado oil: https://www.brambleberry.com/Avocado-Oil-P3198.aspx
I purchased this kit on Friday but the Polysorbate was out of stock. Will I be able to still make this kit without the Polysorbate?
You will! The Polysorbate 80 is an optional ingredient. It helps the oil mix into the water rather than pooling on top. The bath bombs still work without it though. 🙂
We are expecting the Polysorbate 80 back April 7th. Once it’s back in stock, we’ll update the website: https://www.brambleberry.com/Polysorbate-80-P4438.aspx
-Kelsey with Bramble Berry
love this
So glad you love it Cindy! Thanks for your sweet comment. 🙂
-Kelsey with Bramble Berry
Does the kit come with enough to make more than 4 bath fizzies?
There will be a bit of baking soda and citric acid left over. You may be able to get a few more bath bombs, but if you want another four I would recommend adding 2 more pounds of baking soda and another pound of citric acid. 🙂
-Kelsey with Bramble Berry
I’ve been looking for a bath bomb recipe that had polysorbate in it and I’m so excited to find one! I’ve got my order placed and I can’t wait to see how these compare the the bath bombs I’ve been making with coconut oil or polysorbate 80 in them. I ordered my supplies just now and I’m off the charts excited about trying this!
*without coconut oil, I mean
Of that’s so exciting! These bath bombs are fun to make, and smell really amazing. Let us know how they turn out. 🙂
-Kelsey with Bramble Berry
ready to try this 😊
Have fun Gwen! Let us know how they turn out. 🙂
-Kelsey with Bramble Berry
WOW I love these. Thanks for sharing
You’re welcome Odette, glad you love them! 🙂
-Kelsey with Bramble Berry
Hi, is the coconut oil measured by weight or by volume?
That is, do you weigh 2 oz of oil first and then melt it, or use 2 oz worth of already-melted oil?
Thank you!
We like to melt the bag of coconut oil and pour 2 ounces into the bath bomb mixture. Measuring by weight tends to be more accurate than volume. That’s because the coconut oil can lose volume when it’s melted, but it stays the same weight. 🙂
Learn more here: http://www.soapqueen.com/bath-and-body-tutorials/tips-and-tricks/a-guide-to-weight-vs-volume/
-Kelsey with Bramble Berry
Hi Kelsey, just want to make sure I get this right haha
If I were to melt down a bunch of oil, it would be then be better to pour out 2 oz based on weight, rather than use 4 tbsp measurements?
That is correct! We recommend weighing out 2 ounces of melted coconut oil using a scale. We find that’s more accurate than using 4 tablespoons. 🙂
-Kelsey with Bramble Berry