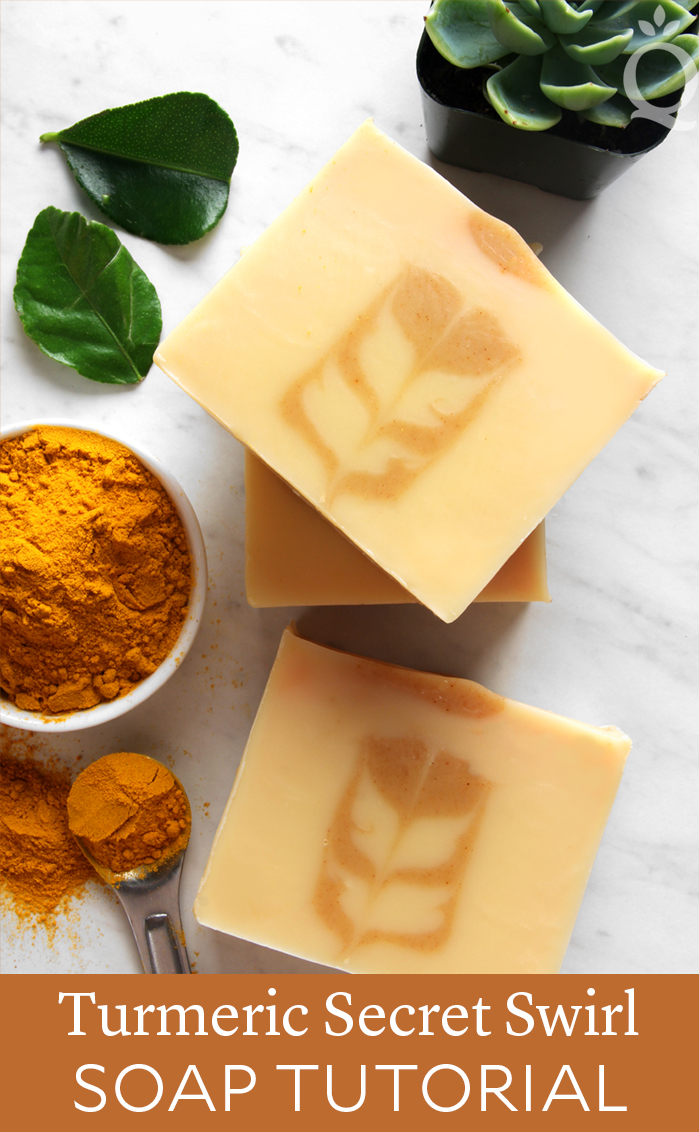
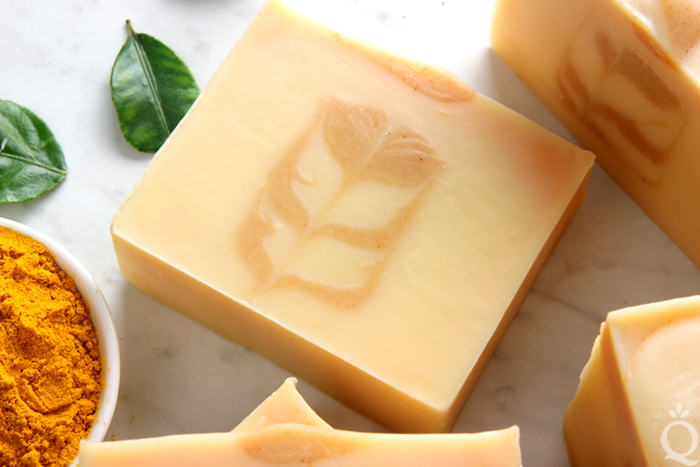
Turmeric powder gives cold process soap a lovely orange hue. The shade of orange depends on how much turmeric powder is added and how it’s incorporated. In this Turmeric Secret Swirl Soap, dispersed powder and an oil infusion are both used. The turmeric-infused oil gives a soft orange color, while the darker orange shade is created by adding the dispersed turmeric directly to the soap batter. To see the different shades you can achieve, check out our turmeric color tests.
The swirl in this soap is a bold version of the “Secret Feather Swirl.” Made famous by Zahida of Handmade in Florida, the Secret Feather Swirl is an advanced soaping technique. It involves layering various colors in the center and then using a Hanger Swirl Tool to create the “feather” effect. See the process in this video by Handmade in Florida.
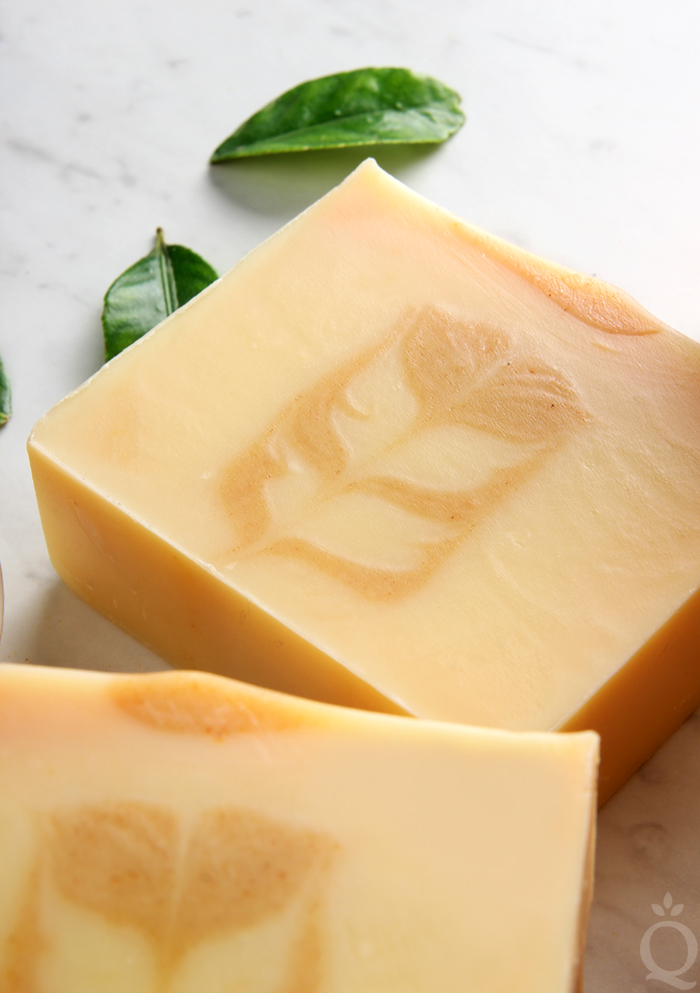
This soap is scented with the new ginger essential oil – it smells just like freshly grated ginger. The turmeric powder does not scent the soap at all, so the ginger essential oil is the perfect scent to mimic zesty turmeric powder. Keep in mind that ginger essential oil does slightly accelerate the soap. Use the stick blender sparingly for this recipe.
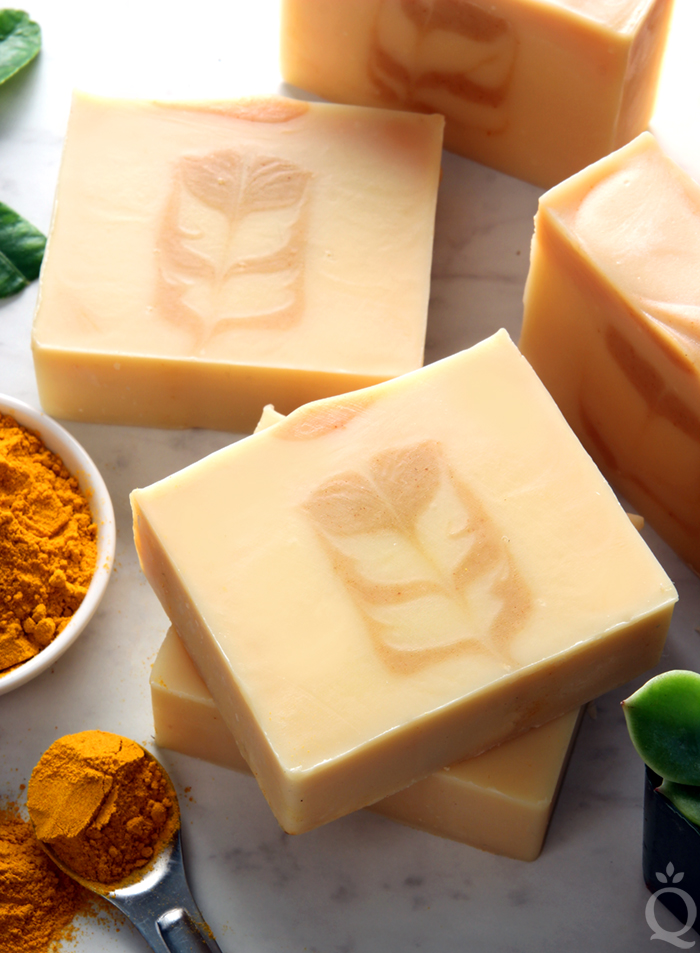
If you take a look at the recipe below, you’ll notice it has a 2% superfat. This is to compensate for the 6 tablespoons turmeric-infused oil added to soap at trace. Learn how to make the turmeric infusion here. We used sweet almond oil for the infusion, but you can use a different lightweight liquid oil if you prefer.
What You’ll Need:
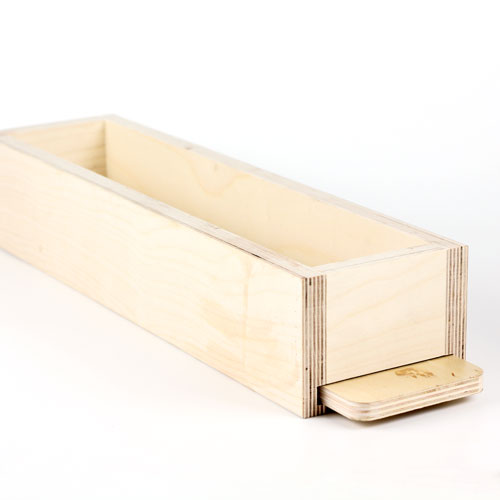
5 Pound Mold with Sliding Bottom
Silicone Liner for 5 Pound Wood Mold
Multi-Pour Sectioning Tool
Hanger Swirl Tool
54 oz. Swirl Recipe Quick Mix
7.7 oz. Sodium Hydroxide Lye (2% superfat)
17. 8 oz. Distilled Water
1.8 oz. Ginger Essential Oil
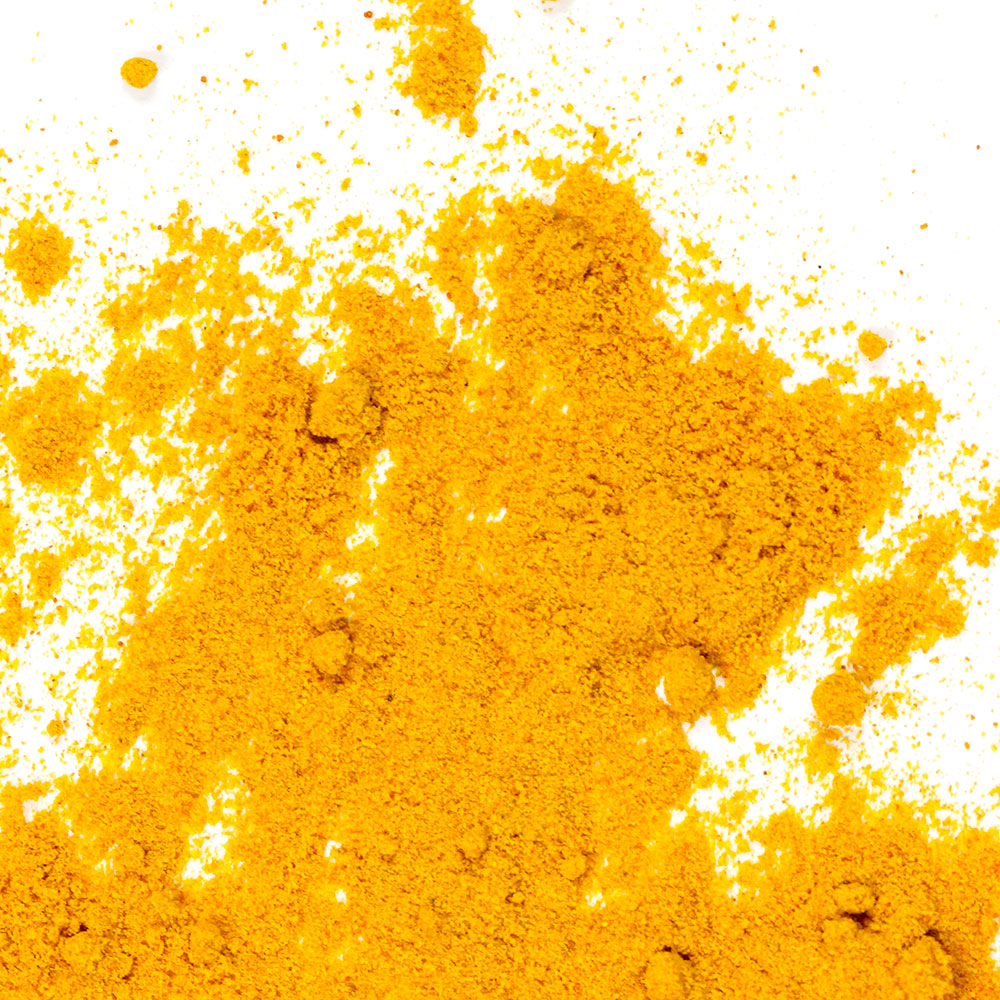
Turmeric Powder
Sweet Almond Oil (for infusing turmeric)
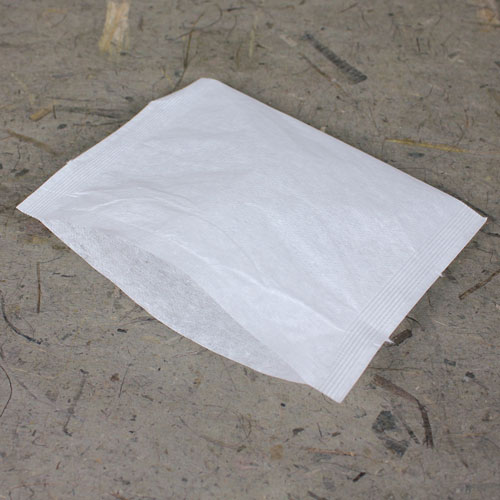
Large Sealable Tea Bag

Click here to add everything you need for this project to your Bramble Berry shopping cart!
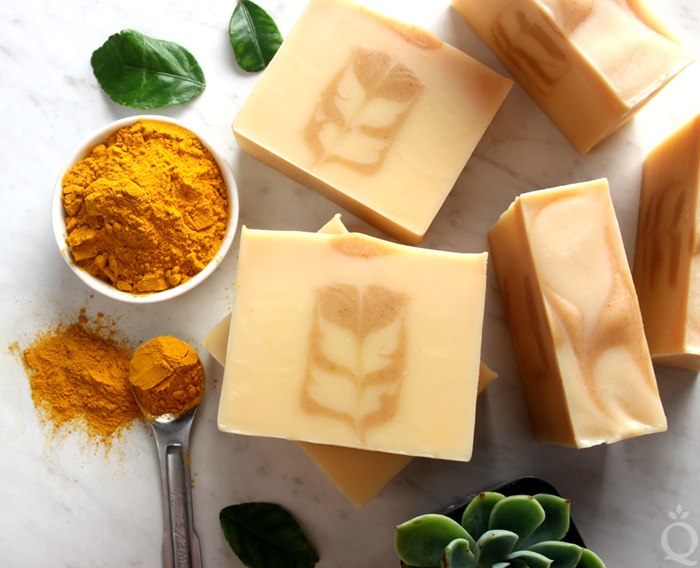
If you’ve never made cold process soap before, stop here! I highly recommend checking out our FREE four part SoapQueen.tv series on Cold Process Soapmaking, especially the episode on lye safety. And if you’d rather do some reading, Bramble Berry carries a wide range of books on the topic, including my newest book, Pure Soapmaking. You can also check out the digital downloads for that instant gratification factor.
SAFETY FIRST: Suit up for safe handling practices! That means goggles, gloves and long sleeves. Make sure kids, pets, and other distractions and tripping hazards are out of the house or don’t have access to your soaping space. Always soap in a well-ventilated area.
COLOR PREP: Disperse 2 teaspoons of turmeric powder into 1 tablespoon of sunflower or sweet almond oil (or any other liquid oil). We used a slightly more concentrated oil dispersion to avoid adding too much oil to the batter. Then in a separate container, measure out 5 tablespoons of the turmeric-infused oil. Set aside. Learn how to make the turmeric infusion here.
FRAGRANCE PREP: Measure 1.8 ounces of the ginger essential oil into a glass, essential oil safe container. Set aside.
TOOL PREP: Bend your Hanger Tool so it fits the mold perfectly by length. Insert the Multi-Pour Sectioning Tool into the mold to create three sections. Set aside.
ONE: Slowly and carefully add the lye to the water and gently stir until the lye has fully dissolved and the liquid is clear. Set aside to cool.
TWO: Fully melt the entire bag of Swirl Recipe Quick Mix until completely clear and there is no cloudiness. Shake the bag to mix up all the oils. Measure 54 ounces into your soaping bowl. Once the lye water and the oils have cooled to 130 degrees or below (and are ideally within 10 degrees of each other), add the lye water to the oils and stick blend until thin trace. If you’d like a harder bar of soap that releases faster from the mold, you can add sodium lactate to the cooled lye water. Use 1 teaspoon of sodium lactate per pound of oils in the recipe. For this recipe, you’d add about 3 teaspoons sodium lactate.
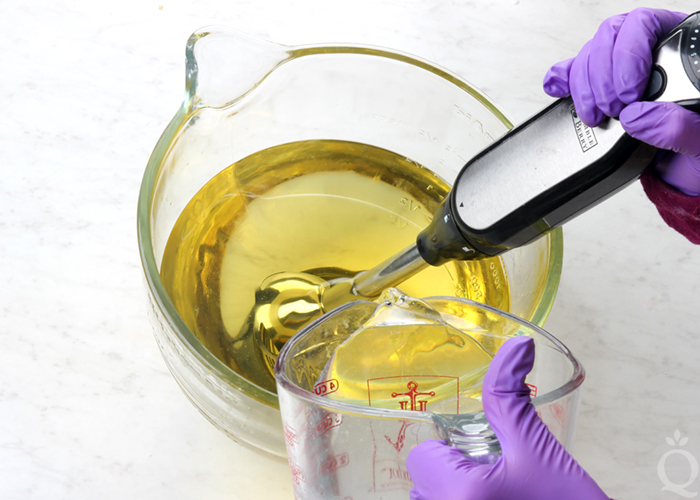
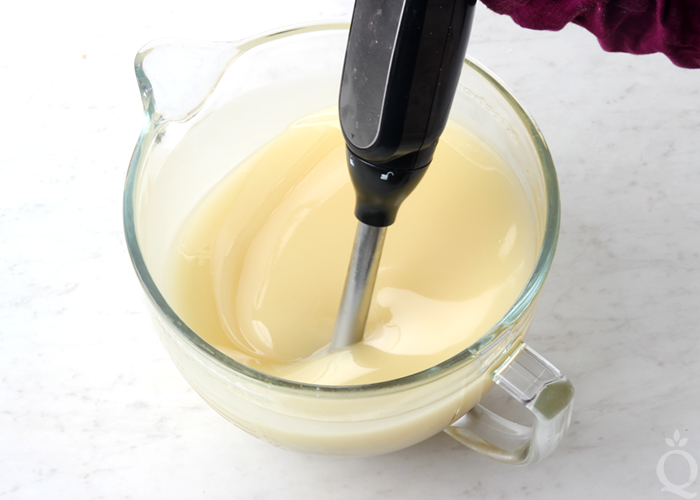
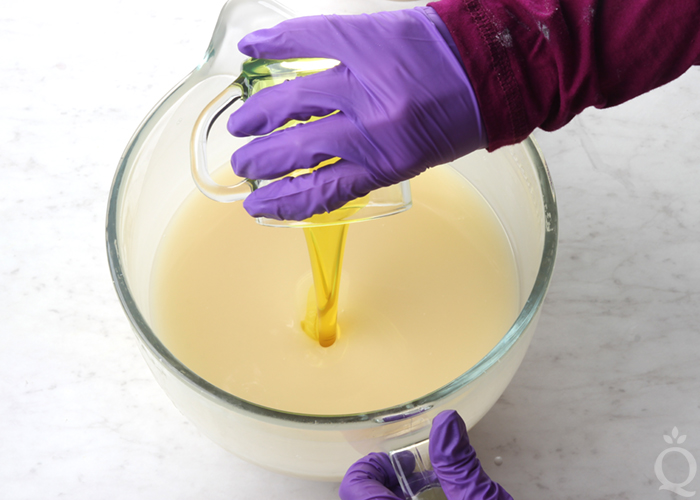
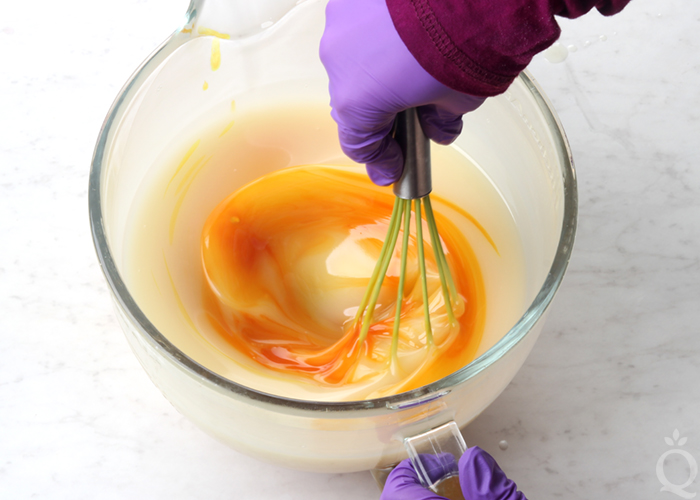
THREE: Once you have reached a very thin trace, pour off 16 ounces of batter into a separate container. To aid in pouring later on, a container with a pour spout is recommended, like the Easy Pour Mixing Measuring Container. To the large container of soap, add all the turmeric infused oil and stir with a whisk. The batter will turn a bright orange color.
FOUR: To the small container, add all the dispersed turmeric powder. Use a whisk to fully mix in the colorant. The batter will turn a darker orange than the large container.
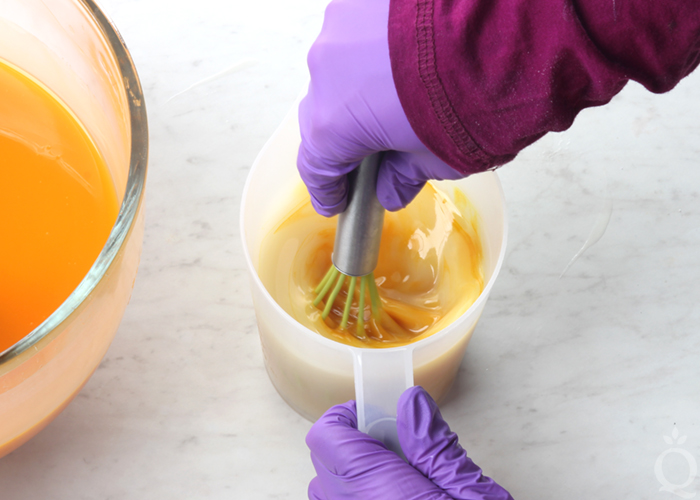
FIVE: Add the ginger essential oil to each container proportionally—it’s okay to eyeball it. Use a whisk to fully mix in the fragrance oil.
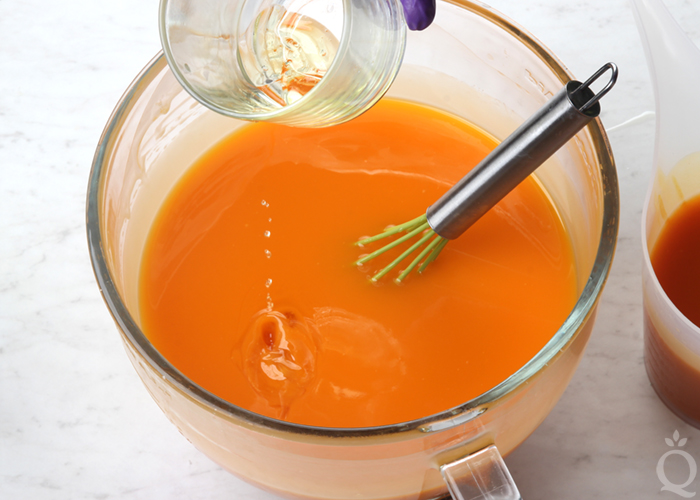
SIX: At this point, the batter should be a thin to thin-medium trace. The key to the Hidden Feather Swirl Technique is that the batter needs to be thin enough to swirl, but thick enough to layer. If the batter is still extremely thin, give each container of soap a few bursts with the stick blender to slightly thicken trace. Be careful to not over stick blend!
SEVEN: Pour a small amount of the turmeric-infused soap (the large container) into all three sections of the mold evenly. This first layer should be small, but large enough to support the first layer in the “feather.”
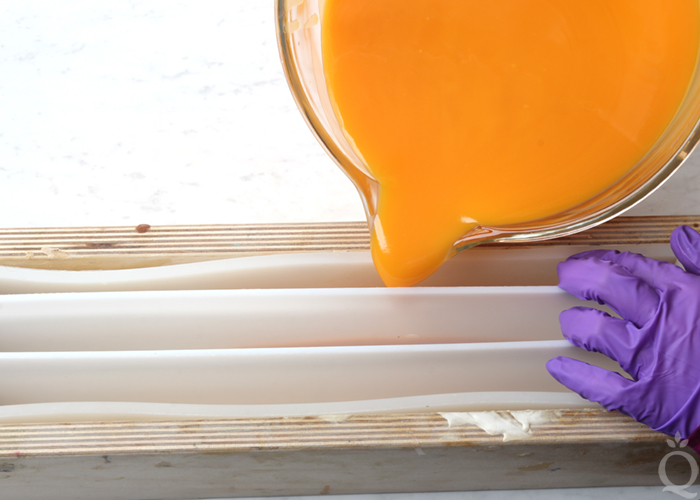
EIGHT: Very carefully, pour a thin layer of the turmeric-powder soap (the small container) into the middle section of the mold. You will be creating three layers of turmeric-powder soap in the center of the mold, and using some of this soap on top for the swirl. Keep this in mind when pouring each layer. Be careful to not break through the first layer of soap. Pouring very thin lines of soap until the first layer is covered is a good way to prevent breakthrough.
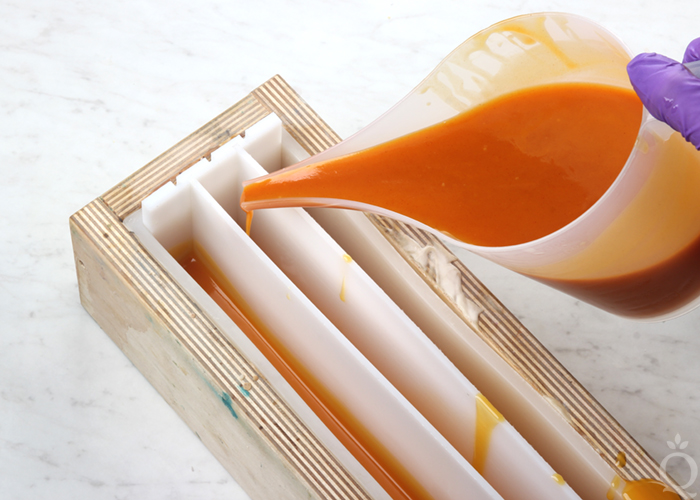
NINE: Pour more of the turmeric-infused soap into the two outside sections of the mold. Then very carefully, pour a layer of the turmeric-infused soap into the middle section of the mold. Be careful to not break into the layers below.
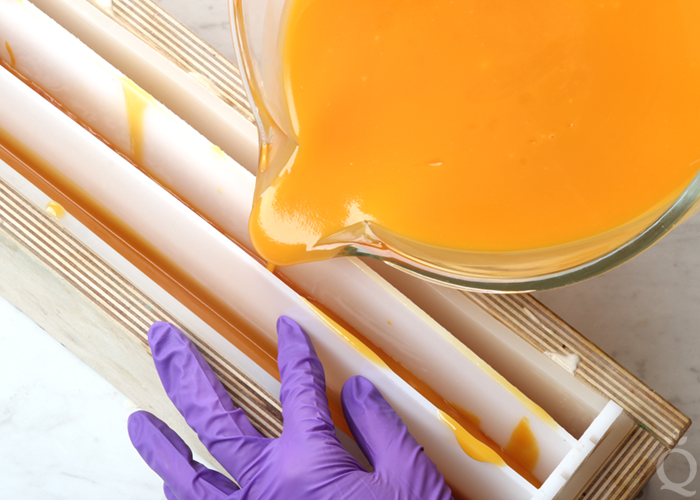
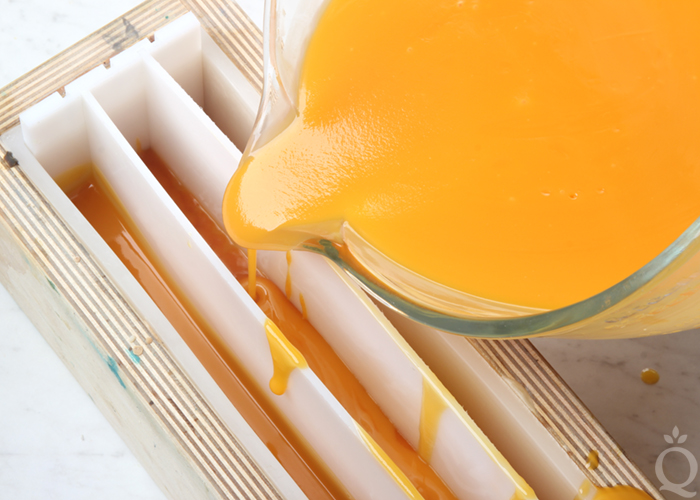
TEN: Carefully pour a second layer of the turmeric powder soap into the middle section. As the soap becomes thicker, layering the soap will get easier. But be careful to not break through to the layers below. Pour slowly and gently.
ELEVEN: Gently cover the turmeric-powder soap in the middle section of the mold with a layer of turmeric-infused soap. Pour more turmeric-infused soap into the outside sections to keep all the sections filled evenly.
TWELVE: Cover the middle section with a third (and last) layer of turmeric powder soap. Keep in mind that you need a small amount of the turmeric-powder soap leftover to create the swirl on top at the very end. Fill the outside sections of the mold with turmeric-infused soap if necessary to keep the sections even. If the sections are filled unevenly, one section of soap may cover the other sections when the dividers are pulled out. Keep in mind you need more of the lighter, turmeric-infused soap to cover the top.
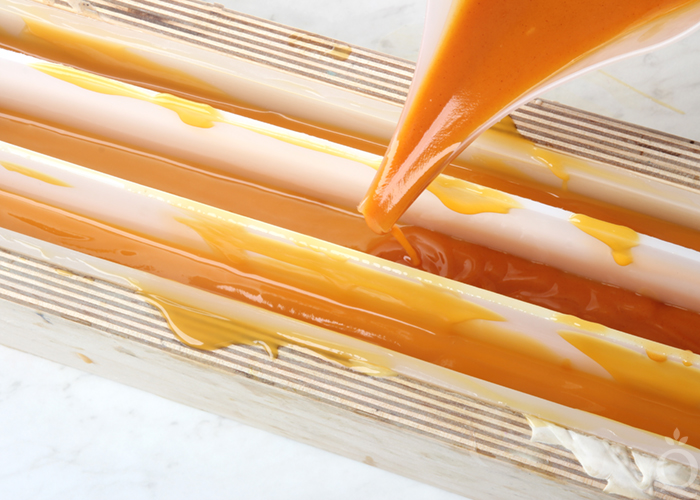
THIRTEEN: Slowly and carefully, pull the two dividers straight out of the soap. Set them aside. Tap the mold gently on the counter to help settle the soap. This action is what creates the upward design on the outside of the “feather.” Remove the two pieces of the divider set on either end of the mold. You can also leave them in the mold if you’d like. You’ll just need to slice the divider pieces off when the soap is unmolded.
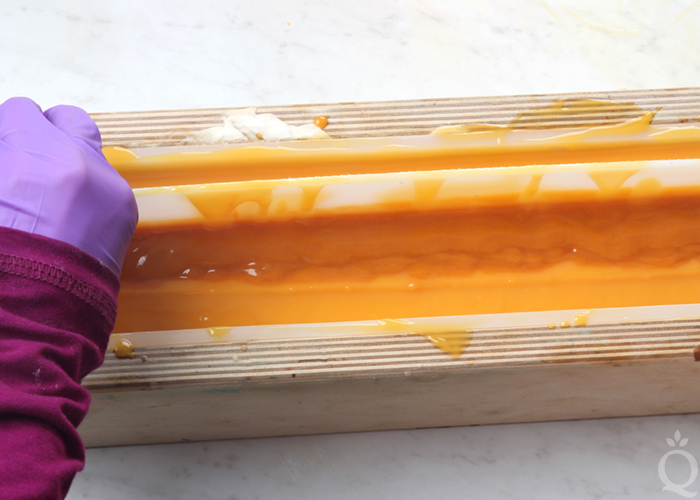
FOURTEEN: Cover the top of the soap with the lighter, turmeric-infused soap. Use a small spoon to evenly distribute the top layer if necessary.
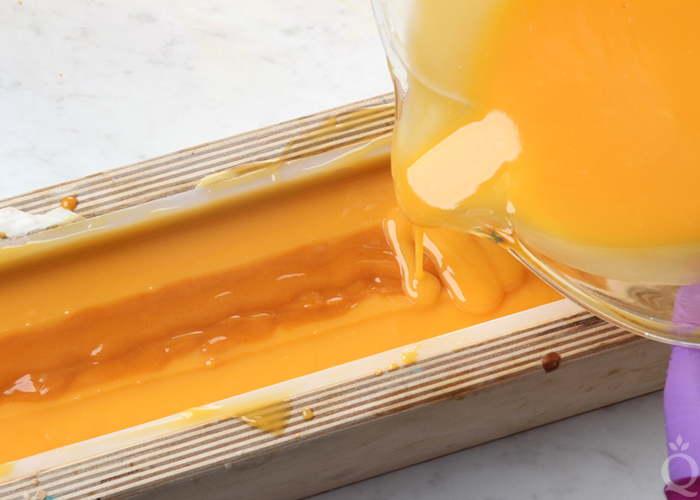
FIFTEEN: Insert the Hanger Swirl Tool into the center of the soap so that the tool goes through the layers in the middle section of the mold. This motion is what creates the downward design in the center of the “feather.” Once the Hanger Tool reaches the bottom of the mold, drag it along the bottom to one edge of the mold. Keep the Hanger Swirl Tool along the side of the mold while you pull it up and out. To get a better idea of what this motion looks like, watch this video of Handmade in Florida (the tool is inserted @2:20).
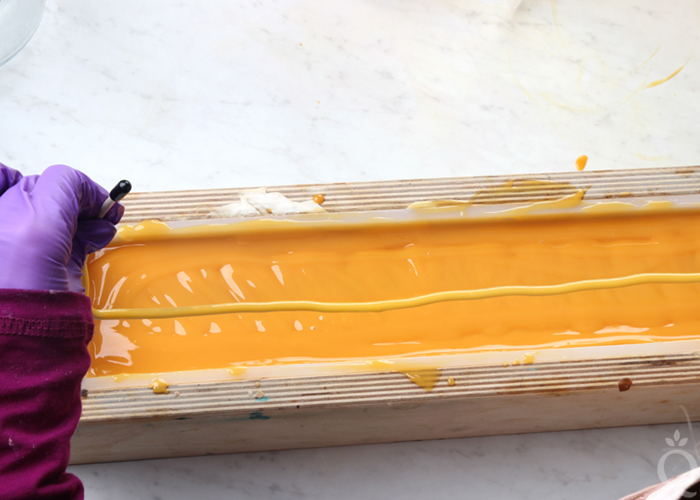
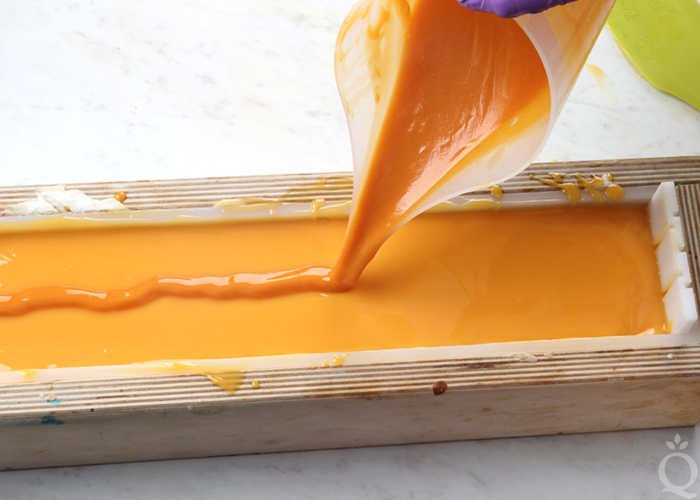
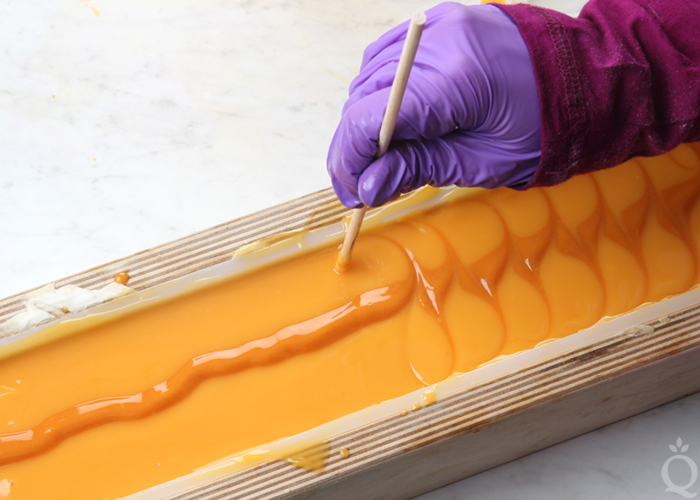
SIXTEEN: Pour a line of the turmeric powder soap down the center of the mold. Then, use a chopstick or dowel to create loop-de-loops down the length of the mold. Do not insert the chopstick or dowel all the way into the soap—only swirl the very top so you don’t disrupt the swirl inside.
SEVENTEEN: Wood molds insulate very well, causing the soap to become quite warm. Our soap went through gel phase, which makes the color more vibrant. If you live in a very hot area, you may want to keep an eye on the soap for the first hour or two to make sure the top does not crack. If a crack forms, place the soap in the fridge to prevent further cracks. If you don’t live in an extremely hot area, leave the soap at room temperature (do not insulate). Allow the soap to stay in the mold for 2-3 days, remove, and cut into bars. Allow them to cure for 4-6 weeks before use. Enjoy!
- 5 Pound Mold with Sliding Bottom
- Silicone Liner for 5 Pound Wood Mold
- Multi-Pour Sectioning Tool
- Hanger Swirl Tool
- 54 oz. Swirl Recipe Quick Mix
- 7.7 oz. Sodium Hydroxide Lye (2% superfat)
- 17. 8 oz. Distilled Water
- 1.8 oz. Ginger Essential Oil
- Turmeric Powder
- Sweet Almond Oil (for infusing turmeric)
- Large Sealable Tea Bag
- Slowly and carefully add the lye to the water and gently stir until the lye has fully dissolved and the liquid is clear. Set aside to cool.
- Fully melt the entire bag of Swirl Recipe Quick Mix until completely clear and there is no cloudiness. Shake the bag to mix up all the oils. Measure 54 ounces into your soaping bowl. Once the lye water and the oils have cooled to 130 degrees or below (and are ideally within 10 degrees of each other), add the lye water to the oils and stick blend until thin trace. If you’d like a harder bar of soap that releases faster from the mold, you can add sodium lactate to the cooled lye water. Use 1 teaspoon of sodium lactate per pound of oils in the recipe. For this recipe, you’d add about 3 teaspoons sodium lactate.
- Once you have reached a very thin trace, pour off 16 ounces of batter into a separate container. To aid in pouring later on, a container with a pour spout is recommended, like the Easy Pour Mixing Measuring Container. To the large container of soap, add all the turmeric infused oil and stir with a whisk. The batter will turn a bright orange color.
- To the small container, add all the dispersed turmeric powder. Use a whisk to fully mix in the colorant. The batter will turn a darker orange than the large container.
- Add the ginger essential oil to each container proportionally—it’s okay to eyeball it. Use a whisk to fully mix in the fragrance oil.
- At this point, the batter should be a thin to thin-medium trace. The key to the Hidden Feather Swirl Technique is that the batter needs to be thin enough to swirl, but thick enough to layer. If the batter is still extremely thin, give each container of soap a few bursts with the stick blender to slightly thicken trace. Be careful to not over stick blend!
- Pour a small amount of the turmeric-infused soap (the large container) into all three sections of the mold evenly. This first layer should be small, but large enough to support the first layer in the “feather.”
- Very carefully, pour a thin layer of the turmeric-powder soap (the small container) into the middle section of the mold. You will be creating three layers of turmeric-powder soap in the center of the mold, and using some of this soap on top for the swirl. Keep this in mind when pouring each layer. Be careful to not break through the first layer of soap. Pouring very thin lines of soap until the first layer is covered is a good way to prevent breakthrough.
- Pour more of the turmeric-infused soap into the two outside sections of the mold. Then very carefully, pour a layer of the turmeric-infused soap into the middle section of the mold. Be careful to not break into the layers below.
- Carefully pour a second layer of the turmeric powder soap into the middle section. As the soap becomes thicker, layering the soap will get easier. But be careful to not break through to the layers below. Pour slowly and gently.
- Gently cover the turmeric-powder soap in the middle section of the mold with a layer of turmeric-infused soap. Pour more turmeric-infused soap into the outside sections to keep all the sections filled evenly.
- Cover the middle section with a third (and last) layer of turmeric powder soap. Keep in mind that you need a small amount of the turmeric-powder soap leftover to create the swirl on top at the very end. Fill the outside sections of the mold with turmeric-infused soap if necessary to keep the sections even. If the sections are filled unevenly, one section of soap may cover the other sections when the dividers are pulled out. Keep in mind you need more of the lighter, turmeric-infused soap to cover the top.Slowly and carefully, pull the two dividers straight out of the soap. Set them aside. Tap the mold gently on the counter to help settle the soap. This action is what creates the upward design on the outside of the “feather.” Remove the two pieces of the divider set on either end of the mold. You can also leave them in the mold if you’d like. You’ll just need to slice the divider pieces off when the soap is unmolded.
- Cover the top of the soap with the lighter, turmeric-infused soap. Use a small spoon to evenly distribute the top layer if necessary.
- Insert the Hanger Swirl Tool into the center of the soap so that the tool goes through the layers in the middle section of the mold. This motion is what creates the downward design in the center of the “feather.” Once the Hanger Tool reaches the bottom of the mold, drag it along the bottom to one edge of the mold. Keep the Hanger Swirl Tool along the side of the mold while you pull it up and out. To get a better idea of what this motion looks like, watch this video of Handmade in Florida (the tool is inserted @2:20).
- Pour a line of the turmeric powder soap down the center of the mold. Then, use a chopstick or dowel to create loop-de-loops down the length of the mold. Do not insert the chopstick or dowel all the way into the soap—only swirl the very top so you don’t disrupt the swirl inside.
- Wood molds insulate very well, causing the soap to become quite warm. Our soap went through gel phase, which makes the color more vibrant. If you live in a very hot area, you may want to keep an eye on the soap for the first hour or two to make sure the top does not crack. If a crack forms, place the soap in the fridge to prevent further cracks. If you don’t live in an extremely hot area, leave the soap at room temperature (do not insulate). Allow the soap to stay in the mold for 2-3 days, remove, and cut into bars. Allow them to cure for 4-6 weeks before use. Enjoy!





Hello I am starting in cold process soap making but I feel confused…I live in an área that is very hot sometines (40° Celsius) like today maybe not really hot only about 33 °C and planning to make soap now…should I put it the fridge? what causes gel phase? Now I know what caused ash…and happened to my first trial…I did not covered it and the second time after a week realized the small had on botton side like tiny ” blackeads” press it and released wáter…why? help
Gel phase happens when the soap gets really hot. Some people prefer it because it makes the colors more vibrant and gives the soap a slightly shiny appearance. You can learn more about gel phase here: http://www.soapqueen.com/bath-and-body-tutorials/tips-and-tricks/gel-phase/
If you like that look, your space will probably be hot enough for your batches to go through gel phase. If you don’t like that look or if you find the soap is getting too hot, you can put it in the fridge or freezer for 5-24 hours.
This post has more on when to force gel phase: http://www.soapqueen.com/bath-and-body-tutorials/tips-and-tricks/when-to-insulate-handmade-soap/
I’m thinking the oil pockets may mean your soap is getting really hot. Are they still there?
Hi Guys, thank you so much. I love the clear n precise methods of testing the turmeric variations. Knowing that turmeric is notorious in staining surfaces, would the end result on the soap stain the skin when it’s a daily bar soap?? Or because it is cured, the staining property is lost?? Eager to test out if staining skin is not a problem or do the Bramble Team now a little jaundice that no one is noticing since everyone is using it n look the same to notice any difference..😉
Ha, turmeric can definitely transfer if too much is used in the soap. We recommend no more than 1 teaspoon per pound of soap. Start out with just 1/2 teaspoon or so and see what you think. That should help prevent staining.
I got what I think are lye spots in my soap….undissolved lye. I cooled it down too quickly I think in an ice bath. Can I use this soap or do I have to toss it? 🙁
Can you send a picture of that soap to our Facebook page? That would be super helpful: https://www.facebook.com/BrambleBerry/
-Kelsey with Bramble Berry
I made my first batch of soap today but forgot to add sodium lactate!! what should I do??
That batch will be just fine. The sodium lactate helps it unmold more quickly, but it is an optional ingredient that doesn’t change the recipe. Your soap will just need a few more days to harden before unmolding. 🙂
Read more about sodium lactate here: http://www.soapqueen.com/bramble-berry-news/sunday-night-spotlight-sodium-lactate/
-Kelsey with Bramble Berry
Anne Marie, the Soap Queen site, and Brambleberry are all amazing! I have learned so much and gotten so many good ideas. However, I’ve noticed lately that more recipes, like this one, are calling for the quick mixes instead of listing the amounts of individual oils and they aren’t listed on the quick mix packages either. If I don’t have the mix and don’t know what percentages to use, I can either guess or pass up the recipe. I’m finding this frustrating and annoying. Is it possible to list the oils and let soapers choose between them and the quick mixes? Thanks!
Absolutely, we have a list of all our Quick Mixes and the percentages of oils used here: https://www.soapqueen.com/bath-and-body-tutorials/tips-and-tricks/sunday-night-spotlight-quick-mixes/
That way you can recreate them with oils you have at home, or formulate your own recipe based on them.
Learn more about formulating recipes here: http://www.soapqueen.com/bath-and-body-tutorials/tips-and-tricks/formulating-cold-process-recipes/
-Kelsey with Bramble Berry
Thank you so much for the quick response – I just couldn’t find this info on the site. It’s exactly what I was looking for! Thanks again.
Hello! I have one question regarding the so-called hard oils… I’ve seen the Bramble Berry team be very very helpful and I just don’t know where else to post this! I’m a newbie at making soap, and I’ve only ever “made” melt and pour soaps and seen friends from cooler places make cold process soap. So, I’m really confused about how the hard oils really work. For example, palm and coconut oil are both liquid where I live, they’re never solid, and in my mind that makes them soft oils, but I also know that what contributes to the hardness of the soap bar are the kinds of different oil types that compose the final coconut and palm oil. So, my question is, does the hardening properties of coconut and palm oil come from the fact that they’re solid at room temp? Thank you so much!
Yep, that is exactly right. The name “hard oils” can be a bit confusing if you live in a hotter climate. They are oils that are solid at room temperature and help make your bars more firm. So, the more hard oils in your batch, the harder the bars will be. This post has more on common oils and what they do in soap: http://www.soapqueen.com/bath-and-body-tutorials/tips-and-tricks/free-beginners-guide-to-soapmaking-common-soapmaking-oils/
-Kelsey with Bramble Berry