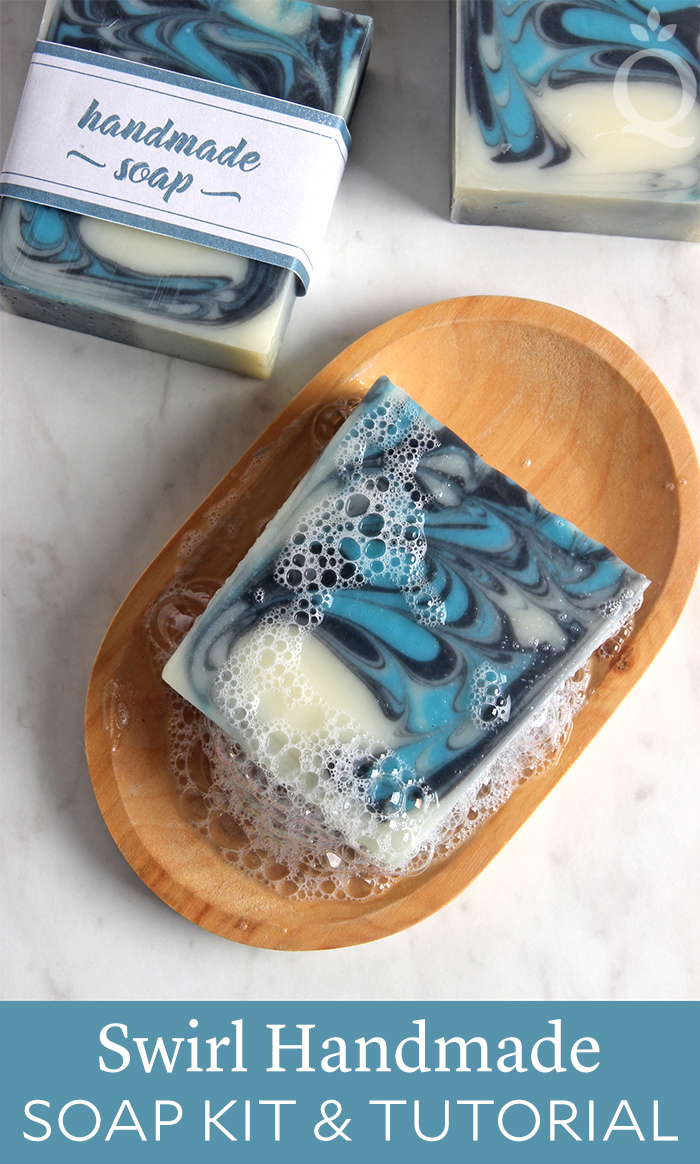
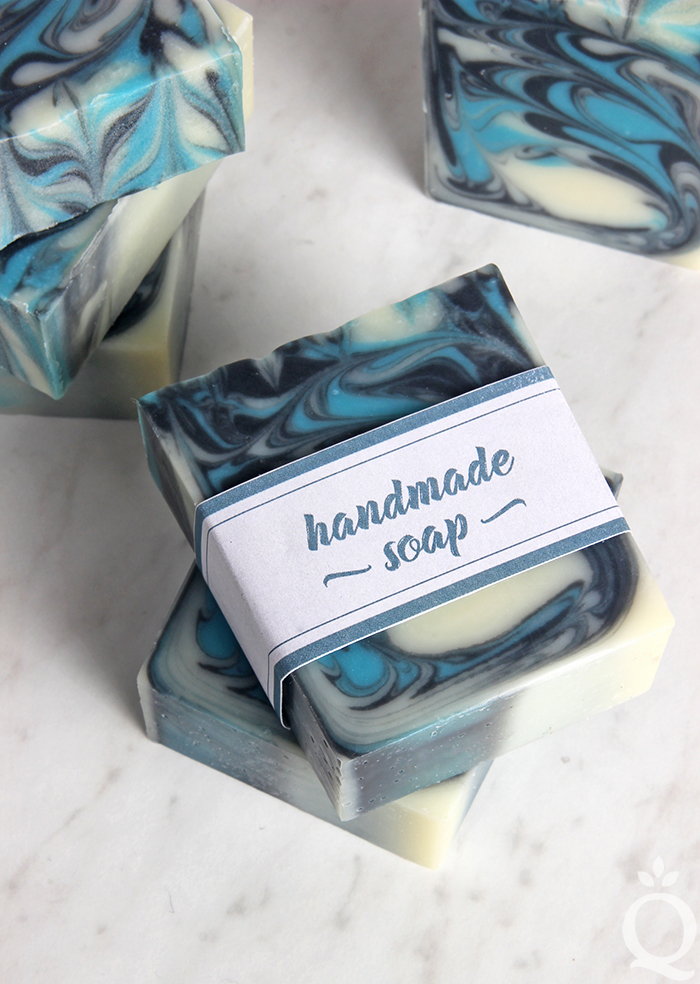
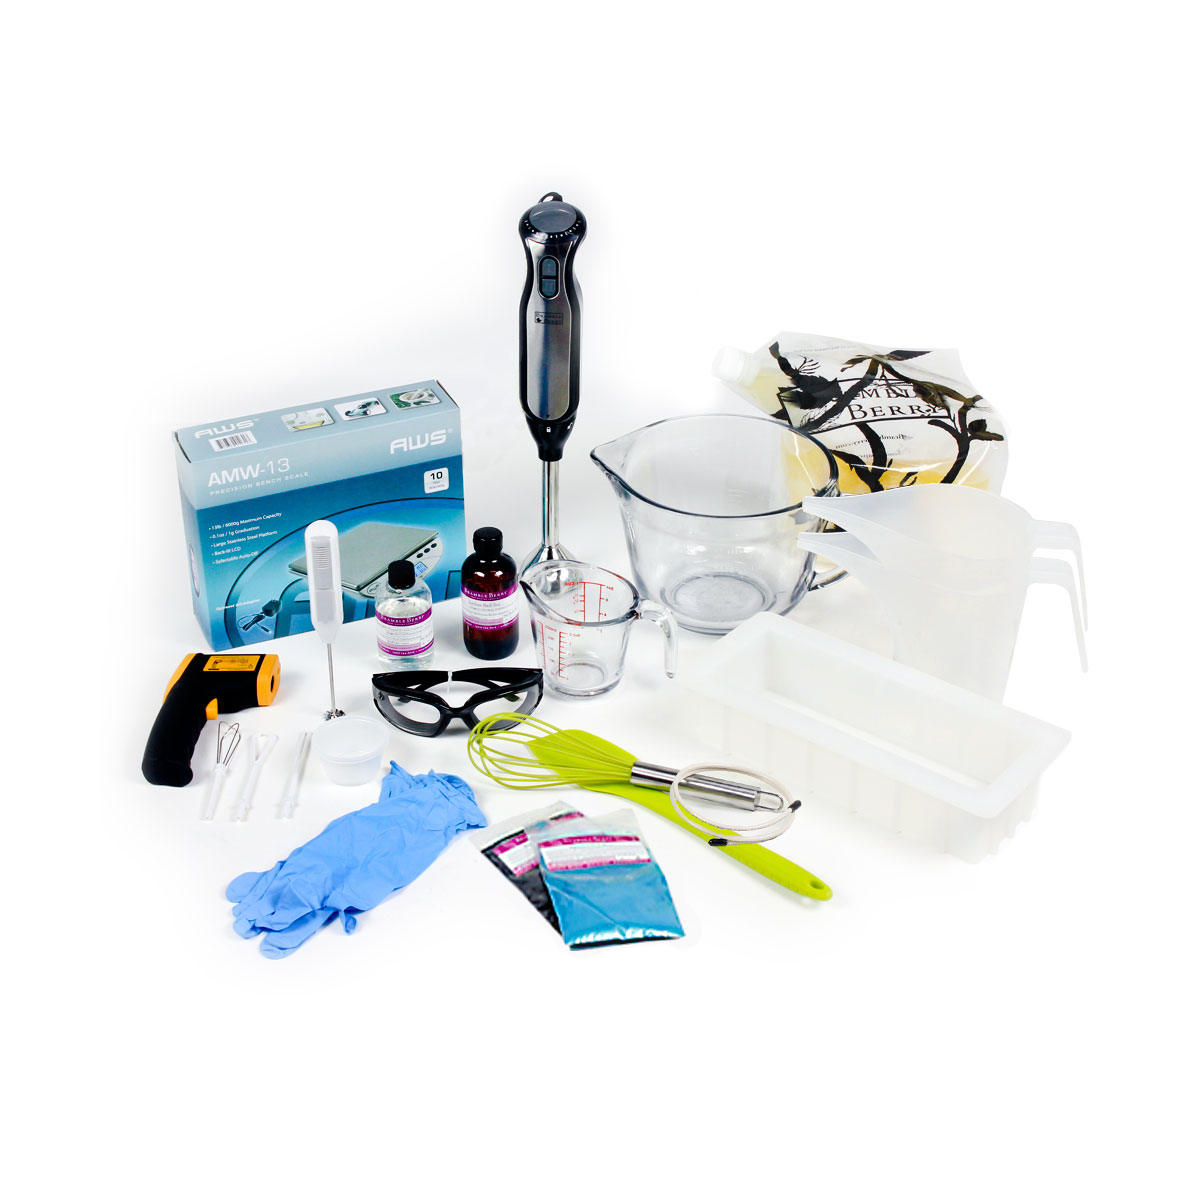
Creating swirls in handmade soap may be intimidating, but it’s easier than it looks. This Swirl Handmade Soap gets its beautiful design by pouring various colors into the mold and swirling them with a Hanger Swirl Tool. To make this project as easy as possible, the new Swirl Handmade Soap Kit includes everything you need to create these swirled bars.
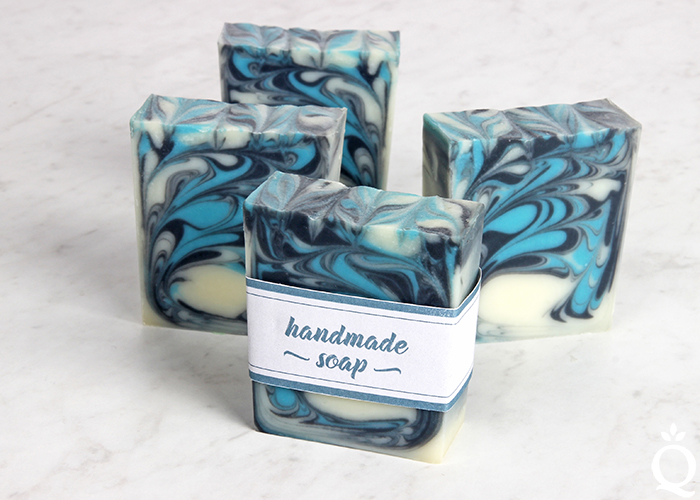
 The kit was specially designed for beginner soapers. It includes all the ingredients you need, as well as soapmaking essentials such as a stick blender, scale, safety gear, and a thermometer. It also comes with printed instructions and labels to give your bars a finishing touch. You can see just how simple it is in the video below.
Swirl Handmade Soap Kit
Soap Recipe:
33 oz. Swirl Quick Mix
10.9 oz. Distilled Water*
4.6 oz. Sodium Hydroxide Lye
2 tsp. Sodium Lactate
2.4 oz. Neroli & Shea Blossom Fragrance Oil
¼ tsp. Black Oxide Pigment
½ tsp. Mermaid Blue Mica
Tools You’ll Need:
Tall 12” Silicone Loaf Mold
Mini Mixer
Pair of Goggles
Pair of Disposable Gloves
Stick Blender
2 Quart Glass Bowl
Two Easy Pour Containers
8 oz. Glass Measuring Cup
Spatula
Thermometer
Scale
Whisk
Hanger Swirl Tool
Measuring Spoons*
Non-Serrated Knife*
Stainless Steel Spoon*
Chopstick or Other Pointed Tool*
The * indicates items that are not included in the kit.
Once you make this batch, you’ll be hooked on soapmaking. The Original Refill Kit includes more oil, fragrance, and colorant to make another batch. If you’d like to make a slightly different bar, the Pink Refill Kit includes a new colorant and fragrance oil.
- 12" Tall Silicone Loaf Mold
- Hanger Swirl Tool
- 33 oz. Swirl Quick Mix
- 10.9 oz. Distilled Water*
- 4.6 oz. Sodium Hydroxide Lye
- 2 tsp. Sodium Lactate
- 2.4 oz. fragrance oil
- ¼ tsp. black colorant
- ½ tsp. blue colorant
- Tap the stick blender on the bottom of the bowl to get rid of bubbles. Slowly and carefully add the lye solution to the oils. Set the Easy Pour Container to the side for future use. Don’t worry about cleaning it out. Pulse the stick blender on and off to begin blending the oils and lye together. Continue to pulse the stick blender for 15-20 seconds and use the stick blender to stir the mixture.
- Once you start blending, the mixture will begin to look creamy. After about 1 minute of blending and stirring, the oils and lye are combined and the soap will be the texture of thin pudding. Don’t stick blend past this stage or the soap may get too thick for the swirl design.
- Add the fragrance oil to the soap batter. Use your whisk to combine the fragrance with the soap batter.
- Pour about 470 mL of soap into the Easy Pour Container previously used for lye and about 470 mL into the second Easy Pour Container. Add all the dispersed black color to one container and all the dispersed blue color to the second container. Use whisk to mix in the color into the soap batter, going from the lightest to the darkest color.
- You now have a container of black soap, a container of blue soap and a container of uncolored soap.
- Pour about half of the uncolored soap into the mold down the center. Then, pour about half the black soap in down the center. Hold the container higher up so the black soap breaks through the uncolored soap. Then, pour about half of the blue soap in down the center.
- Pour the rest of the uncolored, black, and blue soap into the mold in the same order.
- Insert the Hanger Swirl Tool into the mold on the side farthest from you. Begin creating random loops throughout the soap. Once you’ve created several random loops, pull the tool out of the side of the mold closest to you. Tap the mold on the counter to disperse any bubbles.
- Insert the chopstick or other pointed tool about ½ inch into the soap. You’re just swirling the top, not the entire loaf. Create a tight “S” curve horizontally down the mold. Then, repeat the tight “S” curve vertically down the mold.
- Cover the mold with cardboard or a cutting board and wrap it with a blanket or towel. Insulating the soap traps the heat and raises the soap temperature. When freshly made soap becomes hot, gel phase occurs. Gel phase results in brighter colors and a slightly shiny appearance. It also helps the soap harden faster.
- The soap needs to harden in the mold for 3-5 days. It can be hard to wait, but it’s worth it! If you unmold the soap too early, you can get dents or drag marks. After 3 days, pull the sides of the mold away from the soap. If it releases easily, pull the other 2 sides away from the soap and gently press from the bottom to release the airlock. Gently and carefully remove the soap and place on a cutting board. If the sides of the mold do not easily release, give the soap another day to harden in the mold.
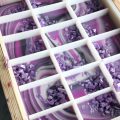
- Using the non-serrated knife, cut the soap into bars. Once the bars are cut, they need to cure for 4-6 weeks. Enjoy!



Can I make this in the 10″ in mold? What would I change in the measurements?
Yes, this recipe can be made in the 10″ Silicone Loaf Mold. This post shows you how to resize recipes: https://www.soapqueen.com/bath-and-body-tutorials/tips-and-tricks/how-to-resize-cold-process-soap-recipes/
10″ Silicone Loaf Mold: https://www.brambleberry.com/10-Silicone-Loaf-Mold–P5199.aspx
hey
this is amazing recipe – thanks a lot
i’do like to know about which base oil you recommend to put ?
thanks a lot
The kit comes with the Swirl Quick Mix, which is made with oils like coconut and olive: https://www.brambleberry.com/Swirl-Recipe-Quick-Mix-P5526.aspx
Swirl Handmade Soap Kit: http://bbshare.co/3w
If you don’t want to use the mix, you can recreate it based on these percentages: https://www.soapqueen.com/bath-and-body-tutorials/tips-and-tricks/sunday-night-spotlight-quick-mixes/
Amazing recipe . Amazing bar!
Thank you!
-Kelsey with Bramble Berry