
Candles are particularly comforting during the fall and winter. This Bourbon & Beeswax Candle is the perfect addition to your home for autumn and beyond. It’s made with the new Kentucky Bourbon Fragrance Oil, which features notes of spicy clove, leather and oak cask.
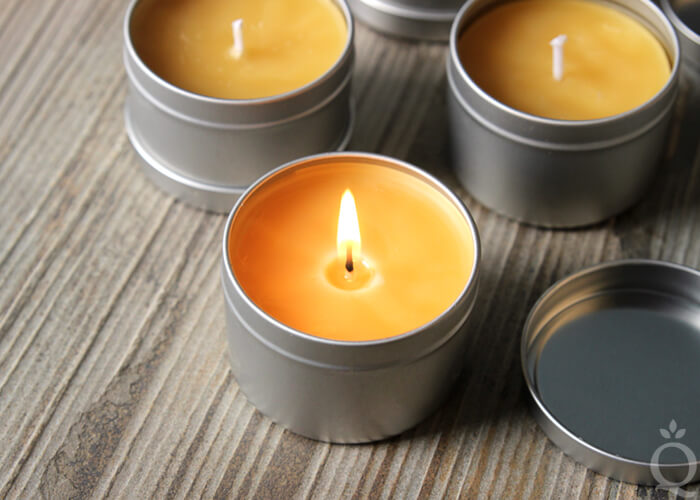
This candle is made with yellow beeswax, which has its own natural scent. The yellow beeswax and Kentucky Bourbon Fragrance Oil smell amazing together. The end result is a rich, warm and inviting scent. If you prefer the fragrance oil on its own you can use white beeswax, which does not have a strong scent.
Because beeswax has such a high melting point, you’ll have some extra considerations when working with it. It can be melted in a double boiler or in a microwave. Just make sure your container is suitable for such high heat.
What You Need:
Five Candle Tins
Five Wu-150 White Cotton Candle Wicks
16 oz. Yellow Beeswax
1.3 oz. Kentucky Bourbon Fragrance Oil
Five Plastic Straws

Click here to add everything you need for this project to your Bramble Berry shopping cart!
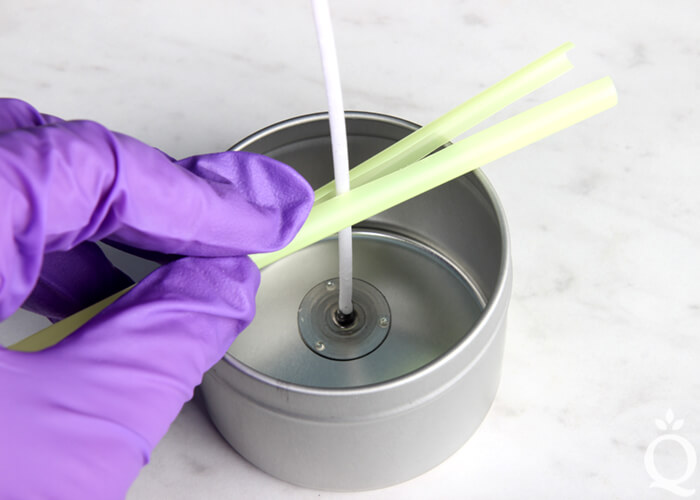
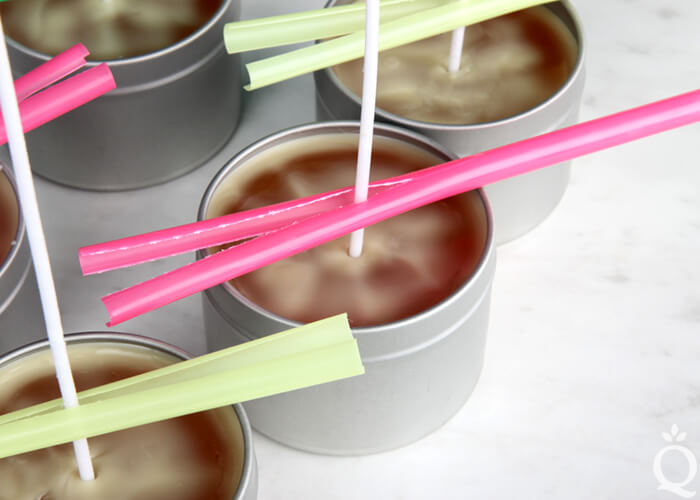
WICK PREP: There are several methods for steadying the wick in your candle tin. One of the easiest involves a plastic straw. Cut the straw lengthwise to the middle and slide the wick into this slit. Place the straw across the top of the candle tin and adjust the wick so it touches the bottom of the candle tin. Repeat this process for each wick and set the wicks and tins aside.
ONE: Melt the beeswax in a double boiler. You can turn any pot into a double boiler with the Double Boiler Maker. Alternatively, you can melt the beeswax in the microwave. Be careful – because of beeswax’s high melting point, even a heat-safe container can melt or explode in the microwave if it gets too hot. If you do use a microwave, melt the beeswax in 1-minute bursts and stir frequently.

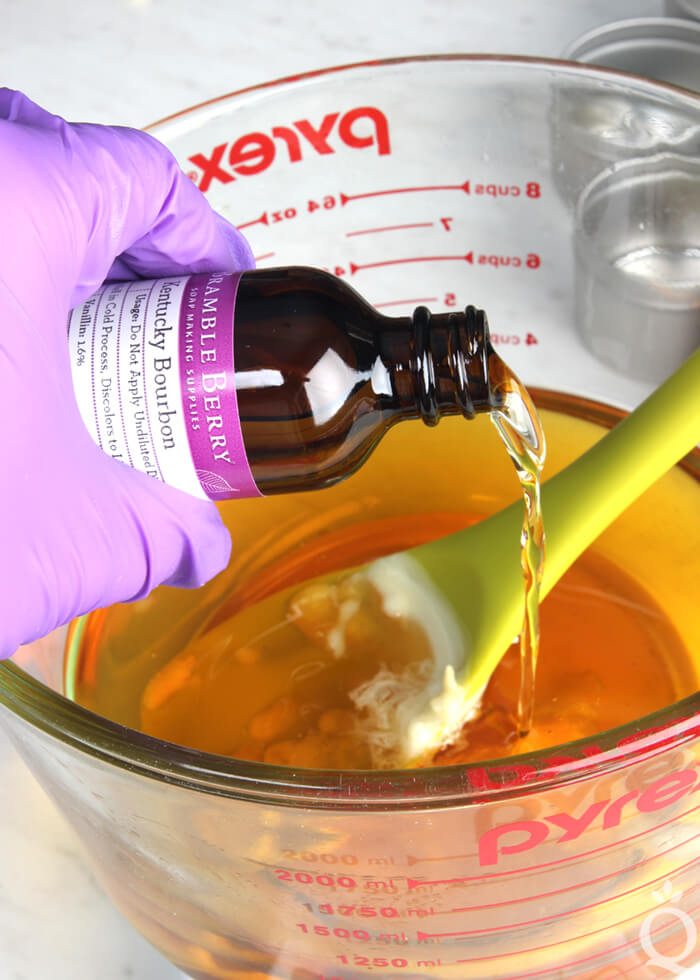
TWO: Add the Kentucky Bourbon Fragrance Oil and stir into the wax. It’s normal for some of the beeswax to solidify when it comes in contact with the oil. Stir until the solid beeswax melts.
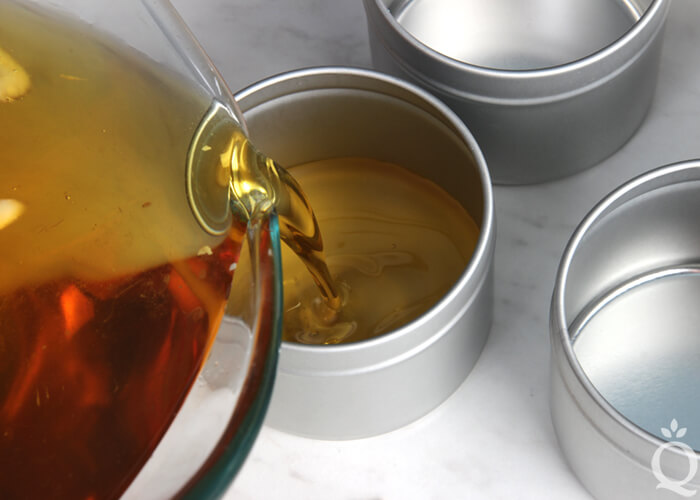
THREE: Pour the wax into each candle tin. Then, place each wick in the center of the candle. Make sure the wick touches the bottom of the candle tin.
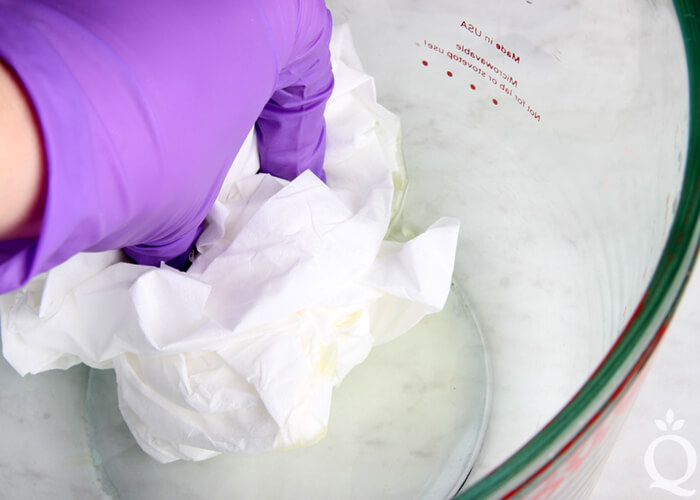
CLEAN UP TIP: Beeswax is tricky to clean because it has such a high melting point. Immediately after pouring the candles, use a paper towel to wipe any excess hot wax from the bowl and stirring utensils. The more wax you can wipe out, the better. Then if necessary, clean with extremely hot water and dish soap. Another option is to use the technique shown in this video.
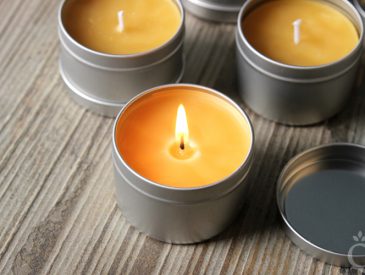
FIVE: Allow the wax to fully cool and harden. This will take several hours. Once the candles are completely firm, light and enjoy. Of course, never leave your candle unattended.

DIY Bourbon & Beeswax Candles
Ingredients
- Five Candle Tins
- Five Wu-150 White Cotton Candle Wicks
- 16 oz. Yellow Beeswax
- 1.3 oz. Kentucky Bourbon Fragrance Oil
- Five Plastic Straws
Instructions
WICK PREP: There are several methods for steadying the wick in your candle tin. One of the easiest involves a plastic straw. Cut the straw lengthwise to the middle and slide the wick into this slit. Place the straw across the top of the candle tin and adjust the wick so it touches the bottom of the candle tin. Repeat this process for each wick and set the wicks and tins aside.
- Melt the beeswax in a double boiler. You can turn any pot into a double boiler with the Double Boiler Maker. Alternatively, you can melt the beeswax in the microwave. Be careful – because of beeswax’s high melting point, even a heat-safe container can melt or explode in the microwave if it gets too hot. If you do use a microwave, melt the beeswax in 1-minute bursts and stir frequently.
- Add the Kentucky Bourbon Fragrance Oil and stir into the wax. It’s normal for some of the beeswax to solidify when it comes in contact with the oil. Stir until the solid beeswax melts.
- Pour the wax into each candle tin. Then, place each wick in the center of the candle. Make sure the wick touches the bottom of the candle tin.
CLEAN UP TIP: Beeswax is tricky to clean because it has such a high melting point. Immediately after pouring the candles, use a paper towel to wipe any excess hot wax from the bowl and stirring utensils. The more wax you can wipe out, the better. Then if necessary, clean with extremely hot water and dish soap.
- Allow the wax to fully cool and harden. This will take several hours. Once the candles are completely firm, light and enjoy. Of course, never leave your candle unattended.