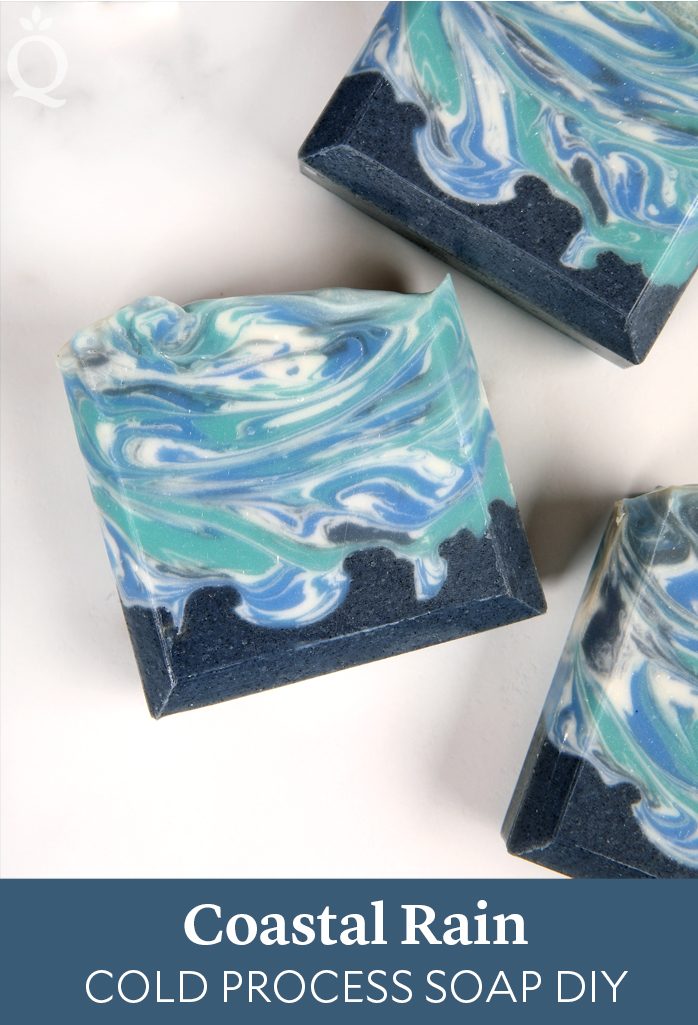
An in-the-pot swirl is a classic soapmaking technique that results in a unique design every time. The batch is portioned off into separate containers, color is added, and the soap is poured back into the main batch. The colors are poured into different areas of the pot and at different heights. The imprecise nature of the swirl makes it great for beginners and advanced makers alike.
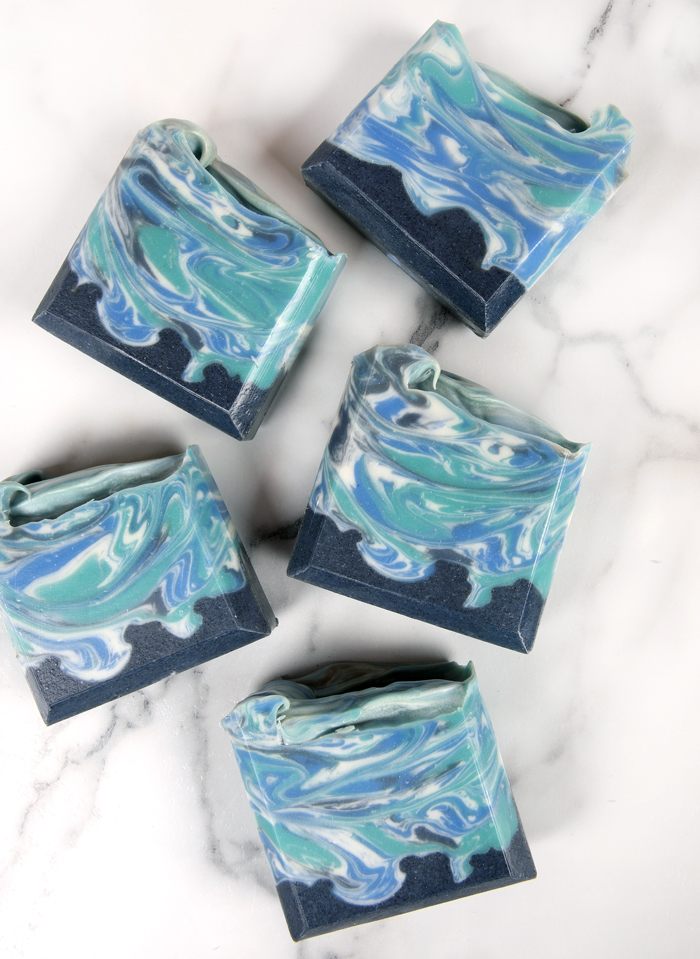
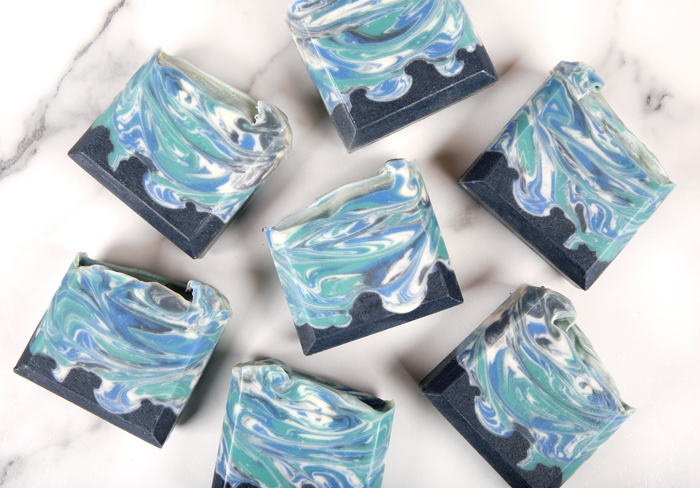
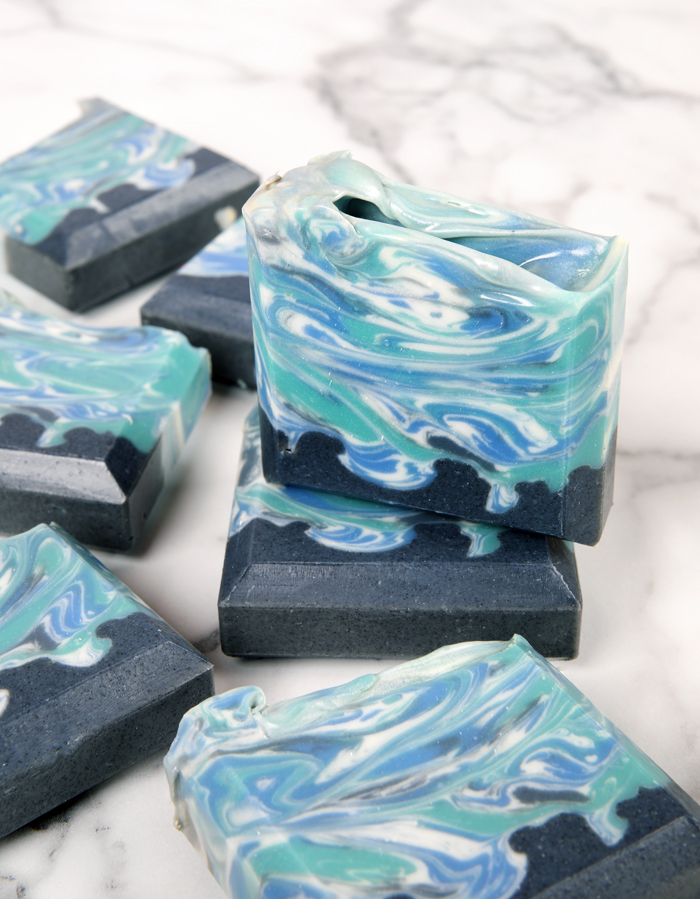
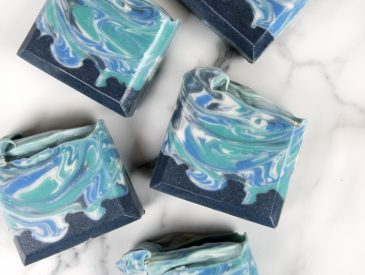
This Coastal Rain Cold Process Soap uses multiple shades of blue. Jagua blue extract creates a natural blue hue and Icelandic black sand adds depth to the bottom layer, as well as a touch of exfoliation. When working with Kelly Green Mica, don’t be afraid of the olive green color it creates at first – it returns to a bright shade of green in finished soap.
The batch is scented with Coastal Rain Fragrance Oil, which features notes of ocean mist, white tea, lily, and musk. It does discolor to a light yellow, which is why titanium dioxide is added. We found it did discolor the top of the soap, giving it a slight green hue.
The Coastal Rain Fragrance Oil, Icelandic black sand, and jagua blue extract are all part of the new Seascape Collection. It includes four ocean-inspired fragrance oils, exfoliants, sugar pearls, and more. Click here to shop the entire collection.
Coastal Rain Cold Process Soap Tutorial
What You Need:
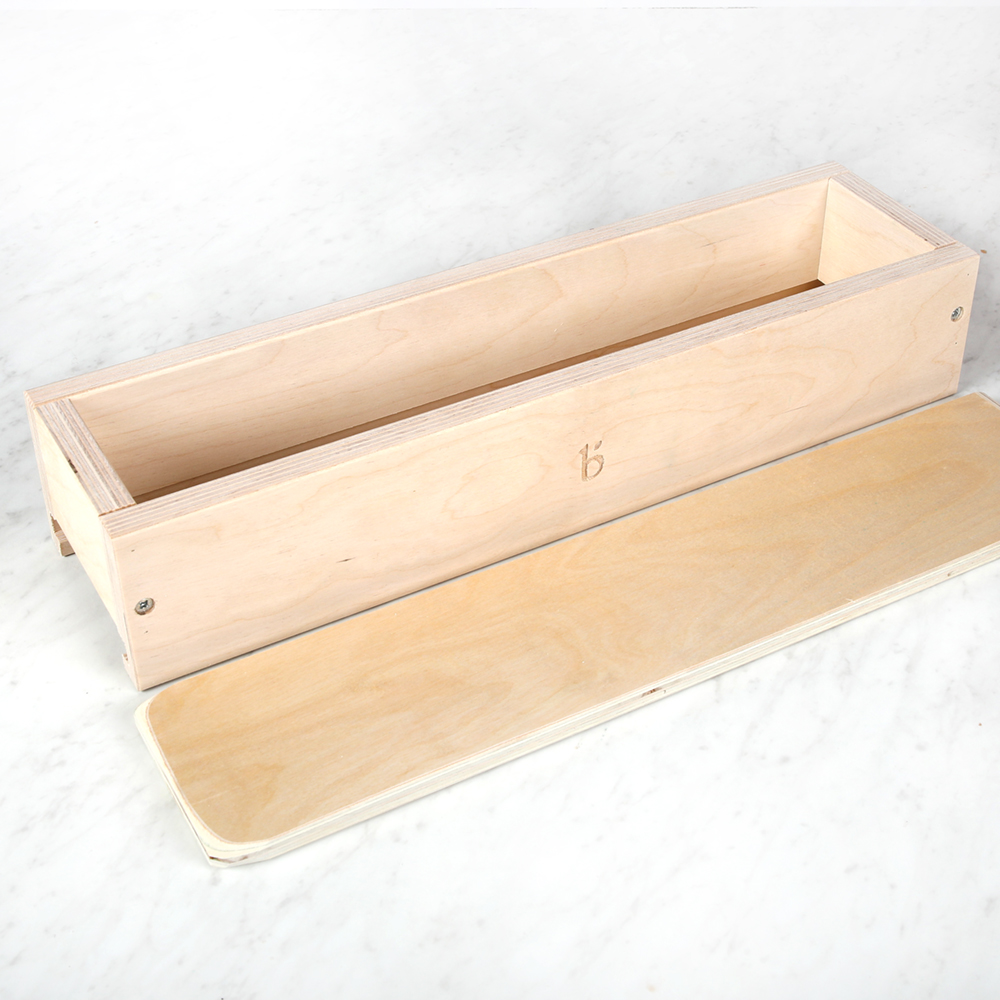
5 Pound Mold with Sliding Bottom
Silicone Liner for 5 lb. Wood Mold
54 oz. Swirl Quick Mix
7.5 oz. Sodium Hydroxide Lye
16 oz. Distilled Water (10% water discount)
3.4 oz. Coastal Rain Fragrance Oil
Jagua Blue Extract
Icelandic Black Sand
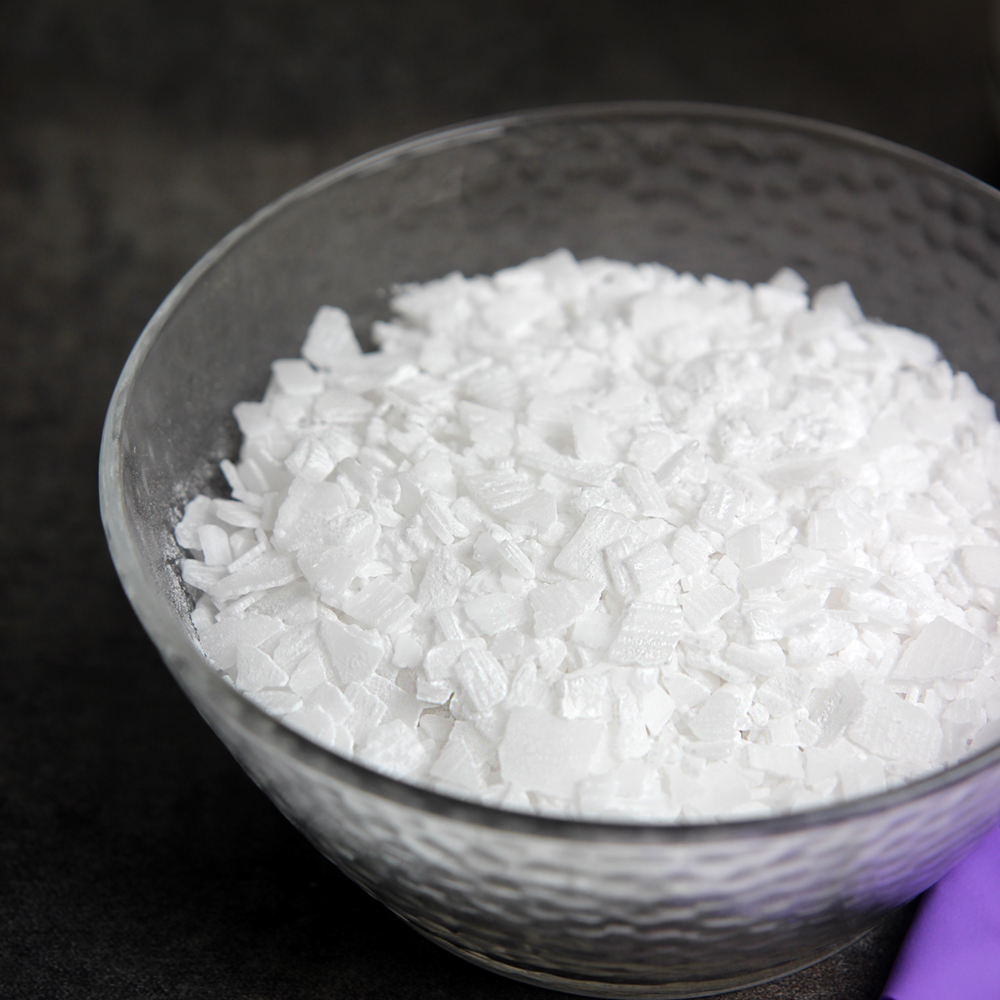
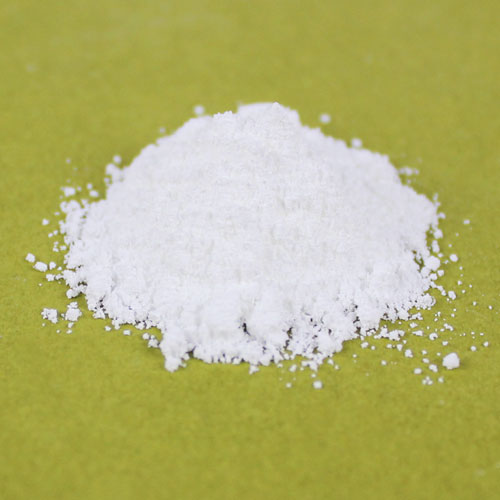
Titanium Dioxide Pigment
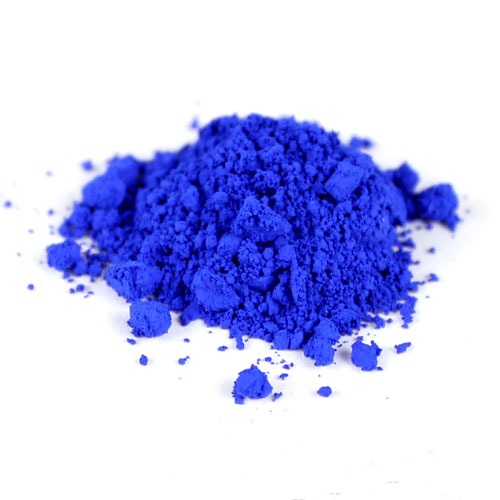
Ultramarine Blue Pigment
Kelly Green Mica
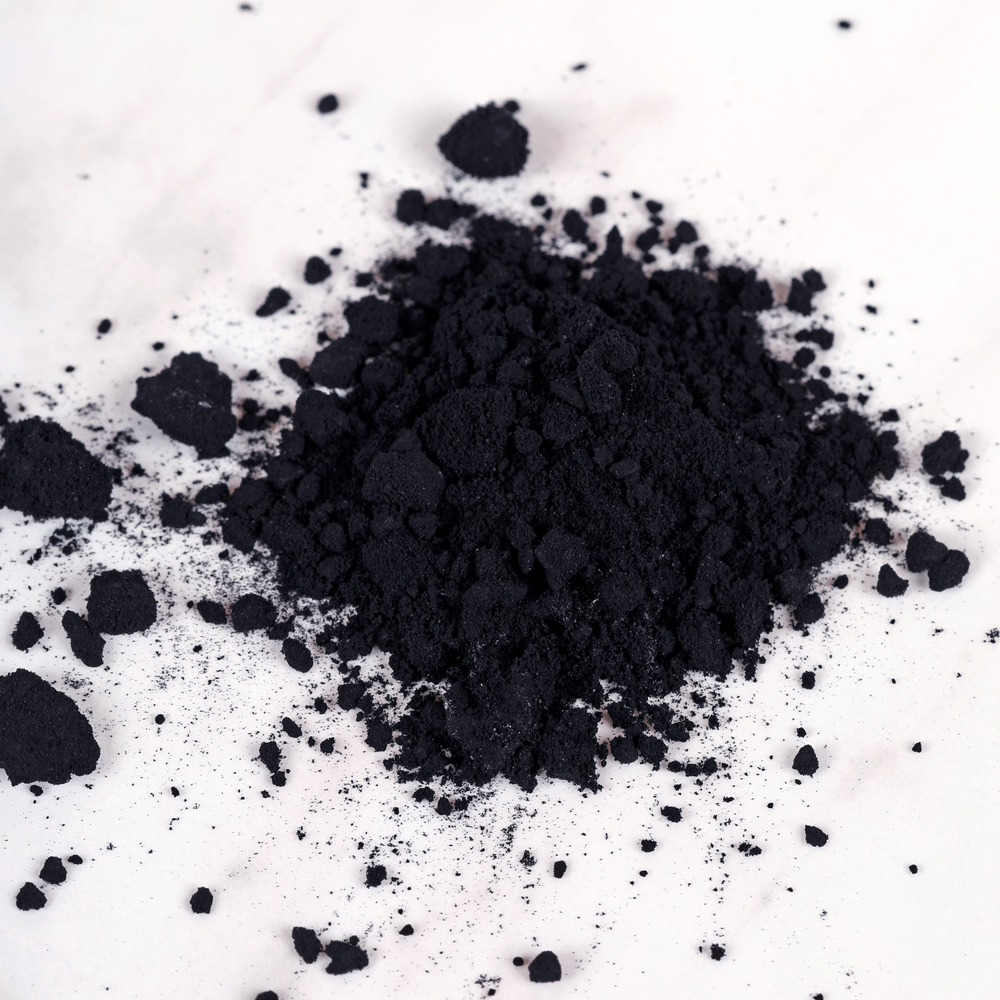
Activated Charcoal
Click below to add everything you need for this project to your Bramble Berry shopping cart!
If you’ve never made cold process soap before, stop here. We highly recommend checking out our FREE four part SoapQueen.tv series on cold process soapmaking, especially the episode on lye safety. And if you’d rather do some reading, Bramble Berry carries a wide range of books on the topic, including Pure Soapmaking. You can also check out the digital downloads for that instant gratification factor.
FRAGRANCE PREP: Measure 3.4 ounces of Coastal Rain Fragrance Oil into a small glass container and set aside.
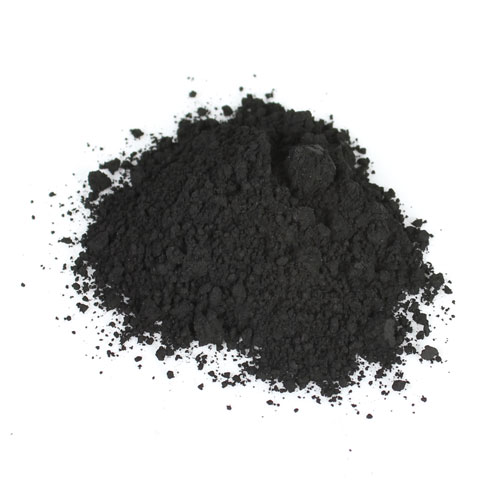
COLORANT PREP: Disperse 3 teaspoons of titanium dioxide into 2 tablespoons of a lightweight liquid oil such as sunflower or sweet almond oil. In separate containers, disperse 1 teaspoon Kelly Green Mica, 1 teaspoon activated charcoal, and 1 teaspoon Ultramarine Blue Pigment into 1 tablespoon of lightweight liquid oil. Use a mini mixer to get rid of clumps. Then, mix together 1/2 teaspoon of jagua blue extract with 1/2 tablespoon of distilled water. Be very careful with this mixture – it’s highly concentrated and will stain skin and other surfaces. Use a small spoon to mix together the jagua blue extract and water. If necessary, you can use a mini mixer to help get rid of clumps. We recommend covering the container with your hands if you use the mixer, it can cause the water to spray.
Optional: To ensure the titanium dioxide blends smoothly into the soap, we recommend micronizing it before dispersing it in oil. Use a coffee grinder to break up any clumps of color and prevent streaks of white from showing in the final soap. We like to use a coffee grinder that has a removable stainless steel mixing area for easy cleaning.
SAFETY FIRST: Suit up for safe handling practices. That means goggles, gloves, and long sleeves. Make sure kids, pets, other distractions, and tripping hazards are out of the house or don’t have access to your soaping space. Always soap in a well-ventilated area.
ONE: Slowly and carefully add 7.5 ounces of lye to 16 ounces of distilled water. Gently stir until the lye has fully dissolved. Set it aside to cool. If you’d like a harder bar of soap that releases faster from the mold, you can add sodium lactate to the cooled lye water. Use 1 teaspoon of sodium lactate per pound of oils in the recipe. For this recipe, you’d add 3.5 teaspoons sodium lactate.
TWO: Fully melt the entire bag of Swirl Quick Mix until it’s completely clear. Shake the bag to mix up all the oils. Measure 54 ounces into your soaping bowl. Once the lye water and the oils have cooled to 130 degrees F or below (and are ideally within 10 degrees of each other), add the lye water to the oils and stick blend the mixture to a thin trace.
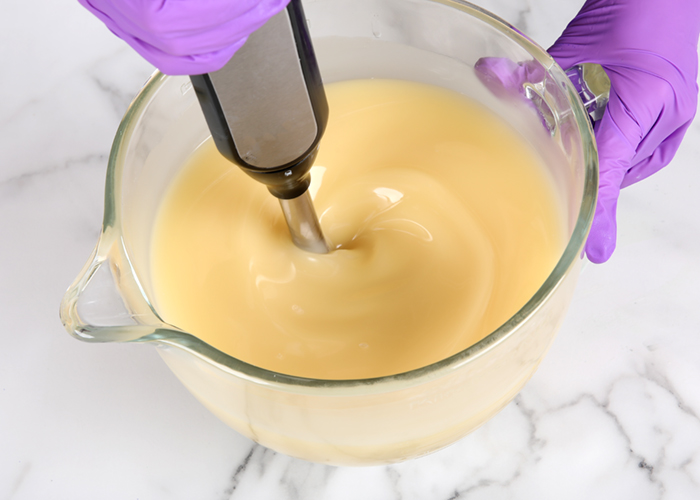 THREE: Add 1 tablespoon of dispersed titanium dioxide to the entire batch and use a whisk to mix it in.
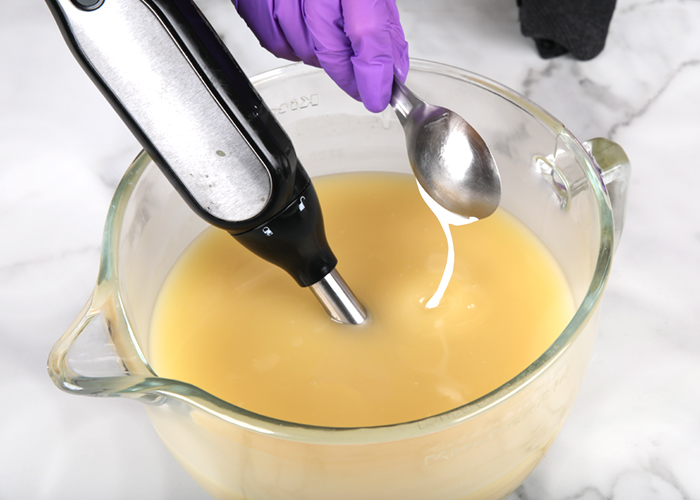 FOUR: Split the soap and add the dispersed colorants listed below. Use a whisk to mix each colorant in.
- Container A (500 mL): 1 teaspoon dispersed Kelly Green Mica + 1/2 tsp. dispersed Ultramarine Blue Pigment
- Container B (500 mL): Remaining dispersed titanium dioxide pigment
- Container C (500 mL): 1 teaspoon dispersed Ultramarine Blue Pigment
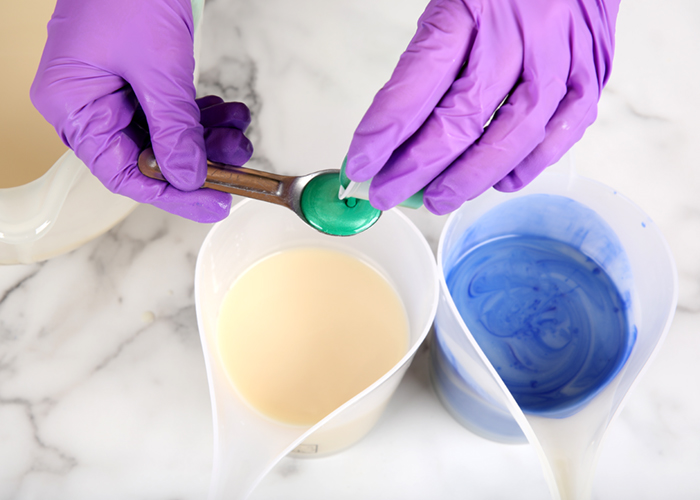
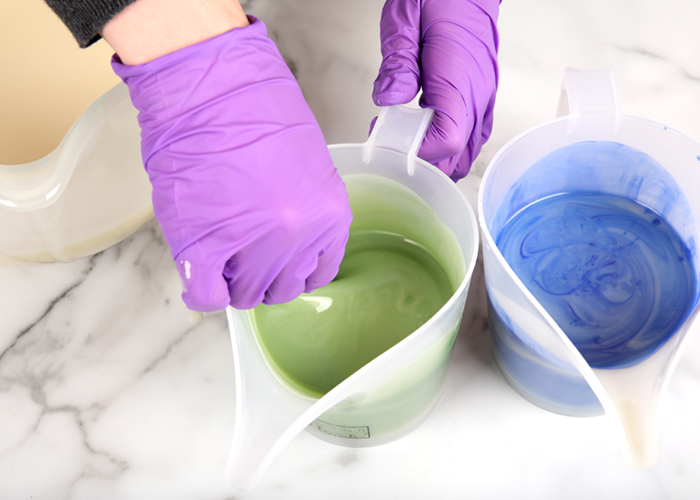
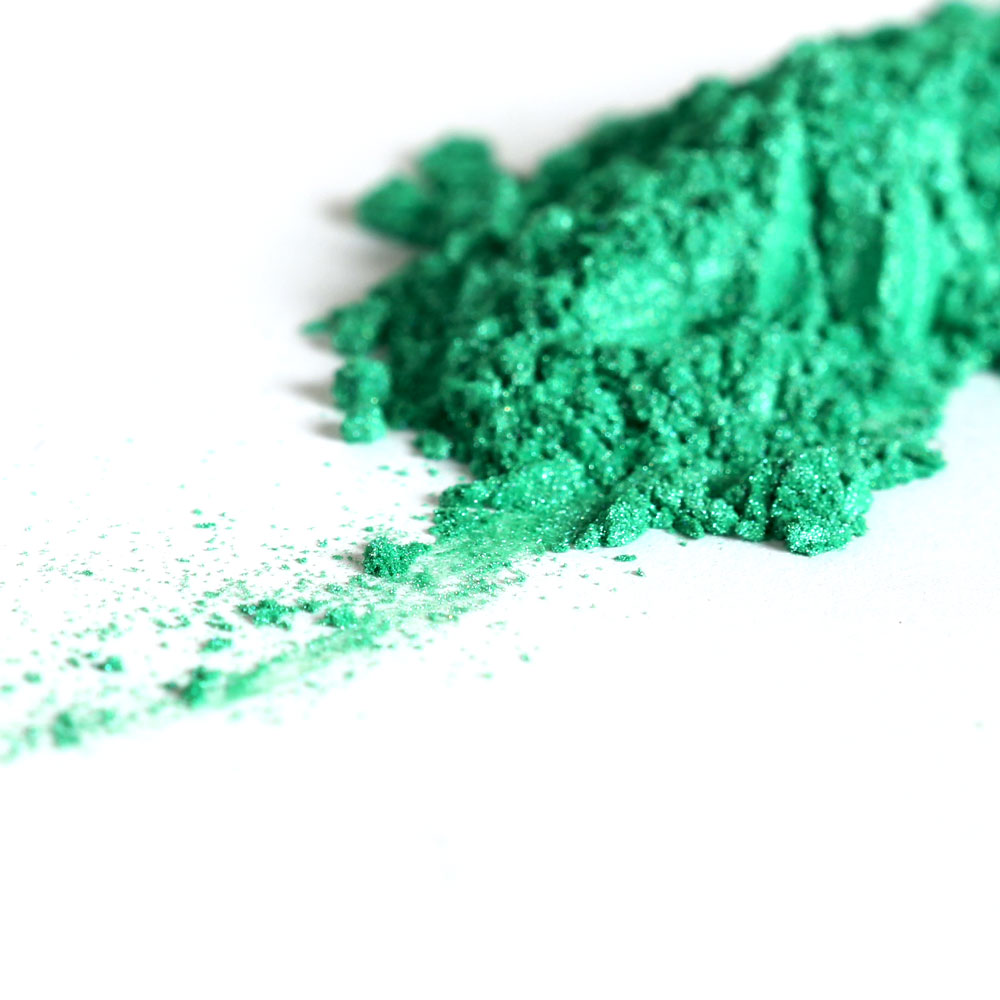
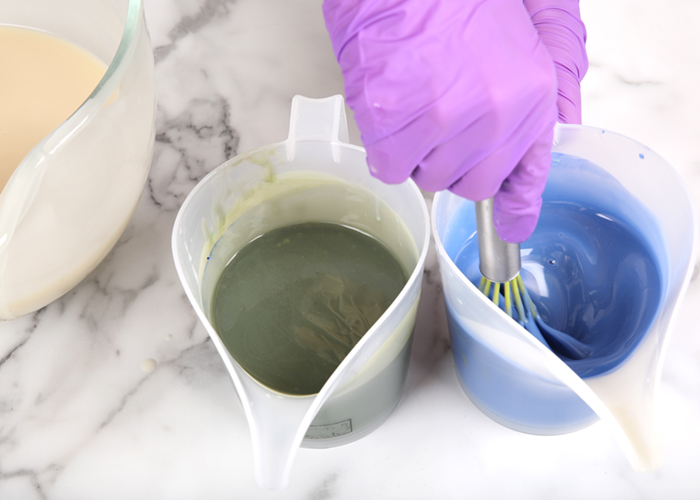 Kelly Green Mica turns a dark olive green when first added, but it returns to a bright green in the finished soap. Notice the color change from the photos above.
FIVE: To the remaining soap, add all of the dispersed jagua blue extract and use a whisk to mix it in thoroughly.
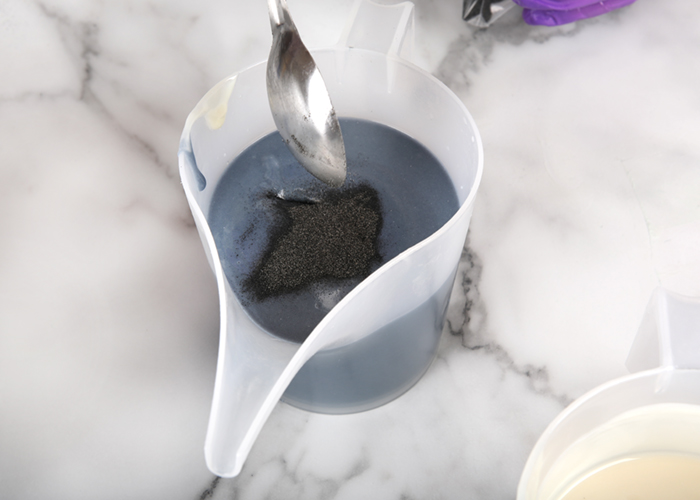
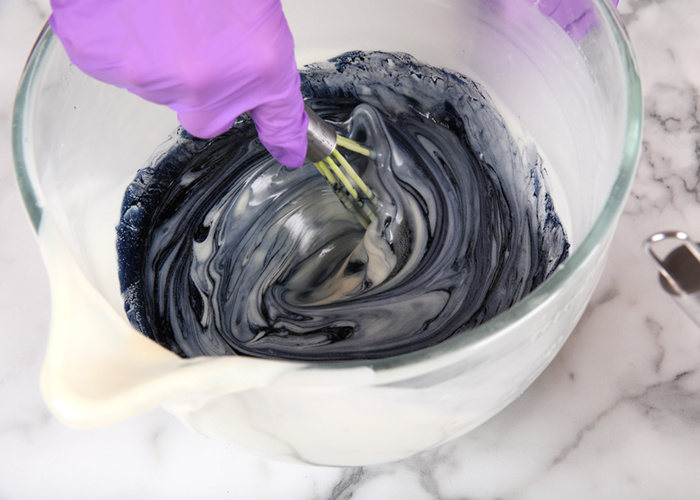 SIX: Pour off 500 mL of the jagua blue colored soap into a separate container. Stick blend the soap to reach a medium trace. Add 2 tablespoons of Icelandic black sand and 2 teaspoons of dispersed activated charcoal, and use a whisk to fully incorporate. Add a proportional amount of the Coastal Rain Fragrance Oil (it’s okay to eyeball it) and use a whisk to mix in.
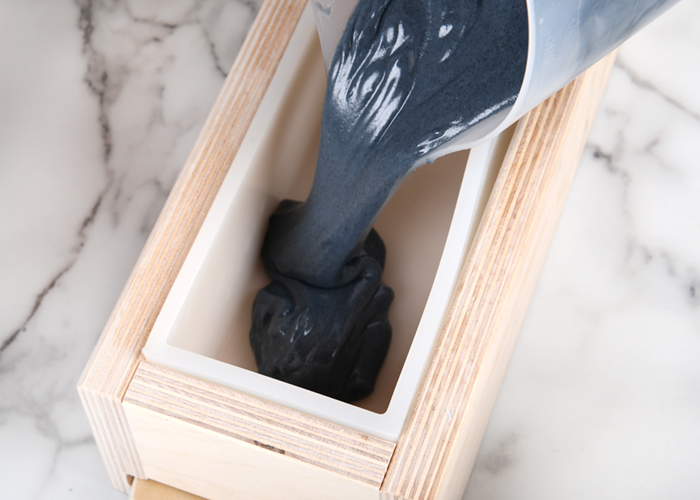
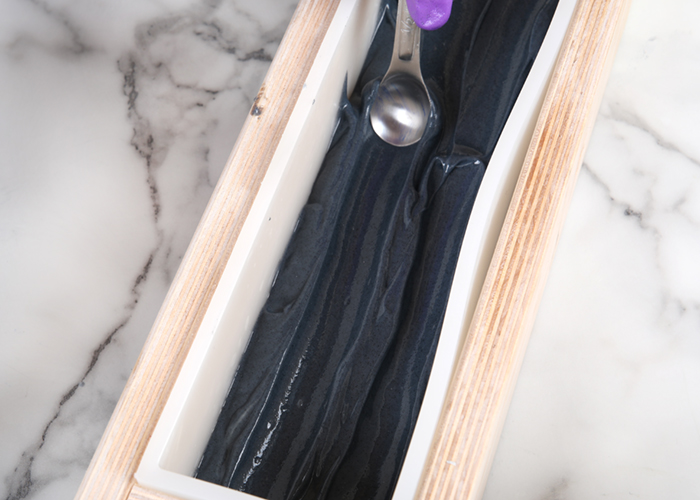
 SEVEN: Pour the dark jagua blue soap into the mold. Use a spoon to evenly spread it throughout the mold and to create peaks and divots into the soap.
 EIGHT: Add the Coastal Rain Fragrance Oil proportionally to each of the remaining containers of soap – it’s okay to eyeball it. Use a whisk to fully mix in the fragrance oil.
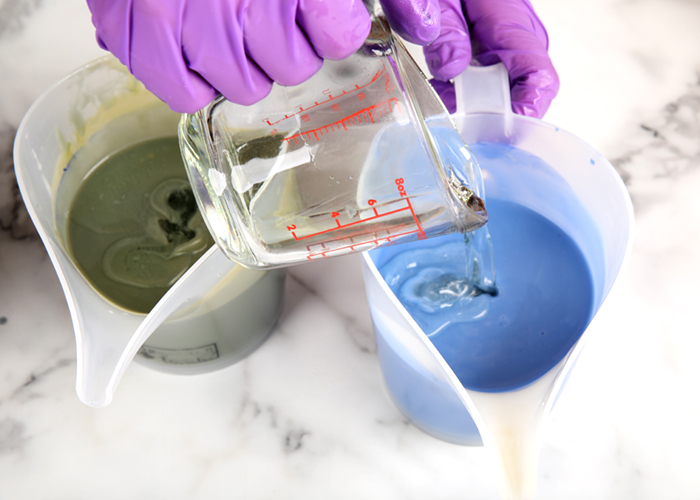 NINE: Begin pouring the blue, green, and white soap into the large bowl of jagua blue soap. Pour each color into different areas of the bowl and at different heights. Don’t worry too much about the exact placement of each color. We like to pour a little bit of white in between each color to help differentiate the colors.
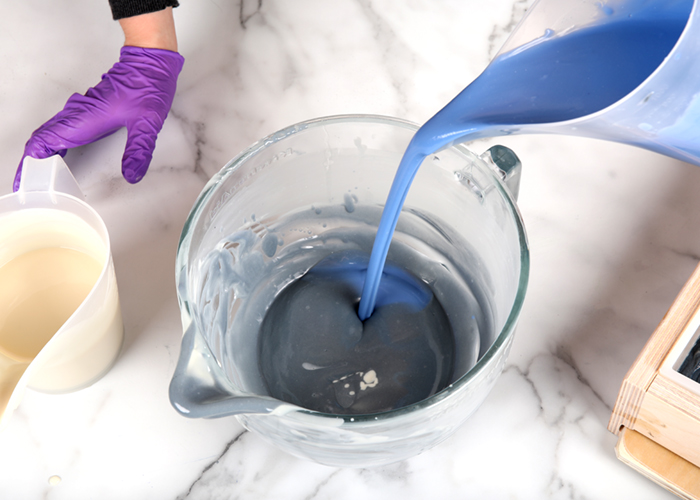
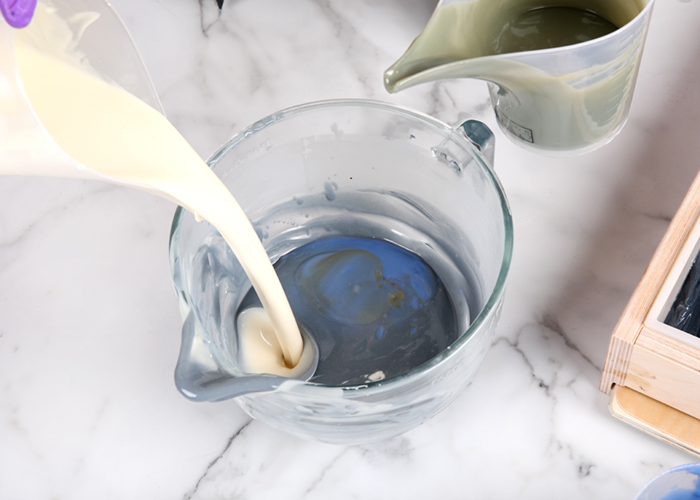
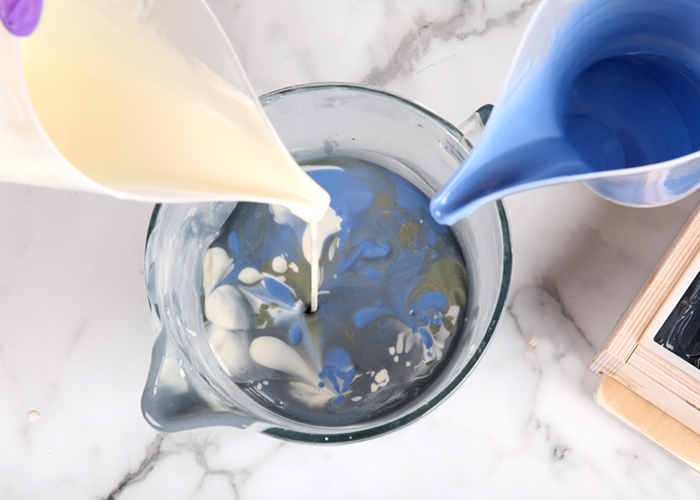 TEN: Once all the colors have been poured into the bowl, use a large spatula to swirl the batter. Only swirl 1-2 times so the colors don’t muddle together.
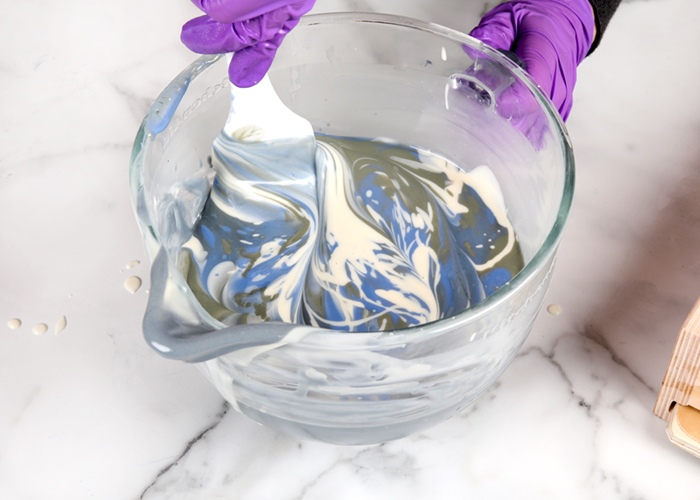 ELEVEN: Pour the soap into the mold. Tap it firmly on the counter to help get rid of bubbles.
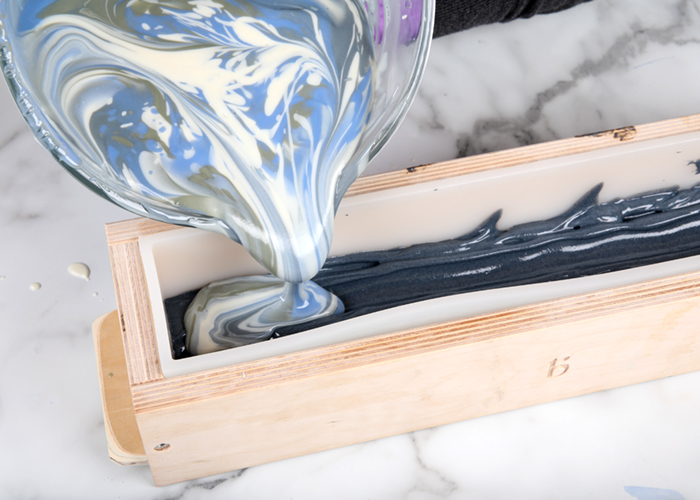
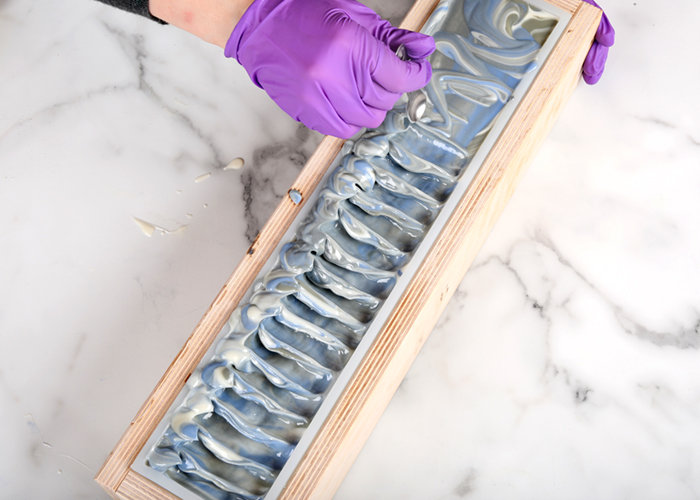
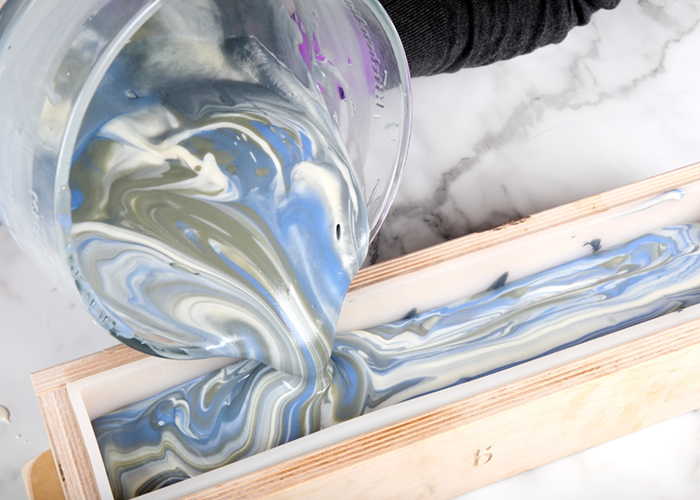 TWELVE: Allow the soap to sit in the mold and thicken. This will take about 3-5 minutes. Once it’s firm, use a small spoon to create texture. We created a wave on one side of the mold, but feel free to texture the top however you like.
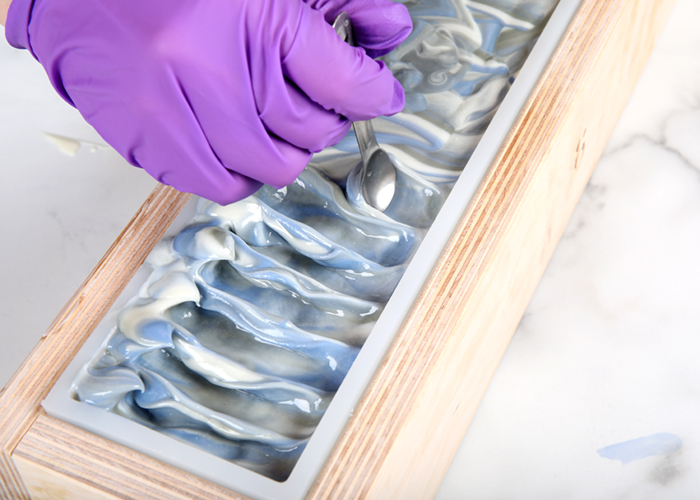
To promote gel phase, place the soap on a heating pad set to medium for 30-60 minutes. To help insulate, we bent a piece of cardboard and placed it on over the mold without touching the top. Allow it to stay covered and insulated for at least 6 hours. Keep an eye on it to make sure it doesn’t get too hot and crack. If you see a crack starting to form, take it off the heating pad and remove any insulation.
- 5 Pound Mold with Sliding Bottom
- Silicone Liner for 5 lb. Wood Mold
- 54 oz. Swirl Quick Mix
- 7.5 oz. Sodium Hydroxide Lye
- 16 oz. Distilled Water (10% water discount)
- 3.4 oz. Coastal Rain Fragrance Oil
- Jagua Blue Extract
- Icelandic Black Sand
- Titanium Dioxide Pigment
- Ultramarine Blue Pigment
- Kelly Green Mica
- Activated Charcoal
- Slowly and carefully add 7.5 ounces of lye to 16 ounces of distilled water. Gently stir until the lye has fully dissolved. Set it aside to cool. If you’d like a harder bar of soap that releases faster from the mold, you can add sodium lactate to the cooled lye water. Use 1 teaspoon of sodium lactate per pound of oils in the recipe. For this recipe, you’d add 3.5 teaspoons sodium lactate.
- Fully melt the entire bag of Swirl Quick Mix until it’s completely clear. Shake the bag to mix up all the oils. Measure 54 ounces into your soaping bowl. Once the lye water and the oils have cooled to 130 degrees F or below (and are ideally within 10 degrees of each other), add the lye water to the oils and stick blend the mixture to a thin trace.
- Add 1 tablespoon of dispersed titanium dioxide to the entire batch and use a whisk to mix it in.
- Split the soap and add the dispersed colorants listed below. Use a whisk to mix each colorant in.
Container A (500 mL): 1 teaspoon dispersed Kelly Green Mica + ½ tsp. dispersed Ultramarine Blue Pigment
Container B (500 mL): Remaining dispersed titanium dioxide pigment
Container C (500 mL): 1 teaspoon dispersed Ultramarine Blue Pigment - To the remaining soap, add all of the dispersed jagua blue extract and use a whisk to mix it in thoroughly.
- Pour off 500 mL of the jagua blue colored soap into a separate container. Stick blend the soap to reach a medium trace. Add 2 tablespoons of Icelandic black sand and 2 teaspoons of dispersed activated charcoal, and use a whisk to fully incorporate. Add a proportional amount of the Coastal Rain Fragrance Oil (it’s okay to eyeball it) and use a whisk to mix in.
- Pour the dark jagua blue soap into the mold. Use a spoon to evenly spread it throughout the mold and to create peaks and divots into the soap.
- Add the Coastal Rain Fragrance Oil proportionally to each of the remaining containers of soap – it’s okay to eyeball it. Use a whisk to fully mix in the fragrance oil.
- Begin pouring the blue, green, and white soap into the large bowl of jagua blue soap. Pour each color into different areas of the bowl and at different heights. Don’t worry too much about the exact placement of each color. We like to pour a little bit of white in between each color to help differentiate the colors.
- Once all the colors have been poured into the bowl, use a large spatula to swirl the batter. Only swirl 1-2 times so the colors don’t muddle together.
- Pour the soap into the mold. Tap it firmly on the counter to help get rid of bubbles.
- Allow the soap to sit in the mold and thicken. This will take about 3-5 minutes. Once it’s firm, use a small spoon to create texture. We created a wave on one side of the mold, but feel free to texture the top however you like.
- To promote gel phase, place the soap on a heating pad set to medium for 30-60 minutes. To help insulate, we bent a piece of cardboard and placed it on over the mold without touching the top. Allow it to stay covered and insulated for at least 6 hours. Keep an eye on it to make sure it doesn’t get too hot and crack. If you see a crack starting to form, take it off the heating pad and remove any insulation.





Do you recall how thick these bars were cut prior to using the soap beveler on them? I really like this look and I did purchase the beveler and realize that it does take off quite a bit of soap. I just wanted to make sure I didn’t cut my bars too thin. I want to make nice, large, grand looking soaps out of this batch. Thank you!
The size of your bars will be totally up to you, but in this project we cut our bars 1″ thick.
That’s what I was wondering. Thank you!
I hope someone can help me
I consider myself and Intermediate Soap Maker, I have never had a problem except now.
My soap came out gloppy and the consistancy of wet clay.
I cut the recipe in half and used a lye calculator to give me the amount of lye and water to use.
This recipe siezed on me. I could not pour. I tried heating it up in a plastic bag in water. Then poured into molds. Less than 24 hours later, It was still the consistancy of wet clay.
I am attempting the reheat process in a slow cooker but I am afraid this batch is a loss.
Can someone help me – Please?
Susan
Hi Susan, it can take up to 24 hours for soap to harden up enough to remove from the mold. Can you give me more information on how you mixed in the fragrance and if you are positive you were using Sodium Hydroxide? Thanks!
HI Chloe, Yes I am sure I used Sodium Hydroxide. I mixed the fragrance according to directions. This is actually my second attempt at this recipe. Is it possible that I got a bad or old container of Lye?
The soap smells amazing but there are cracks throughout and it looks sad 🙂
Here is a post that will give you a good idea if you are working with expired lye or not:
https://www.soapqueen.com/bath-and-body-tutorials/tips-and-tricks/expired-lye/
I noticed the gorgeous edges of the soap – Was that done with a special mold? Or was there a technique you did to achieve that? Thank you!
Thanks, we think it adds a nice touch. We used the Soap Beveller. Get it here: https://www.brambleberry.com/Soap-Beveller-P4141.aspx
These are absolutely gorgeous! I so wish I could get the BB products, but I live on the other side of the planet!
Sorry about posting this here, as the comments on the relevant topics are closed now.
I wanted to make soap using cow’s milk but in my excitement I froze about a half used 1 L pack of milk in the ice cube trays without measuring them first! Is it okay to weigh/measure the frozen milk cubes before I start the process?
It’s okay to measure the frozen milk cubes. That’s what we do when we work with milk.
Thanks so much Kelsey 🙂
How long does this recipe need to cure prior to use? And can I use the “lots of lather” mix instead of the swirl? I know it will probably set up faster, so I will need to work quicker.
This recipe needs to cure for 4-6 weeks prior to use. You can use the Lots of Lather Quick Mix instead, but be prepared for it to hit trace sooner than the Swirl Recipe Quick Mix would. If you don’t work fast enough, you may not get the design you want. This post has a lot of helpful information on the quick mixes: https://www.soapqueen.com/bath-and-body-tutorials/tips-and-tricks/sunday-night-spotlight-quick-mixes/?_ga=2.100213534.1409228587.1530199050-993484739.1526494962
If I wanted to resize this batch for the 10″ mold, do I just half the amount of colorants? I’ve been having some issues with colored bubbles in my batches and want to make this without staining.
Using half of the amount of colorants will work for a batch for the 10″ mold. Start with about 1/4 teaspoon of dispersed color at trace. If you want more, you can add from there.
This post talks more about how to color soap: http://www.soapqueen.com/bath-and-body-tutorials/tips-and-tricks/talk-it-out-tuesday-colorants/
And this post has tips on how to resize batches with our Lye Calculator: https://www.soapqueen.com/bath-and-body-tutorials/tips-and-tricks/how-to-resize-cold-process-soap-recipes/
That really is a showcase looking bar of soap! I’ve never been able to get such well defined swirls with this pour.
Thank you. We really like how these bars turned out. A thinner trace might be able to help you achieve the swirls you want. Make sure to pour the soaps from different heights and only run your spatula through the bowl once or twice to swirl.
This soap is beautiful and ocean/water looking. I have two questions about using the 12 cavity rectangular silicone mold. First, do have any recommendations on how to get a perfectly smooth top? Second, is it difficult to promote gel phase in these molds?
Thank you. We are loving the new collection. A thinner trace will help you achieve a smoother top. You can use a spoon or spatula to smooth out any bumps. If your soap still isn’t as smooth as you’d like, the Bramble Berry Soap Shaver can help even out the tops of your soaps. Get it here: https://www.brambleberry.com/Soap-Shaver-P6331.aspx
It can be difficult to promote gel phase in these types of molds. The best molds for gel phase are the wood molds. If you want your soap to go through gel phase in the 12 Cavity Silicone Mold, place it on a heating pad on low to medium heat for 20-30 minutes and keep your soap covered for 24 hours. This post on gel phase is helpful: https://www.soapqueen.com/bath-and-body-tutorials/tips-and-tricks/gel-phase/