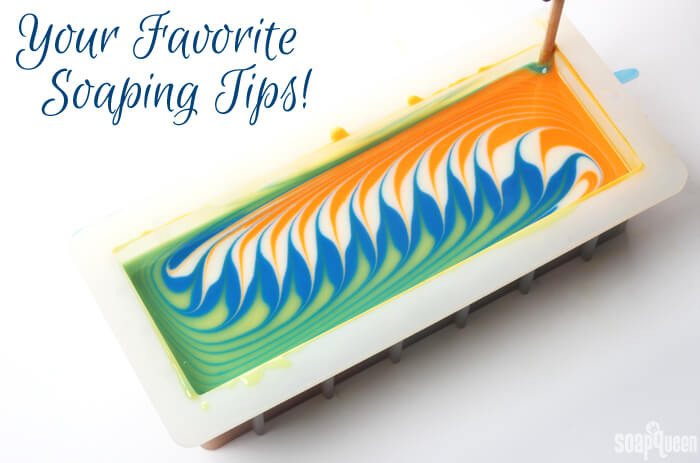
At the beginning of the month, we had a Share Your Favorite Soaping Tip Contest. The tip could pertain to soap, bath bombs, lotions, or any other bath and beauty project. We received close to 400 comments, and I was so impressed with all the tips. I definitely learned some new tricks! If you’re looking for more informational posts, check out the Tips and Tricks category of the blog.
Many of the tips had similar themes including have fun, stay organized, safety first and don’t get discouraged. These tips made me smile, because they really identified what the DIY journey is all about. Creating should be fun! To make sure it’s fun, it’s crucial to stay safe and it also helps to be organized. Click here to read all the tips in the comment section.
Most frequent tips:
1. Have fun. Don’t forget that soapmaking should be a fun activity. If it’s stressing you out, take a deep breath and relax.
2. Stay organized. Keep your soaping area organized and thoroughly read over the instructions several times. This will help the entire process go smoothly.
3. Safety first. If you are making cold process soap, take proper lye safety precautions such as wearing goggles, long sleeves and soaping in an area with no children or pets nearby. Click here to learn more about lye safety.
4. Don’t get discouraged. We all have an occasional soaping mishap. If your batch doesn’t turn out perfectly, don’t get discouraged and quit. Your next batch will be better. =)
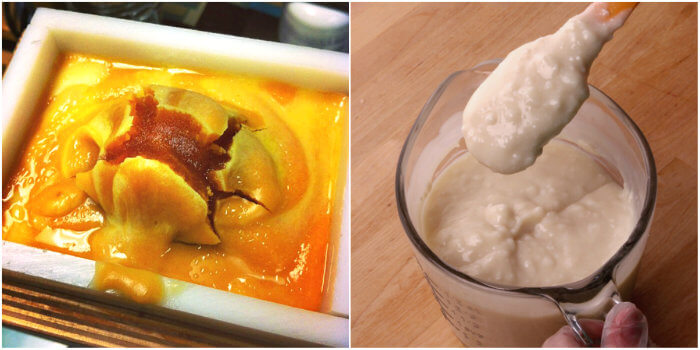 Soaping mishaps happen, but don’t get discouraged! Check out the Soap Behaving Badly and the Soapy Mess-Up Quick Guide to learn how to work through common problems.
There were so many great tips, it was hard to choose my favorites. Below are some of the tips that really stood out to me. Thanks to everybody who took the time to share a tip. The team and I had such a good time reading through them!
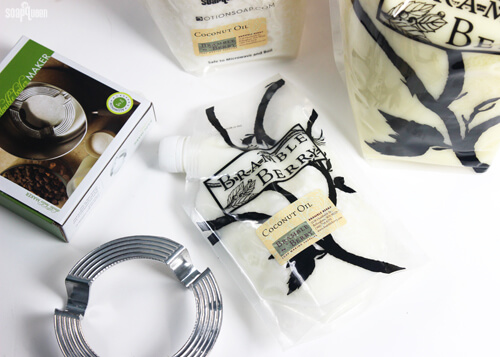
Tool Tips
“I know all of you probably have at least one of the reheatable bags that your oils come in from Brambleberry. I actually cut the top off across one of them to make it a open bag. It works perfectly for rebatching soap in and works even better for melting your waxes in. I use the double boiler method and it is an awesome way to melt things down in. So never never throw away. They are really useful for this purpose.” – Kristie
“To process images for water soluble paper so that you get the best, most vivid images into your soaps, select the image in Microsoft Word (or use any image editing program). Increase both color saturation and contrast, and then lower your brightness or exposure just a tiny bit (to counteract the increased contrast, which can wash out some of the subtleties in the image). This will ensure that the images underneath the clear layer of soap don’t look so “washed out” (so to speak).” – Vittoria
“My house is kept rather cold (thanks, hubby), which makes getting a good gel on my CP soap a challenge sometimes. My secret? A cheap pizza stone! I pop it in the oven at 170 while I make my soap, pull it a few minutes before I’m ready for it, then set my mold on the stone (usually I put a thin towel between the stone and mold), cover with a towel, and let it go. The heat is enough to encourage the gel, but it dissipates just at the right rate–not too fast, not too slow, so I get a perfect gel every time. I use a cheap, thin stone since I wouldn’t want to ruin a high end one, and the high end stones tend to hold their heat longer, which I don’t really want.” – Lindsey
“If you stamp your soaps and have a problem with get soap getting stuck in the stamp, place a sheet of plastic wrap over the soap before you stamp. The impression comes out fine and no soap gets on your stamp.” – Debbie
“For smaller volume soapers and hobbyists: I use those foldable & stackable cooling racks for cookies to cure my soap. They can be found 3/$10 and can fit about 5# worth of soap on each one. Plus, they are easy to carry if you are like me and have to cut and trim soap in one room cure it in another.” – Vicki
“A small shoe box is the perfect size for the Bramble Berry 10″ Silicone Mold. I like to stick my mold in the shoe box and put the lid on. It serves a dual purpose of making sure there is no bowing of the mold, and is a great insulator. Throw an extra towel on top and you get a good gel.” – Caitlin
“If you use freezer paper to line your molds, cut as many blanks at a time as you think you’ll need for several weeks. This is a tedious part of soap making, so I stack up about a dozen cut to size. Then all I have to do is fold and insert.” – Deborah
“You know those medicine cups that come packaged with children’s medicines? I don’t like just throwing them away, so I use them to mix mica with oil/glycerin and my fragrances with vanilla color stabilizer. If you don’t have a dropper, the medicine cups are great for measuring the fragrances because the milliliters are printed on the cups. Almost everybody has them piling up in their medicine cabinets.” – Madi
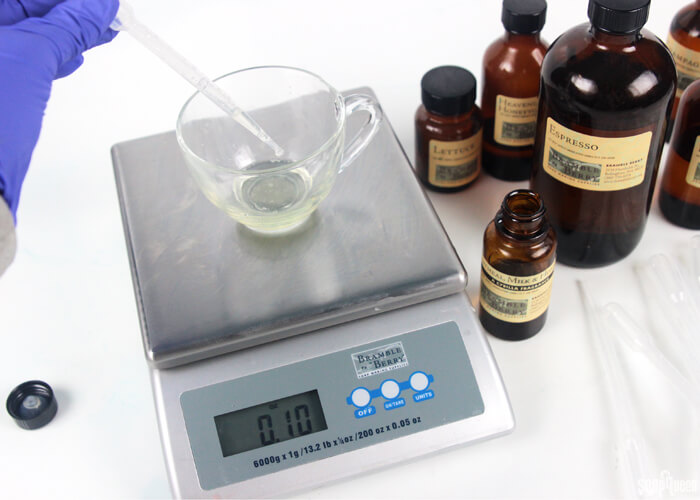
Fragrance/ Essential Oil Tips (for more tips, check out this post & this post)
“Have you ever had fragrance and essential oils dribble down the side of the bottle when you’re trying to measure out that last .5 oz? I did, until I thought about how I solved that same problem when pouring wine–use a “Drop Stop”! Its a round flexible disc of a heavy mylar material that you roll and stick into the bottle and it prevents any drips–you can really stop pouring at a drop! They are in most wine accessories aisles, I DO NOT own stock in them, I just love to use them because I got tired of wasting product and cleaning up a messy bottle!” – Regan
“Choose the FO/EO combination you would like to test and make sure to have a note card ready to record results. Using a pipette or dropper, drop the FO/EO one drop at a time onto the cotton square or cotton ball, making sure to record the amounts/drops used of each scent. Once you have achieved a satisfactory combination (and made sure the increments have been properly documented), put the cotton into a zip-lock baggie, seal it, attach the note card to the outside, and set it aside. Over the next few hours, or even days, you can periodically come back to the baggie to gauge the result. If you adjust the scent by adding more, or different oils, make sure you document each addition.” – Debi
“My favorite tip is a simple one…when you need to pour fragrances (and small amounts of oil) and don’t want to spill, pour it along a chop stick and it will go right into your container instead of dripping all over the place.” – Desiree
Prep Tips (for more tips, check out this post)
“When prepping and weighing oils and butters to create soap sometimes we get distracted and forget to add an oil or butter so I recommend: Gather all oils and butters and position them to the right side of your scale. After you are done with each oil or butter move it to the left of the scale. With this technique you will know for sure all your ingredients are in your soaping pot.” – Laurie
“I am always concerned to forget to add an oil when making CP soap and making my soap lye heavy. So I print a copy of the recipe. It make take a little longer, but I take out only one ingredient at a time when measuring. While my lye is cooling, I take out the first hard oil, measure it, check it off the recipe, and then I put it away immediately . I then take out the next one, weight it, mark it, and put it away. Then move on to soft oils while my hard oils are melting. Keeps my head clear and reduces clutter, which also helps avoid spilling accidents.” – Monika
“I lay down a large garbage bag on my kitchen table to measure my ingredients. This makes clean-up easy and protects my table. For my mixing with the lye, I plug my stick blender in an outlet next to my stovetop and mix there because I use the stove fan to take out any fumes.” – Andrea
Organization & Efficiency Tips (for more tips, check out this post)
“My tip: Keep a Sharpie marker & a Dry Erase marker on hand. I make several batches at a time, (not all are always the same size!), and can quickly grab a Dry Erase marker to mark pitchers of lye with the size mold it is for, or to quickly mark on any of my containers. After getting a batch in a mold, I grab the Sharpie and make notes on the essential oil bottle or on the fragrance oil bottle (A = accelerated, R = riced, etc) Then I can transfer that information to my notes later. Or leave it on larger bottles for easy reference during next use.” –Kimberly
“My tip is to keep track of the expiration dates on your oils. If you find that one of your oils is getting close to its expiration date use it up! Create a special recipe that will use that oil as the majority ingredient. Say your olive oil is about to expire. Make that the majority of your base oils then to balance out the recipe you can add coconut oil, palm kernel, cocoa butter, or shea butter.This will help your bottom line in the long run and you won’t be wasting any products. The worst thing to happen to any soaper is to spend money on gallons of oils and they expire before you get to use them!” – Alicia
“When I’m making a Taiwan or Mantra swirled or otherwise complicated soap, I increase the batter recipe a little to cover for soap lost to dividers, or if I misjudge the amount needed (better a little too much than not enough). I keep a silicone bar mold, such as Brambleberry’s 12 Bar Square Silicone Mold, ready to mold any unused soap into bars when I’m finished with the main soap. I keep track of the batch number so that I know what’s in it later when I use it for samples, embeds, or family soap. If I don’t find a need for it, I donate it with other saved soap scraps to Clean the World, a non-profit that rebatches soap into bars “that prevent millions of hygiene-related deaths each year.” – Janie
“My tip is so simple but it has helped me many times. I always place the fragrance oil and any additives I will be using inside of the mold I will be making that particular type of soap in. I have forgotten to add my fragrance oil, a clay or a some poppy seeds etc. into my soap at the appropriate times before and since I have started this simple trick I have not had it happen again.” – Lisa
“I hate to waste even a tiny bit of soap. After I’ve poured my mold and scraped as much of the batter from my pot as I can (the KitchenAid silicone spatula is my go-to), I let the pot sit and any leftover batter trace even further while I clean up. When it’s good and thick, I scrape the rest into a little pile on a piece of butcher paper. I let it cure with the rest of the batch, and that’s my own little “sample bar,” either as a sniff tester, or my own bar to use from that batch. Also makes washing the pot easier.” – Audrey
Clean-Up Tips (for more tips, check out this post)
“I spread out wax paper on my work area to keep the mess contained. Then I wipe up the containers with paper towels while they are still warm to get all of the wax out. Even just these 2 simple steps have saved me so much time cleaning things up.” – Amy
“I always use doggy pee pee pads to cover the counter so my kitchen counter top does not get ruined. When we first started out we used wax paper and quickly learned if you spill anything it tears through the paper. The doggy pads are thick and absorbent and can be reused.” – Peggy

“My biggest tip is for clean up, I bought several cotton tea towels. I wipe all my utensils and containers with the tea towels before leaving them to wash a couple days later. the towels remove the soap and dishes are easier to clean. I throw towels in wash and then they are ready to reuse. This saves on buying paper towels and washing items is a breeze.” – Joy
“Use old newspaper, magazines, or circulars to line your crafting space. It makes for a much faster clean-up, saves paper towels, and helps to quickly switch between crafting tasks.” – Kristen
“When making CP soap, I wait until the next day to clean my vessels and utensils. Saponified batter is so much easier to clean up than oily goop!” – Erika
Bath Bomb Tips (For more tips, check out this post)
“One of the best tips I ever heard about releasing bath bombs from the mold was to tap the outside of the mold with the back of a spoon all around the mold. It seems silly but it really does work. The bath bomb releases easily and stress free.” – Brittany
“Bonus tip when making bath bombs put any flowers or decorations in your mold first, then add your colorant into your spray bottle with your water (or in my case witch hazel ) it mixes in much easier.” – Candy
“For easy clean up after making body butters, mix a batch of bath bombs in the same bowl. Just be sure to add the body butter ingredients to the list of those for your bath bomb.” – Dawn
Melt and Pour Tips
“So when you clean your melt and pour cup, just let the soap dry first, and then peel it right off! Then I like to squish it into a ball, and no wasted soap-plus easy cleanup! You really don’t even have to wash it! Don’t wait too long, though, or else it won’t come out.” – Emmeline
“Use a crockpot for melt and pour! Use a crockpot for rebatching soap. I also use it to make liquid soap. The steady, even temperature makes melt and pour very easy.” –Maria
Thanks again to everybody who took the time to share a tip! I love how willing the soaping community is to help fellow soapers. If you didn’t get a chance to share one but would like to, feel free to leave your tip in the comment section below. =)