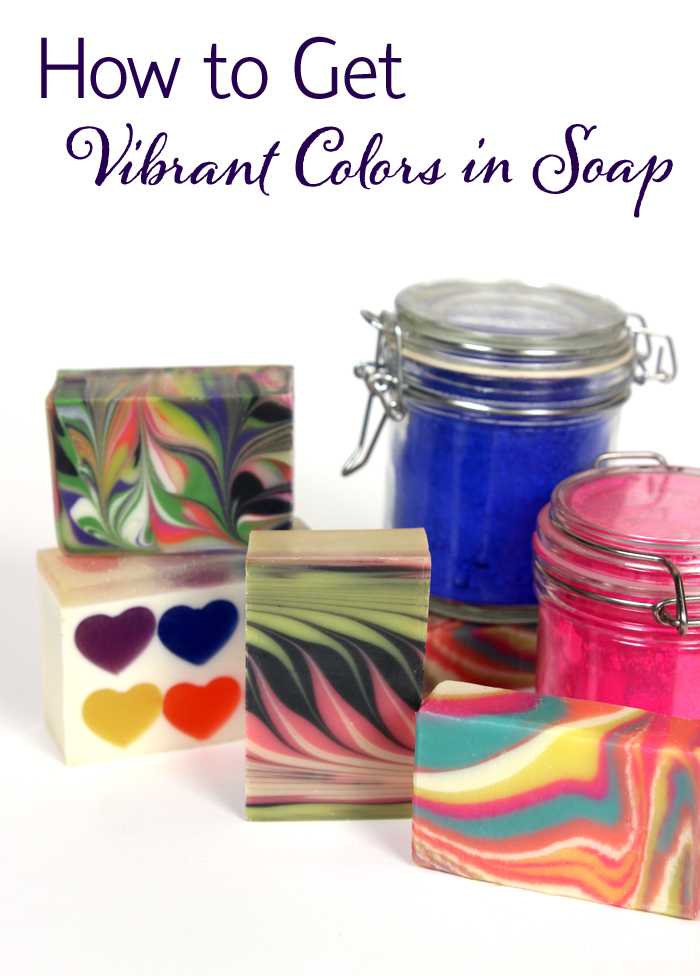
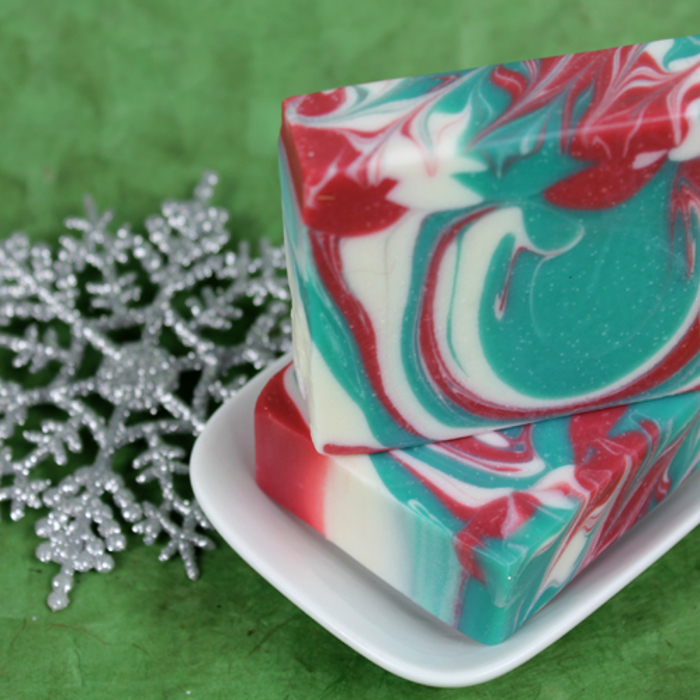
There are so many color options when it comes to soaping. You can choose a vibrant neon palette with plenty of pinks and oranges, or a more subtle and rustic palette with natural blue and gray tones. If you’re going for a vibrant palette, there are several tips and tricks to make your colors really pop. Bright colors can help your soap stand out and catch the eye of a potential customer. Not to mention you can impress loved ones with your excellent soapy skills and color selections =). Let’s dive into the factors that affect the vibrancy of your soapy creations!
Color Options
What colorant you use plays a big role in how vibrant the soap will be. For instance, micas create gorgeous color in melt and pour soap, but some can morph or fade in cold process soap. Before choosing the colorant for your recipe, make sure to check how it performs. The descriptions on Bramble Berry have information on how the color performs, and some also have pictures of the colors in a finished bar of soap. The Talk It Out Tuesday: Colorants post also has helpful information, including how to use each color in your recipe.
 Mica colorants work great in melt and pour soap, but some can fade in cold process soap.
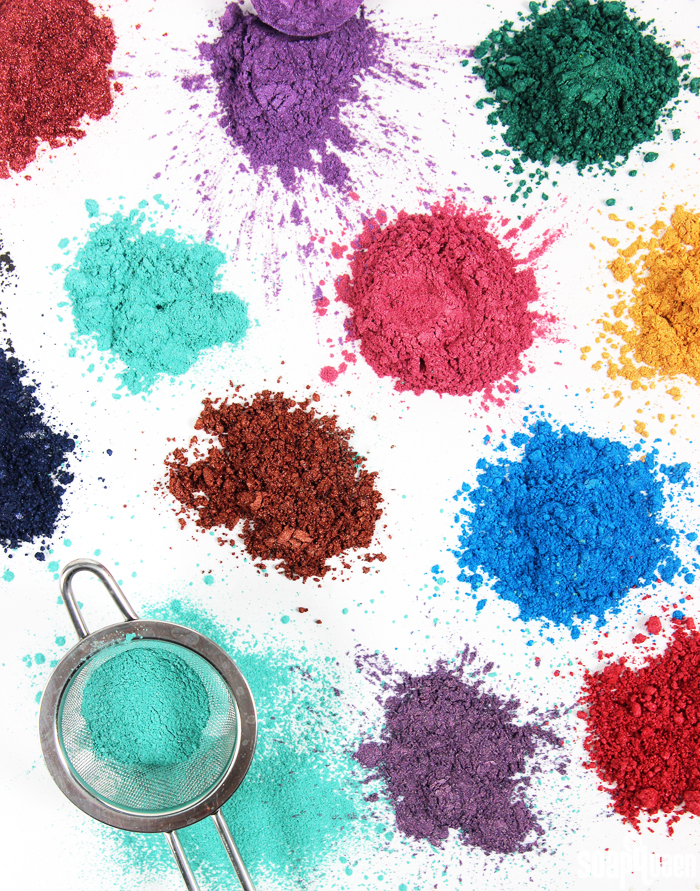
- Micas: Mica colorants are a great option for melt and pour soap. They come in a variety of colors, and also add a beautiful shimmer to your projects. Check out the bright hues in the Romantic Rose Gold Melt and Pour Bars, which use several micas like Rose Gold and Super Pearly White. Before using micas in cold process, make sure to check to descriptions on Bramble Berry. They can fade or change colors in your recipe. The good news is micas that fade in cold process can be used as mica painting on top of it. They can also be used for mica lines, as seen in the Spiced Copper Cold Process Soap Tutorial. Learn more about micas in this Sunday Night Spotlight.
- Pigments: Pigments are a great option for achieving brightly colored cold process soap. They stay true in the soap and there are plenty of colors to choose from. The Psychedelic Spin Swirl Cold Process Soap uses 5 different pigments to create a fun 60s vibe. Pigments can also be used for melt and pour soap, but some of the heavier ones (like Chrome Green Oxide Pigment) can clump or speckle the soap. To prevent that, you can mix the color with liquid glycerin or 99% isopropyl alcohol before adding it to the soap. You can also use color blocks. They are super concentrated pigments and micas that mix easily into melt and pour soap.
- LabColors: These liquid dyes are super concentrated and work for cold process and melt and pour soap. LabColors are another favorite option of mine when I want incredibly vibrant, bright hues. They do need to be diluted before use. Learn how to do that here. High pH LabColors are used for cold process soap. The Layered Lavender Cold Process Soap Tutorial gets its lovely hue from Periwinkle High pH LabColor. Melt and pour soap can be used with low and high pH colors. Check out the amazing amethyst color from Easter Purple High pH LabColor in the How to Make Soap Gems video on Soap Queen TV. LabColors do bleed, which is something to keep in mind when planning your design.
- Natural Colorants: Natural colorants, like clays and herbs, create lovely hues in melt and pour and cold process soap. Natural colorants tend to be a little more subdued than other colorant options, but there are tricks to make natural colorants more bright. For instance, we recommend adding natural indigo powder to your lye water for a darker blue. Read more about using natural colorants in this Sunday Night Spotlight. You can combine the natural colorants with another colorant to create a more vibrant shade. In the Sea Clay Swirl Cold Process Tutorial, sea clay is mixed with Hydrated Chrome Green for a minty green shade.
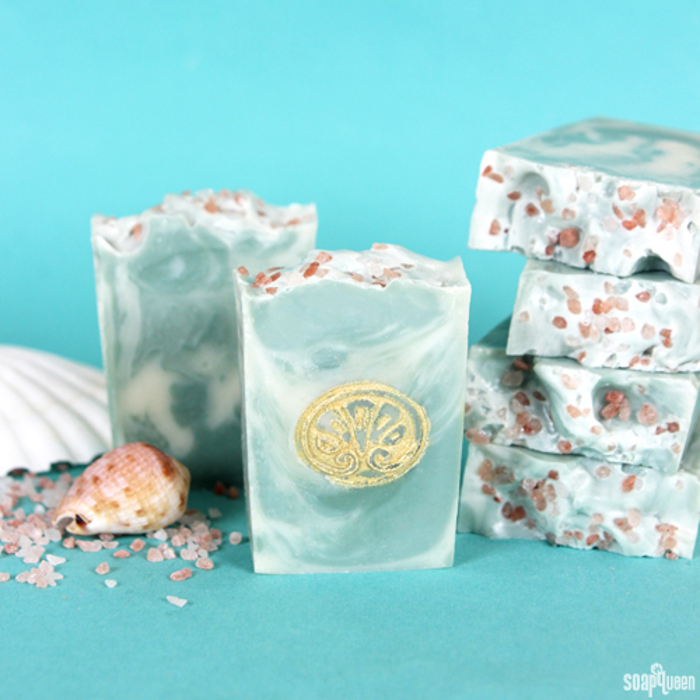 The Sea Clay Swirl Cold Process Soap uses a clay and a pigment to create the minty green shade.
Usage Rates
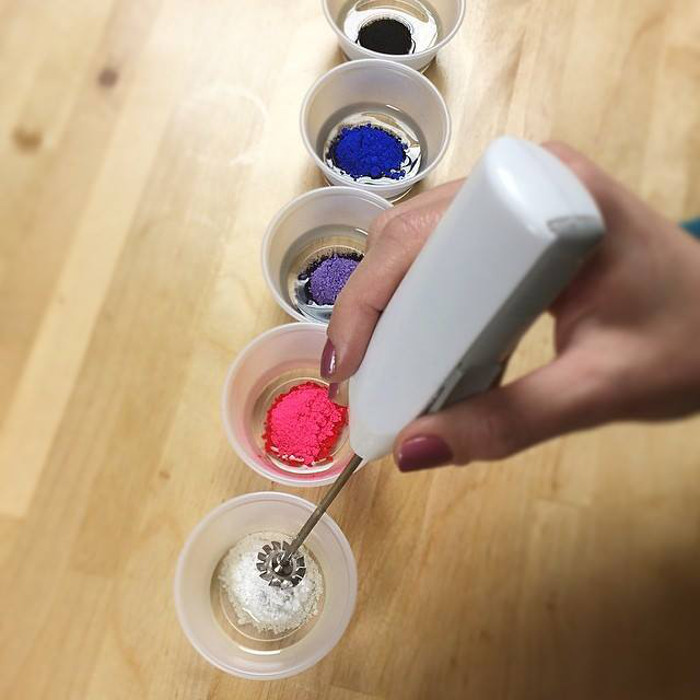
If your colors aren’t as bright as you like, your recipe may just need a bit more color! There is no definitive usage rate for colors in soap. How much you add depends on a number of factors, including the type of colorant and the recipe used. With micas and pigments in cold process soap, we recommend mixing at a rate of 1 teaspoon of color to 1 tablespoon of a lightweight oil, like sweet almond oil.
If you’re making a larger batch, you may need to mix 2 teaspoons of the colorant into 2 tablespoons of oil, or 3 teaspoons into 3 tablespoons. See how to prepare colorants in this Soap Queen TV video. Then, add the color 1 dispersed teaspoon at a time until you get a color you like. I generally like to prepare a little bit of extra color, just incase. Leftover dispersed oil can be stored in an airtight container for several weeks.
Too much color in the soap can transfer onto the hands or a wash cloth, so be careful not to add to much. It will take a bit of experimenting (and some great note taking!) to find out how much color to add to your favorite recipes. The Talk It Out Tuesday: Colorants post has more information on the specific colors and how to add them to your recipe.
For melt and pour soap, I recommend starting with 1/2 tsp. of mica per pound of soap and adding more if you’d like a more vibrant color. If working with melt and pour and color blocks, start off with a couple of shavings of the color block and mix. Cold process soap may need anywhere from 1/16th of a tsp. per pound of soap, up to several tsp. depending on the type of colorant.
 Testing is important when working with colors, as there is no set usage rate in soap.
Recipe Color
Have you ever made a soap and thought, “That color isn’t what I was expecting”? It may be the oils in your batch. For instance, if the recipe contains a lot of greenish yellow olive oil, it can tint the batch that color. The Simple and Gentle Cold Process Soap uses 44% olive oil. That percentage gives the soap a creamy yellow color. Another example is the Castile Soap Tutorial, which is made with 100% olive oil. As you can see from the photo below, the batter is quite yellow with a greenish tint.
 Soap made with a lot of olive oil, such as the Castile Soap shown above, will produce a soap batter with a yellow/green tint. The color of the soap batter can greatly affect the color of your soap.
To ensure your colors are true and bright, it helps to use lighter-colored oils like coconut oil, palm oil and sweet almond oil. You can also lighten your batch with titanium dioxide. The Exfoliating Green Tea Cold Process Bars use tea in place of water, which discolors the batch a natural brown color. Titanium dioxide was used to lighten the soap so the Hydrated Chrome Green Oxide would be more vibrant. Read more about titanium dioxide in this Sunday Night Spotlight.
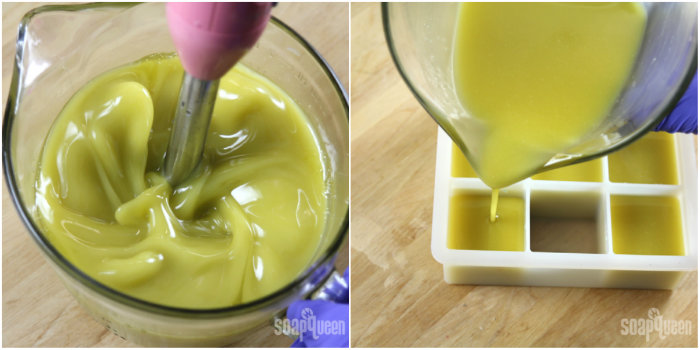
To get bright colors in melt and pour soap, we recommend using a clear base, like Clear Melt and Pour Soap Base. The red tone really pops in the Sparkly Garnet Soap Gems, which are made with Clear Melt and Pour. Using an opaque soap, like White Melt and Pour Base, can make your colors more pastel. It can also change certain colors. For instance, red color + white soap base creates a pink tone.

Using Clear Melt and Pour Soap Base is a great way to get vibrant colors, as seen in the Sparkly Garnet Soap Gems Tutorial.
Gel Phase
If you want your soap to be nice and bright, gel phase is the way to go. During gel phase, soap gets really hot – up to 180° F. Gel phase doesn’t affect the quality of the final bar. Ungelled soap is still soap and vice versa. However, that heat helps make your colors really pop, and it also gives a slightly shiny appearance. Read more about gel phase here.
Gel phase is great for adding vibrancy to the batch, especially with natural colorants and LabColors. This post talks more about LabColors and gel phase. If you’re soaping at higher temperatures and your house is very warm, the soap may go through gel phase on its own. If not, you can encourage the process by insulating the soap with a heating pad or a towel. Learn more about insulating your soap in this post.
 This soap is going through gel phase, which makes colors more vibrant.
You can also encourage gel phase using your oven! The Cold Process Oven Process (CPOP) method ensures an extended gel phase. When the soap is in the mold, it goes in a 170° F oven for 1 hour. Then, the oven is turned off and the soap is left overnight. Learn more about the process in the CPOP Swirls Tutorial.
 The CPOP Swirls Soap was placed in the oven to force the soap through gel phase, ensuring bright colors.
Storing Soap
If your soap is kept in direct sunlight, the colors can fade over time. To prevent fading, keep the soap in a cool, dark place. If you’re selling your soap at a public fair or market, you may want to keep the bars covered or in a shady area to help those colors stay bright. For more tips on how to set up for a market or fair, click here. Read more about soap storage in the How to Store Handmade Bath Products post.
 Storing your soap out of direct sunlight helps prevent color fading.
As you can see, there are a lot of ways to encourage the colors in your soap to be bright and bold. Of course, there is nothing wrong with more natural color palettes, and there are times when I even prefer them =). There is room for every type of soapy color combination in the soaping community!
Do you have any tips for getting bright colors in soap? I’d love to hear your suggestions!
