Send us an email and we’ll hold a book just for you.
Email us here!
Tutorials on soapmaking, bath fizzies, lotions and more
Filed Under: Personal Ramblings

Filed Under: Home Crafts

As the days begin to cool, I am eagerly looking forward to the autumn colors and crisp air. In anticipation of the fall splendor I wanted to share this recipe for a warm shimmery pumpkin orange eyeshadow and instructions on how to use it. Enjoy!
Pumpkin Shimmer Eyeshadow Recipe:
2 mini scoops Sericite
1 mini scoop Copper Mica
1 mini scoop Cappuccino Mica
1 mini scoop Peach Shimmer
1 mini scoop Bronze Mica
Directions: I used the mini .15cc pigment scoops sold here. But you can use any measurement as long as you keep the proportions the same.
It’s easy to make this color: place all of your measured powders in a container (like a lip balm pot) and mix well.
That’s it, you’re done! I did a show on Better TV last year and you can see how easy it is to mix. We did that, plus talked about 2 other projects – all in 3 minutes! You can watch that video here.
Contour Eyeshadow Directions:
For this look, I used the Pumpkin Shimmer eyeshadow blend along with the Light Brown and Dark Brown recipes from our Mineral Makeup Guide Book.
1. Apply Pumpkin Shimmer on center of lid to outer edge up to crease.
2. Apply Light Brown eyeshadow to inner lid and brow arch blending well.

3. Apply dark brown eyeshadow to outer edge of the eyelid and along crease. Also apply along the lower lash line but only 3/4 of the way across. Again, blend well.
4. Reapply a little more Pumpkin Shimmer to the center of the lid if you have blended it in and want a little more coppery goodness to show!
 Making eye shadows is super easy. You can buy all the ingredients seperately or you can buy the comprehensive starter kit we’ve put together here. No matter how you look at it, making your own make up is affordable, easy and fast. You can create what you love, make it your own and have fun doing it!
Filed Under: Bramble Berry News
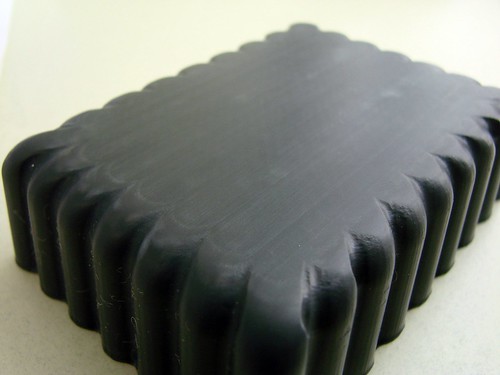 Thank you everyone that responded on the tooling die marks post issue. We tried everything you suggested: heat, chemical etching, coating, buffing, sandblastic and plastic overlays. In the end, a combination of resetting our CNC machining tool paths, finer grit sandpaper and a mechanical buffing machine did the trick. Since it was a combination of answers, I’ve sent out some people care packages for their help and definitely owe Diane some goodies for her contributions as well.
Filed Under: Business Musings
 My Mastermind Group has mini accountability groups within it (not sure what a Mastermind Group is? Article on that is here. Or curious about what an Accountability Group does? Article is here.). My goals are always pretty simple – flossing, working out, yoga, meditations daily – simple, clear and achievable. They’re always good goals to have and actions that I might not undertake if I didn’t have a weekly check in with people I like, respect and admire.
Filed Under: Bramble Berry News
 We’ve added a whopping six new micas for your soaping pleasure. The colors are sooooo glorious. And, they’re ‘Surplus’ items (great deals, limited quantities) so get ’em while they’re here:
Filed Under: Personal Ramblings
A study published in June in the journal Neurology found that older people who exercise at least once a week are 30% more likely to maintain cognitive function than those who exercise less.
Filed Under: Melt & Pour Soap
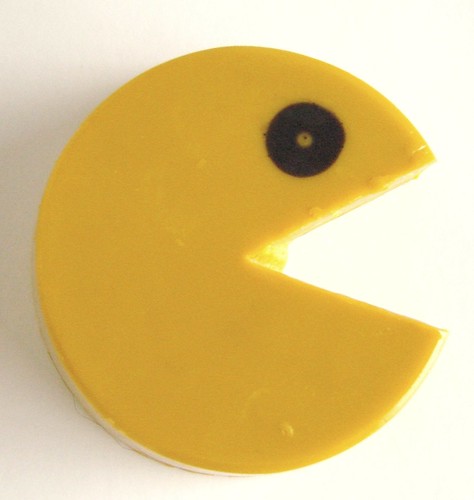
Let’s make Pac-Man come to life*…
Step 1: Melt about 1 ounce of clear melt and pour soap. Add 1 drop of liquid black colorant. Then use a dropper to drop a dime size of black soap into each cavity of the mold (this will be Pac-Man’s eye). Let soap cool.
Step 2: Melt about 14 ounces of white melt and pour soap, add your liquid yellow colorant and your kumquat fragrance oil. Mix well. Spritz the black layer of soap in your mold with rubbing alcohol and pour your yellow layer. Spritz with rubbing alcohol to get rid of any air bubbles.
Tip: Make sure your yellow soap is no hotter than 120 degrees when you pour (any hotter will melt the black layer soap).
Fragrance Tip: We recommend 1/4-1/2 ounce of fragrance oil per pound of melt and pour soap base.
Step 3: Once the soap has cooled completely, pop the soap out of the mold. Then cut out Pac-Man’s triangle mouth using a knife or soap cutter.
Filed Under: Bramble Berry News
 It’s past 6:00 p.m. and I’m completely confused as to where the entire day went. I swear, it feels like I’ve maybe been at work for an hour (tops). In between emails, essential oil sourcing, fall season planning and an impressive deluge of emails, some things that struck my fancy today are:
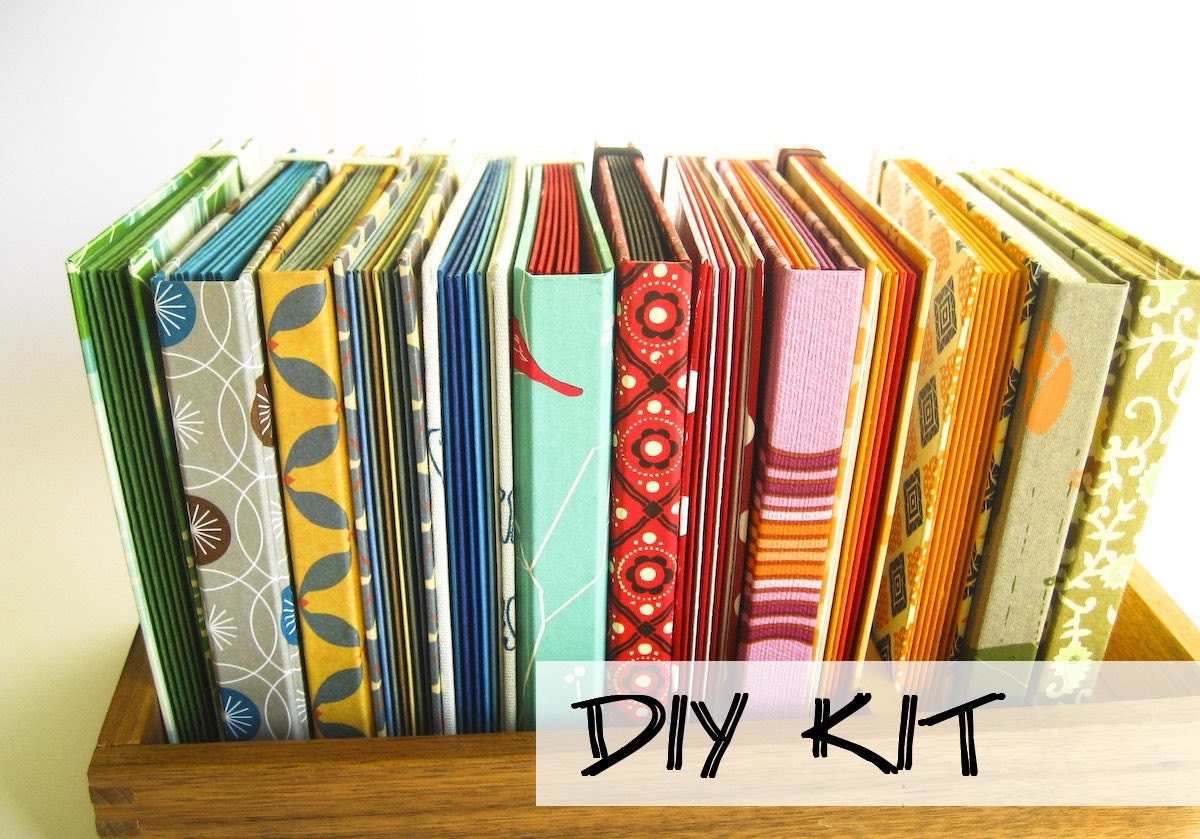
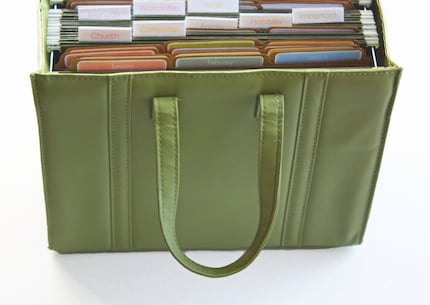 * This home filing system here is awfully cute but what I actually purchased was a DIY File Memo kit here
 * Photos with tiny felt sculptures. Engaging. Cute. Time-consuming. Here.
And now, I’m going to go home and do something mundane like clean the house because I’m hosting Book Club tomorrow. Until tomorrow (or until later tonight if you follow my tweets), happy soaping!
Filed Under: Soap Queen Cuisine
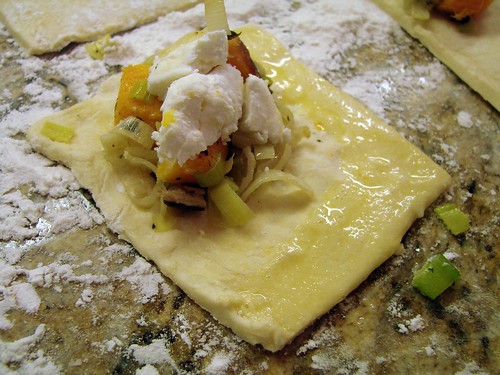 I am so lucky to have an amazing family – my brother Erik manages Bramble Berry’s retail store, my Dad was my first mentor for Bramble Berry and my Mom was my first salesperson. This weekend, Dad and Mom came up to visit and make good on a Father’s Day gift that we promised: a 6 course meal!


Filed Under: Lip Products
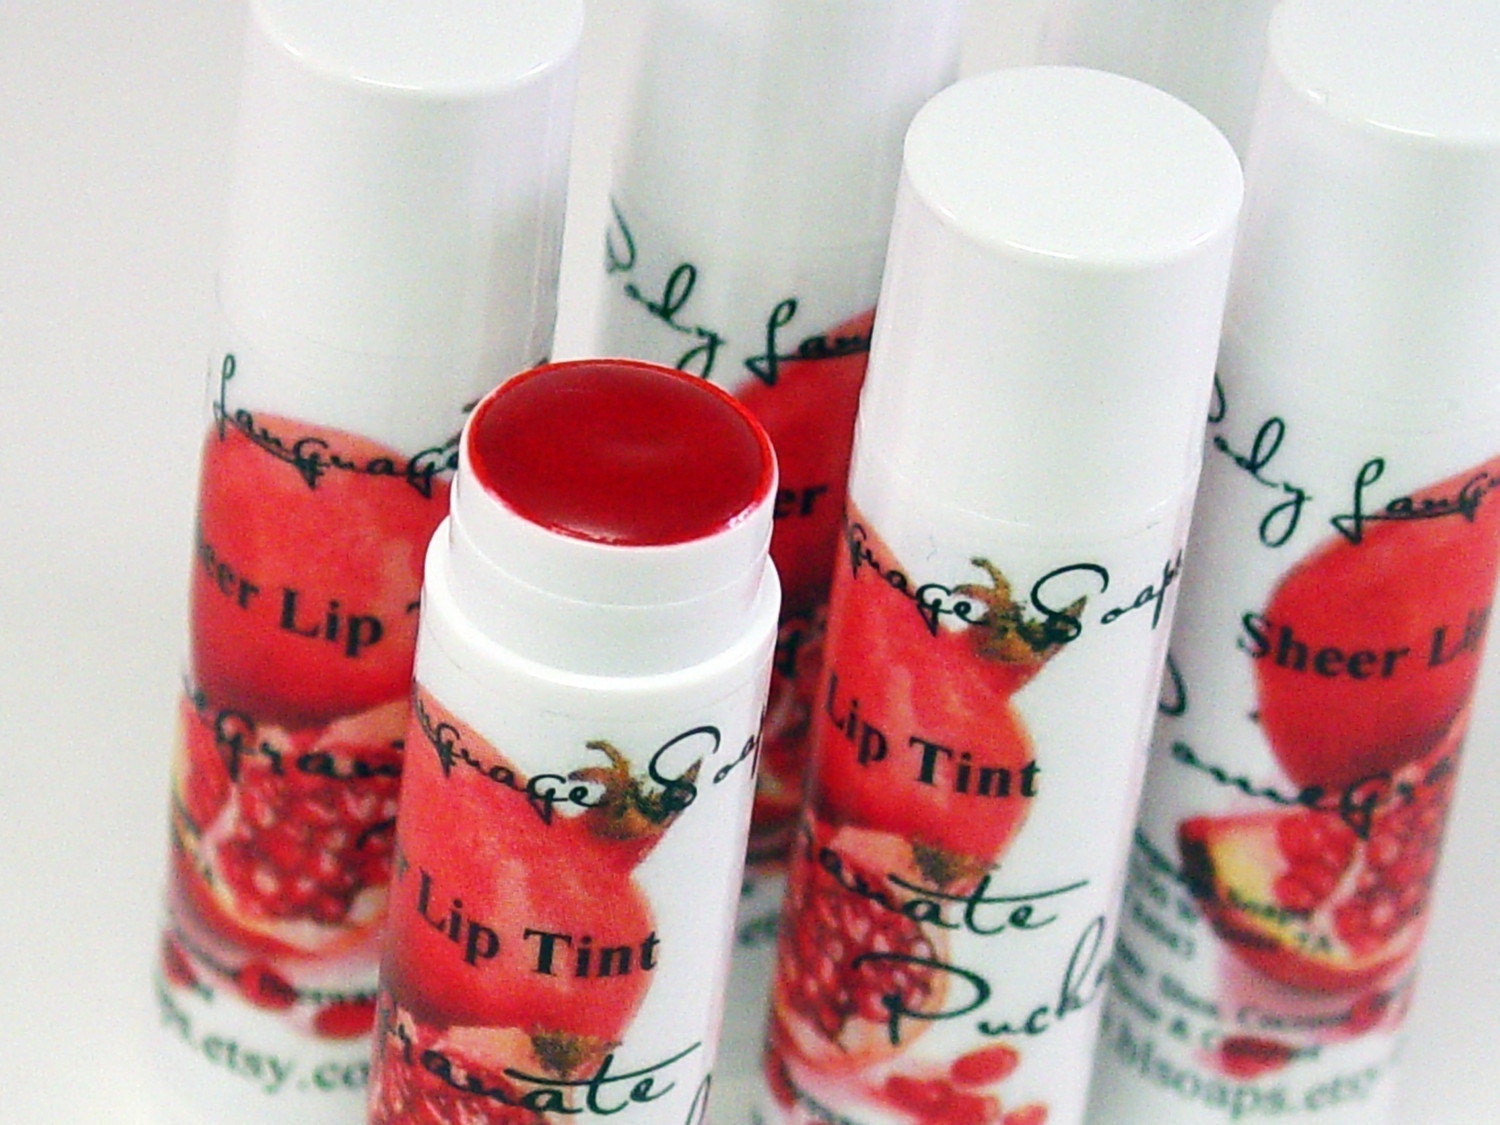 Thank you Body Language Soaps for sharing this awesome tip about keeping your lip balm and lipstick areas clean.
“I eliminated clean up all together with making lip balms. I have a pint sized canning jar designated for every flavor. I melt what I need, add flavor oil, and pour!!! When I’m done, I simply put the lid back on the jar. No mess, no clean up, I LOVE IT!”
Be sure to check out her blog – she recently did a great pictorial explanation about how she makes her Cold Process soap. Or get your own Pomegranate Lip Tint from Body Language Soaps here.
Filed Under: Lip Products
 *No, I don’t literally mean throw the soap away. You should know me a little better than that by now. I’m not one to waste soap (ever). Pour the soap in a mold and let it cool. It’s perfectly fine to use. It might not be the prettiest soap you’ve ever made but it’s still consumable. And all the extra oils will make the soap super luscious to use while inhibiting lather.
Filed Under: Melt & Pour Soap
This is the last video in our Melt & Pour series on Soap Queen TV. We’re going to take a little break before we come back with our next series in the Fall. What do you want to learn about? I know I’ve said this before but just to remind you – we really want to hear your suggestions!
In this episode I use the layering technique from Episode 12 and the embedding technique demonstrated in Episode 4 to create some adorable soaps. I also show you 2 new techniques for getting perfectly even layers and gradating soap colors to go from dark to light. I hope this episode inspires you to mix and match some of the techniques we’ve covered in the last 15 episodes of Soap Queen TV.
Episode 15: Gradated Color Layers from Soap Queen on Vimeo.
Ingredients:
Clear melt & pour soap
White melt & pour soap
Liquid orange color
Kumquat fragrance
Flexible brownie pan
Scale
For Embedding variation:
Clear soap
Basic shapes soap mold
Super pearly white mica
Filed Under: Bramble Berry News
 The Saponifier Survey was reset to 0 late Tuesday afternoon because of ‘leading questions’ in the original survey.
Filed Under: Melt & Pour Soap
Layer 1: Melt 1 lb of white soap base and add .5 oz of fragrance oil. Mix in a couple drops of Non-Bleeding Red colorant (you should have a nice pink color). Pour the entire pound of melted soap base into your loaf mold and spritz with rubbing alcohol to eliminate any bubbles. Let cool completely (roughly 30-40 minutes).
Layer 2: Melt 1 lb of clear soap base and add .5 oz of fragrance oil. This is going to be the clear layer that showcases the little hamsters
Once the pink layer has cooled, spritz the soap with rubbing alcohol to make sure the layers will adhere. Then, liberally spritz the hamsters with rubbing alcohol and align them on top of the soap like little soldiers. I sat them down on their little bums, but you can arrange them however you want.
Once the clear soap has cooled to 120 degrees, pour your second layer gently over the hamsters. I did have one “floater” but easily pressed it back down into the soap. Let this layer cool completely (roughly 30-40 minutes).
Layer 3: Melt 1 lb of white soap base and add .5 oz of fragrance oil. Then mix in a couple drops of Liquid Blue Colorant. Liberally spritz the clear layer with rubbing alcohol and pour your last layer (remember to cool your soap to 120 degrees before pouring).
Optional: To get a textured top layer, stir the blue layer of soap until it cools.
Finishing Touches: Wait at least 8-12 hours before releasing soap from the mold. I know it will be hard to wait that long to free your little hamsters but trust me; you will have cuter soap in the long run! I cut my soap by hand with a soap cutter. You could also use a soap cutter like THIS for a little more accuracy. GOOD LUCK! No matter how even your cut is, no one will notice since the cutness factor of the hamsters is off the charts.