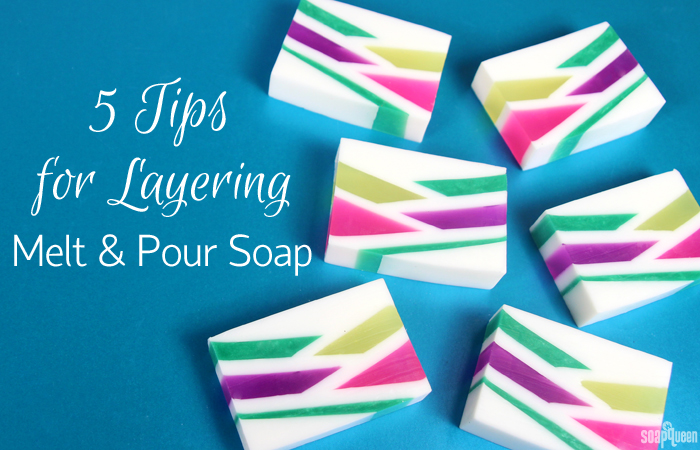
Last week, I shared 5 Tips for Swirling Cold Process Soap. Swirls are possible with melt and pour, but can be a bit tricky because the soap hardens quickly as it cools. Swirls in melt and pour soap end up looking much different than in cold process soap. You can read more about my tips for swirling melt and pour here. Right now, I’m playing with the Stephenson Suspension Melt & Pour base to create swirls in melt and pour so be sure to watch my Snapchat stories (bramble-berry) to follow along over the next few weeks with that project. But for now, let’s move to layering.
While melt and pour can’t swirl quite like cold process can, melt and pour can create extremely clean and straight layers. Because melt and pour soap cools quickly, you can wait for the soap to completely harden before pouring the next layer. This prevents the top layer from breaking through to the bottom, which is easy to do in cold process soap. Creating layers with melt and pour soap takes a little patience and a little practice. Below are my top five tips for creating layered creations in melt and pour soap.
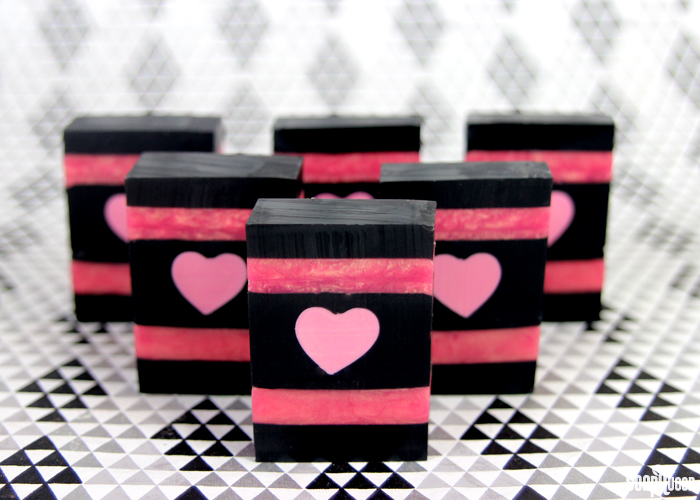 Melt and pour creates clean layers in the Rose Gold & Charcoal Heart Melt and Pour Soap.
It’s All About Temperature!
With melt and pour soap, temperature is key. Melt and pour begins to melt around 120-125 ° F. When pouring layers, it’s crucial that the top layer is not too hot or it will melt the soap below. Make sure that the top layer has cooled to 125 ° F or below before pouring. Because temperature is so important, I recommend investing in an infrared thermometer for more layered melt and pour projects.
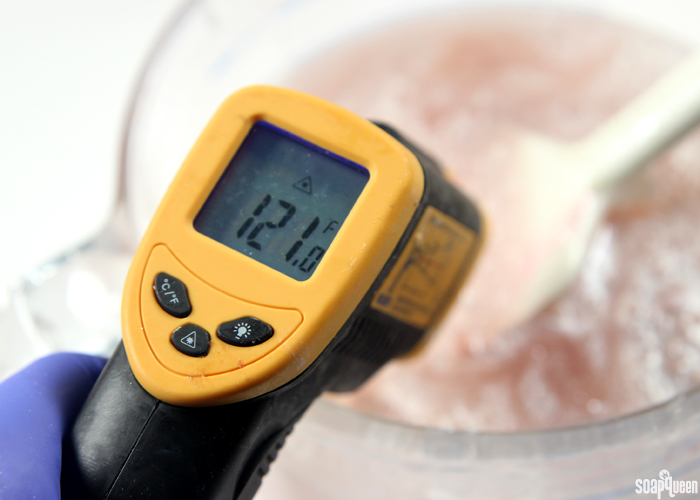 If the top layer is too hot, it will melt and layer below. Always allow it to cool before pouring!
Patience is a Virtue
It’s important that the top layer of soap is not hot enough to melt and bottom layer. It’s also important to let the bottom layer cool and harden enough to support soap on top. If it is too soft, the top layer will fall through to the bottom, no matter how much the top layer has cooled. As the bottom layer cools and hardens, it will develop a skin. To test the thickness and strength of the skin, I like to lightly blow on the bottom layer. If you can see any rippling in the soap, it needs more time to cool and harden before pouring the top layer. This tip does get a little complicated, because waiting too long to pour the next layer can cause the layers to separate. I recommend not waiting more than 90 minutes (max) to pour the top layer of soap.
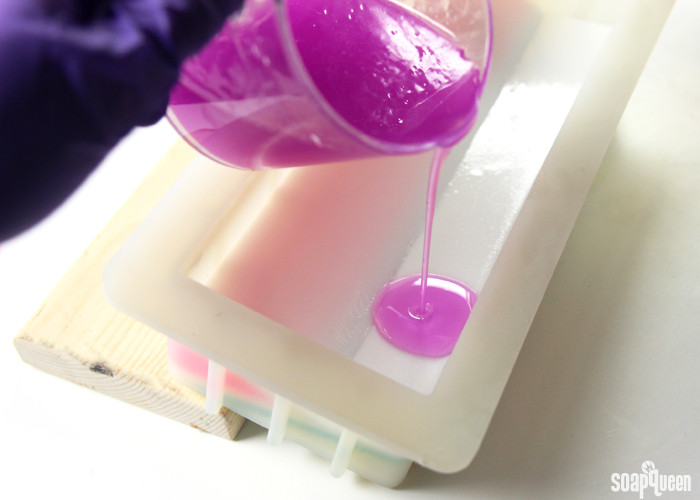 Allow the soap below to become cool and firm enough to support the layer on top, as shown in the Neon Geometric Melt and Pour Tutorial.
Rubbing/Isopropyl Alcohol is Key
A spray bottle of 99% isopropyl alcohol is a must when making melt and pour soap. A light spritz helps get rid of air bubbles after pouring. Spritzing alcohol immediately before pouring your top layer really helps “glue” the two layers together. You can use alcohol with a different percentage (ex: 70% isopropyl alcohol), but I have found 99% isopropyl alcohol to produce the best results.
Be careful to not spray too much! Spraying too much alcohol can have the opposite effect, and may cause the layers to separate once cut. I like to use a bottle that has a fine mist, like these bottles. Just a few spritzes does the trick. Be sure to not wait too long after spraying, or the alcohol will evaporate before you pour the next layer. Click here to learn more about 99% isopropyl alcohol in soapmaking.
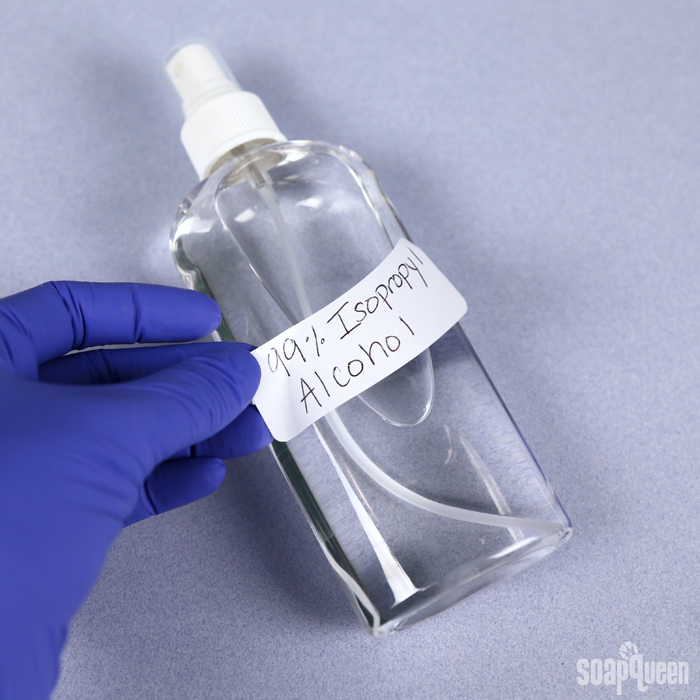 Isopropyl alcohol is key to eliminating bubbles, and to help layers stick together. I like to put it in the 8 oz. Bottles with a Spray Top for a fine mist.
Allow it to Fully Cool
If you begin cutting the soap before it is fully cool and hard, the layers are more likely to separate. I know it’s hard to wait, but I really recommend allowing your loaf to fully cool and harden before cutting. Depending on the size of your project, this could take several hours. But believe me, it’s worth the wait!
Grab a Sharp Knife
Interestingly, I have found that a sharp knife really helps the layers stick together when cutting into bars. The more dull the knife is, the more likely the layers are to separate. In addition, I have tried laying the soap on the side and cutting that way (rather than from the top down) helps layers stick together better.
What’s your favorite tip for layering melt and pour? Check out the Soap Queen TV video above for more information on layering melt and pour. =) It’s an oldie but a goodie! Then checkout the melt and pour archive for lots of layered melt and pour tutorials.

Using melt and pour, how can I show a vein of mica between layers?
Rather than a mica line, which will cause the layers to separate, many soapers like to pour a very thin layer of soap for a similar effect.
If we don’t have a blow torch like Deb (her comment is towards the bottom), do you have any suggestions for saving bars where the bottom layer popped off?
It was our first time making soap, and I know we forgot to spritz the alcohol before pouring a couple of layers, but only the bottom has popped off, although it didn’t start happening until we were about halfway through the loaf . 🙁
Yes, you can “glue” those layers back together with melt and pour. To do so, melt 1-2 ounces of soap on 5 second bursts. When it’s melted, brush a light layer on and gently press the separated soap on top. Let that harden for 1-2 hours. That should help your soap stick together.
For the next batch, spritz the alcohol right before you pour the next layer. Make sure the soap in the mold is fully covered with alcohol and those layers should stick.
Thank you!
Just a thought, in one of your “Tuesday” talks, you say that spraying “a good” amount of isopropyl is okay, and then in this tutorial, you say too much will ruin it. Like to know what is right. I do love your site,and I follow you often… however, I have noticed small contradictions every once in awhile like the “approximate” amount of alcohol to spritz between M &P layering.
Kindest Regards
Marion
The amount you’re looking for is enough to completely cover the surface of the soap, but not so much that there are big pools of alcohol. That ends up being a good amount, it takes a lot to spray too much. You can see what that looks like in this video around 5:00: https://www.youtube.com/watch?v=6RDdjYDNwJU&t=39s
I did not do so well with my first time making melt and pour. While melting 12 oz of clear and 1 oz of goat milk melt and pour I shaved some cappuccino color block into into. I was about to pour mixture into my 12 cavity mold BUT everything hardened before I could finish pouring into all cavities. I didn’t even have enough to make all cavities. Trying not to get frustrated. Hopefully it won’t take months to try this again.
Melt and pour does harden fairly quickly, so it’s normal for that to happen. If it happens again, pop it back into the microwave on 10 second bursts until it’s fluid again. Then you can pour it into your mold.
I would like to see more about how to level melt & pour soap if they are uneven. I used a silicone mold (very flimsy) and did not realize that it had not stayed flat so my round bar is a bit uneven. Also the hard edges are unsightly. I thought about a beveler, but figured M&P might be too soft.
If you look closely at the photo of the Rose Gold & Charcoal Heart Melt and Pour Soap above, you’ll notice we cleaned up the edges of the bars. We used a beveller, and it worked quite well. I like to spritz the beveller with a bit of rubbing alcohol first to allow the soap to slide smoothly on the tool. In the past I have also used a Clean Up Tool and a sharp non-serrated knife with good results as well.
Clean Up Tool: https://www.brambleberry.com/Clean-Up-Tool-P4758.aspx
Beveller: https://www.brambleberry.com/Soap-Beveller-P4141.aspx
-Amanda with Bramble Berry
hi annie……… plz plz plz plz do a tutorial on MP soap cutting…. like how to use cutters or how to avoid drag marks or like wat to do and not to do list…. it wud b amazin….
Thanks for the suggestion, we’ll definitely keep that in mind. Are you using any additives on your bars like lavender buds? Let me know and I can offer some tips.
-Kelsey with Bramble Berry
No additives kelsey… Me still a starter regarding melt and pour… But during the cutting of soaps made in a loaf, I get drag marks… I use non serrated knife and thin knife too… And also I am unable to cut it in straight line too… Help pls
Are you rocking back and forth as you cut? That can sometimes create an uneven cut. It helps to make one cut straight down. Also, how long do you wait before cutting the soap?
-Kelsey with Bramble Berry
oh… how soon shd we cut? i didnt know this part. lets say i unmold it in 4-5 hours… shd i cut immediately?
Once the soap is cool and hard, you can cut it. If it still feels warm or liquidy, let it sit for a few more hours.
-Kelsey with Bramble Berry
Hello how are you ? I am anwar from Ehiopia . and i am a big fan of you (Soap queen tv) and i have a lot of question about making soaps. and i am not sure where to start . but i think i start to the easy one, Cp or Mp but i am not sure which is more easy to make the first time the melt & pour or the cold procces soap . please help me and i ask apology for my Un cleare English. I am a not good at english. I am waiting your response by hope . thank you.
Hi there! Melt and pour is a good way to start because you only need a few ingredients and you don’t have to work with lye. This post talks more about melt and pour and how to get started: http://www.soapqueen.com/bath-and-body-tutorials/melt-and-pour-soap/free-beginners-guide-to-soapmaking-melt-and-pour/
-Kelsey with Bramble Berry
If anything, you may get a chuckle out of this. It’s very late, eve before Thanksgiving and I NEVER make any comments, so here goes my first….this morning, I poured a red M&P layer, then a white Goat Milk layer, and finally the green M&P layer. It sat in the mold for 10 hours. The soap was in a silicone mold, it released very nicely (my second time messing with soap), I began to cut it, and the first layer I poured (red) popped off of every bar I cut. Well, let me tell you, that wasn’t the only thing that popped off. 😡 I planned on giving my relatives a bar of soap, but was so disgusted at this mess, that I walked over to the kitchen drawer, pulled out my blow torch, aimed it at those (you know what) bars of soap, and melted each one of those white layers and stuck those bad boys back together!!! AND……THEY…. STAYED…… TOGETHER!!!!!!!
Happy Thanksgiving everybody!!! D
Ha, that’s awesome I’m so glad they stayed together! Your relatives will love the bars. 🙂
There are a couple tricks that can help the layers adhere nicely for your next batch.
We recommend spritzing with 99% isopropyl alcohol right before the second layer is poured. If the alcohol is spritzed too early, it can evaporate. You want your layer covered with alcohol, but not completely soaked. Learn more about working with layers in this video: https://www.youtube.com/watch?v=5oyh1Bf3Gxo
Read more about 99% isopropyl alcohol here: http://www.soapqueen.com/bramble-berry-news/sunday-night-spotlight-99-isopropyl-alcohol/
Another way to help the layers stick is a nice sharp knife. I’ve found my layers separated on me when I used a dull knife, even with alcohol. I like using a sharp kitchen knife with a smooth blade.
You can also “glue” those layers back together with melt and pour! To do so, melt 1-2 ounces of clear soap on 5 second bursts. When it’s melted, brush a light layer on and gently press the separated soap on top. Let that harden for 1-2 hours. That should help your soap stick together. 🙂
-Kelsey with Bramble Berry
I like to use a spoon (upside down 🙂 ) to pour the MP on just above the top layer in the mold to help disperse the weight of soap being poured to not have accidental break through due to the weight of the melted soap if I am pouring a thick layer. If I’m adding any imbeds, I make sure to spray those down with alcohol too (or if lots of little pieces, put them in a bowl, pour a little alcohol on them and mix thoroughly).
Those are great tips Marilyn, thank you so much for sharing! 🙂
-Kelsey with Bramble Berry