Last week featured two recipes perfect for beginners: the Simple & Gentle Cold Process Soap and the Creamy Orange Cold Process Soap. Both of these projects are made in a recycled box and do not contain complex design elements. If you have never made cold process soap before, I highly recommend starting with a simple recipe like these to get a feel for soaping. Once you have a few basic cold process recipes under your belt, it’s time to challenge yourself with more complex techniques. These include swirls, layers and embeds. This upcoming week will feature two starter tutorials, specifically designed for beginners who are ready to challenge themselves.
Basic layers are a great technique to master. Layers require an understanding of trace, and how thick soap is able to support soap on top. It’s best to reach a thick trace for bottom layers and allow top layers to be thinner. If soap is too thin on the bottom, the top layer may fall through and break the even layers. A great example of this technique is the Black White and Gold All Over Cold Process, which features contrasting black and white layers. To help make sure the top layer of soap does not break through to the bottom, soap is poured over a spatula to “flood” the concentrated pour of soap.
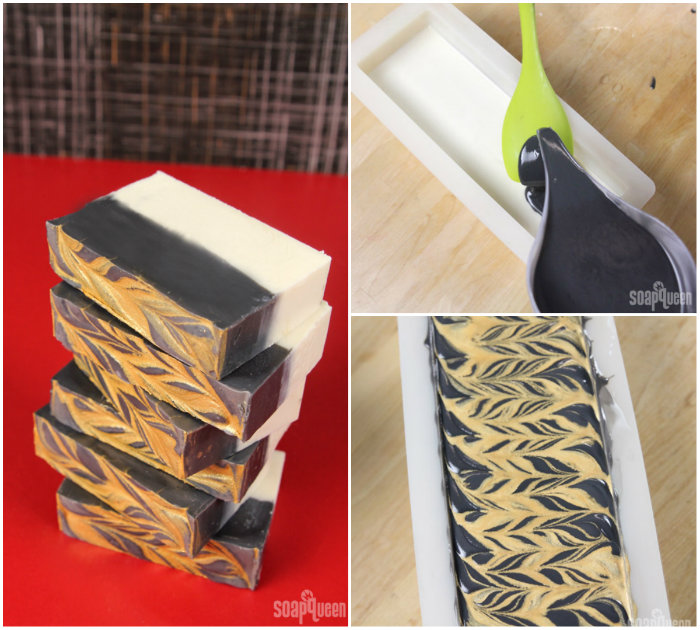 Black, White and Gold All Over Cold Process
Another example of the layering technique is in the Layered Lilac Loofah Cold Process tutorial. In this project, an accelerating fragrance oil is used to create thick textured soap for each layer. When all the layers are thick, the chance of the top layers breaking through is greatly decreased. This project is perfect for learning how to work with acceleration. If you attempt the Layered Lilac Cold Process tutorial, be ready to move fast during this project; soap that has become too thick is hard to smooth evenly throughout the mold.
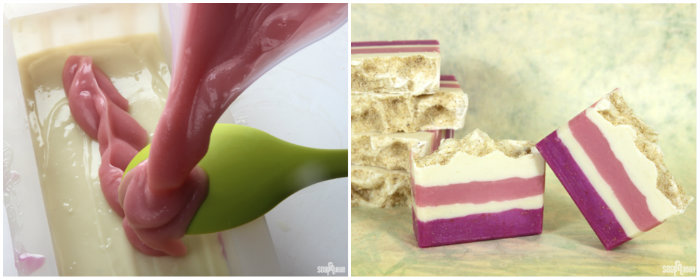 Layered Lilac Loofah Cold Process
Working with thick trace is great for intermediate soapers because it gives plenty of time to work. The leopard spot print in the Wild Leopard Print Cold Process looks difficult to achieve, but it’s surprisingly simple! The key is to stick blend each color to a thick trace. The soap should be thick enough to hold its shape when piped out of disposable frosting bags.
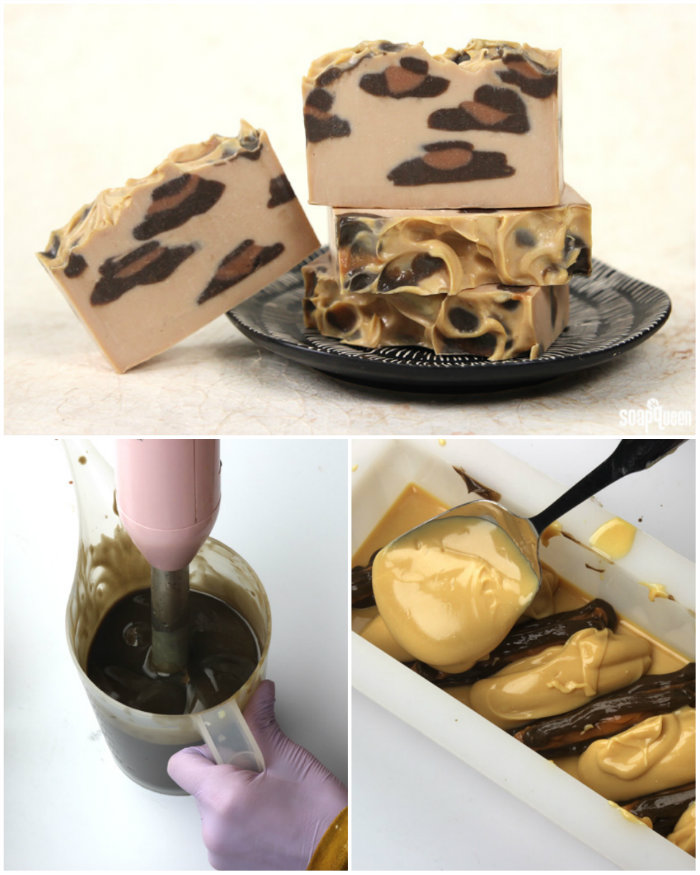 Wild Leopard Print Cold Process Tutorial
After working with layers and thick trace, swirls are another fun technique to try. Swirls require a thin to medium trace, so it’s important to not stick blend too much. The fragrance or essential oil you use is crucial to prevent the soap from accelerating. All fragrance oils at Bramble Berry are thoroughly tested, and will include notes regarding acceleration on the product description. If a fragrance has notes of acceleration, you may want to consider another for swirling. To learn more about fragrance oils misbehaving in soap, check out the Soap Behaving Badly blog post.
One of my favorite swirl techniques for beginners is the “In-the-Pot Swirl.” This technique involves swirling the soap in your bowl before pouring it into the mold. After mixing the colors in the bowl or pot, the colors continue to swirl together as the soap is poured into the mold. The key is to not over-swirl the soap while in your bowl, or the colors may muddle together. See this technique in action in the In-the-Pot Swirl Cold Process video below!
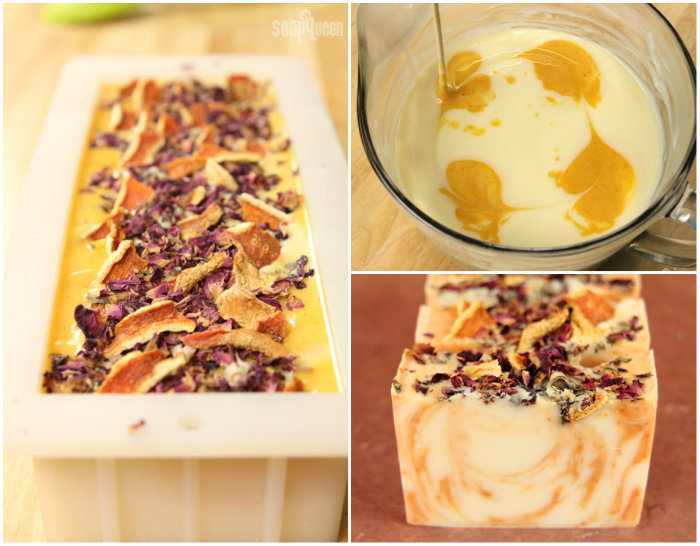
If you love the In-the-Pot Swirl, check out the Juicy Orange & Sweet Rose Cold Process tutorial. This project uses natural colorants and 10X Orange Essential Oil to create a bright and cheery bar. Rose petals and orange peel are placed on top for texture.
 Another fun swirl option is the “drop swirl.” For this technique, various colors of soap are poured, or “dropped,” into the mold from several inches above. As the colors are poured, they will break through into the other colors, creating a swirl within the mold. This technique is fun because it does not involve precise pouring…there really is no right or wrong way to do it! The key is to make sure the colors are not too thin when poured to avoid muddling of color. Check out the Blue Rain Drop Swirl Cold Process Tutorial for drop swirl instructions.
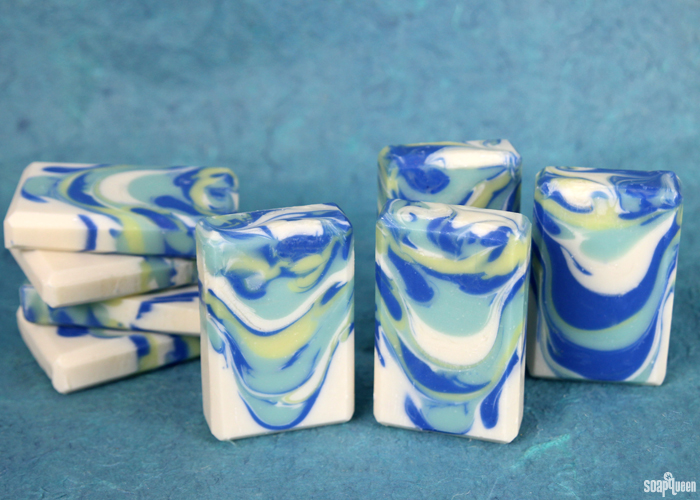 Blue Rain Drop Swirl Cold Process Tutorial
Taking the step from beginner to intermediate soaper can be a little intimidating, but practice makes perfect! Just remember to build your techniques slowly, and set realistic expectations. Be on the lookout for a layered cold process tutorial tomorrow, and a easy swirl tutorial on Thursday. Both projects are ideal for somebody who is ready to experiment with different traces and colorant options. And don’t forget, the Back to Basics Kit contains all the ingredients (except lye) needed to create the four tutorials in this series.
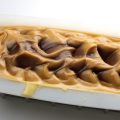
What project or technique did you feel particularly proud of mastering? Recently, the spin swirl gave me difficulty. I was thrilled once I finally got it right; see it here!



Hi,
I was curious… how do you test a fragrance causes trace acceleration?
With kind regards,
Annemieke
Hi Annemieke!
As soon as we get the fragrance from the vendor, we test it several ways. We test it in small, plain bars and let it sit for 6 weeks. That way we can see if there is separation, acceleration, etc. It also allows us to see how the scent lasts after curing.
We also test the scent using a complex design, like a hanger swirl, layers etc. That allows us to see how much time we have to work. During that process, we take lots of notes to see if the fragrance is thickening quickly or staying nice and thin.
If we like the fragrance, we either bring it in right away or send it to our S.O.A.P. Panel for even more testing: http://www.soapqueen.com/personal-ramblings/summer-2015-s-o-a-p-panel-spring-s-o-a-p-panel-update/
Then, once we bring it in we continue to test it in tutorials and periodically in the lab. So, our fragrances are tested quite a bit before we feel comfortable putting them on the website. 🙂
-Kelsey with Bramble Berry