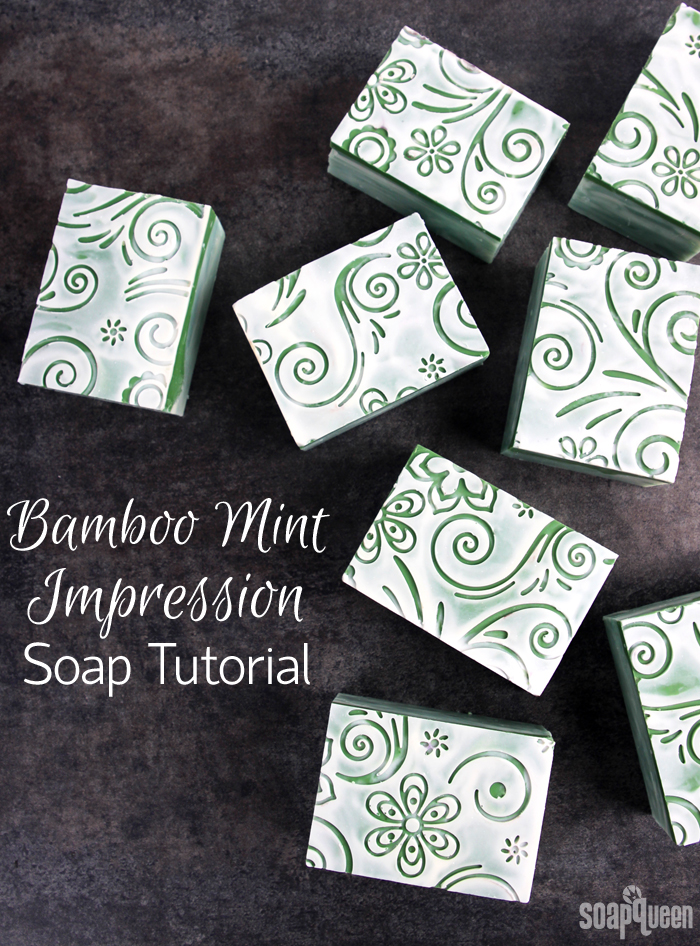
Last year, I tried making an impression patterned soap for the first time. You can find that tutorial here. I was inspired by Auntie Clara’s gorgeous lace patterned soap. To achieve the pattern, first you need to create a silicone texture mat. Auntie Clara has a wonderful tutorial and plenty of tips on creating your own patterned mat here. Creating your own textured mat allows you to customize the look, but it is a tricky process. These new impression mats are ready to be placed in the bottom of your mold. Simply cut them down to size to fit your mold and pour your soap on top. Then, unmold and peel away the mat to reveal the pattern!
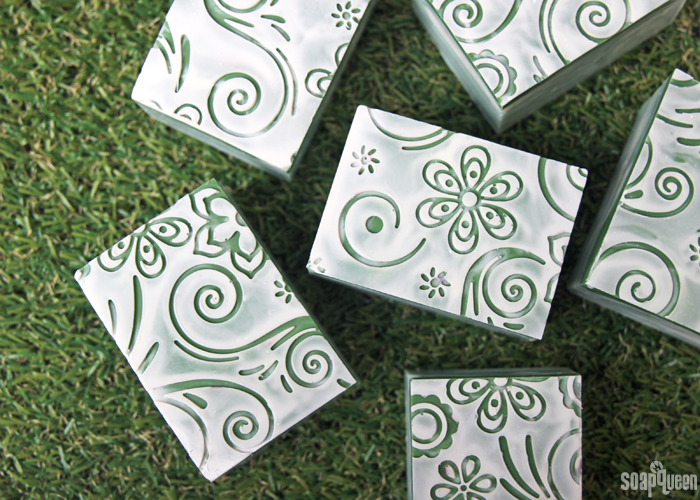
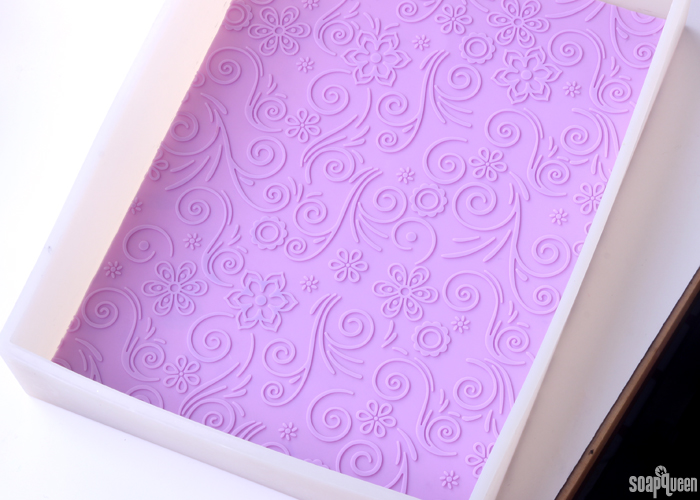
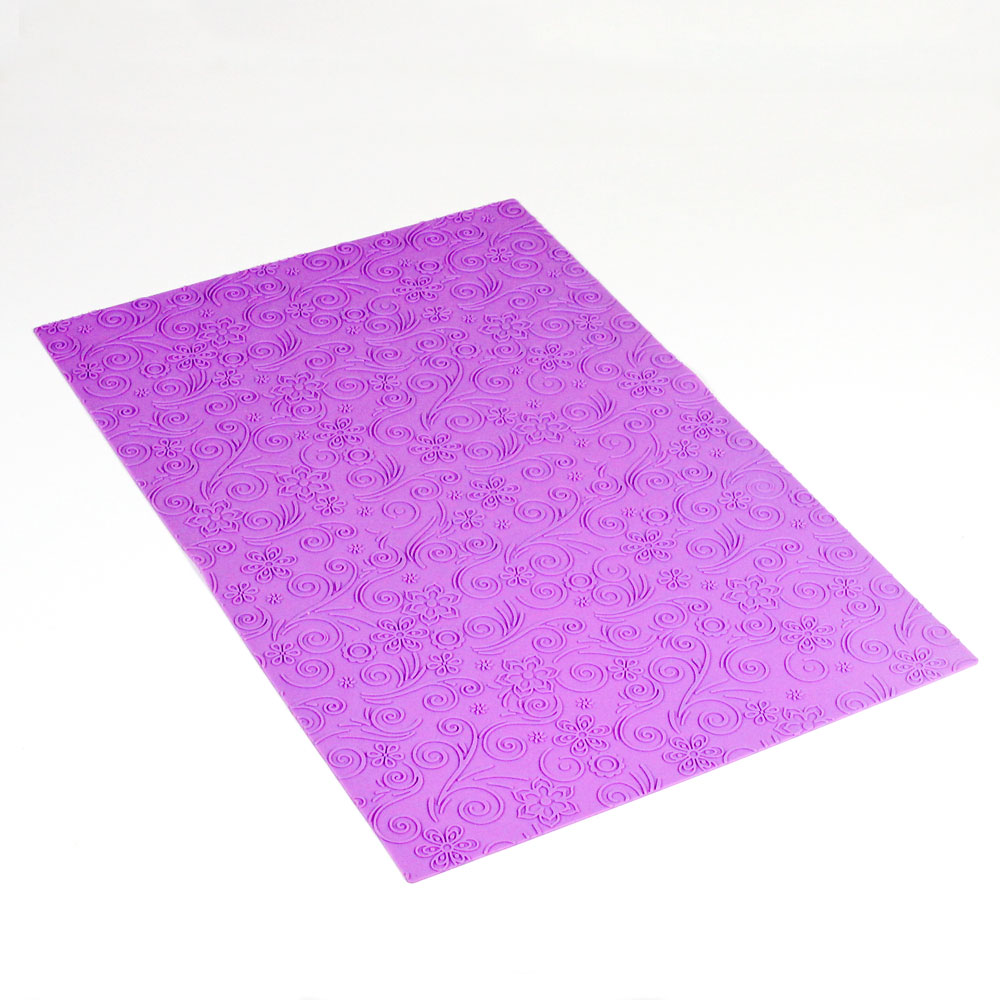
For this project, I used the Flowers and Spirals Impression Mat. This particular mat has a raised pattern, which leaves a stamp-like effect on the soap. To help the pattern pop, I filled the indented part of the mat with white soap and scraped it away from the flower and vine pattern. The Scraper/Cutter Tool worked great for this step. Then, I poured dark green soap on top. This way, the green soap touched the raised pattern of the mat, which resulted in a pronounced pattern.
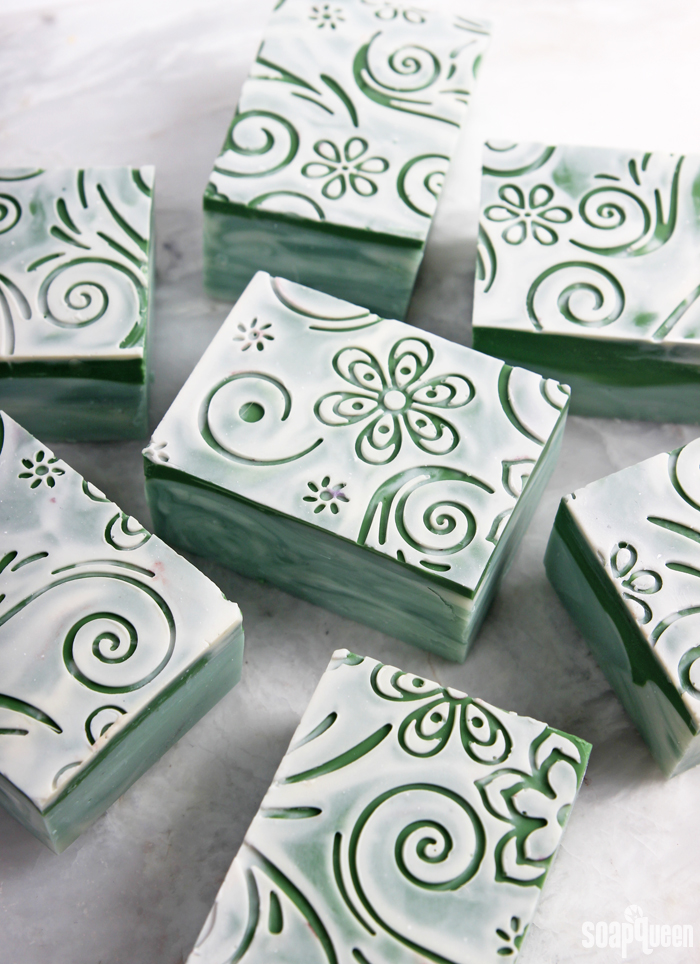
The process shown in this tutorial an advanced technique. To simplify it, you can skip the multiple layers and colors. Simply pouring one color of soap onto the impression mat will still result in a beautiful soap! I have also found the impression mats that have a recessed pattern (such as the Cupcake Mat or the Butterflies and Feathers Mat) are a little bit easier to use. It’s easier to fill in a recessed pattern rather than a recessed negative space because the pattern is smaller.
What You’ll Need:
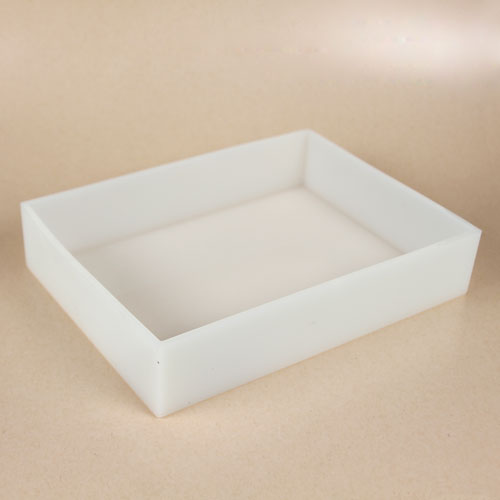
18 Bar Birchwood Mold
Silicone Liner for 18 Bar Mold
Flowers and Spirals Impression Mat
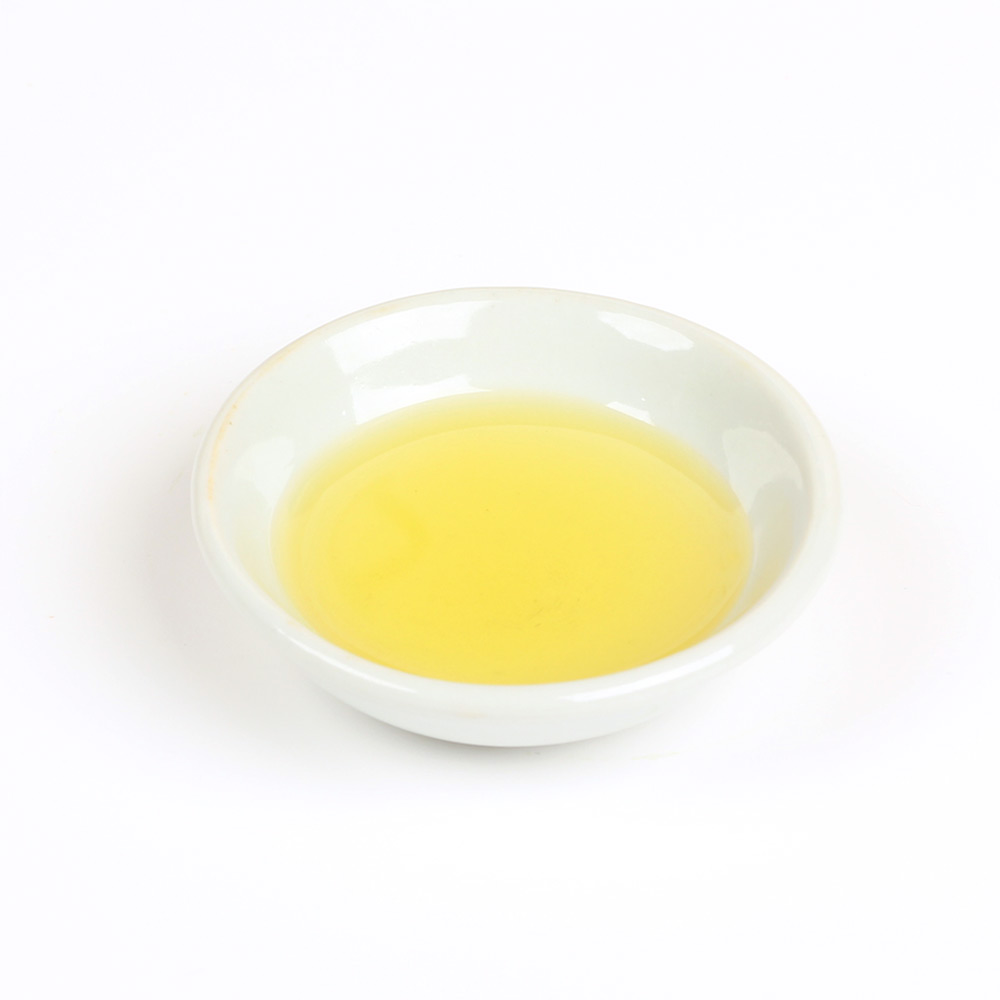
14 oz. Avocado Oil (20%)
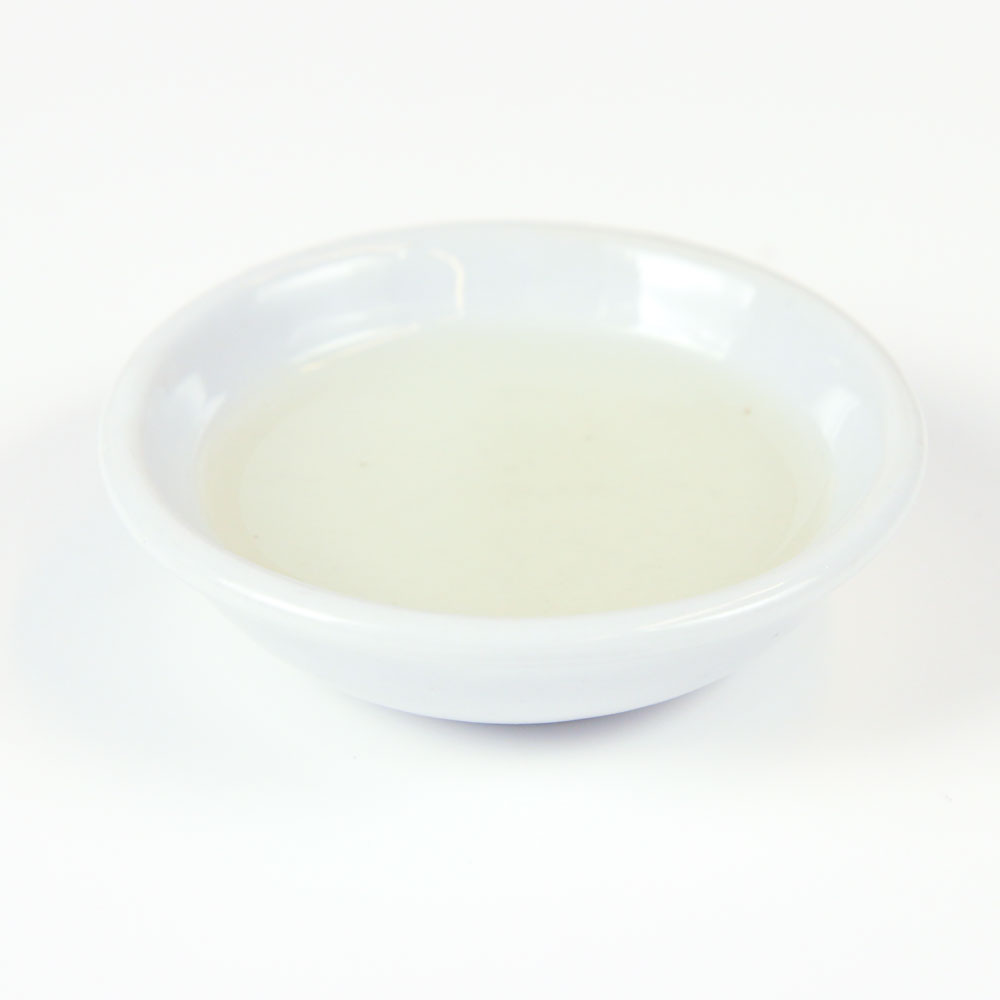
3.5 oz. Castor Oil (5%)
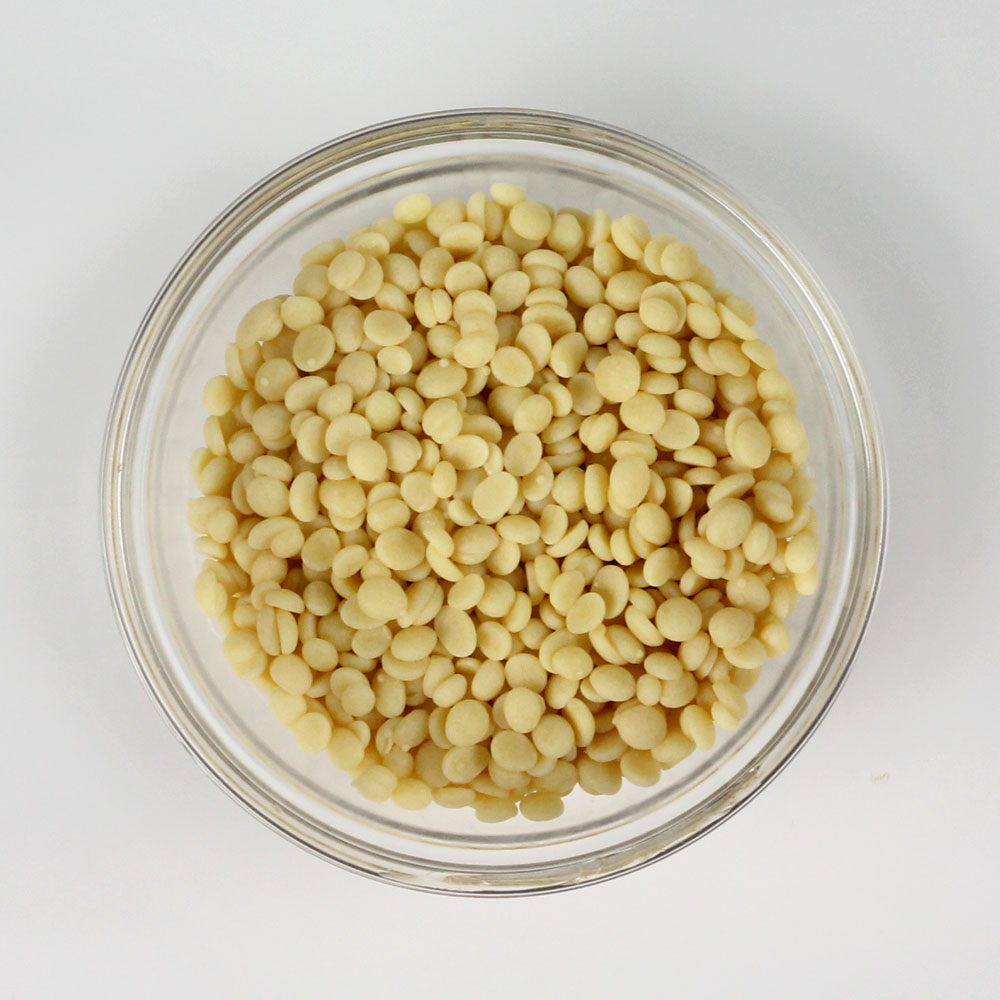
7 oz. Cocoa Butter (10%)
17.5 oz. Coconut Oil (25%)
7 oz. Mango Butter (10%)
21 oz. Olive Oil (30%)
23 oz. Distilled Water
9.7 oz. Sodium Hydroxide Lye
Titanium Dioxide
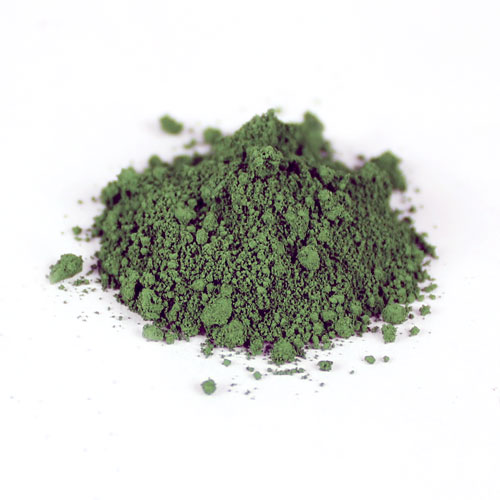
Green Chrome Oxide Pigment
Evergreen Mica
3.5 oz. Bamboo Mint Fragrance Oil

Click here to add everything you need for this project to your Bramble Berry shopping cart!
 If you’ve never made Cold Process soap before, stop here! I highly recommend checking out our FREE four part SoapQueen.tv series on Cold Process Soapmaking, especially the episode on lye safety. And if you’d rather do some reading, Bramble Berry carries a wide range of books on the topic, including my newest book, Pure Soapmaking. You can also check out the digital downloads for that instant gratification factor.
SAFETY FIRST: Suit up for safe handling practices! That means goggles, gloves and long sleeves. Make sure kids, pets, and other distractions and tripping hazards are out of the house or don’t have access to your soaping space. Always soap in a well-ventilated area.
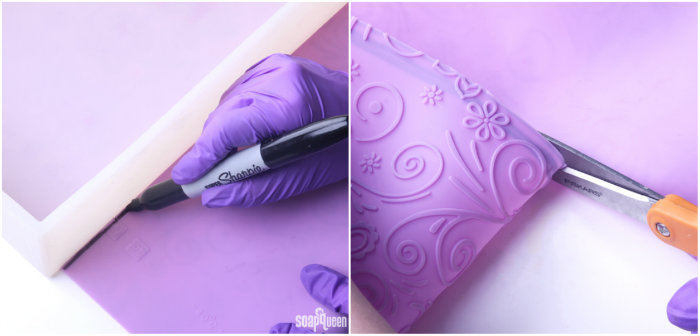
IMPRESSION MAT PREP: The first step is cutting the Flowers and Spirals Impression Mat to fit into the inside of your mold. If you use the silicone liner inside the mold, it needs to be cut to fit inside the silicone mold, rather than inside the 18 Bar Birchwood Mold. My mat measured roughly 12.5 x 9.25 inches. If you’re using the silicone liner, once you cut the mat to size, I would recommend placing the mat inside the silicone the mold along with the impression mat. When the silicone liner is placed into the mold, the sides are pushed up and in which may cause the impression mat to fit slightly different inside the liner. You may find the impression mat needs additional trimming.
COLOR PREP: To ensure that the Titanium Dioxide blends smoothly into the soap batter, we recommend micronizing it before dispersing it in oil. Please note this is an optional tip but it does help with the titanium dioxide clumping in the soap. =) To micronize colorant, simply use a coffee grinder to blend the colorant to break up any clumps of color and prevent streaks of white from showing in the final soap. We like to use a coffee grinder that has a removable, stainless steel mixing area for easy cleaning. Then, disperse 1 teaspoon of the colorant into 1 tablespoon of sunflower or sweet almond oil (or any other liquid oil). Then in separate containers, disperse 2 teaspoons of the Evergreen Mica into 2 tablespoons of oil and 1 teaspoon of the Chrome Green Oxide Pigment into a 1 tablespoon of oil. Use a mini mixer to get rid of any clumps.
FRAGRANCE OIL PREP: Measure 3.5 ounces of Bamboo Mint Fragrance Oil into a glass, fragrance oil safe container.
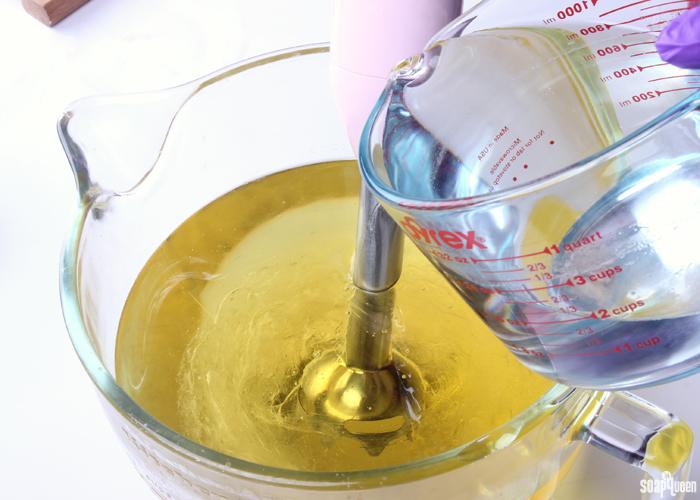
 ONE: Slowly and carefully add the lye to the water and gently stir until the lye has fully dissolved and the liquid is clear. Set aside to cool.
TWO: Melt and combine the avocado oil, castor oil, cocoa butter, coconut oil, mango butter and olive oil. Once the lye water and the oils have cooled to 110-120F degrees or below (and are ideally within 10 degrees of each other), add the lye water to the oils and stick blend until thin trace. If you’d like a harder bar of soap that releases faster from the mold, you can add sodium lactate to the cooled lye water. Use 1 teaspoon of sodium lactate per pound of oils in the recipe. For this recipe, you’d add about 5.5 teaspoons sodium lactate. Because this recipe contains a large amount of olive oil, you may find it takes a little bit longer to trace.
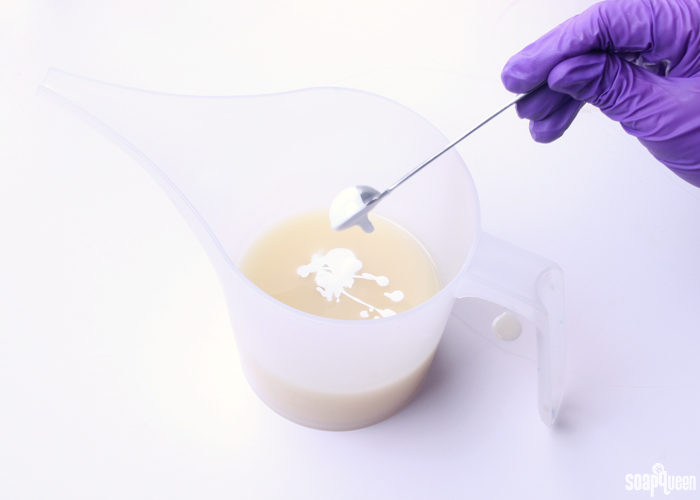
 THREE: Once the soap has reached a thin trace, split off about 200 mL of soap. Add 1.5 teaspoons of dispersed titanium dioxide. Use a whisk to mix in.
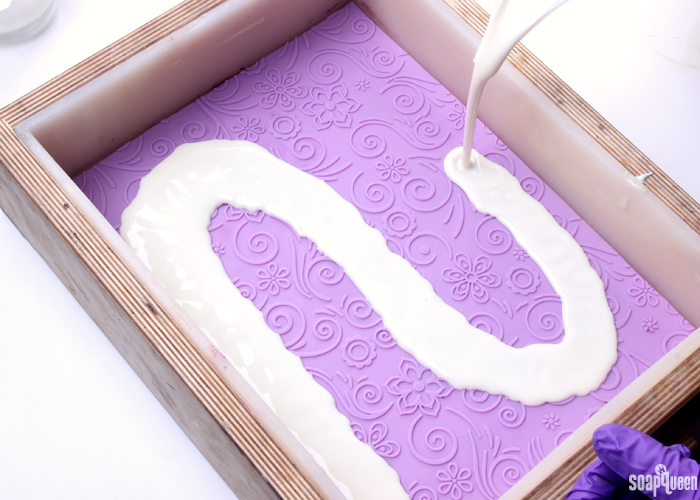
 FOUR: Pour enough white soap into the mold to just cover the bottom.
 FIVE: Use a Scraper tool to spread the soap throughout the mold. You want the white soap to fill the indents of the design, while the raised pattern should be wiped clean of white soap as much as possible. Place any leftover white soap back into the small container.
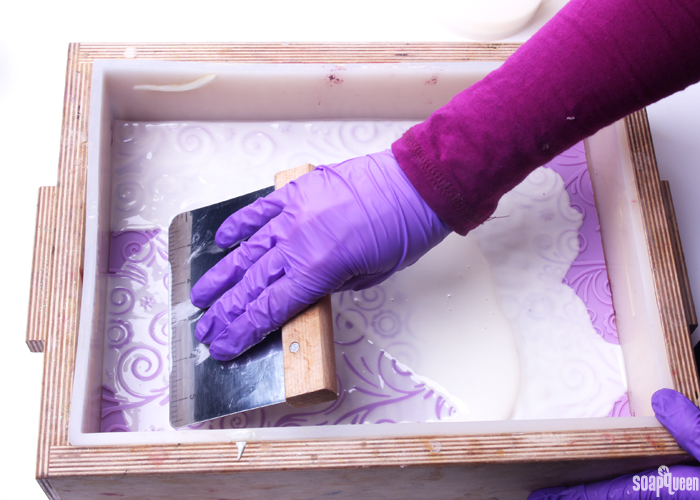
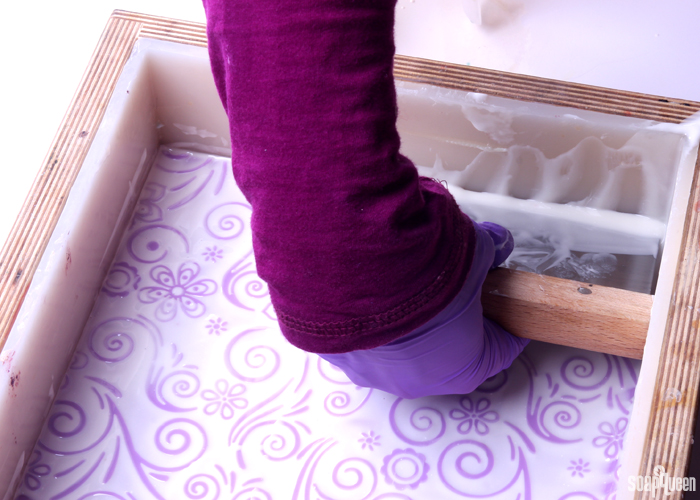 SIX: From the main batch of soap, split off about 500 mL of soap into a separate container. Add 1 teaspoon of dispersed Chrome Green Oxide and use a whisk to mix in.
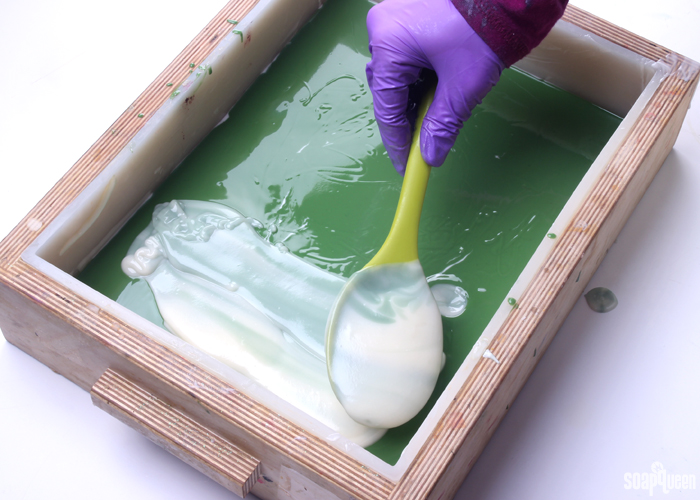
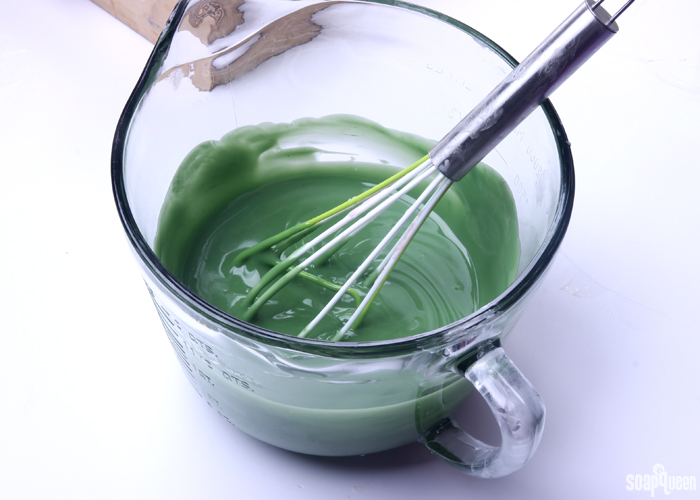 SEVEN: Carefully pour the green soap into the mold. Try to avoid breaking the white layer as much as possible; the idea is to let the dark green soap show on only the raised design as much as possible. I found using a spoon to carefully cover the pattern worked best. Continue until all the green soap is used up.
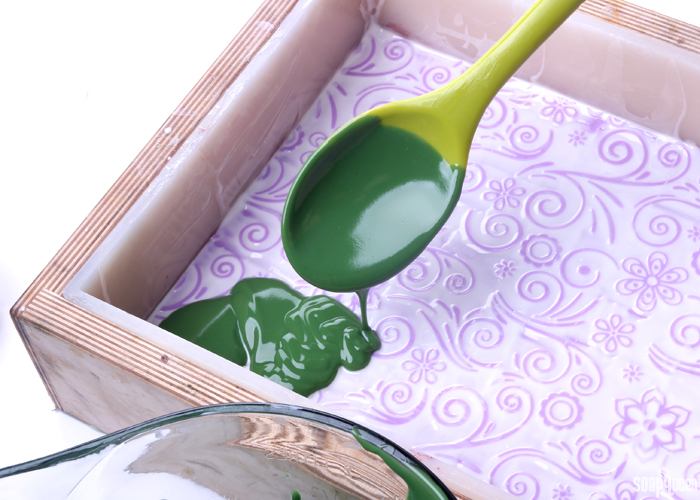
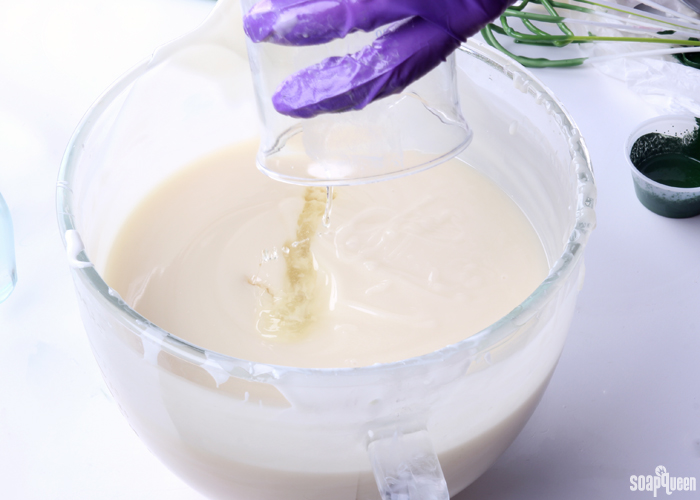
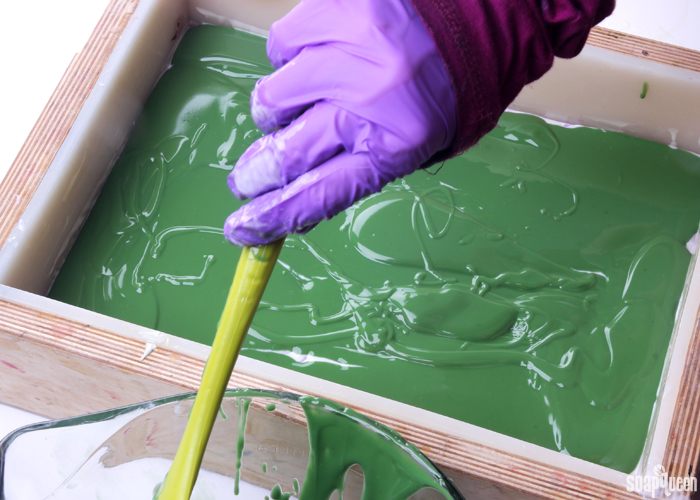 EIGHT: Add the Bamboo Mint Fragrance Oil to the main batch.
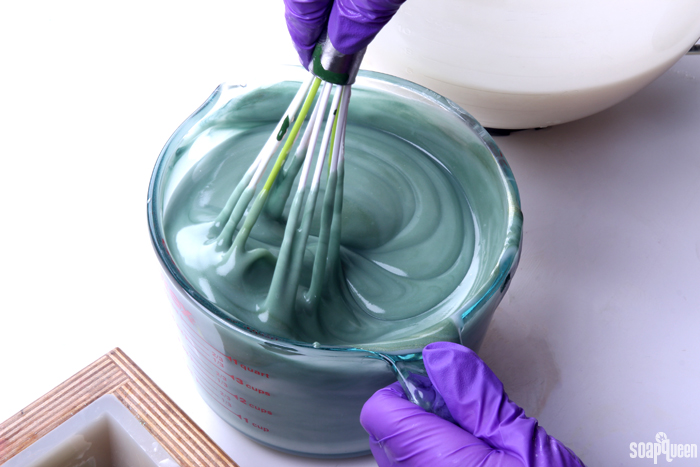
 NINE: Pour off about 900 mL of soap into a separate container, and add 2 tablespoons dispersed Evergreen Mica and use a whisk to mix in.
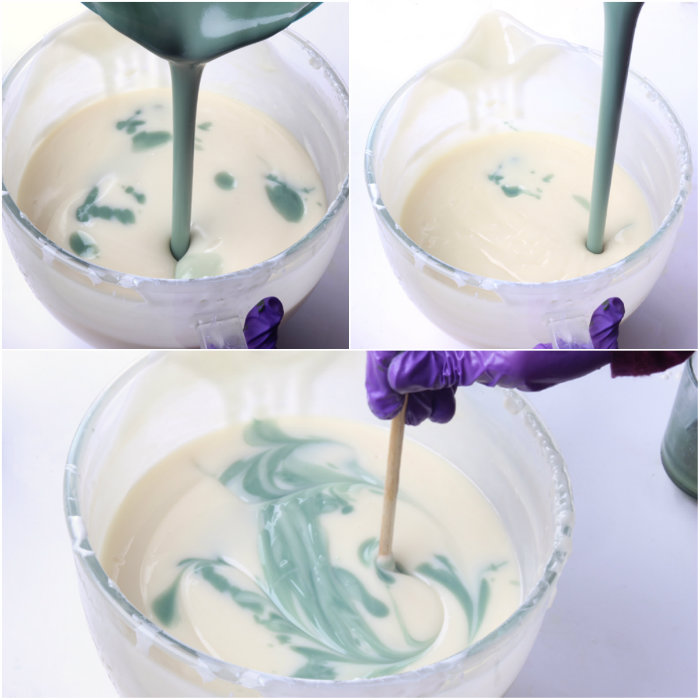
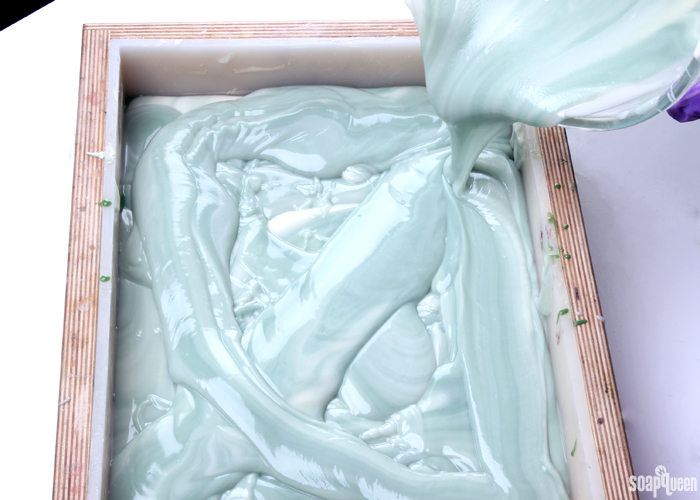
 TEN: To the uncolored soap, add 1 tablespoon of dispersed titanium dioxide. I also added the leftover white soap used to fill in the impression mat back into this container of white soap. Now it’s time for an in-the-pot swirl! Pour the green soap into the white soap, pouring from about 6-8 inches above. Pouring from above allows the green soap to break through to the bottom of the container. Continue to pour the soap into various areas of the white soap container. Use a dowel or chopstick to swirl the soap once or twice.
 ELEVEN: Spoon the swirled soap on top of the dark green. Once you have covered the green layer, continue to pour the white and green soap into the mold until completely full.
 TWELVE: Spread the back of the soap with a spoon or spatula to smooth. Spritz with 99% isopropyl alcohol to help prevent soda ash, then cover and insulate for 24 hours. Allow the soap to stay in the mold for 3-4 days. Remove from the mold and remove the impression mat. Cut into bars. Allow the bars to cure for 4-6 weeks to allow them to fully cure. Enjoy!
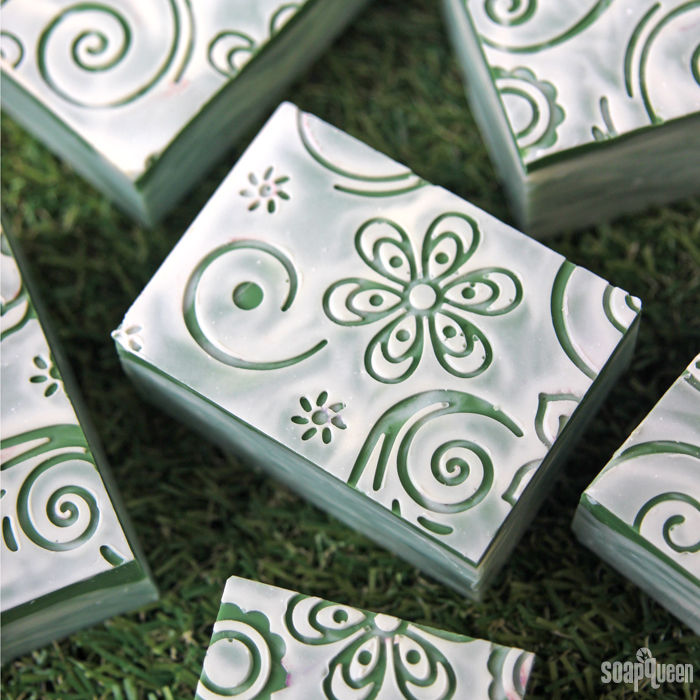
Have you tried soaping with an impression mat yet? It’s so fun! Peeling away the mat to reveal the pattern on your soap is so satisfying. =)
- 18 Bar Birchwood Mold
- Silicone Liner for 18 Bar Mold
- Flowers and Spirals Impression Mat
- 14 oz. Avocado Oil (20%)
- 3.5 oz. Castor Oil (5%)
- 7 oz. Cocoa Butter (10%)
- 17.5 oz. Coconut Oil (25%)
- 7 oz. Mango Butter (10%)
- 21 oz. Olive Oil (30%)
- 23 oz. Distilled Water
- 9.7 oz. Sodium Hydroxide Lye
- Titanium Dioxide
- Green Chrome Oxide Pigment
- Evergreen Mica
- 3.5 oz. Bamboo Mint Fragrance Oil
- Slowly and carefully add the lye to the water and gently stir until the lye has fully dissolved and the liquid is clear. Set aside to cool.
- Melt and combine the avocado oil, castor oil, cocoa butter, coconut oil, mango butter and olive oil. Once the lye water and the oils have cooled to 110-120 F degrees or below (and are ideally within 10 degrees of each other), add the lye water to the oils and stick blend until thin trace. If you’d like a harder bar of soap that releases faster from the mold, you can add sodium lactate to the cooled lye water. Use 1 teaspoon of sodium lactate per pound of oils in the recipe. For this recipe, you’d add about 5.5 teaspoons sodium lactate. Because this recipe contains a large amount of olive oil, you may find it takes a little bit longer to trace.
- Once the soap has reached a thin trace, split off about 200 mL of soap. Add 1.5 teaspoons of dispersed titanium dioxide. Use a whisk to mix in.
- Pour enough white soap into the mold to just cover the bottom.
- Use a Scraper tool to spread the soap throughout the mold. You want the white soap to fill the indents of the design, while the raised pattern should be wiped clean of white soap as much as possible. Place any leftover white soap back into the small container.
- From the main batch of soap, split off about 500 mL of soap into a separate container. Add 1 teaspoon of dispersed Chrome Green Oxide and use a whisk to mix in.
- Carefully pour the green soap into the mold. Try to avoid breaking the white layer as much as possible; the idea is to let the dark green soap show on only the raised design as much as possible. I found using a spoon to carefully cover the pattern worked best. Continue until all the green soap is used up.
- Add the Bamboo Mint Fragrance Oil to the main batch. Use a whisk to mix in thoroughly.
- Pour off about 900 mL of soap into a separate container, and add 2 tablespoons dispersed Evergreen Mica and use a whisk to mix in.
- To the uncolored soap, add 1 tablespoon of dispersed titanium dioxide. I also added the leftover white soap used to fill in the impression mat back into this container of white soap. Now it’s time for an in-the-pot swirl! Pour the green soap into the white soap, pouring from about 6-8 inches above. Pouring from above allows the green soap to break through to the bottom of the container. Continue to pour the soap into various areas of the white soap container. Use a dowel or chopstick to swirl the soap once or twice.
- Spoon the swirled soap on top of the dark green. Once you have covered the green layer, continue to pour the white and green soap into the mold until completely full.
- Spread the back of the soap with a spoon or spatula to smooth. Spritz with 99% isopropyl alcohol to help prevent soda ash, then cover and insulate for 24 hours. Allow the soap to stay in the mold for 3-4 days. Remove from the mold and remove the impression mat. Cut into bars. Allow the bars to cure for 4-6 weeks to allow them to fully cure. Enjoy!
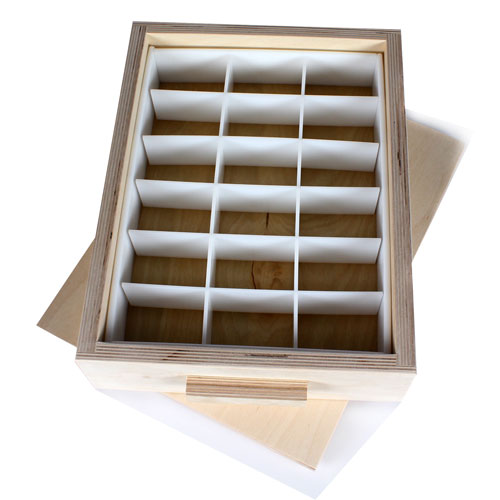




What is the weight of the finished soap in each cavity? It doesn’t say on Brambleberry.com
Thank you!
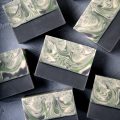
These bars weigh about 4 ounces. However, that weight will vary slightly! Because these are cut by hand, some may weigh more or less. We also shaved off the bottom with the Soap Shaver to create a more polished bar. I would say 4 ounces is an average, give or take an ounce or two. 🙂
Soap Shaver: https://www.brambleberry.com/Soap-Shaver-P6331.aspx
-Kelsey with Bramble Berry
This recipe has a lot of butters, 7 oz cocoa butter and 7 oz mango butter.
Seems like a lot?
This recipe is palm-free, so we added a bit more butter than usual! The butter will help add firmness to the bars so they’re not too soft. 🙂
-Kelsey with Bramble Berry
if I replace the mango butter for Shea butter, would I need to reduce it to under 6% in this recipe? Would you increase another oil by the amount that I decrease the Shea?
Hi Terrie!
You could replace the mango butter for shea butter, and keep the rest of the recipe the same. You would just need to run the recipe through the lye calculator to make sure you have the correct lye amount :). Shea butter is slightly softer than mango butter, but it will most likely have a very similar feel in the final bar. If you’d like to reduce the shea butter amount to 6% rather than 10%, you could increase the avocado oil or olive oil. I hope this helps Terrie! 🙂
-Amanda with Bramble Berry
Yes, helps a lot
Thank you
Very gorgeous, something that I must look into trying as it looks like a task that u totally fall into what ur doing and forget about the world around you. A major needed therapy for me right now. Thank y’all for sharing the beautiful things that u learn from others w us 😍😍😍
You’re welcome Sandra, glad you like the soap! Making it is definitely a great way to relax. Have fun giving this recipe a try. 🙂
-Kelsey with Bramble Berry
I am hoping you can shed some light for me. I was at a market this weekend and there were a few soap booths. I was curious so i was smelling the soaps. At 2 different booths, all but 2 bars that I had smelled, they smelled like ammonia and even though there were scents in them I could barely smell them. Any idea as to why these soaps would smell “bad” but soaps that I have here that were also hand made smell wonderful?
I’m not entirely sure why they smelled like that! Without the recipe it can be a bit difficult to say. Sometimes soaps made with milk can have an ammonia smell, but that does fade after they cure 4-6 weeks. That may have been it! Read more about working with milk here: http://www.soapqueen.com/bath-and-body-tutorials/tips-and-tricks/how-to-add-lye-to-milk-for-cold-process-soap/
-Kelsey with Bramble Berry
Very pretty…thank you for the info.
You’re welcome Joan! Glad you like the tutorial. 🙂
-Kelsey with Bramble Berry
Stunning! 🙂
Thank you Stacie! 🙂
-Kelsey with Bramble Berry
That looks absolutely gorgeous!! I have a mat I bought at Jo-Ann’s Fabric store, but haven’t used it yet. I’ll have to soon.
I got Bamboo Mint sample in my last order, but I’ll be honest- it’s nice, but I don’t smell any mint at all. Maybe it shows up more after soaping?
Thanks Martina, glad you like the soap! The Bamboo Mint Fragrance Oil does have some nice minty notes in the final bars. It smells nice and fresh! If you want more minty notes, you can add a touch of peppermint essential oil or Moroccan Mint Fragrance Oil. That would smell really nice. 🙂
Peppermint essential oil: https://www.brambleberry.com/Peppermint-Essential-Oil-1st-Distill-P3828.aspx
Moroccan Mint Fragrance Oil: https://www.brambleberry.com/Moroccan-Mint-Fragrance-Oil-P3925.aspx
-Kelsey with Bramble Berry