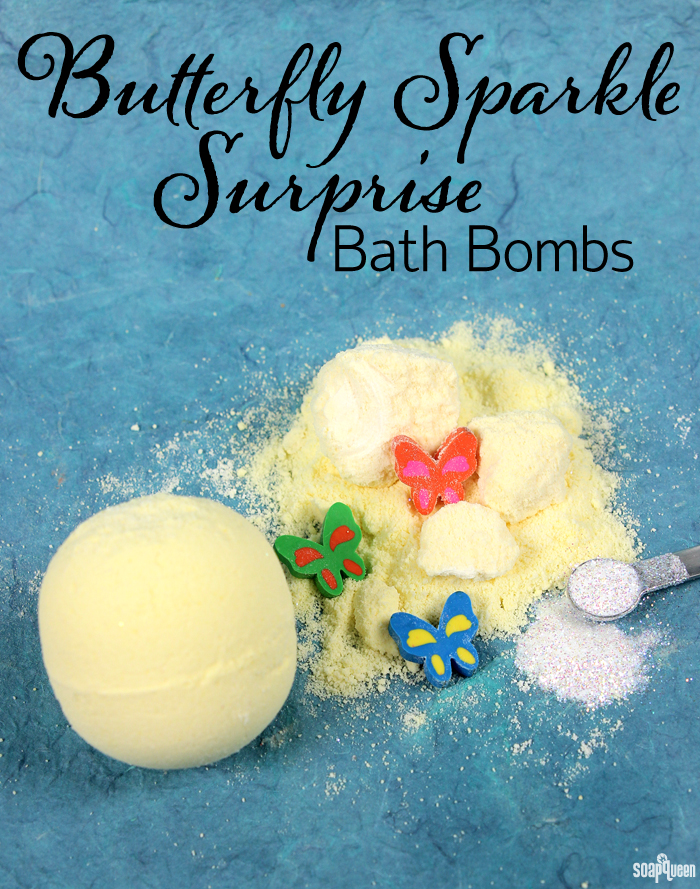
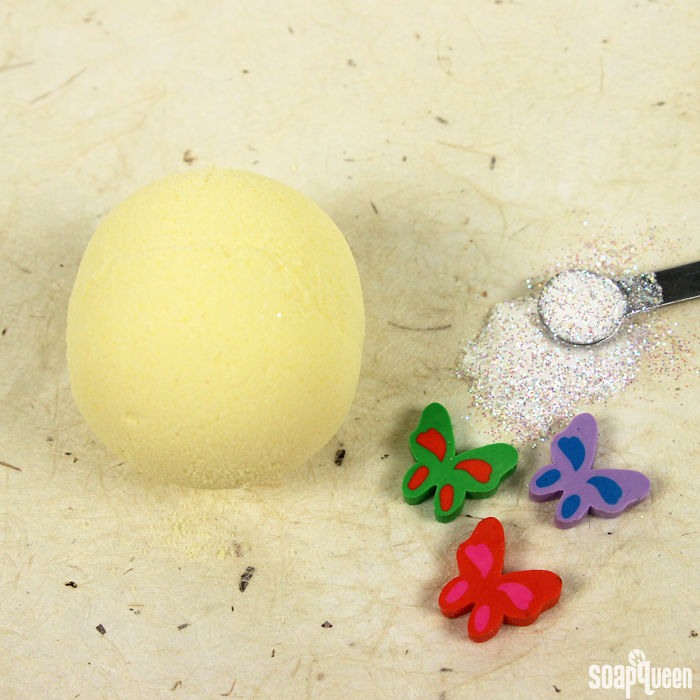
It’s so fun dropping a bath bomb into the tub and watching it fizz away, especially for kids. This Butterfly Sparkle Surprise Bath Bomb is even more fun because it has a secret stash of Iridescent Glitter and a butterfly eraser inside. Partway through the fizzing, the bath tub will be full of sparkle and a fun toy. Imagine your child’s delight and surprise!
Along with the hidden goodies, the bath bombs contain chia seed oil to moisturize your skin. They have a bright yellow hue from Daisy Yellow LaBomb Colorant. A combination of fresh Crisp Apple Rose Fragrance Oil and sweet Pure Honey Fragrance Oil will make the bath water smell like springtime. See these bath fizzies in action in the video below!
What You’ll Need:
3 cups Sodium Bicarbonate (baking soda)
1.5 cups Citric Acid
2 Tbs. Chia Seed Oil
2 mL Daisy Yellow LaBomb Colorant
1 tsp. Iridescent Glitter (1/4 tsp. for each bath bomb)
6 mL Crisp Apple Rose Fragrance Oil
4 mL Pure Honey Fragrance Oil
Butterfly Erasers
Witch Hazel
Stainless Steel Bath Bomb Mold
Optional: Droppers
 Click here to add everything you need for this project to your Bramble Berry shopping cart!
OPTIONAL MOLD PREP: To aid in the unmolding of the bath bombs, add 5-10 drops of cyclomethicone inside each half of the Stainless Steel Bath Bomb molds. Swirl it around so that there is a nice coat covering the inside of the molds. Set the molds on paper towels in a way that allows the excess cyclomethicone to run out. You want just the thinnest coat of cyclomethicone inside the molds.
ONE: In a large bowl, combine sodium bicarbonate and citric acid. Use your hands or a mesh strainer to remove any clumps.
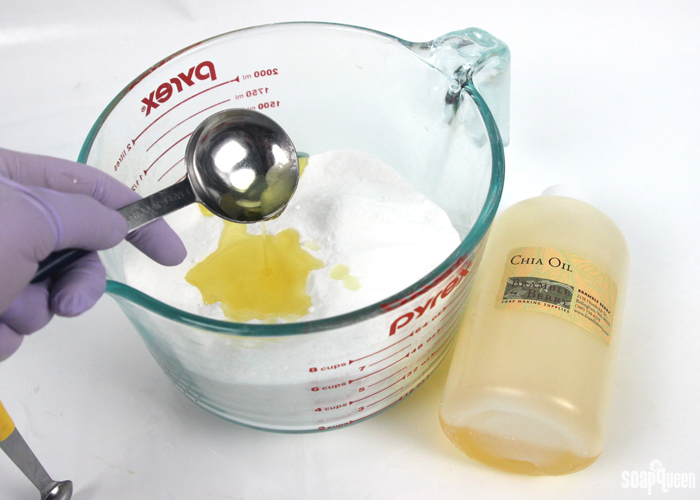
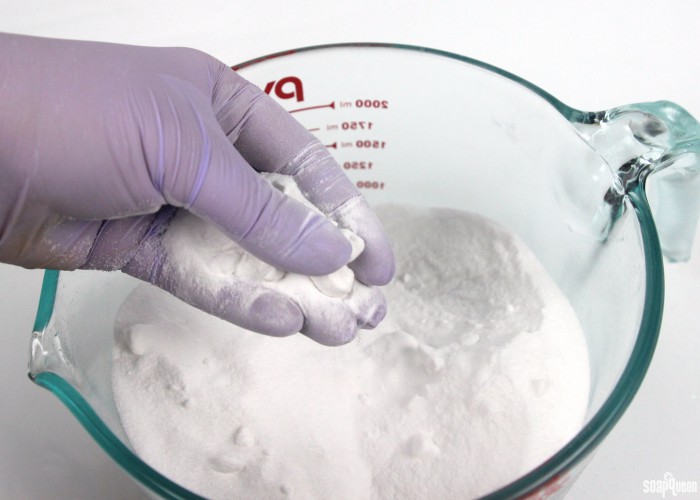 TWO: Once the mixture is smooth, add the chia seed oil. Use your hands to fully incorporate the oil into the powder.
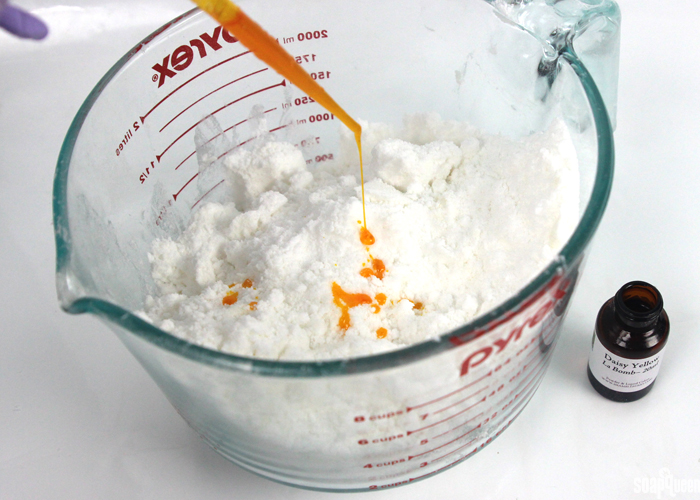
 THREE: Add 2 mL of Daisy Yellow LaBomb Colorant and use your hands to mix it in fully.
 FOUR: Add 6 mL of Crisp Apple Rose Fragrance Oil and 4 mL of Pure Honey Fragrance Oil and mix well.
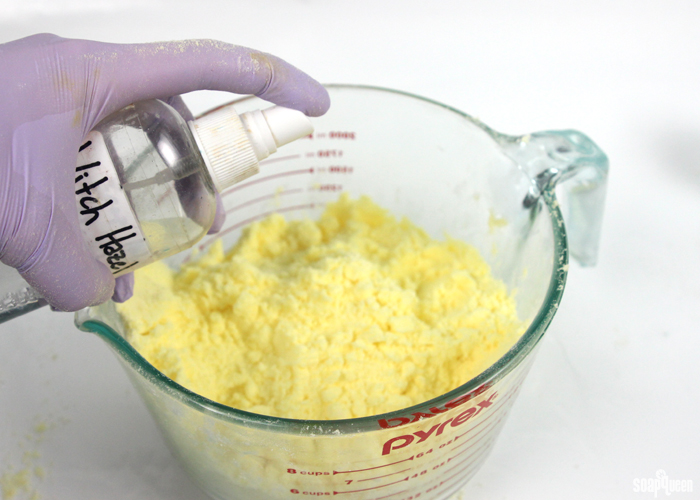
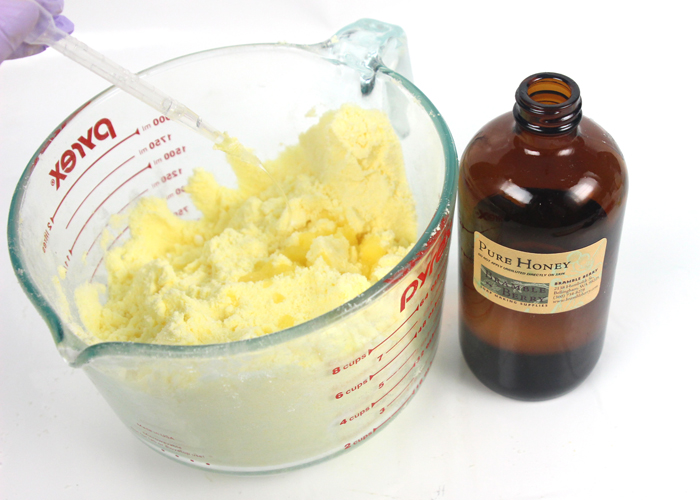 FIVE: Check the moisture level of your fizzies. The mixture should be wet enough so when you squeeze the powder in your palm it will stick together. If it doesn’t hold its shape, spritz with witch hazel. You want to spray enough so that the powders stick together and aren’t crumbly. Be careful though, because spraying too much can cause the mixture to fizz prematurely and ruin your fizzies. How much witch hazel you use depends on a number of factors, including the humidity in your area. We used about 10-12 spritzes of witch hazel. Read more in the Sunday Night Spotlight: Witch Hazel post.
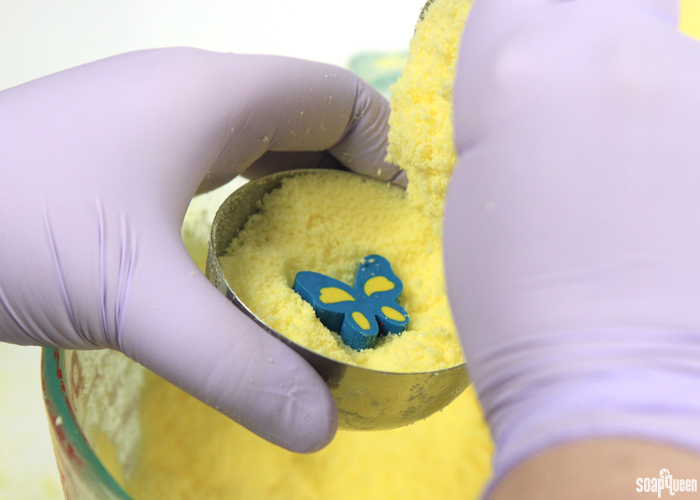
 SIX: Fill up one half of the mold with the mixture, leaving space at the top. Make sure to press the mixture in to make it compact as possible. Add 1/4 tsp. of glitter and one butterfly eraser.
 SEVEN: Scoop more of the mixture on top until it’s mounded in the center. Fill up the second half of the bath bomb, mounding the mixture in the center again.
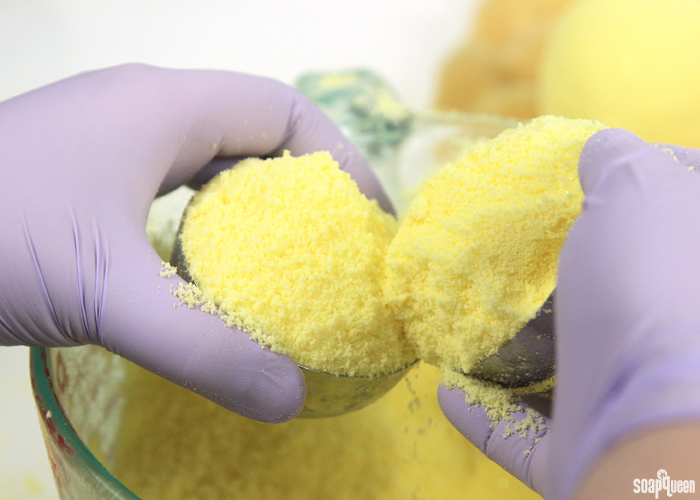 EIGHT: Press the two sides of the mold together firmly. Then, slowly remove the top half of the bath bomb mold. Let the bath bomb sit in the bottom half of the mold for 10 minutes or up to an hour. It can be a little tricky to get the fizzies to stick together…but practice makes perfect! If they do not stick together the first time, you can try again a few times if they begin to crumble. See how to use the stainless steel molds in the How to Make Bath Fizzies video on Soap Queen TV.
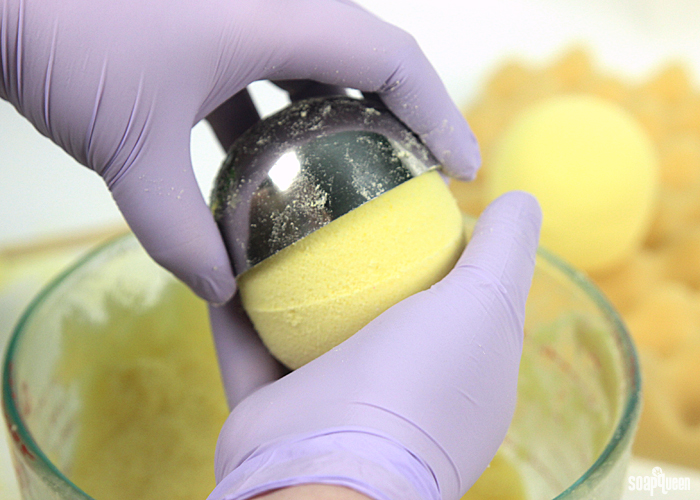 NINE: Slowly remove the bottom half of the mold and set the bath bomb aside.
TEN: Repeat the process with the other bath bombs. When they’re unmolded, allow them to sit for 24 hours before using or wrapping in plastic wrap to protect them from excess moisture. Learn more about packing and storing your bath bombs in the How to Store Handmade Bath Products post.
To use, drop the bomb in your bath tub and watch it fizz! Because these bath bombs have oil in them, they can make your tub slippery. Be careful when exiting your bath tub!
What’s your favorite scent to enjoy in the tub?
- 3 cups Sodium Bicarbonate (baking soda)
- 1.5 cups Citric Acid
- 2 Tbs. Chia Seed Oil
- 2 mL Daisy Yellow LaBomb Colorant
- Iridescent Glitter
- 6 mL Crisp Apple Rose Fragrance Oil
- 4 mL Pure Honey Fragrance Oil
- Butterfly Erasers
- Witch Hazel
- Stainless Steel Bath Bomb Mold
- Optional: Droppers
- To aid in the unmolding of the bath bombs, add 5-10 drops of cyclomethicone inside each half of the Stainless Steel Bath Bomb molds. Swirl it around so that there is a nice coat covering the inside of the molds. Set the molds on paper towels in a way that allows the excess cyclomethicone to run out. You want just the thinnest coat of cyclomethicone inside the molds.
- In a large bowl, combine sodium bicarbonate and citric acid. Use your hands or a mesh strainer to remove any clumps.
- Once the mixture is smooth, add the chia seed oil. Use your hands to fully incorporate the oil into the powder.
- Add 2 mL of Daisy Yellow LaBomb Colorant and use your hands to mix it in fully.
- Add 6 mL of Crisp Apple Rose Fragrance Oil and 4 mL of Pure Honey Fragrance Oil and mix well.
- Check the moisture level of your fizzies. The mixture should be wet enough so when you squeeze the powder in your palm it will stick together. If it doesn’t hold its shape, spritz with witch hazel. You want to spray enough so that the powders stick together and aren’t crumbly. Be careful though, because spraying too much can cause the mixture to fizz prematurely and ruin your fizzies. How much witch hazel you use depends on a number of factors, including the humidity in your area. We used about 10-12 spritzes of witch hazel.
- Fill up one half of the mold with the mixture, leaving space at the top. Make sure to press the mixture in to make it compact as possible. Add ¼ tsp. of glitter and one butterfly eraser.
- Scoop more of the mixture on top until it’s mounded in the center. Fill up the second half of the bath bomb, mounding the mixture in the center again.
- Press the two sides of the mold together firmly. Then, slowly remove the top half of the bath bomb mold. Let the bath bomb sit in the bottom half of the mold for 10 minutes or up to an hour. It can be a little tricky to get the fizzies to stick together…but practice makes perfect! If they do not stick together the first time, you can try again a few times if they begin to crumble.
- Slowly remove the bottom half of the mold and set the bath bomb aside.
- Repeat the process with the other bath bombs. When they’re unmolded, allow them to sit for 24 hours before using or wrapping in plastic wrap to protect them from excess moisture.
- To use, drop the bomb in your bath tub and watch it fizz! Because these bath bombs have oil in them, they can make your tub slippery. Be careful when exiting your bath tub!



Can I put a small m&p soap in the middle of the bomb or will it melt?
Melt and pour contains water, and over time that water can come in contact with the bath bomb and cause it to fizz too early. So, you can use a small melt and pour soap, just try to use the bath bomb within a week before the water sets the fizz off too early.
Learn more about using melt and pour in bath bombs here: https://www.soapqueen.com/bath-and-body-tutorials/tips-and-tricks/soap-box-questions-can-i-add-melt-and-pour-to-bath-bombs/
-Kelsey with Bramble Berry
I made a eraser filled bathbomb with eucalyptus essential oil and lavender essential oil, using lab colours. We tested it the next day. And the erasers melted a bit. I’m not sure if the essential oils or the citric acid caused them to melt. We tried wrapping them in plastic. But they were very hard to put the both sides together and stay together. Do you have any suggestions?
Do you know what the erasers are made of? Also, there are a few tricks to getting the bath bomb halves to stay together. The first is to pack the halves slightly loose. If they’re packed too tightly, they won’t want to stick together. Then, create a dent, pop the toy in, and mound bath bomb mixture on top over slightly. When you press the halves together, the mound in the center will help the bath bombs stick together, and they will pack down but still lift out of the molds easily. See that process in this video: https://www.youtube.com/watch?v=8bjpsQXt6NU&t=1s
-Kelsey with Bramble Berry
Hi! I love the idea of making homemade bath bombs and I’ve been experimenting with them — I’ve seem to found a decent recipe:
1/2 cup epsom salts
1 cup citric acid
1 heaping teaspoon koalin clay
desired amount of mica colorant
2 cups baking soda
1/8 cup coconut oil
1 tsp fragrance oil
approx 4 spritzes of witch hazel for added moisture if needed.
I love the colors and consistency, my problem is that they don’t dry fully. Two days later and they’re much harder, but they still dent slowly over time if placed on a surface that is not the mold.
How do I avoid this? They looked so perfect initially and I kept them half in the mold for several hours before removing them for the other half to also dry – but now that side has gone flat from being on a flat surface. And currently, 2 days later, they’re still soft enough that if I press with medium pressure my finger will cause a dent also.
Thanks for any tips!
Hi Jenna!
That looks like an awesome recipe! It sounds like your bath bombs are absorbing moisture from the air. That can happen after a few days, especially in humid climates. I would recommend wrapping them tightly with plastic wrap! That will help protect them from moisture in the air. You can also place silica packets or rice near the bath bombs to keep them nice and dry. 🙂
Read more about storing your bath bombs here: http://www.soapqueen.com/bath-and-body-tutorials/tips-and-tricks/how-to-store-handmade-bath-products/
-Kelsey with Bramble Berry
I followed this recipe, however, when using the bath bomb 24 hours later it sunk to the bottom of the tub instead of floating. I did substitute sweet almond oil instead of chia seed oil. Is this recipe for a dense bath bomb? Are there any tips/recipes to follow for floating bath bombs? I’m not sure where I went wrong.
Hi there!
Oh no, I’m sorry that bath bomb sank! Did it still fizz?
Because this bath bomb is packed tightly and has glitter and butterfly erasers, it will be a bit more dense than bath bombs without them. However, in our tests they fizzed still!
Can you tell me a bit more about your process, including any substitutions? Also, how did you store the fizzies? Is your location more humid or more dry? Let me know and we’ll get this figured out. 🙂
-Kelsey with Bramble Berry
Ive been making bath bombs for about a week now using this recipe: 1 c baking soda
1/2 c citric acid
1/2 c corn starch
1/2 c epsom salts
3/4 tsp water
1 tsp fragrance oil
3 1/2 tsp coconut oil
And food coloring
I did modify the original recipe from 2 tsp of fragrence to just one and adding an extra tsp to the coconut oil to make up for it.
The mixing goes well. I do have trouble getting the two halfs to stick together sometimes though.
And when i do get them to stick together, i leave them in an air conditioned room around 72 degrees Fahrenheit. And in the morning, they seem to puff up and look alot bigger than the original molds. I do live in a himid climate, but is there anything i can do to stop this from happening? Should i replace the water for witch hazel? Or change the recipe all together?
Hi Sunny!
That looks like a great recipe! I love the soothing properties salt adds to bath bombs. 🙂
If the fizzies get too moist, they can start to expand and fizz prematurely. If you’re living in a humid climate, I would recommend cutting down the water amount or leaving it out all together, as water can cause the fizzies to go off. I would recommend mixing all your other ingredients together and squeezing the mixture in your hand. If it sticks together, you can mold those fizzies. If it falls apart, add 1-2 spritzes of witch hazel, mix and squeeze again. Repeat that process until the fizzies are the right consistency.
See that process in action here: https://www.youtube.com/watch?v=jgODHmkSTqQ
It can also help to keep the fizzies in a room with a dehumidifier, or a running fan. That will help keep them nice and dry! You may also consider using a powder colorant, like a mica, or a La Bomb Colorant. Food coloring is often mixed with water and can cause the fizzies to expand.
Hope that helps!
-Kelsey with Bramble Berry
Micas: https://www.brambleberry.com/Micas-C46.aspx
La Bomb Colorants: https://www.brambleberry.com/For-Bath-Bombs-C50.aspx