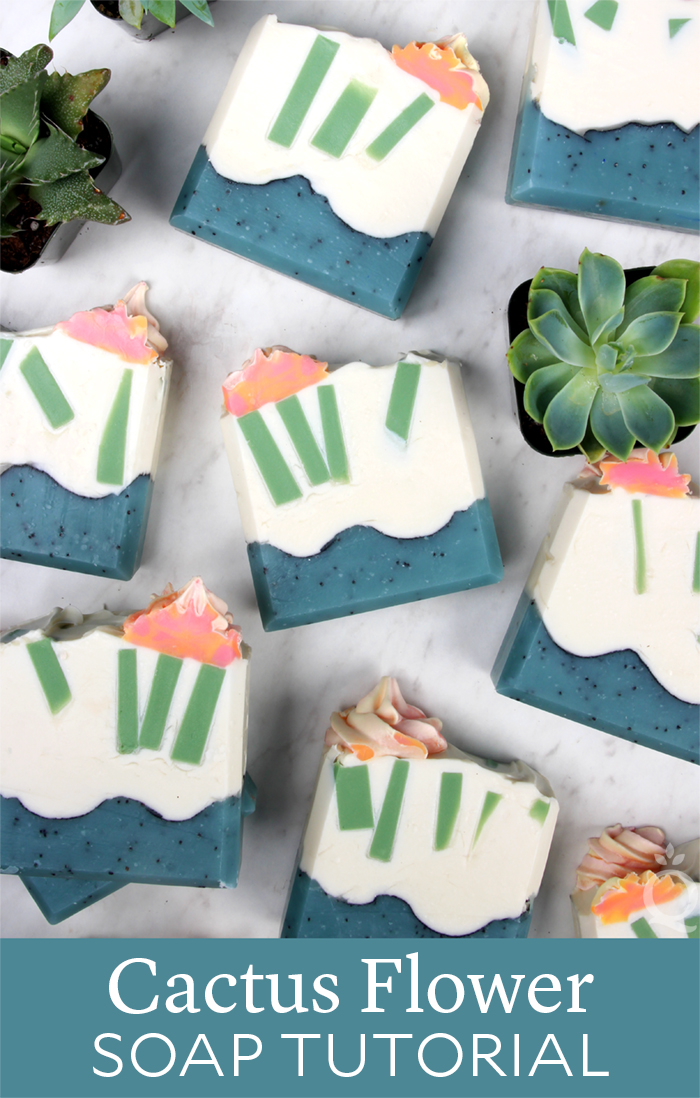
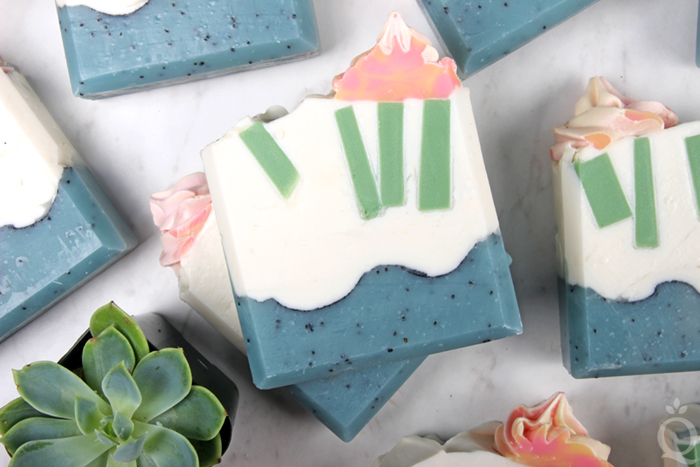
Nature is full of inspiration. This Cactus Flower Soap was inspired by the colors and textures of a blooming cactus, along with our new Cactus Flower Fragrance Oil. It’s fresh and green take on a floral scent, with notes of violet petals, lemon, and white musk. It behaves wonderfully in soap and gives these bars the perfect floral scent.
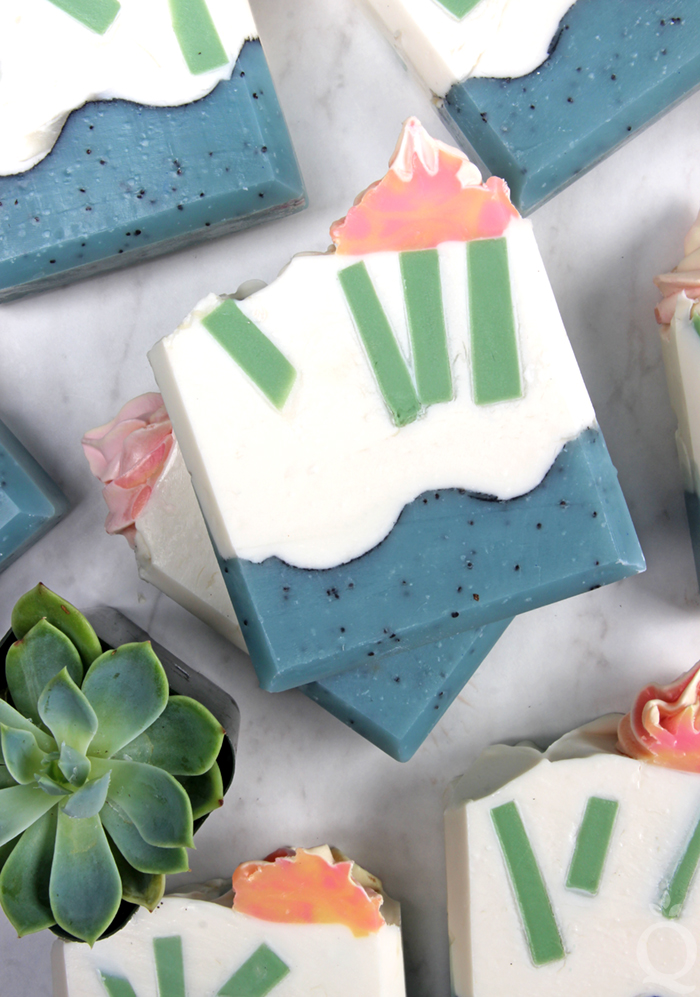
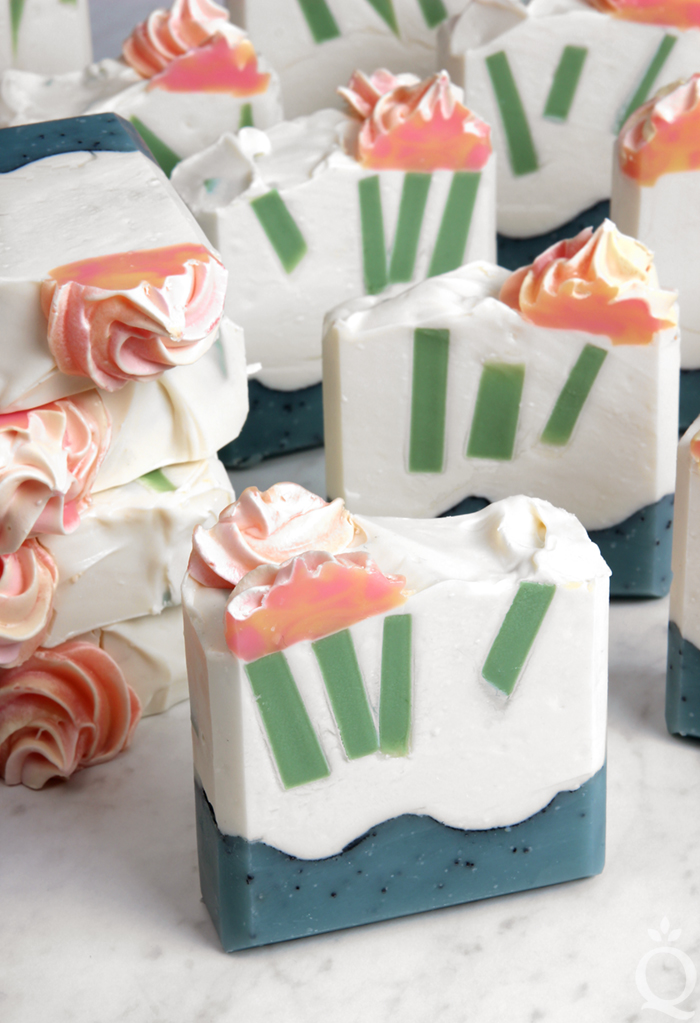
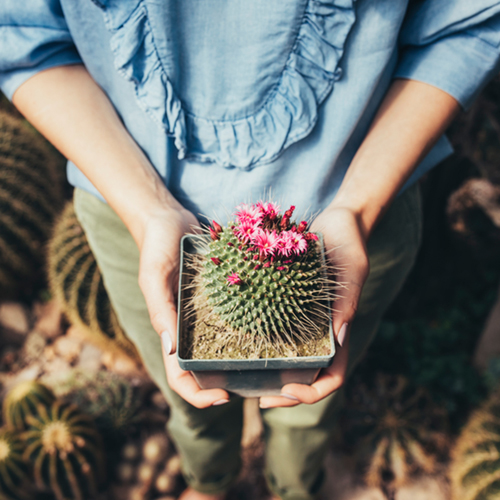
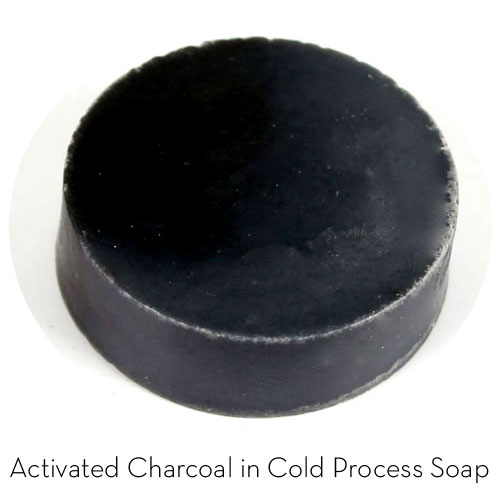
This beautiful photograph led us in designing the colors, layers, and textures of this soap. The first layer is created using Bright Blue Jean Colorant, with poppy seeds to mimic the texture of a cactus. An activated charcoal line separates the white and blue layers. Finally, green melt and pour embeds and soap “flowers” add color and interest.
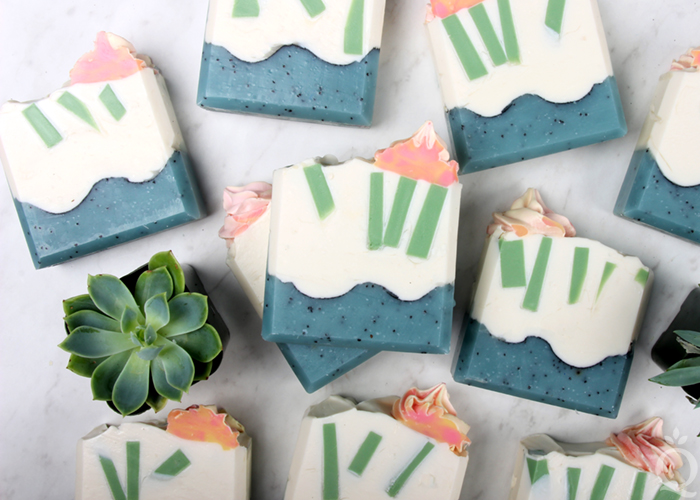
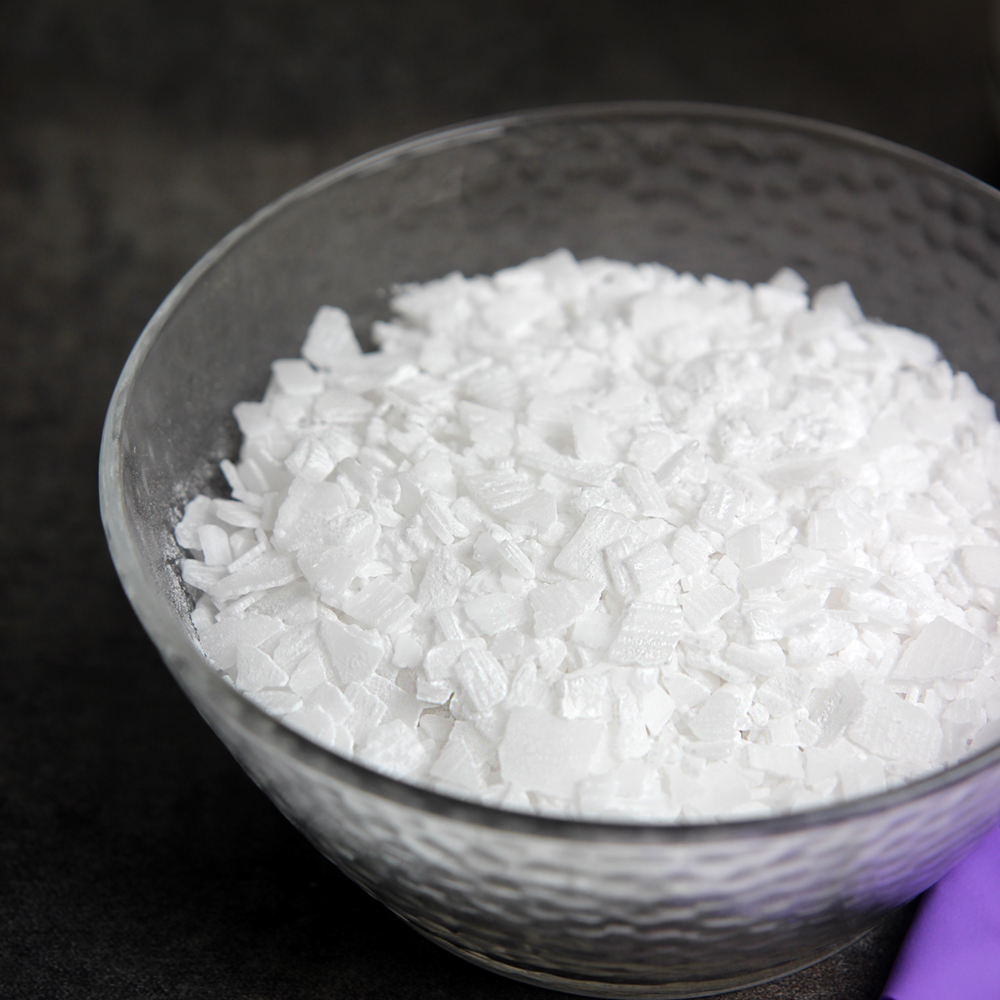
The melt and pour embeds do need to be created several hours in advance to allow them to cool and harden. We recommend using LCP White Melt and Pour Soap Base when embedding into cold process soap. LCP stands for “like cold process” and refers to melt and pour soap that contains less glycerin. It melts at a slightly higher temperature, which helps prevent some morphing or melting if the soap goes through a hot gel phase. LCP bases are also less likely to develop glycerin dew.
This recipe should be kept cool to prevent the embeds from melting. A slightly lower soaping temperature will also prevent glycerin rivers from forming in the white layer. This recipe does use a 10% water discount to further prevent glycerin rivers. Lower soaping temperatures also help achieve a thicker texture and prevent the soap flowers from melting. If you live in a very hot climate, you’ll probably want to place this soap in the fridge for several hours.
What You’ll Need:
Embeds
7 oz. LCP White Melt and Pour Base
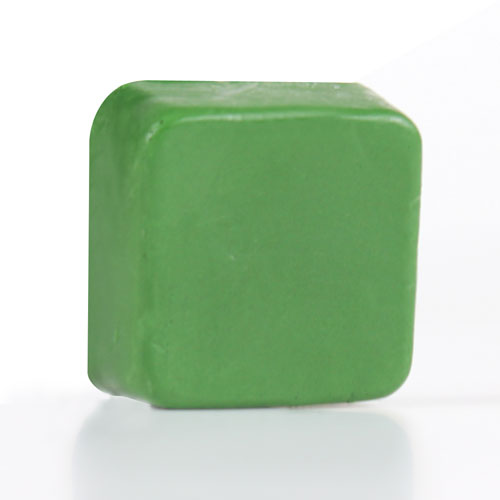
Chrome Green Color Block
Base
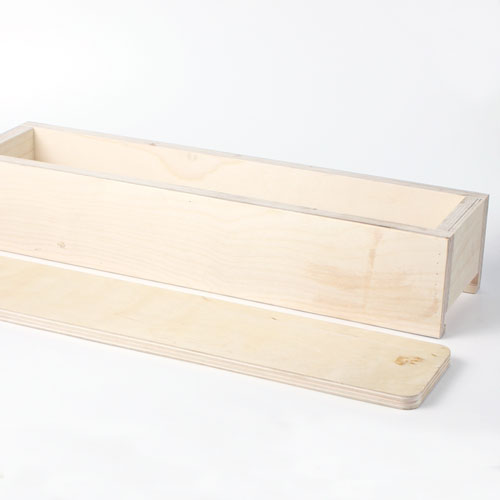
5 Pound Mold with Sliding Bottom
Silicone Liner for 5 lb Wood Mold
65 oz. Lots of Lather Quick Mix
9.3 oz. Sodium Hydroxide Lye
19.3 oz. Distilled Water (10% water discount)
4 oz. Cactus Flower Fragrance Oil
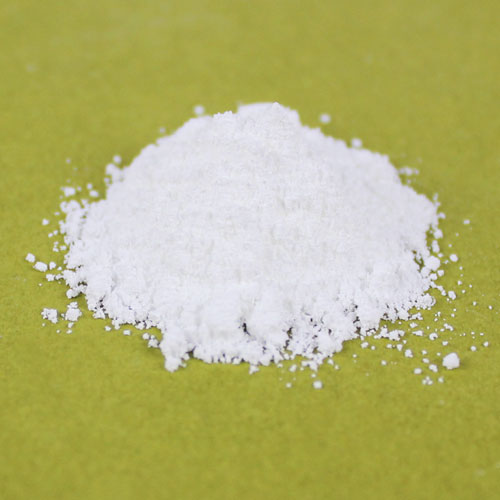
Titanium Dioxide
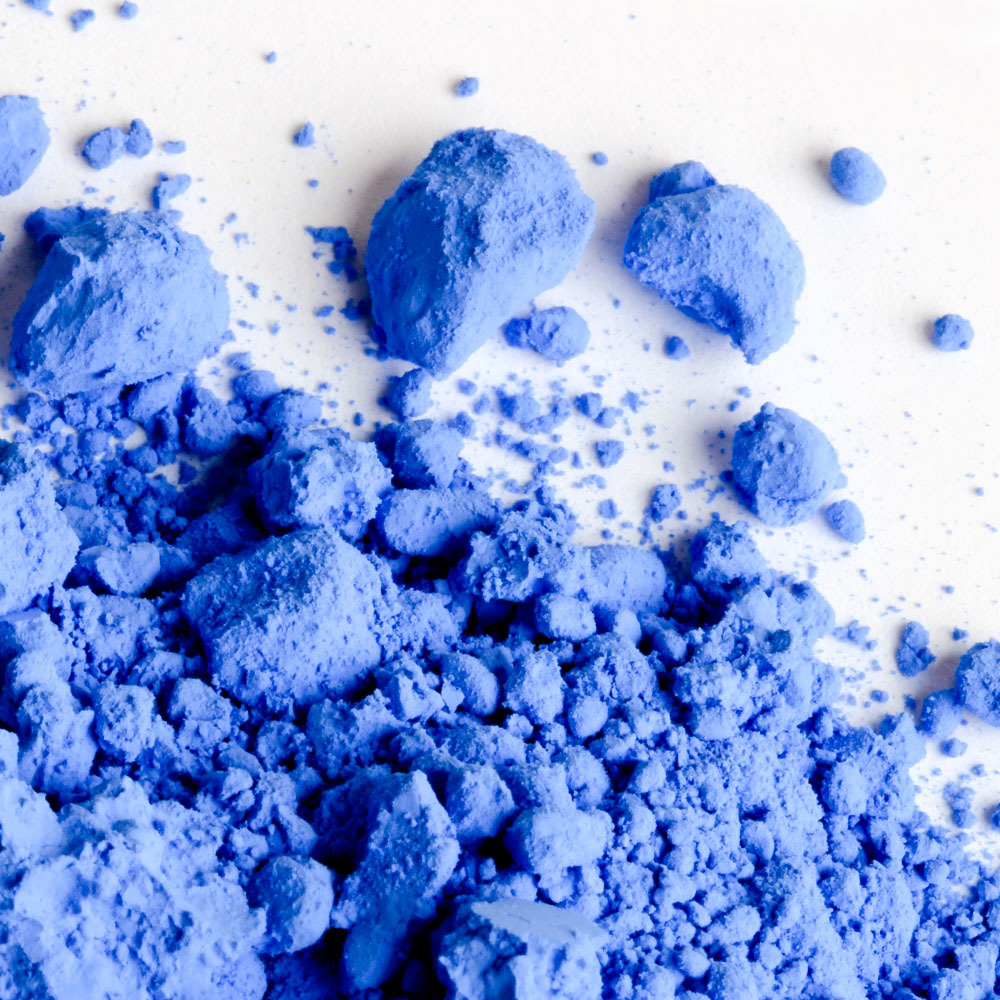
Bright Blue Jean Colorant
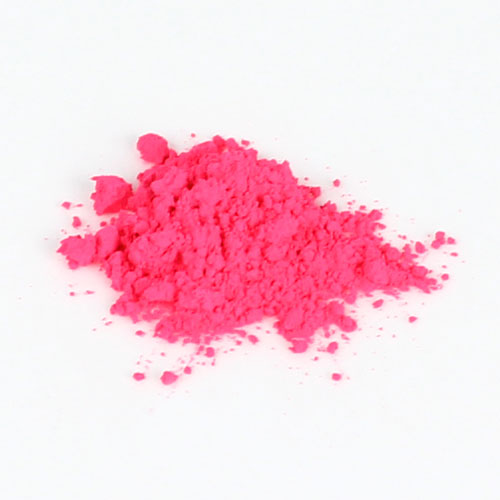
Fired Up Fuchsia Colorant
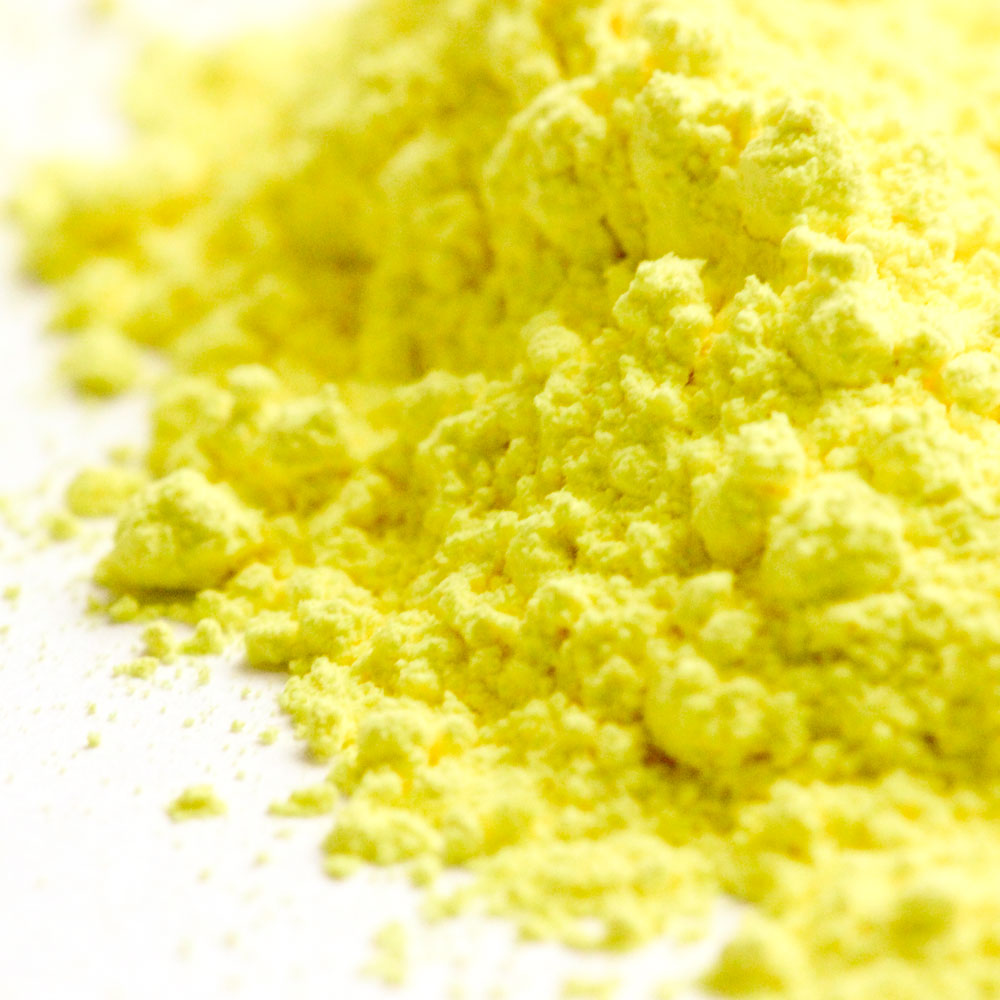
Fizzy Lemonade Colorant
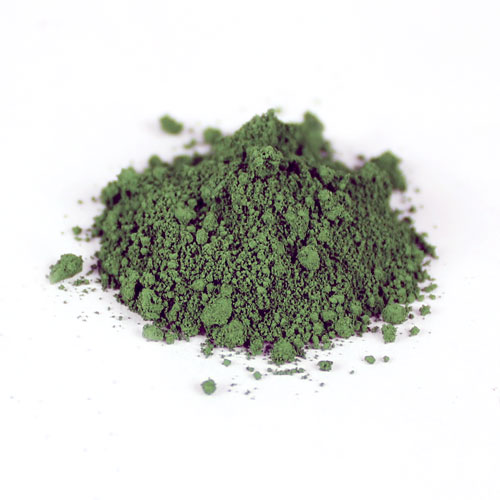
Green Chrome Oxide
2 tsp. Activated Charcoal
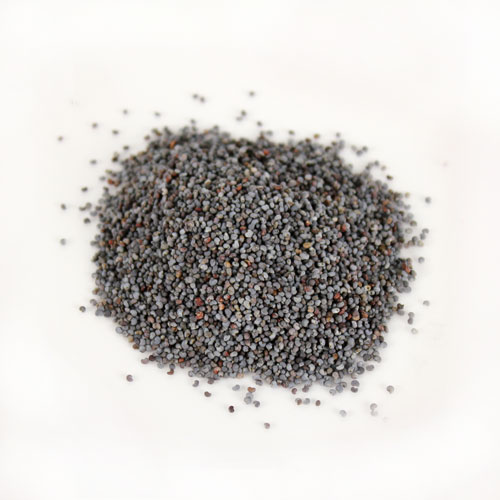
2 tsp. Poppy Seeds
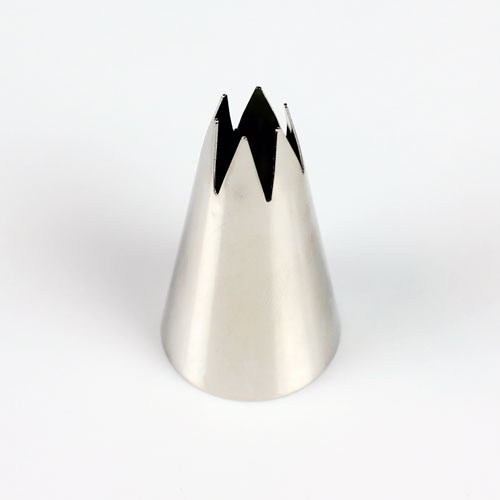
1M Frosting Tip
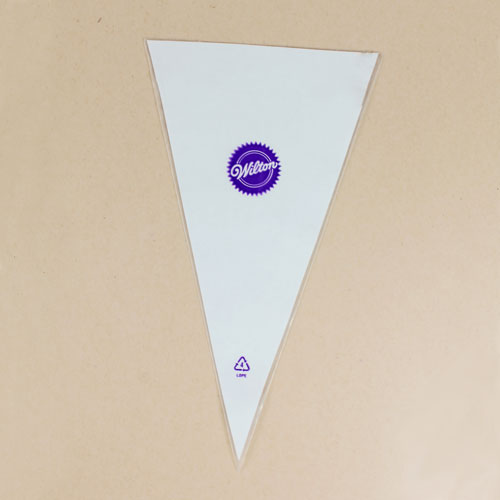
Disposable Frosting Bag
Powder Duster

Click here to add everything you need for this project to your Bramble Berry shopping cart!
Make the Embeds:
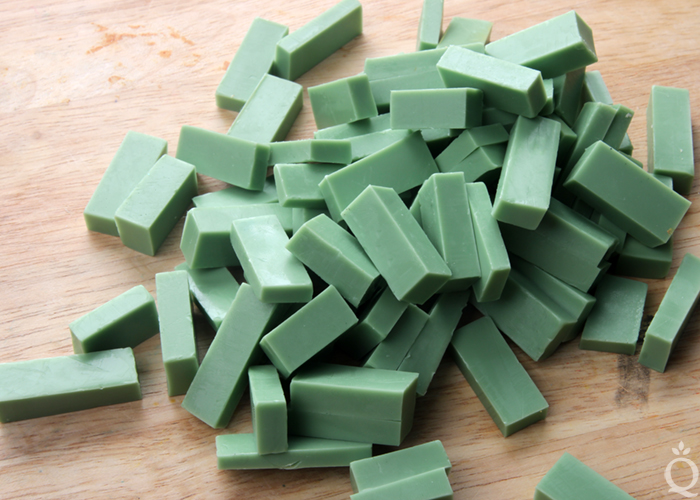
ONE: Chop and melt 7 ounces LCP White Melt and Pour Soap in the microwave using 15-second bursts. Add shavings of the Chrome Green Color Block to achieve a soft green color. Pour the soap into a mold of your choice. The exact shape is not super important because the soap will be chopped into small pieces. We used the 12 Cavity Rectangle Silicone Mold and filled up two cavities. Wait for the bars to cool and harden.
TWO: Once the melt and pour has fully cooled and hardened, remove from the mold. Use a sharp, non-serrated knife to chop the soap into long, rectangle pieces. The exact size of each embed is up to you. Set pieces of soap aside until you’re ready to use.
Make the Base
If you’ve never made Cold Process soap before, stop here! I highly recommend checking out our FREE four part SoapQueen.tv series on Cold Process Soapmaking, especially the episode on lye safety. And if you’d rather do some reading, Bramble Berry carries a wide range of books on the topic, including my newest book, Pure Soapmaking. You can also check out the digital downloads for that instant gratification factor.
SAFETY FIRST: Suit up for safe handling practices! That means goggles, gloves and long sleeves. Make sure kids, pets, and other distractions and tripping hazards are out of the house or don’t have access to your soaping space. Always soap in a well-ventilated area.
COLOR PREP: To ensure that the titanium dioxide blends smoothly into the soap batter, we recommend micronizing it before dispersing it in oil. Please note this is an optional tip but it does help with the titanium dioxide clumping in the soap. To micronize colorant, simply use a coffee grinder to blend the colorant to break up any clumps of color and prevent streaks of white from showing in the final soap. We like to use a coffee grinder that has a removable, stainless steel mixing area for easy cleaning. Then, disperse 4 teaspoons of the colorant into 4 tablespoons of sunflower or sweet almond oil (or any other liquid oil). Then in separate containers, disperse 1/2 teaspoon Fizzy Lemonade Colorant, Fired Up Fuchsia Colorant and Chrome Green Oxide into 1/2 tablespoon lightweight liquid oil. The disperse 1 teaspoon Bright Blue Jean Colorant into 1 tablespoon lightweight liquid oil. Use a mini mixer to help get rid of any clumps.
FRAGRANCE PREP: Measure 4 ounces of Cactus Flower into a glass, fragrance oil safe container. Set aside.
MOLD & TOOL PREP: Insert the silicone liner into the wood mold.
ONE: Slowly and carefully add the lye to the water and gently stir until the lye has fully dissolved and the liquid is clear. Set aside to cool.
TWO: Fully melt the entire bag of Lots of Lather Quick Mix until completely clear with no cloudiness. Shake the bag to mix up all the oils. Measure 65 oz. into your soaping bowl. Once the lye water and the oils have cooled to 130 degrees or below (and are ideally within 10 degrees of each other), add the lye water to the oils and stick blend until thin trace. If you’d like a harder bar of soap that releases faster from the mold, you can add sodium lactate to the cooled lye water. Use 1 teaspoon of sodium lactate per pound of oils in the recipe. For this recipe, you’d add 4 tsp. sodium lactate.
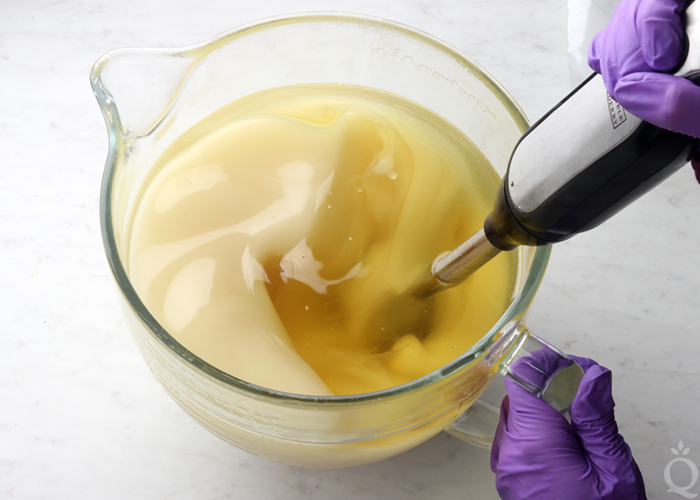
THREE: Once you’ve reached a thin trace, add all the Cactus Flower Fragrance Oil to the batter. Use your stick blender to stir in the fragrance and then use short bursts to further incorporate.
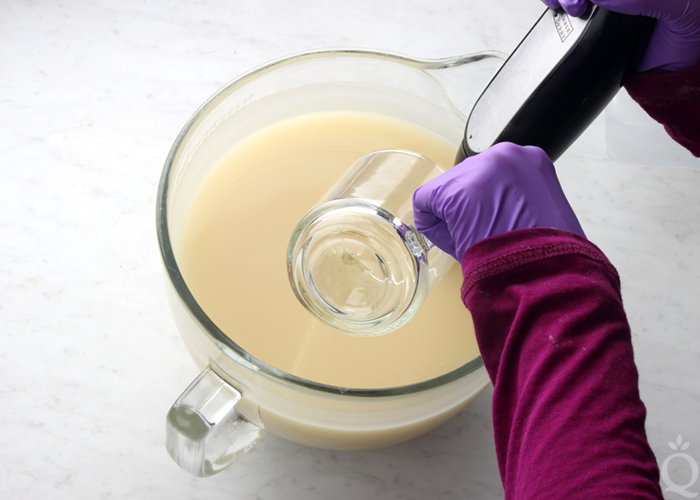
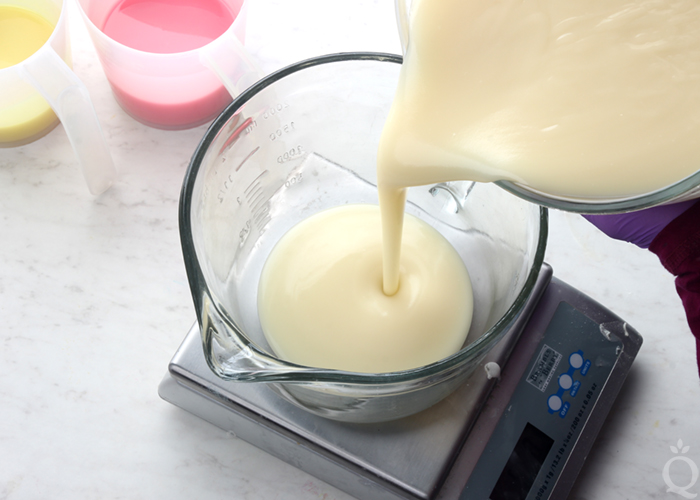
FOUR: Pour 200 mL of soap into two separate containers. To one container, add 1/2 teaspoon dispersed Fizzy Lemonade Colorant. To the other, add 1/2 teaspoon dispersed Fired Up Fuchsia Colorant. Use a whisk or spoon to fully incorporate the colors. Set the soap aside.
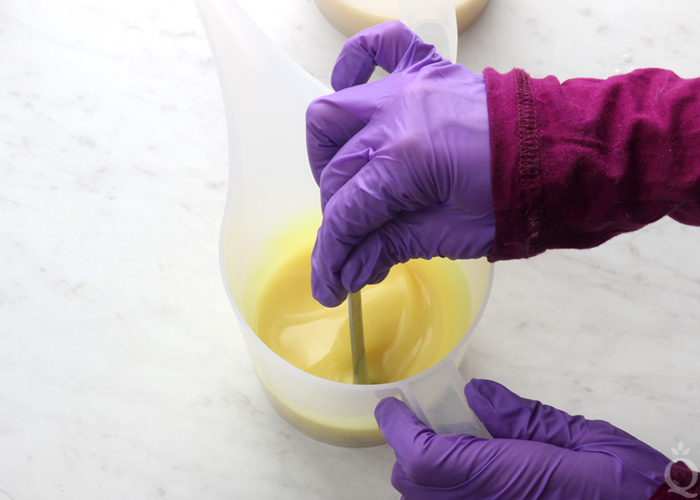
FIVE: Pour 30 ounces of uncolored soap into a separate container. To this container, add 1 tablespoon of the dispersed Bright Blue Jean Colorant and 1/8 teaspoon dispersed Chrome Green Oxide. Use the stick blender to mix in the colorants. If the soap is still at thin trace, stick blend until you reach medium trace.
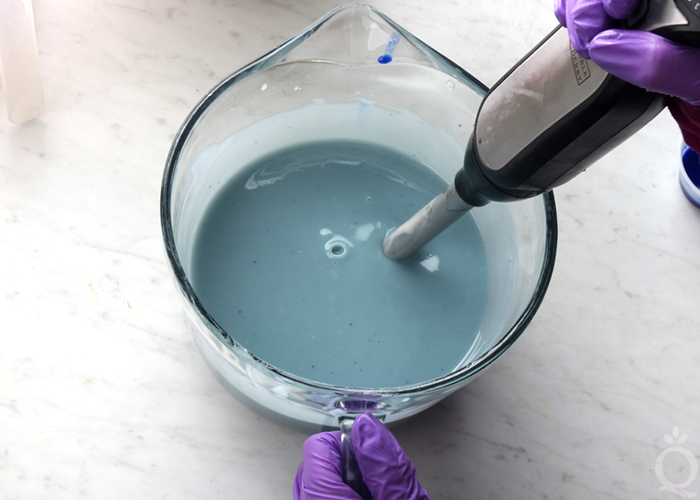
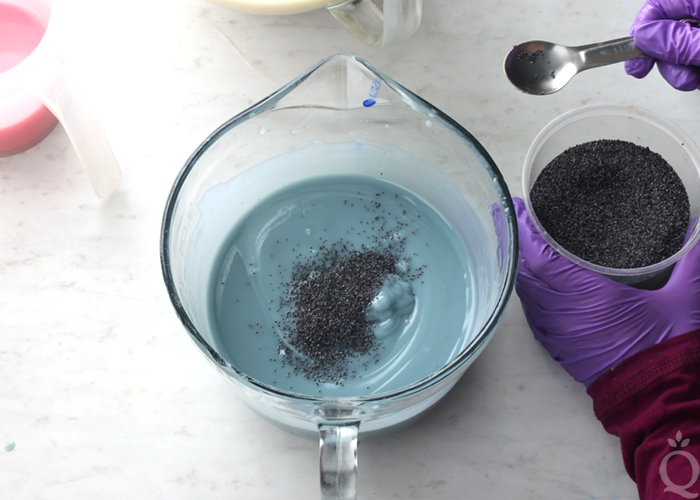
SIX: Whisk 2 teaspoons of poppy seeds into the blue soap.
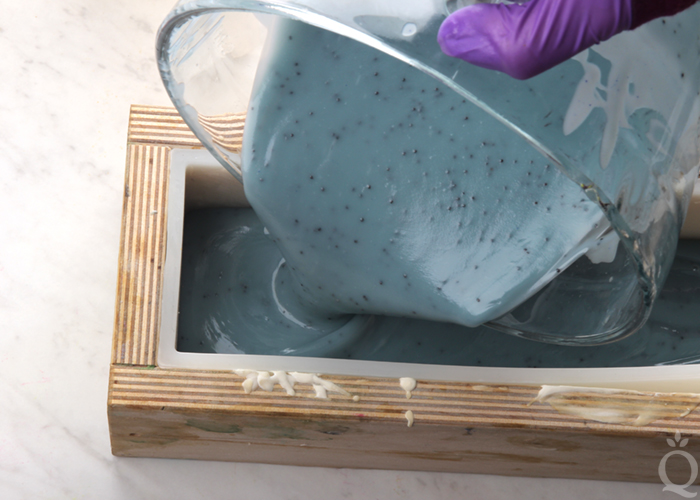
SEVEN: Pour all of the blue soap into the mold. Tap the mold on the counter firmly to release air bubbles. If the soap is thick enough to hold its shape, slide a spoon down the length of the mold several times to create a wavy texture in the soap.
NOTE: If the soap is not holding its shape, allow it to thicken in the mold and proceed to step nine. After mixing the white soap, return to this step to create texture and create the mica line.
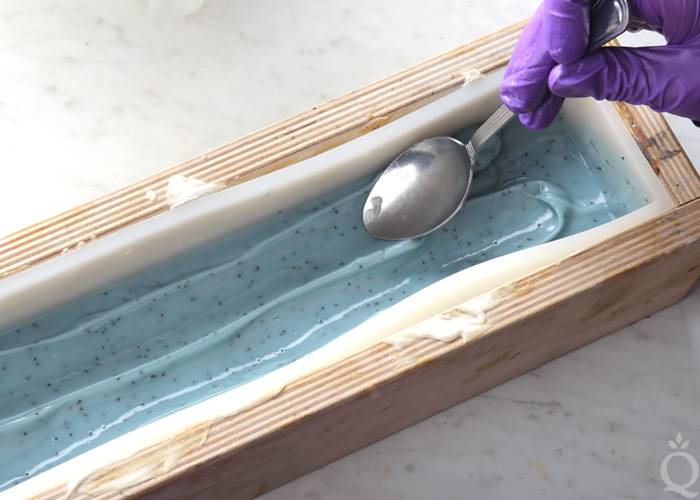
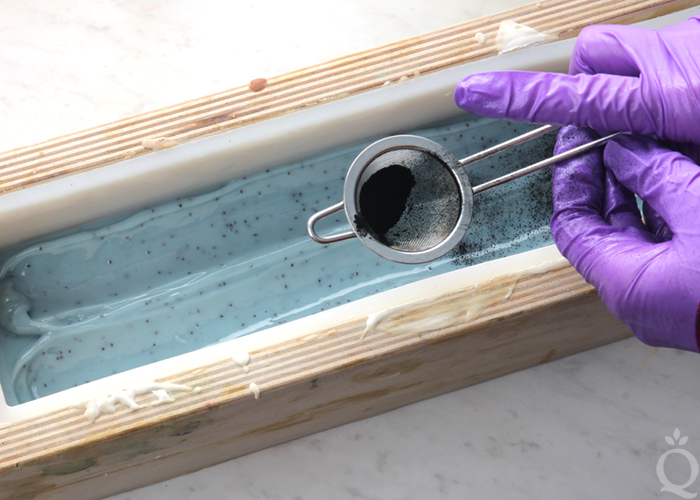
EIGHT: Put a few teaspoons of activated charcoal into the powder duster. Lightly dust the charcoal onto the blue soap. Apply only a light layer to the soap, or the layers may separate once cut. Set the mold aside.
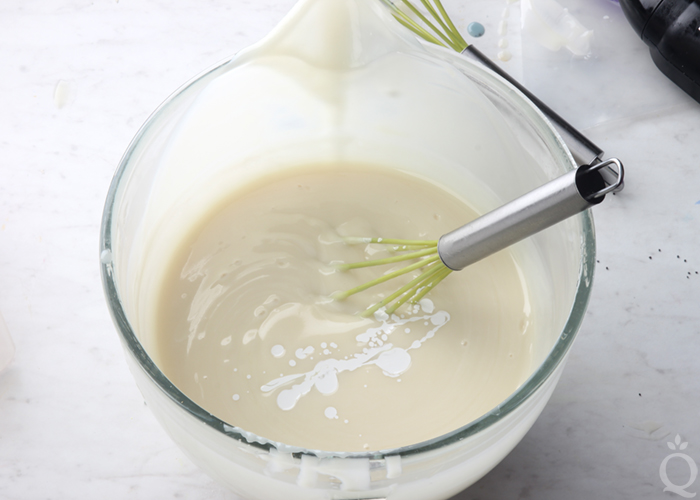
NINE: To the remaining soap, add all of the dispersed titanium dioxide. Adding the extra oil will cause the trace to thin. The soap needs to be a thick texture to support the embeds. Use the stick blender to thicken the soap, and then pour it into the mold. Save a small amount of white soap for the next step. Tap the mold firmly on the counter to help disperse any bubbles. Use the back of a small spoon to spread the soap evenly into the mold.
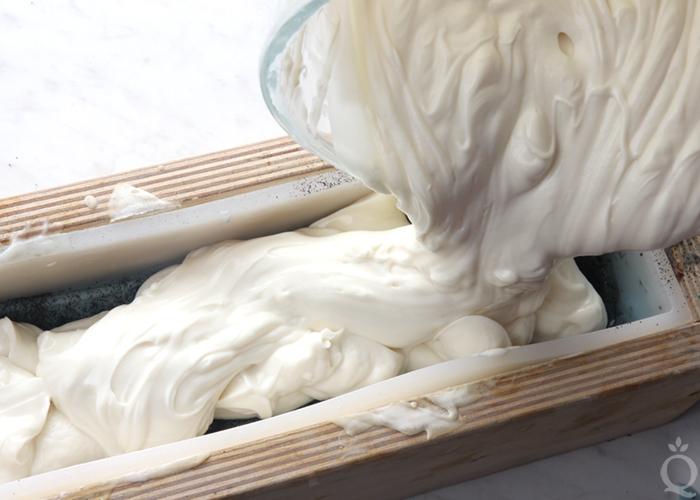
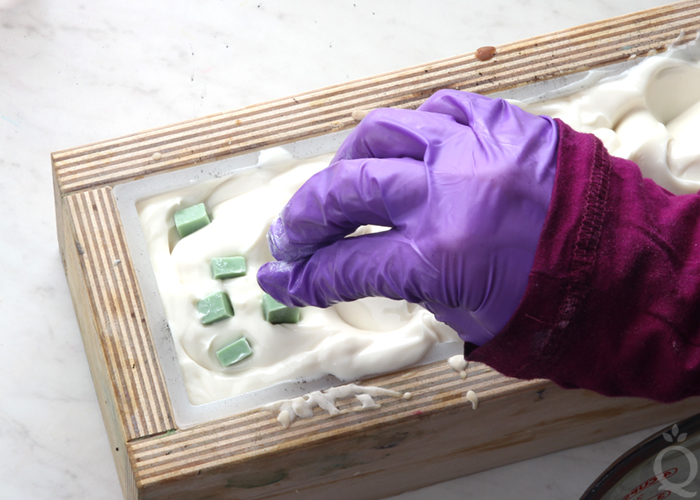
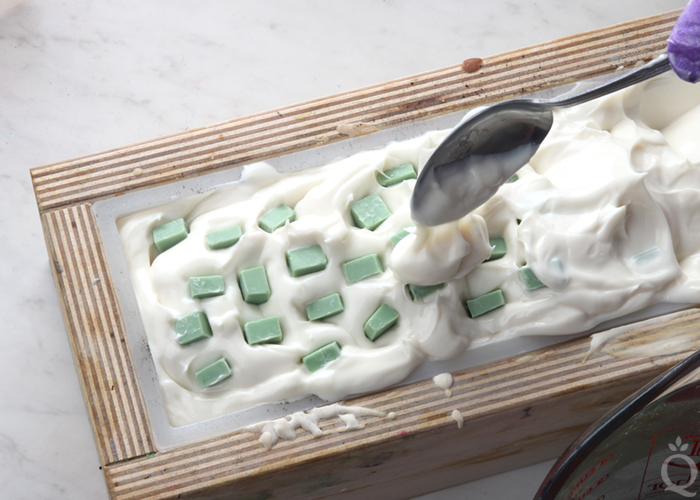
TEN: Begin placing the melt and pour embeds into the soap. We placed ours randomly, but you can concentrate the pieces on the side of the soap flowers if you’d like. Continue inserting pieces until the entire soap is filled. Use the small amount of your leftover white soap to cover the green pieces. Use a spoon to smooth the top.
ELEVEN: Transfer the yellow soap into the pink soap, and use a spoon to very gently stir them together. Don’t mix the colors together completely.
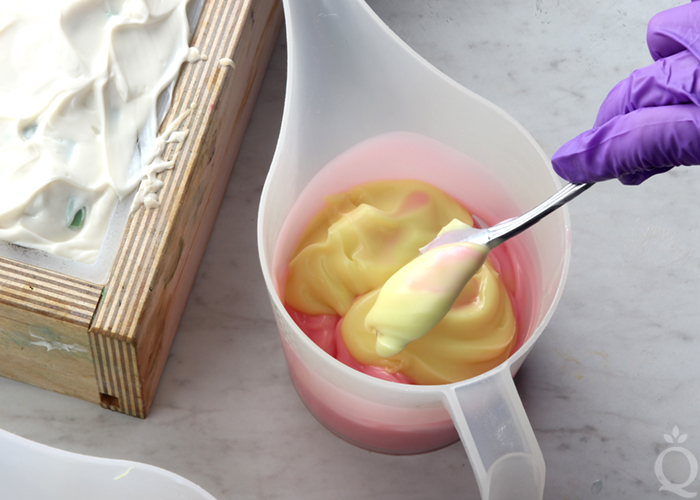
TWELVE: Cut off the tip of the disposable frosting bag and insert the frosting tip. Test the consistency of the pink and yellow soap. It should be a thick trace, and able to hold its shape. If it’s not thick enough, let the soap sit in the container for 5-10 minutes and check the consistency again. We waited about 15 minutes for the soap to thicken before piping the flowers.
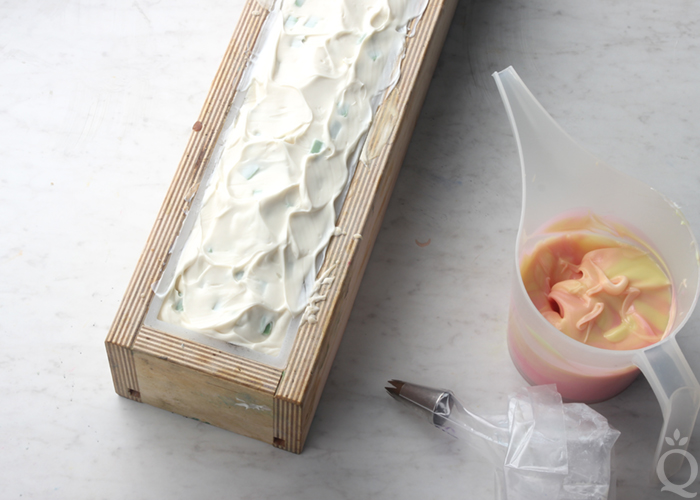
THIRTEEN: Once the soap is thick enough to pipe, transfer it into the frosting bag. Pipe little flowers down the length of the mold, concentrating them on one side. If you’d like, you can space them out, placing a flower in the center of each bar. Once you’re done piping flowers, pipe the leftover soap onto a silicone mold or onto any nonstick surface.
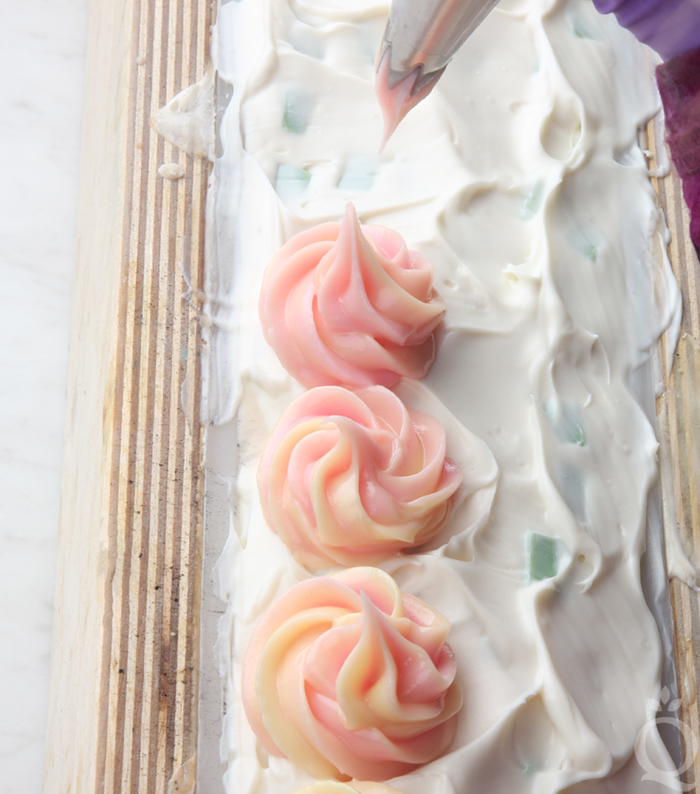
FOURTEEN: Spritz the top of the soap with 99% isopropyl alcohol to prevent soda ash. Because you don’t want the flowers or melt and pour embeds to melt, keep this soap in a cool area. Don’t cover and insulate. If you live in a hot climate, you can place the mold into the fridge for about 3-4 hours. Then remove the soap to sit and harden overnight. After about 2-3 days, unmold the soap and cut into bars. Allow to cure for 4-6 weeks. Enjoy!
- 7 oz. LCP White Melt and Pour Base
- Chrome Green Color Block
- 5 Pound Mold with Sliding Bottom
- Silicone Liner for 5 lb Wood Mold
- 65 oz. Lots of Lather Quick Mix
- 9.3 oz. Sodium Hydroxide Lye
- 19.3 oz. Distilled Water (10% water discount)
- 4 oz. Cactus Flower Fragrance Oil
- Titanium Dioxide
- Bright Blue Jean Colorant
- Fired Up Fuchsia Colorant
- Fizzy Lemonade Colorant
- Green Chrome Oxide
- 2 tsp. Activated Charcoal
- 2 tsp. Poppy Seeds
- 1M Frosting Tip
- Disposable Frosting Bag
- Powder Duster
- Chop and melt 7 ounces LCP White Melt and Pour Soap in the microwave using 15-second bursts. Add shavings of the Chrome Green Color Block to achieve a soft green color. Pour the soap into a mold of your choice. The exact shape is not super important because the soap will be chopped into small pieces. We used the 12 Cavity Rectangle Silicone Mold and filled up two cavities. Wait for the bars to cool and harden.
- Once the melt and pour has fully cooled and hardened, remove from the mold. Use a sharp, non-serrated knife to chop the soap into long, rectangle pieces. The exact size of each embed is up to you. Set pieces of soap aside until you're ready to use.
- Slowly and carefully add the lye to the water and gently stir until the lye has fully dissolved and the liquid is clear. Set aside to cool.
- Fully melt the entire bag of Lots of Lather Quick Mix until completely clear with no cloudiness. Shake the bag to mix up all the oils. Measure 65 oz. into your soaping bowl. Once the lye water and the oils have cooled to 130 degrees or below (and are ideally within 10 degrees of each other), add the lye water to the oils and stick blend until thin trace. If you’d like a harder bar of soap that releases faster from the mold, you can add sodium lactate to the cooled lye water. Use 1 teaspoon of sodium lactate per pound of oils in the recipe. For this recipe, you’d add 4 tsp. sodium lactate.
- Once you've reached a thin trace, add all the Cactus Flower Fragrance Oil to the batter. Use your stick blender to stir in the fragrance and then use short bursts to further incorporate.
- Pour 200 mL of soap into two separate containers. To one container, add ½ teaspoon dispersed Fizzy Lemonade Colorant. To the other, add ½ teaspoon dispersed Fired Up Fuchsia Colorant. Use a whisk or spoon to fully incorporate the colors. Set the soap aside.
- Pour 30 ounces of uncolored soap into a separate container. To this container, add 1 tablespoon of the dispersed Bright Blue Jean Colorant and ⅛ teaspoon dispersed Chrome Green Oxide. Use the stick blender to mix in the colorants. If the soap is still at thin trace, stick blend until you reach medium trace.
- Whisk 2 teaspoons of poppy seeds into the blue soap.
- Pour all of the blue soap into the mold. Tap the mold on the counter firmly to release air bubbles. If the soap is thick enough to hold its shape, slide a spoon down the length of the mold several times to create a wavy texture in the soap. NOTE: If the soap is not holding its shape, allow it to thicken in the mold and proceed to step nine. After mixing the white soap, return to this step to create texture and create the mica line.
- Put a few teaspoons of activated charcoal into the powder duster. Lightly dust the charcoal onto the blue soap. Apply only a light layer to the soap, or the layers may separate once cut. Set the mold aside.
- To the remaining soap, add all of the dispersed titanium dioxide. Adding the extra oil will cause the trace to thin. The soap needs to be a thick texture to support the embeds. Use the stick blender to thicken the soap, and then pour it into the mold. Save a small amount of white soap for the next step. Tap the mold firmly on the counter to help disperse any bubbles. Use the back of a small spoon to spread the soap evenly into the mold.
- Begin placing the melt and pour embeds into the soap. We placed ours randomly, but you can concentrate the pieces on the side of the soap flowers if you'd like. Continue inserting pieces until the entire soap is filled. Use the small amount of your leftover white soap to cover the green pieces. Use a spoon to smooth the top.
- Transfer the yellow soap into the pink soap, and use a spoon to very gently stir them together. Don't mix the colors together completely.
- Cut off the tip of the disposable frosting bag and insert the frosting tip. Test the consistency of the pink and yellow soap. It should be a thick trace, and able to hold its shape. If it's not thick enough, let the soap sit in the container for 5-10 minutes and check the consistency again. We waited about 15 minutes for the soap to thicken before piping the flowers.
- Once the soap is thick enough to pipe, transfer it into the frosting bag. Pipe little flowers down the length of the mold, concentrating them on one side. If you'd like, you can space them out, placing a flower in the center of each bar. Once you're done piping flowers, pipe the leftover soap onto a silicone mold or onto any nonstick surface.
- Spritz the top of the soap with 99% isopropyl alcohol to prevent soda ash. Because you don't want the flowers or melt and pour embeds to melt, keep this soap in a cool area. Don't cover and insulate. If you live in a hot climate, you can place the mold into the fridge for about 3-4 hours. Then remove the soap to sit and harden overnight. After about 2-3 days, unmold the soap and cut into bars. Allow to cure for 4-6 weeks. Enjoy!




Hello folks at Bramble Berry. I was curious, this recipe calls for 65 oz quick lather and I have all ready tons of oils. What would you suggest I use If I wanted to use my own oils? 30% Olive-30% coconut- 30% rice bran-10% canola? or would Palm kernel and Shea butter be better?
Oh and Ill sneak in one more question, can you use cured CP embeds? They might melt a bit, but wont they stay relatively intact?
Thank you for your time.
You can use whatever combination you like, the recipe you listed would work just fine. You can also recreate the Quick Mix with these percentages: https://www.soapqueen.com/bath-and-body-tutorials/tips-and-tricks/sunday-night-spotlight-quick-mixes/
You can also use cold process embeds. You’ll want to use the same recipe for the embeds and make the soap about 1-2 days after. That way they’ll cure at the same time.
Would this recipe work the same if I cut it in half ?
It would, but if you’re using the same mold the shape of the bars would be quite different, which would give you a very different look. But yes, if you would like to downsize the recipe you certainly can.
-Amanda with Bramble Berry
i see the product list but how many bars would that amount make approximately? i need to make 50-60 bars and want to know if i have to double or triple or if that is enough.
It depends on how big the bars are. This recipe weighs 6 pounds, so if your bars are 4 ounces that would be 24 bars. You can get more bars if they’re cut thinner, or make a few batches. Two batches would give you 48 bars.
-Kelsey with Bramble Berry
I have scrap pieces of soap that I am saving to chop up and use as embeds in other soaps. I know their color will last, but they also have a fragrance. I’m assuming the fragrance that is in the embed will also last in the new soap? I was hoping to somehow get rid of the fragrance in the embeds so I could use little scraps from a variety of soaps as embeds in a new soap.
There isn’t a way to get rid of the scent in the embeds, so you may notice it in your bars. It will be fairly subtle though, and you can scent the new batch to help cover that up. You can also make a few unscented loaves to use for embedding in future soap products. 🙂
-Kelsey with Bramble Berry
If I make this soap (or any other recipes on here) am I allowed to sell it or is that a copy write infringement?
You can use any of these recipes and sell products made with them. They are free to use for all our blog followers. 🙂
-Kelsey with Bramble Berry
Very cute design!
Thanks Joan, glad you like it!
-Kelsey with Bramble Berry
These are SO adorable and pretty – and the colors are just perfect, the design divine!
I don’t have this new FO and trying to figure out what scent would go well with this motif. Maybe a Mint Basil Rosemary? plus Clary Sage?
Thank you!
Oh thank you Sly, glad you like the design! Mint, basil, rosemary, and clary sage would be fantastic. This design goes well with any fresh scent. You could even add a little orange or lavender for some earthy notes.
-Kelsey with Bramble Berry
I’d love to see a MP version of this recipe!
Thanks.
We’ll definitely keep that in mind, thanks for your suggestion! You may find this post helpful as well: https://www.soapqueen.com/bath-and-body-tutorials/tips-and-tricks/re-creating-cold-process-melt-pour-soap-designs/
-Kelsey with Bramble Berry