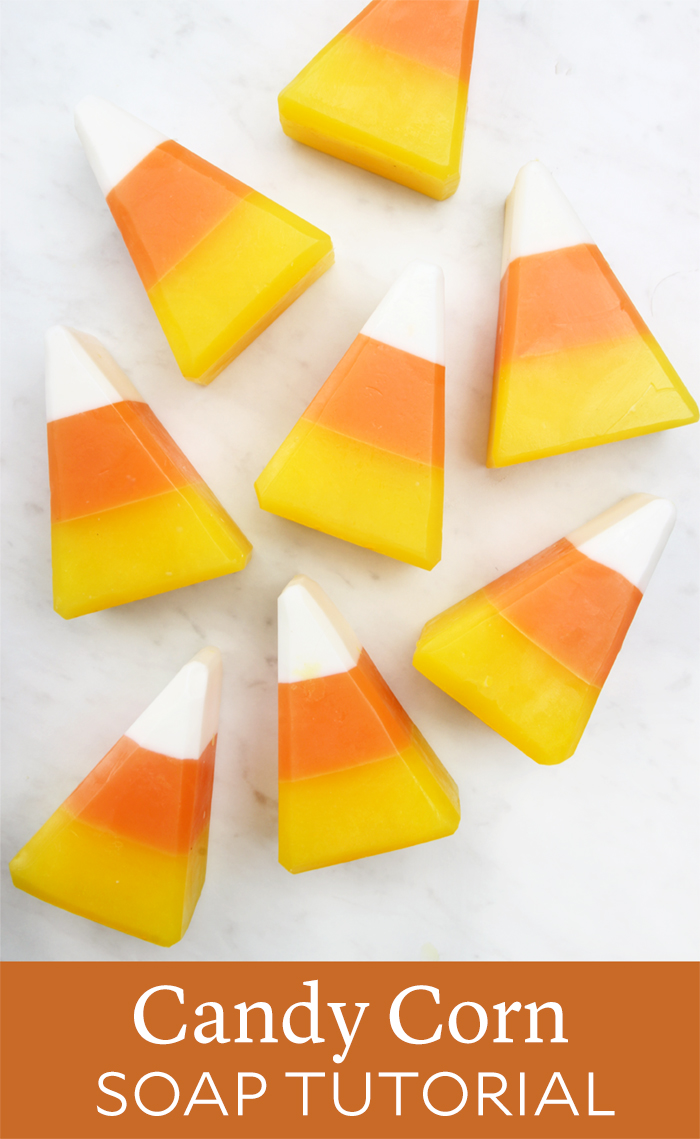
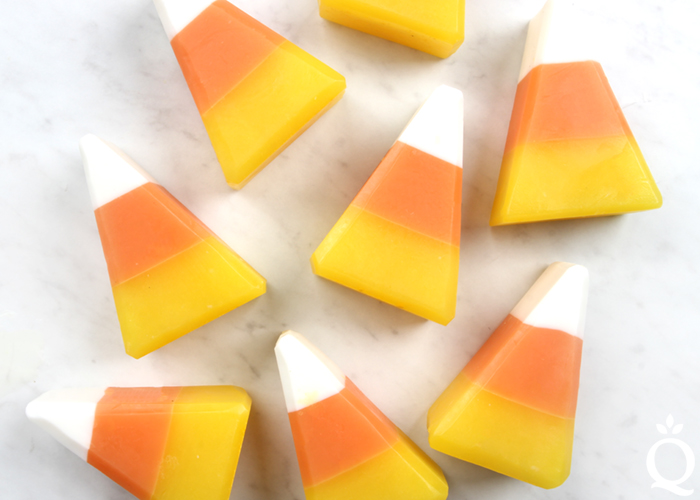
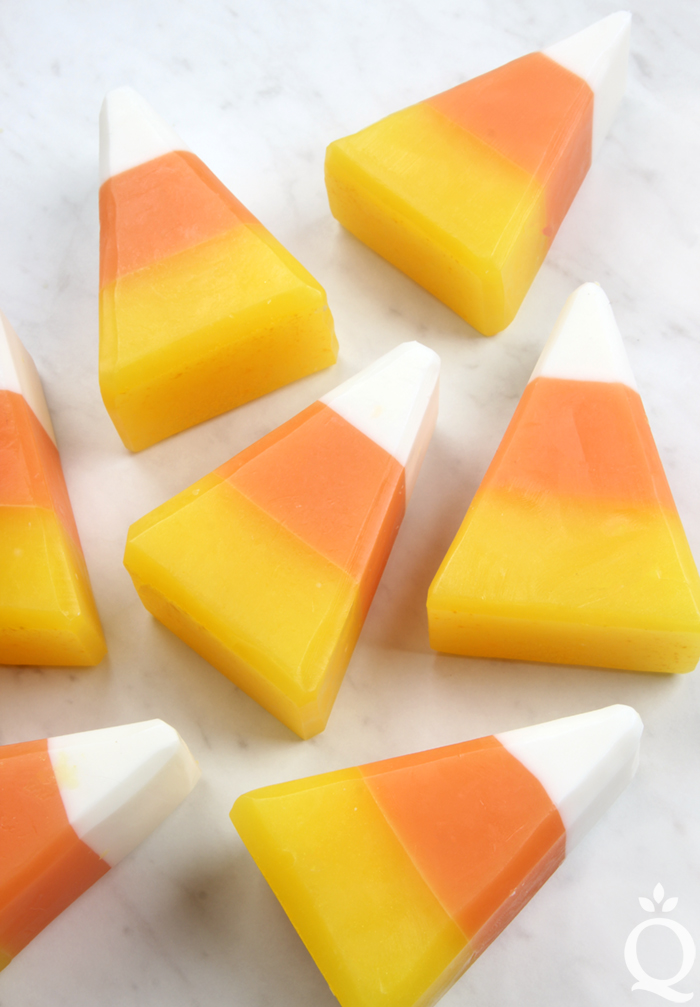
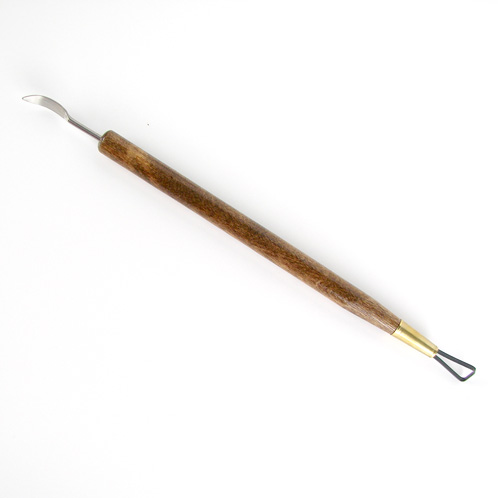
Love it or hate it, candy corn is a Halloween staple. The layers and colors of candy corn translate perfectly to melt and pour soap. Layers of yellow, orange, and white soap are poured into the Tall 12″ Silicone Loaf Mold. Then, they are cut into triangles and the edges are rounded out with the Clean Up Tool.
These Candy Corn Soaps are scented with the classic Pumpkin Spice Fragrance Oil. Just don’t forget the Vanilla Color Stabilizer, or these soaps will discolor tan. In the video you may notice the candy corns are cut upside down. They look cute either way, but cutting the soap as shown in the photos gives you the most accurate appearance.
Candy Corn Soap Tutorial
What You Need:
Tall 12″ Silicone Loaf Mold
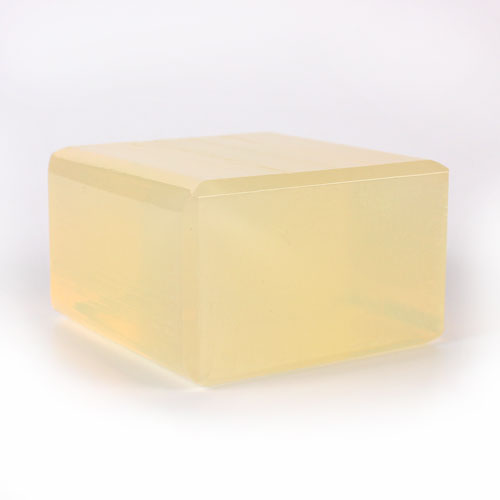
32 oz. Clear Melt & Pour Soap Base
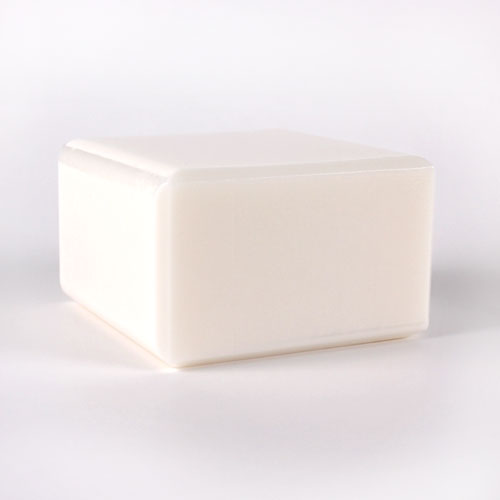
16 oz. White Melt & Pour Soap Base
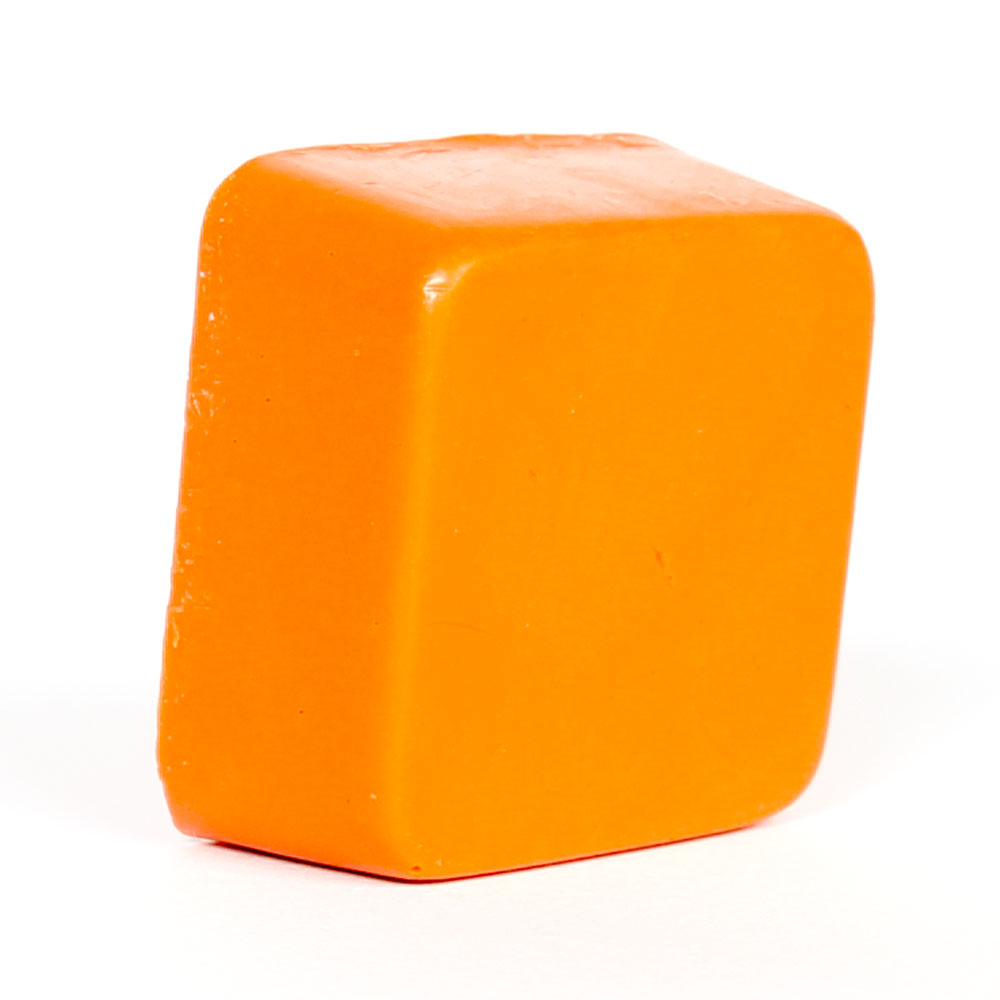
Perfect Orange Color Block
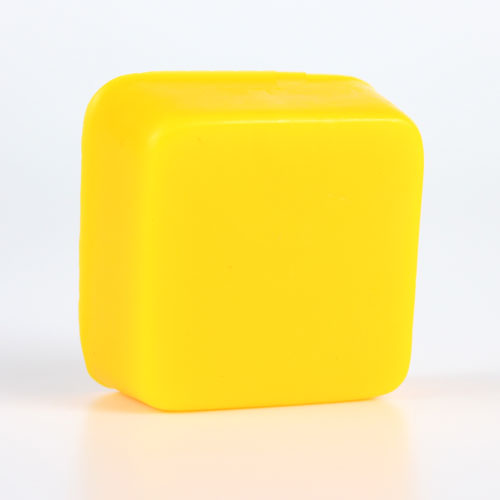
Fizzy Lemonade Color Block
0.6 oz. Pumpkin Spice Fragrance Oil
0.6 oz. Vanilla Color Stabilizer
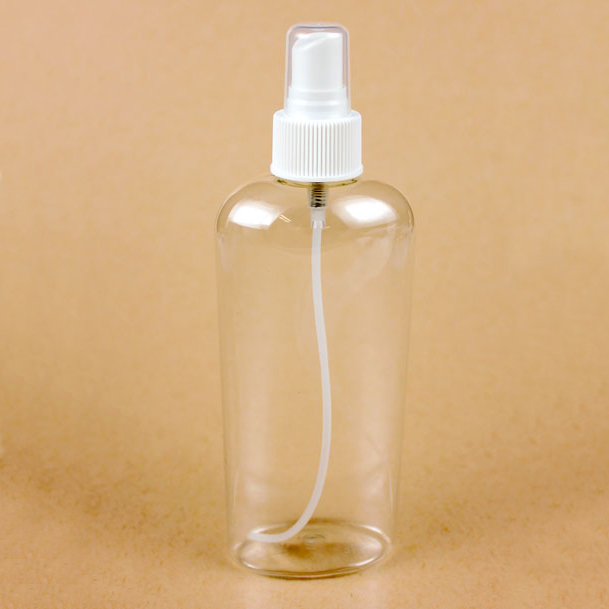
99% Isopropyl Alcohol in a Spray Bottle
Clean Up Tool
ONE: Chop 32 ounces of Clear Melt & Pour Soap Base into small uniform pieces. Then, chop 16 ounces of White Melt & Pour Soap Base into small uniform pieces. Place the following amounts of soap into three heat-safe containers.
- Container A: 16 ounces Clear Melt & Pour Soap Base + 0.5 ounces White Melt & Pour Soap Base
- Container B: 16 ounces Clear Melt & Pour Soap Base + 0.5 ounces White Melt & Pour Soap Base
- Container C: 15 ounces White Melt & Pour Soap Base
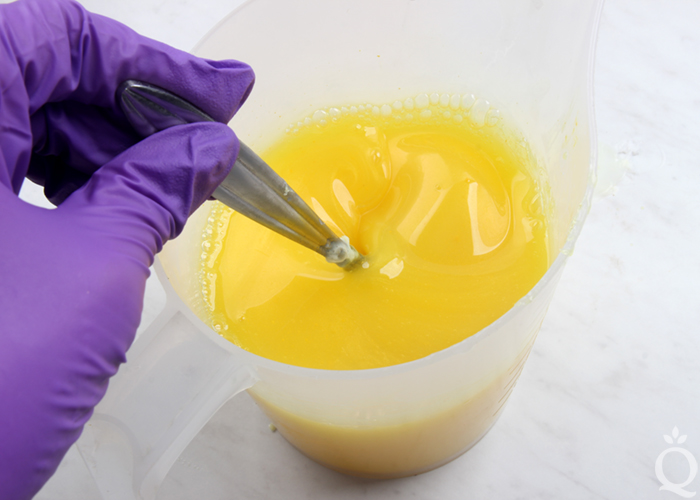
TWO: Add a small chunk of Fizzy Lemonade Color Block to container A and melt in the microwave using 30 second bursts. Between each burst, stir the soap to help it melt evenly. If you want the color darker, you can add more of the color block and stir to fully incorporate. Once melted, add 0.2 ounces of Pumpkin Spice Fragrance Oil and 0.2 ounces of Vanilla Color Stabilizer. Stir in completely and pour into the mold. Spritz with alcohol to get rid of bubbles. Allow to fully cool and harden for about 15-20 minutes.
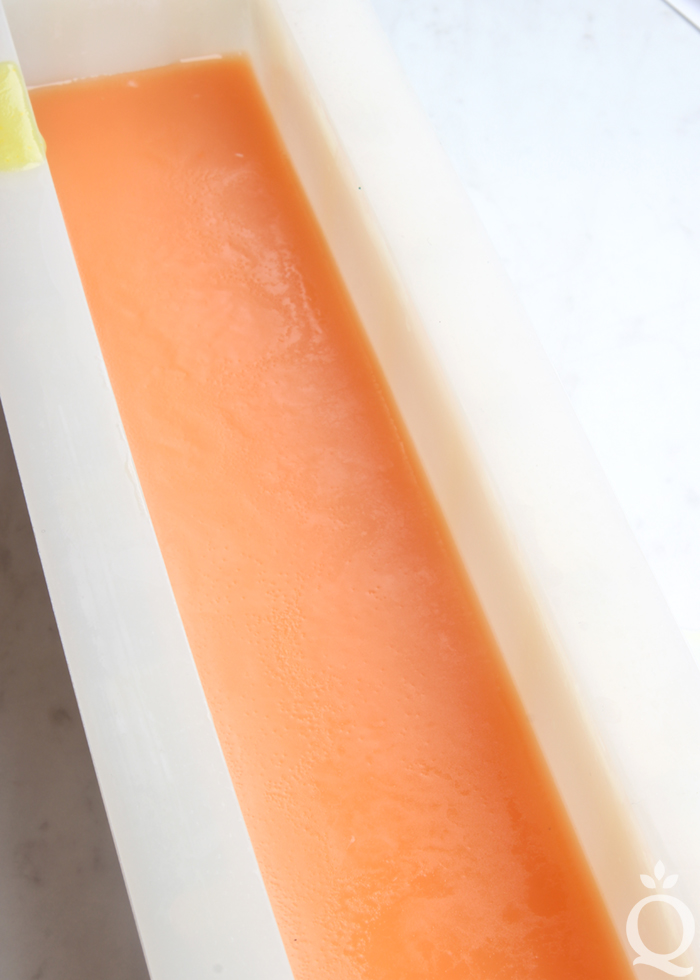
THREE: Once the yellow layer has hardened and can support a layer on top, add a chunk of Perfect Orange Color Block to container B. Melt the soap in the microwave using 30 second bursts. Between each burst, stir the soap to help it melt evenly.
FOUR: Once melted, add 0.2 ounces of Pumpkin Spice Fragrance Oil and 0.2 ounces of Vanilla Color Stabilizer to the orange soap. Stir in completely. Check the temperature of the orange soap. If it’s hotter than 130 degrees F, allow it to cool slightly to prevent melting the layer below. Once it’s the correct temperature, spritz the layer below with alcohol to help the layers stick and pour into the mold. Spritz with alcohol to get rid of bubbles. Allow to fully cool and harden for about 15-20 minutes.
FIVE: Melt the soap in container C using 30 second bursts. Once melted, add 0.2 ounces of Pumpkin Spice Fragrance Oil and 0.2 ounces of Vanilla Color Stabilizer and stir in completely. Check the temperature of the white soap. If it’s over 130 degrees F, allow it to cool slightly to prevent melting the layer below. Once it’s the correct temperature, spritz the layer below with alcohol to help the layers stick and pour the soap into the mold. Spritz with alcohol to get rid of bubbles.
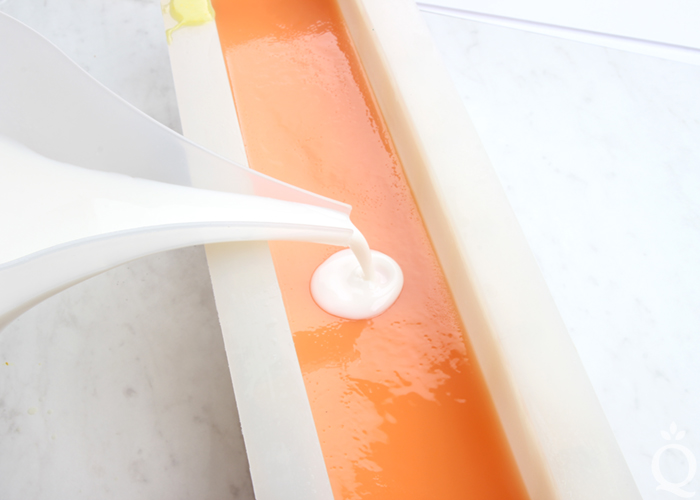
SIX: Allow the soap to fully cool and harden for at least 3 hours or up to overnight. Remove from the mold and cut into bars about 1″ thick. Then cut the bars into a triangle shapes with the white layer at the top. Repeat this process for the entire loaf.
TIP: Save all the extra soap for embeds for a future batch, or remelt all the soap together for light orange bars.
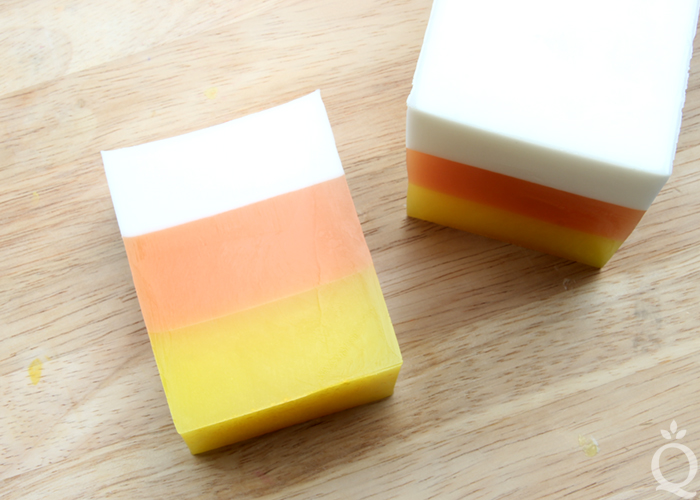
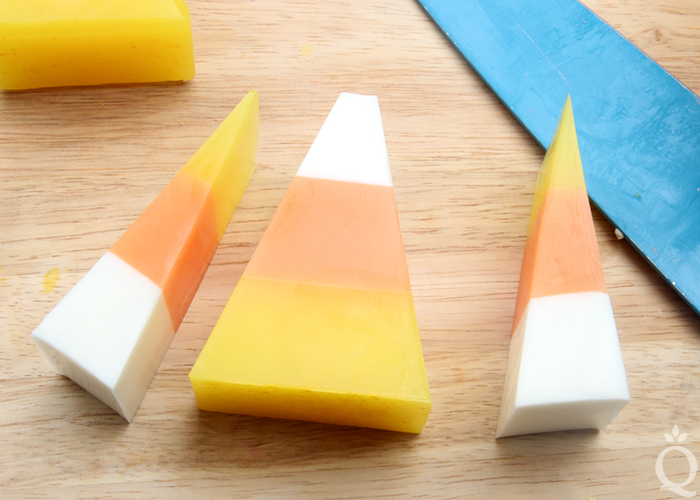
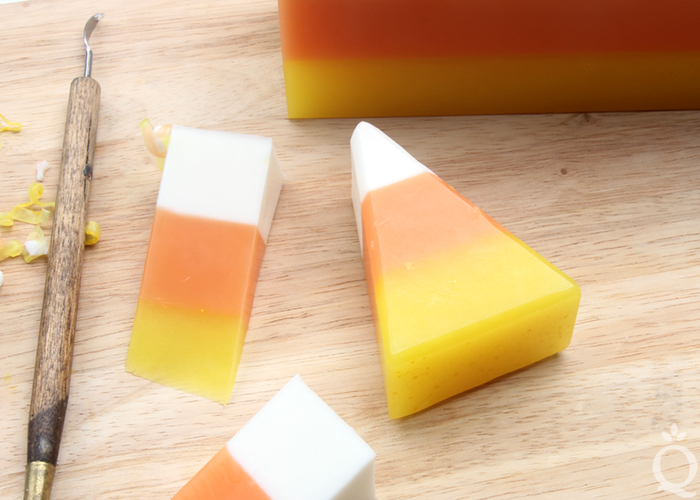
SEVEN: Use the Clean Up Tool to round out the edges of each bar until you’re happy with the look. Enjoy! Wrap them in plastic wrap to avoid glycerin dew.
- Tall 12″ Silicone Loaf Mold
- 32 oz. Clear Melt & Pour Soap Base
- 16 oz. White Melt & Pour Soap Base
- Perfect Orange Color Block
- Fizzy Lemonade Color Block
- 0.6 oz. Pumpkin Spice Fragrance Oil
- 0.6 oz. Vanilla Color Stabilizer
- 99% Isopropyl Alcohol in a Spray Bottle
- Clean Up Tool
- Chop 32 ounces of Clear Melt & Pour Soap Base into small uniform pieces. Then, chop 16 ounces of White Melt & Pour Soap Base into small uniform pieces. Place the following amounts of soap into three heat-safe containers.
Container A: 16 ounces Clear Melt & Pour Soap Base + 0.5 ounces White Melt & Pour Soap Base
Container B: 16 ounces Clear Melt & Pour Soap Base + 0.5 ounces White Melt & Pour Soap Base
Container C: 15 ounces White Melt & Pour Soap Base - Add a small chunk of Fizzy Lemonade Color Block to container A and melt in the microwave using 30 second bursts. Between each burst, stir the soap to help it melt evenly. If you want the color darker, you can add more of the color block and stir to fully incorporate. Once melted, add 0.2 ounces of Pumpkin Spice Fragrance Oil and 0.2 ounces of Vanilla Color Stabilizer. Stir in completely and pour into the mold. Spritz with alcohol to get rid of bubbles. Allow to fully cool and harden for about 15-20 minutes.
- Once the yellow layer has hardened and can support a layer on top, add a chunk of Perfect Orange Color Block to container B. Melt the soap in the microwave using 30 second bursts. Between each burst, stir the soap to help it melt evenly.
- Once melted, add 0.2 ounces of Pumpkin Spice Fragrance Oil and 0.2 ounces of Vanilla Color Stabilizer to the orange soap. Stir in completely. Check the temperature of the orange soap. If it’s hotter than 130 degrees F, allow it to cool slightly to prevent melting the layer below. Once it’s the correct temperature, spritz the layer below with alcohol to help the layers stick and pour into the mold. Spritz with alcohol to get rid of bubbles. Allow to fully cool and harden for about 15-20 minutes.
- Melt the soap in container C using 30 second bursts. Once melted, add 0.2 ounces of Pumpkin Spice Fragrance Oil and 0.2 ounces of Vanilla Color Stabilizer and stir in completely. Check the temperature of the white soap. If it’s over 130 degrees F, allow it to cool slightly to prevent melting the layer below. Once it’s the correct temperature, spritz the layer below with alcohol to help the layers stick and pour the soap into the mold. Spritz with alcohol to get rid of bubbles.
- Allow the soap to fully cool and harden for at least 3 hours or up to overnight. Remove from the mold and cut into bars about 1″ thick. Then cut the bars into a triangle shapes with the white layer at the top. Repeat this process for the entire loaf. TIP: Save all the extra soap for embeds for a future batch, or remelt all the soap together for light orange bars.
- Use the Clean Up Tool to round out the edges of each bar until you’re happy with the look. Enjoy! Wrap them in plastic wrap to avoid glycerin dew.


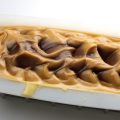


So I followed all instructions, and my yellow is not attatched to my orange. How do I fix this?
Also want to add that the melt and pour I had all went into this soap, so I have none to melt to ‘glue’ the layers together. Is there any other way?
Be sure that the colorant you’re using is a non-bleeding color. Using extra MP to glue your layers together is really helpful, and spritzing 99% isopropyl alcohol between your layers will help as well. Here are some great tips for layering MP: https://www.soapqueen.com/bath-and-body-tutorials/5-tips-layering-melt-pour/
I tried all of that: problem with using melt and pour to make a glue, is it dried before you can even piece it together. I literally clicked on the link above to purchase everything to make it, so it’s the colorant that was provided.
I’ve even tried taking apart and starting over, it still is coming apart. I thought it was good, and it was just an end piece, but when I cut a candy corn shape it completely fell apart.
What else can be done?
Layering soap can be really tricky. Usually timing is the main thing to pay attention to. It can also help to score your first layer of soap before pouring the next.
5 Tips for Layering Melt and Pour soap: https://www.soapqueen.com/bath-and-body-tutorials/5-tips-layering-melt-pour/
After the soap has been made the only real way to attach layers is using a small amount of the MP as a glue. If you don’t have any left you can try melting down the separate layers and giving it another try.
Terah how many times can I take apart and remelt the different layers beforehand it ruined it? The yellow ended up with chunks in it from redoing it.
Also, what is scoring the first layer mean?
It takes about 30 minutes for it to be solid enough to pour another layer. Should I just not have it be so solid?
If you have yellow chunks in your melt and pour it sounds like it is burnt. At that time you won’t be able to fix it by remelting it. You want there to be a thin film on top of the soap and then spray 99% alcohol until it is completely covered before you pour another layer.
Hi my name is Magda I make soap for my family for 3 years. The soap look great smell nice, but when we us it dusolves like big chung of slummy glue.
I use olive oil only.
Any idea to prewwnt it?
Castile soap is naturally soft, but there are a few things you can do to make it harder. The first is letting it cure for 6 months or so, that way it has plenty of time to harden. Learn more about Castile soap here: https://www.soapqueen.com/bramble-berry-news/olive-oil/
It also helps to store the soap in a dry area of the shower on a draining soap dish. That way it doesn’t get too wet.
This post has more on storing soap: https://www.soapqueen.com/bath-and-body-tutorials/tips-and-tricks/make-soap-last-longer-shower/
Such fabulous layers of colors!! Love it.
Thank you Preeti.
Looks great! Can’t wait to try this.
Have fun Liz.