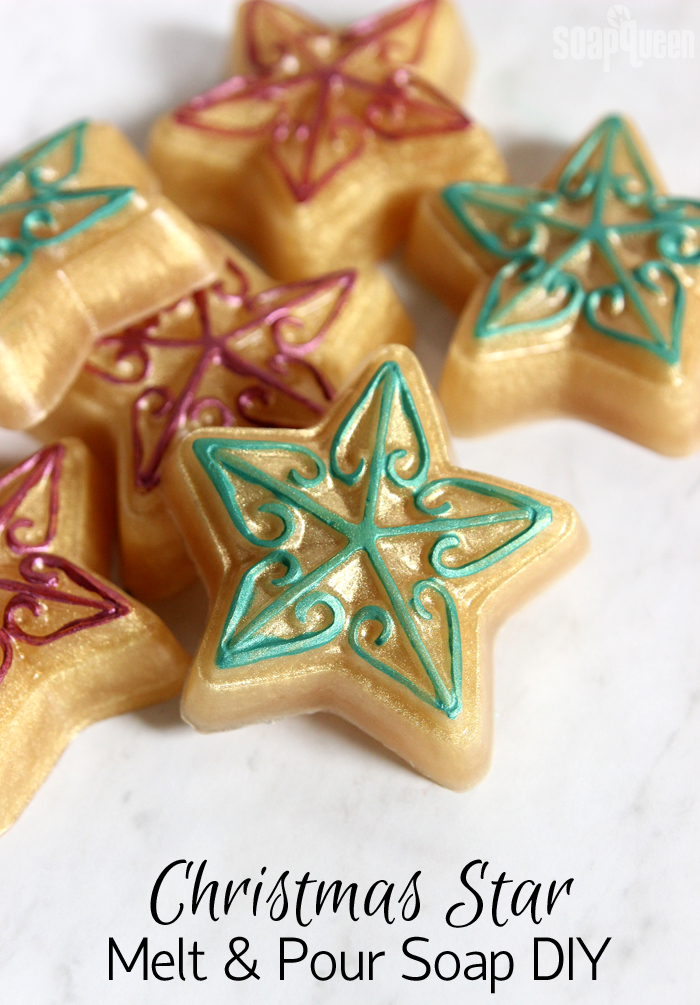
Christmas is just a few weeks away. Hard to believe, I know! If you’re making handmade gifts, melt and pour soap is a great option at this stage in the game. It only takes a few hours to harden, and is ready to use as soon as it’s fully cooled. These Christmas Star Melt and Pour Soaps are the perfect way to spread the Christmas cheer. They are also a great project for beginners.
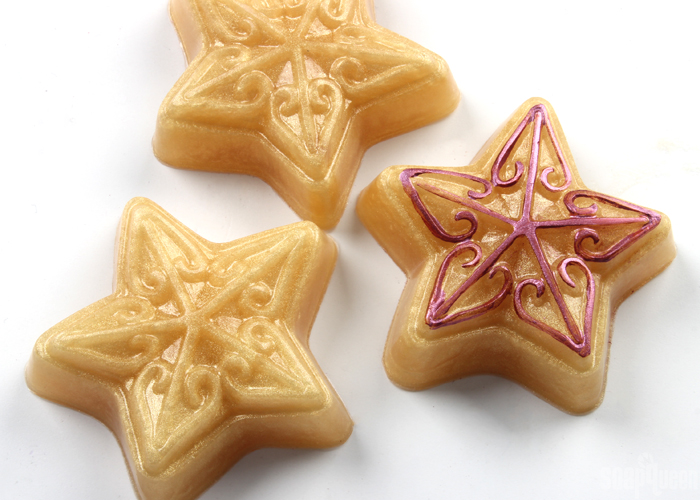
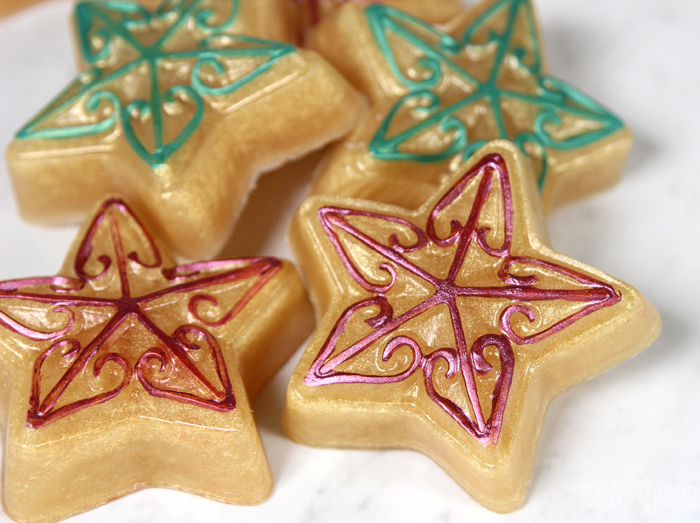
First, the soap is colored with Shimmer Gold Color Block for a sparkly gold hue. It’s scented with Sleigh Ride Fragrance Oil, one of my all-time favorite holiday scents. It does discolor brown, so don’t forget the Vanilla Color Stabilizer! Once the soap is unmolded, a mixture of mica and alcohol is painted on the star details to really make them pop. To help seal the mica, spray the soap lightly with non-scented aerosol hairspray. This creates a seal that makes the mica a little more resistant to rubbing off when handled. That being said, the mica will wash off after one to two uses. I still think it’s worth it though. =)
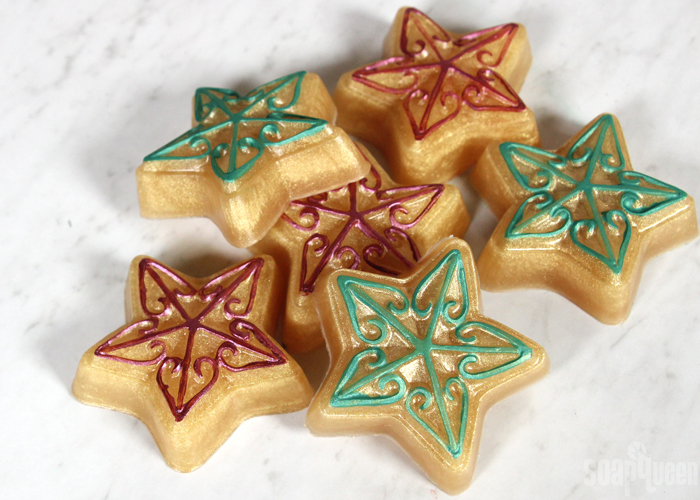
This project is perfect to make with family visiting for the holidays. The hardest part is “painting” the soap once unmolded, and even that is pretty fool-proof. Young kids would have fun adding the colorant, fragrance and stirring the soap! It would be a great project to create a new holiday tradition.
What You’ll Need:
Christmas Star Mold (two molds)
(NOTE: This mold has been discontinued. It has been substituted with the 6 Cavity Christmas Assortment Silicone Mold.)
18 oz. Clear Melt and Pour Soap Base
0.1 oz. Sleigh Ride Fragrance Oil
0.1 oz. Vanilla Color Stabilizer
Shimmer Sparkle Gold Color Block
Merlot Sparkle Mica
Shamrock Green Mica
99% Isopropyl Alcohol & Spray Bottle

Click here to add everything you need for this project to your Bramble Berry shopping cart!
ONE: Chop and melt 18 ounces of Clear Melt and Pour Soap in the microwave using 30 second bursts. Once melted, add shavings of the Shimmer Sparkle Gold Color Block and fully mix in. Continue adding color until you have a sparkly gold color.
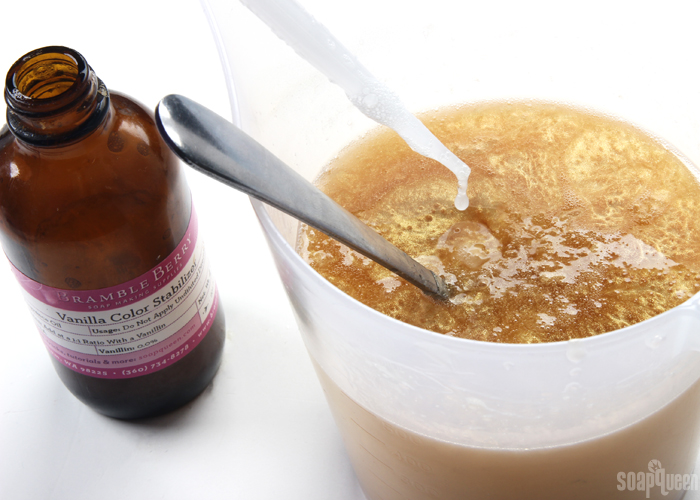
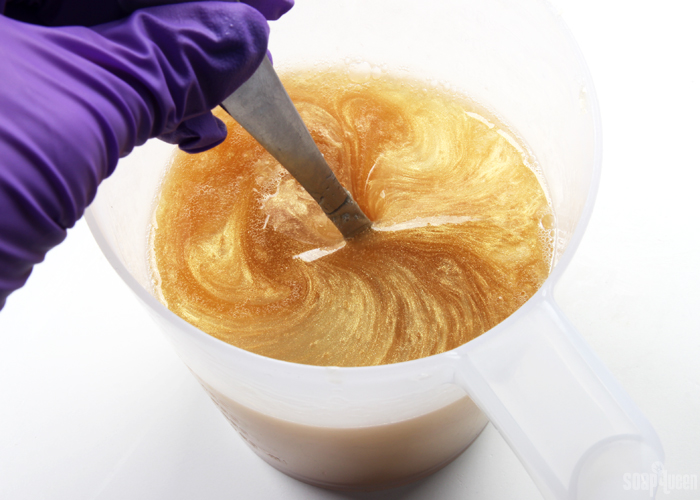 TWO: Add 0.1 ounce of Sleigh Ride Fragrance Oil and 0.1 ounce of Vanilla Color Stabilizer to the soap. Use a spoon to fully mix in.
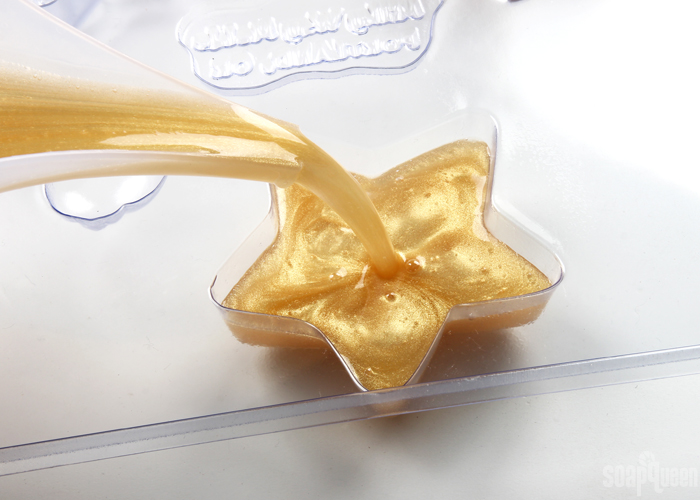
 THREE: Pour the soap into each mold cavity, and spritz with 99% isopropyl alcohol to get rid of bubbles.
(NOTE: The Christmas Star Mold has been discontinued. It has been substituted with the 6 Cavity Christmas Assortment Silicone Mold. Continue following the directions to paint the details on the soap.)
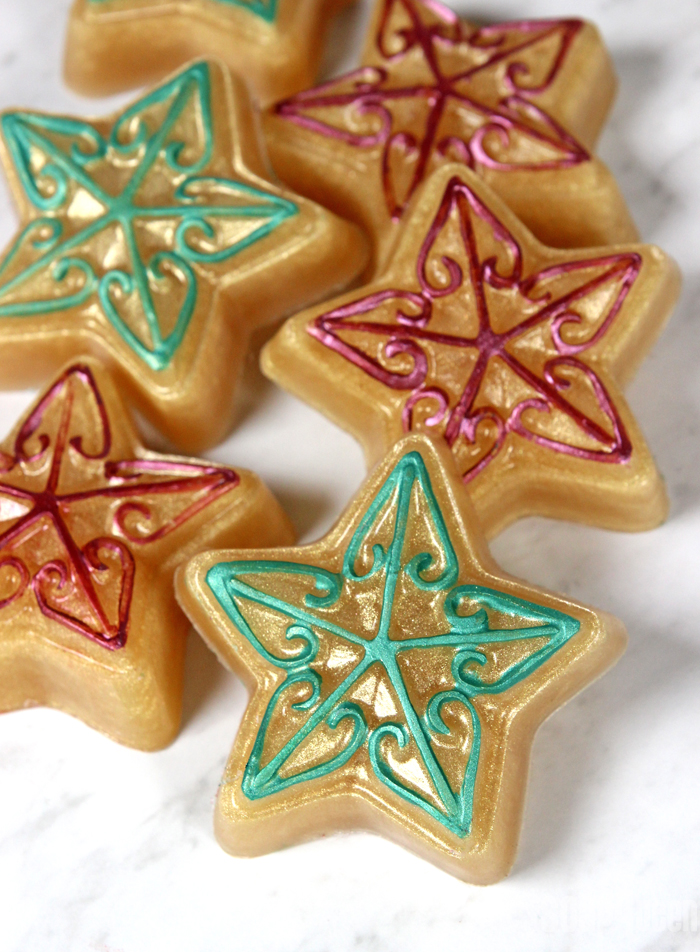
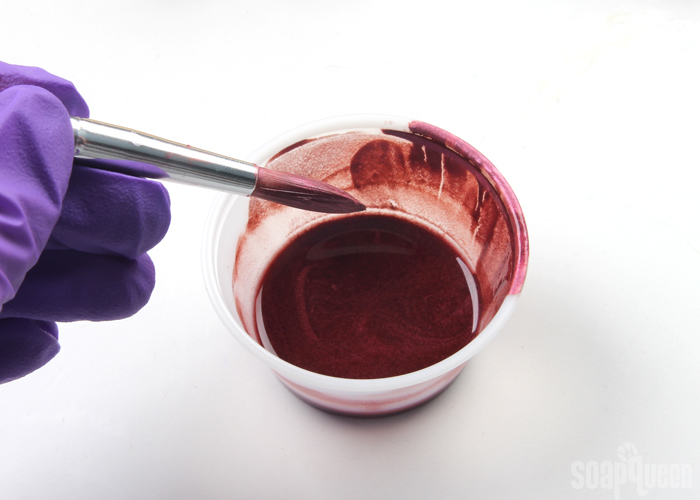
 FOUR: Once the soaps have fully cooled and hardened (about 2-3 hours) remove from the mold. In separate containers, mix together about 1/2 Tbs. rubbing alcohol with 1/2 tsp. Merlot Sparkle Mica and Shamrock Green Mica. The “paint” should be thin enough to paint, but saturated enough to leave distinct color on the soap. Add more colorant or alcohol if necessary.
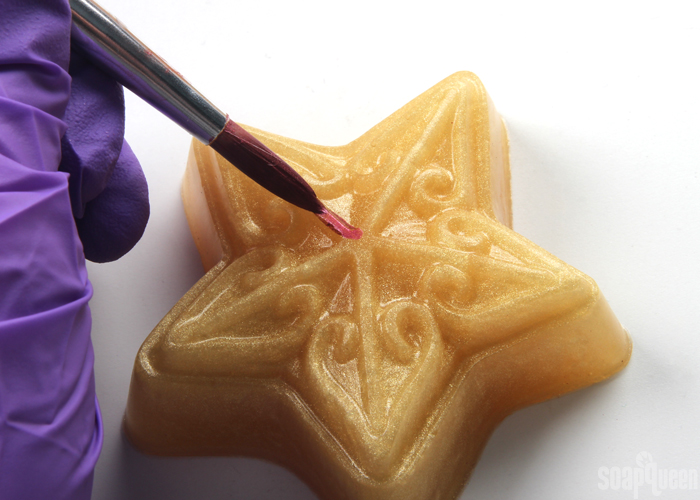
 FIVE: Use a small paint brush to paint the mica on the details. Allow to fully dry. Repeat the process with the Shamrock Green Mica. Once the mica is completely dry, spritz the top of the soap with aerosol hairspray. Just a few sprays does the trick! The hairspray helps seal the mica, making it a little more durable to the touch. It may still transfer slightly.
- 6 Cavity Christmas Assortment Silicone Mold
- 18 oz. Clear Melt and Pour Soap Base
- 0.1 oz. Sleigh Ride Fragrance Oil
- 0.1 oz. Vanilla Color Stabilizer
- Shimmer Sparkle Gold Color Block
- Merlot Sparkle Mica
- Shamrock Green Mica
- 99% Isopropyl Alcohol in Spray Bottle
- Chop and melt 18 ounces of Clear Melt and Pour Soap in the microwave using 30 second bursts. Once melted, add shavings of the Shimmer Sparkle Gold Color Block and fully mix in. Continue adding color until you have a sparkly gold color.
- Add 0.1 ounce of Sleigh Ride Fragrance Oil and 0.1 ounce of Vanilla Color Stabilizer to the soap. Use a spoon to fully mix in.
- Pour the soap into each mold cavity, and spritz with 99% isopropyl alcohol to get rid of bubbles.(NOTE: The Christmas Star Mold has been discontinued. It has been substituted with the 6 Cavity Christmas Assortment Silicone Mold. Continue following the directions to paint the details on the soap.)
- Once the soaps have fully cooled and hardened (about 2-3 hours) remove from the mold. In small separate containers, mix together about ½ Tbs. rubbing alcohol with ½ tsp. Merlot Sparkle Mica. The “paint” should be thin enough to paint, but saturated enough to leave distinct color on the soap.
- Use a small paint brush to paint the mica on the details. Allow to fully dry. Repeat the process with the Shamrock Green Mica.
- Once the mica paint has completely dried, spray the soap with unscented aerosol hairspray. Just a quick spray does the trick!




Hmm..following the directions to the letter, but ending up with soaps that stain the hands with the “paint” color. Ideas? The paint color is already so faint, but my test soaps have managed to turn our hands green and red! I’d hate to give these as gifts and stain someone’s hands or towels. Ideas?
The mica on the outside will transfer to the hands. You can spritz hairspray on the outside to help seal the color, but you will still get that transfer. After a few uses that color will wash away.
Love The Midnight Plum Melt And Pour Soaps Absolutely Love The Purple My Favorite Color❤
Mine too! Thanks for your sweet comments Clarice. 🙂
-Kelsey with Bramble Berry
Midnight Plum Melt and Pour Soaps: https://www.soapqueen.com/bath-and-body-tutorials/midnight-plum-melt-pour-soap-diy/
Beautiful Melt And Pour Christmas Stars ❤
Thanks so much!
-Kelsey with Bramble Berry
I’m just curious – should the fragrance oil be just 0.1 ounce? For 18 ounces of soap?
That is correct! The Sleigh Ride Fragrance Oil has a lower IFRA usage rate. If more than .18 oz. is used, it can cause skin irritation. You can round up to .2 oz. if you like. The good news is the bars still smell nice and strong. 🙂
-Kelsey with Bramble Berry
These are gorgeous and your “paint” recipe works perfectly. I use this all the time on my MP projects and just love the results. You are the best!
Thank you so much Linda, glad to hear the painting technique is working for you! I love the look it gives. 🙂
-Kelsey with Bramble Berry