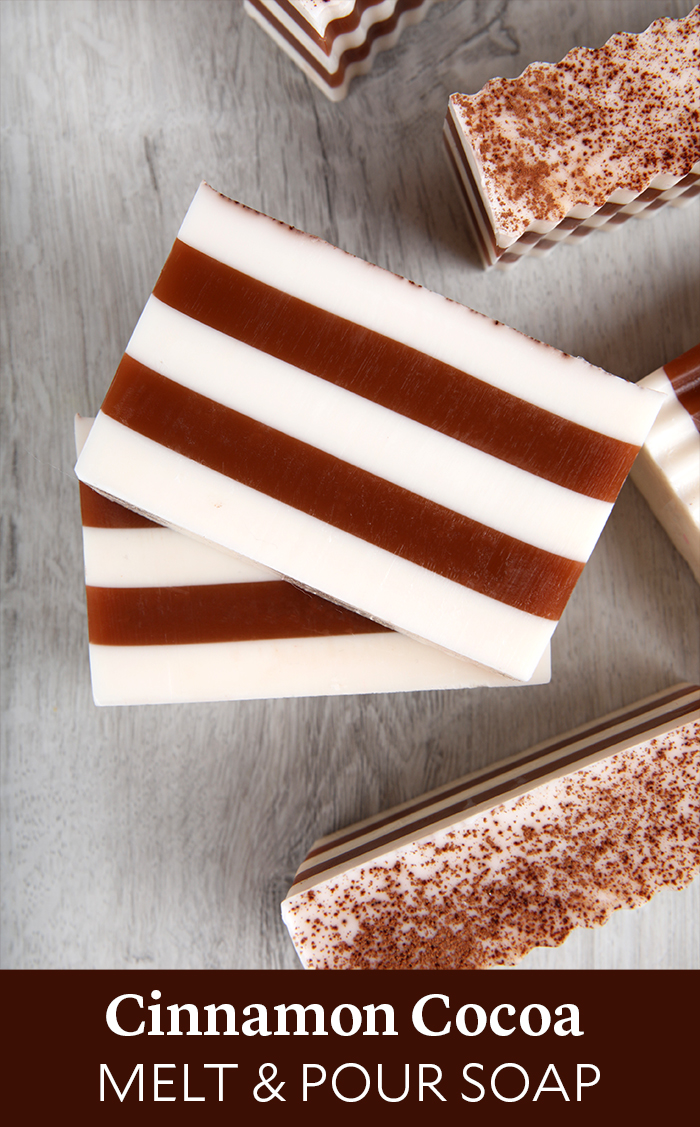
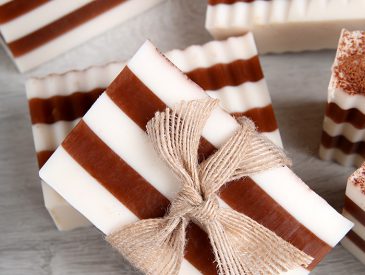
Melt and pour soap is a great option for crisp and clean layers. This Cinnamon Cocoa Soap tutorial shows you how to create a brown and white design that’s topped with a bit of cocoa powder. It’s scented with new Cinnamon Cocoa Fragrance Oil, which is an irresistible mix of nutmeg, coffee, and vanilla. Just tie a rustic ribbon around the bars and they’re ready to gift.
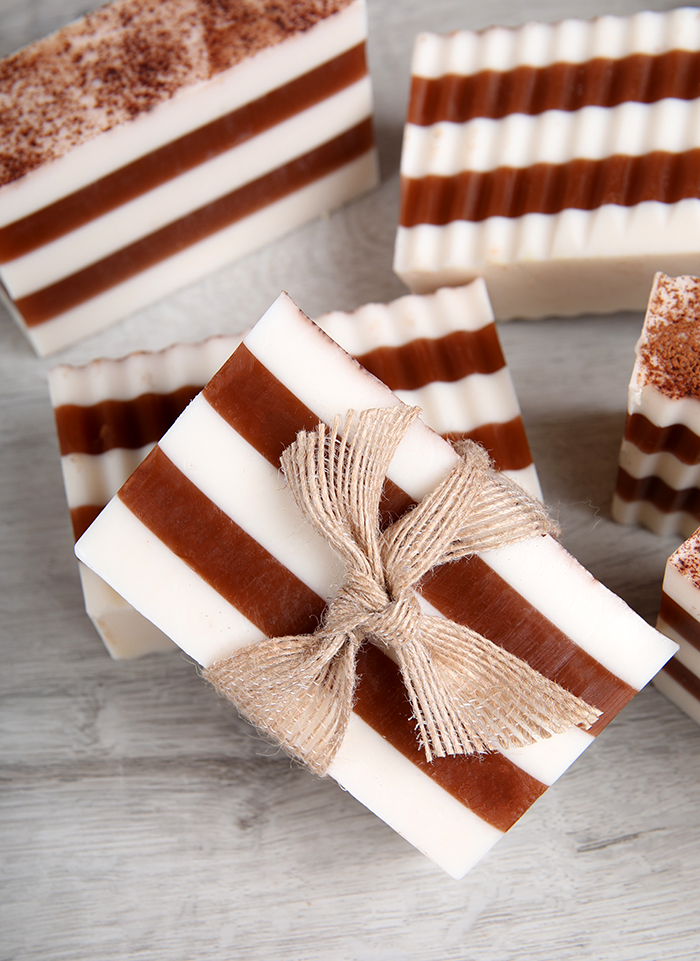
There are a few key tools and techniques to create even layers. The first is patience – it’s important to allow the soap to cool and harden enough to support the next layer. The next is paying attention to temperature – it’s crucial that the soap isn’t too hot when it’s poured or it may melt the layer below. The last is 99% isopropyl alcohol – it needs to be sprayed before each pour to help the layers adhere. We also like to spray it after pouring to get rid of bubbles.
Because of the bakery notes in the Cinnamon Cocoa Fragrance Oil, this soap will discolor without Vanilla Color Stabilizer. We added it to the white and brown soap to prevent bleeding in between the layers.
What You Need: Click below to add everything you need for this project to your Bramble Berry shopping cart!Cinnamon Cocoa Melt & Pour Soap
10″ Silicone Loaf Mold
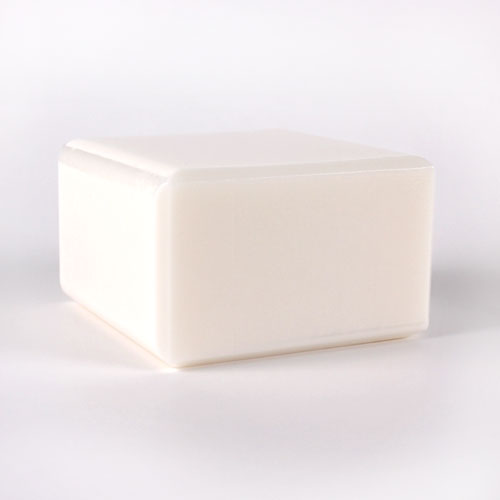
30 oz. White Melt and Pour Soap Base
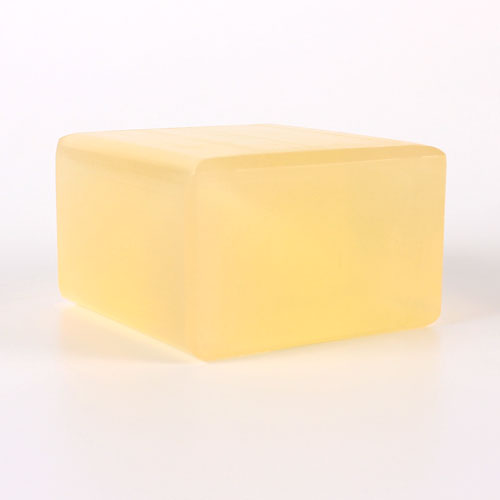
20 oz. Honey Melt and Pour Soap Base
0.8 oz. Cinnamon Cocoa Fragrance Oil
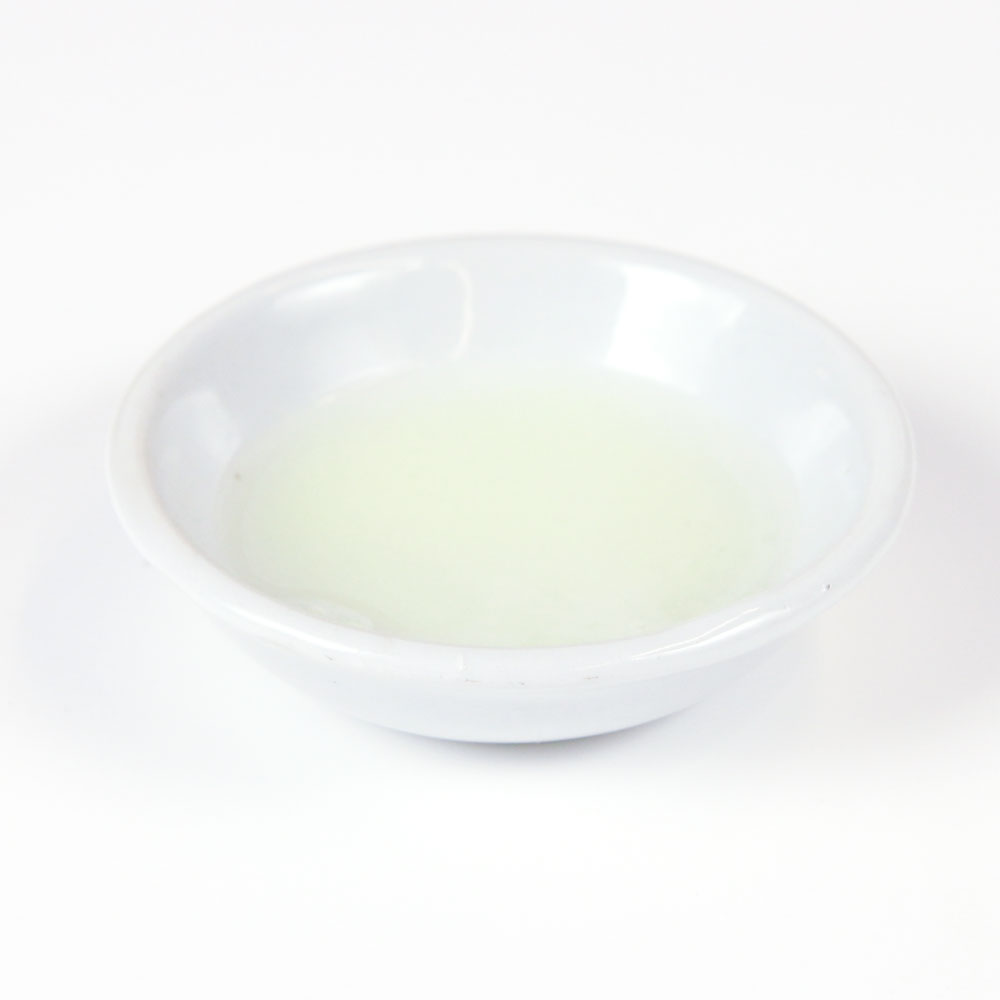
0.8 oz. Vanilla Color Stabilizer
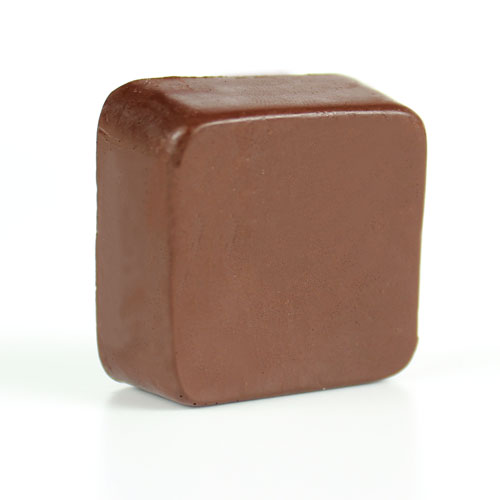
Brown Oxide Color Block
Cocoa Powder
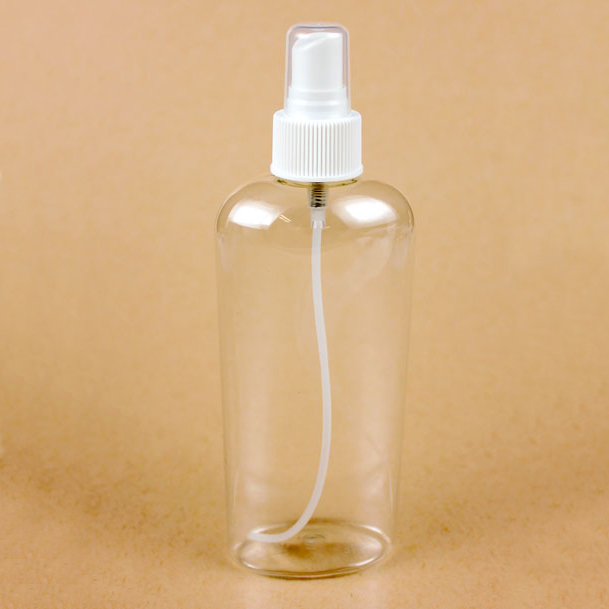
99% Isopropyl Alcohol in a Spray Bottle
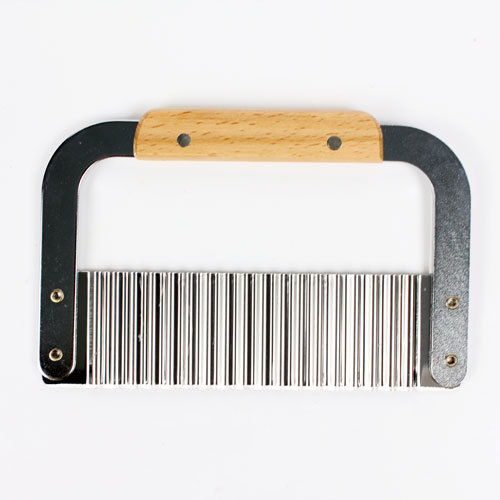
Optional: Crinkle Cutter
ONE: Chop 30 ounces of White Melt and Pour Soap Base into small uniform pieces. Place the soap into a heat-safe container. Chop 20 ounces of Honey Melt and Pour Soap Base and place into a separate heat-safe container.
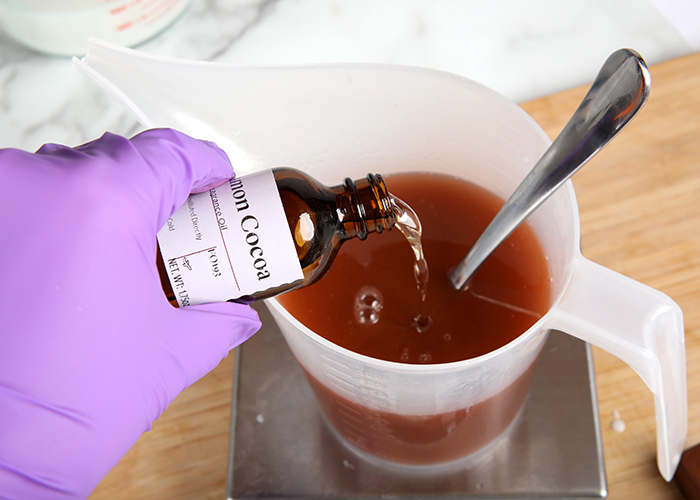
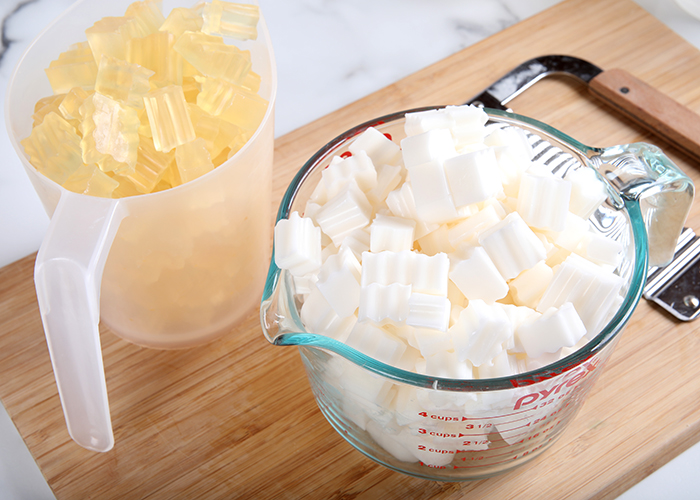 TWO: Place the container of white soap into the microwave and melt using 30-60 second bursts. Add 0.4 ounces of Cinnamon Cocoa Fragrance Oil and 0.4 ounces of Vanilla Color Stabilizer. Use a spoon to thoroughly mix in.
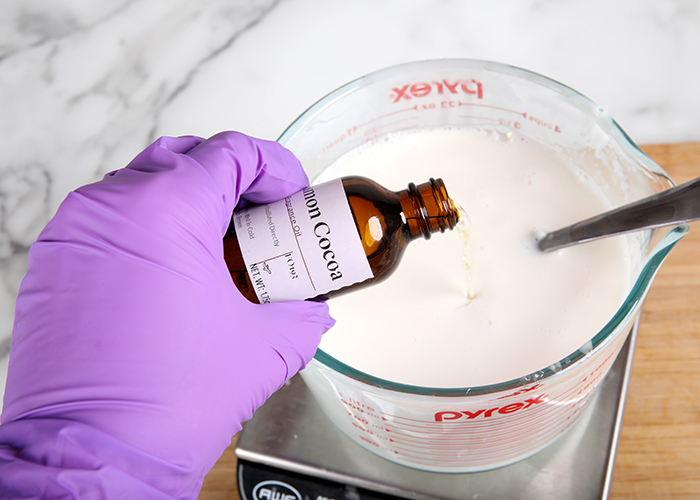
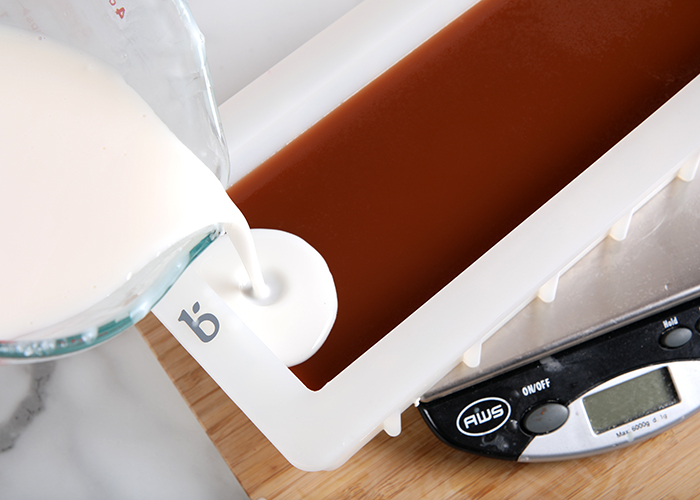
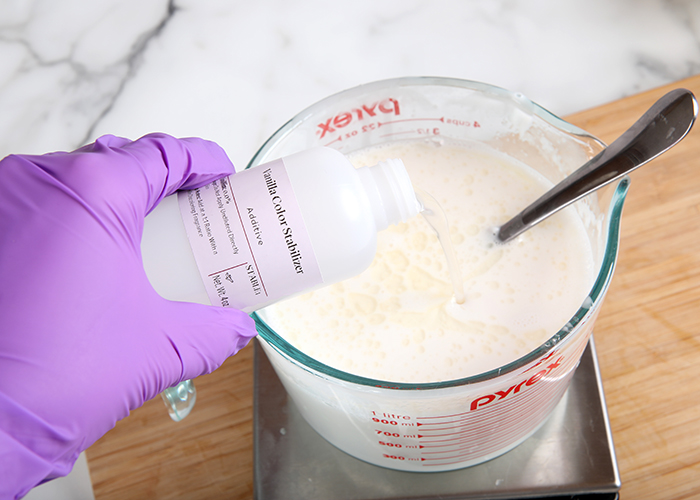 THREE: To make each layer exactly the same size, place the mold on a scale and pour 10 ounces of white soap into the mold. Spritz the soap with 99% isopropyl alcohol to get rid of bubbles. Allow the layer to harden and cool for about 20-30 minutes so it can support the next layer.
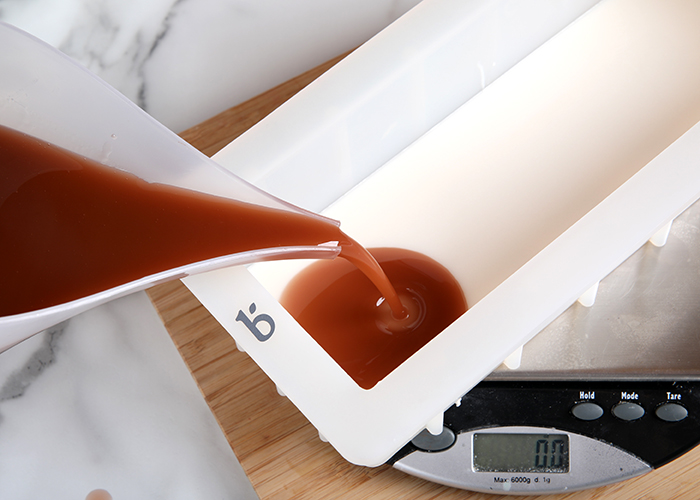
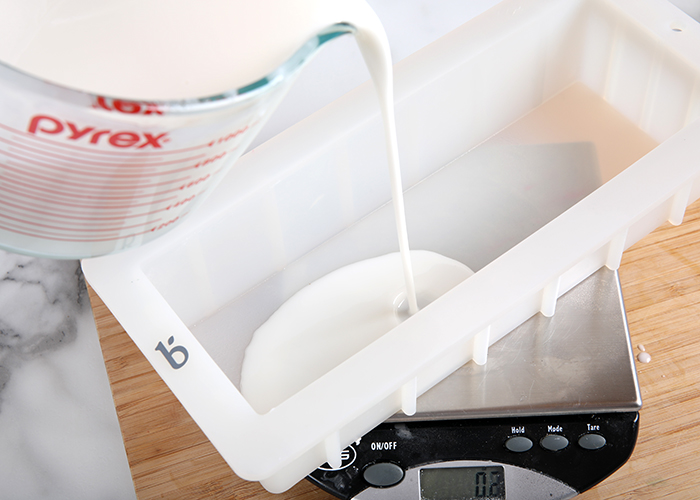 FOUR: Once the white layer has cooled and hardened, melt the 20 ounces of Honey Melt and Pour Soap Base in the microwave using 30-60 second bursts. Add chunks of the Brown Oxide Color Block to the melted soap and stir until you have a rich brown color.
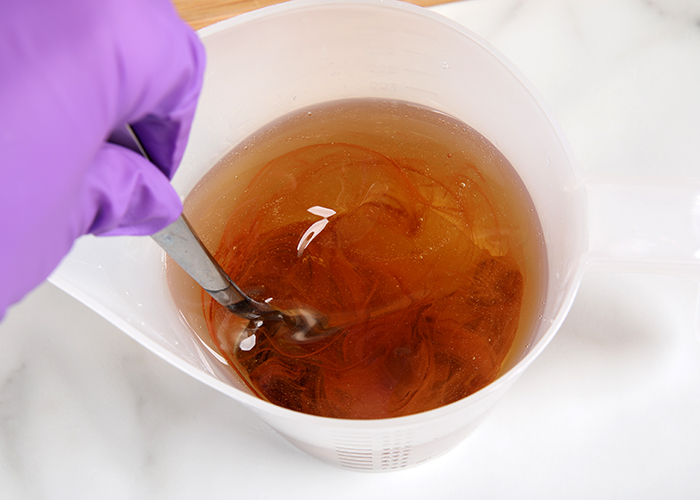 FIVE: Add 0.4 ounces of Cinnamon Cocoa Fragrance Oil and 0.4 ounces of Vanilla Color Stabilizer. Stir in thoroughly. Allow the soap to cool to 125-130° F so it doesn’t melt the soap below.
NOTE: While this soap is already brown, the Vanilla Color Stabilizer prevents the vanilla discoloration from bleeding into the white layers.
 SIX: Spritz the white layer with 99% isopropyl alcohol and place the mold onto a scale. Pour 10 ounces of the brown soap into the mold and spritz with alcohol to get rid of bubbles. Allow the soap to cool for 20-30 minutes.
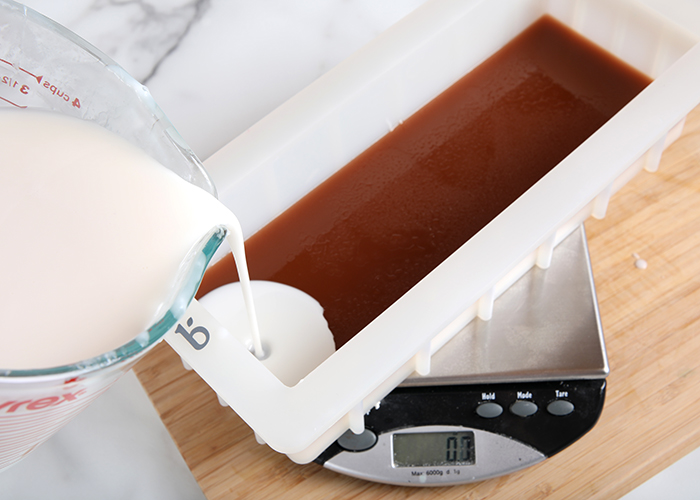
 SEVEN: Remelt the white soap using 20-30 second bursts and allow it to cool to 125-130° F. Spritz the bottom layer with 99% isopropyl alcohol and pour 10 ounces of white soap into the mold. Spritz the soap with alcohol to get rid of bubbles. Allow this layer to cool and harden for 20-30 minutes.
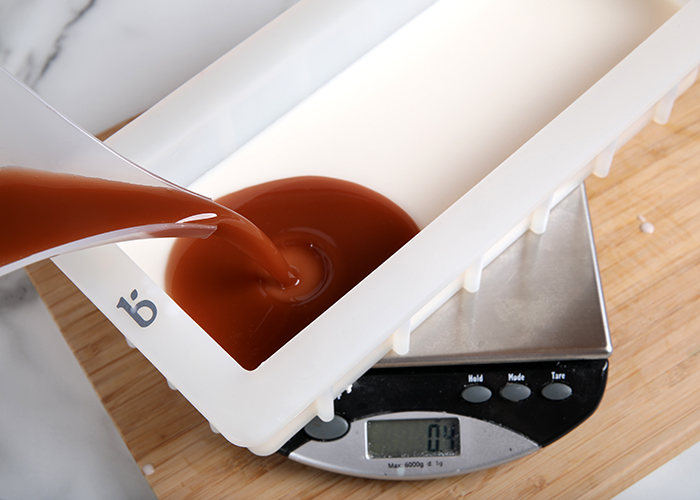
 EIGHT: Remelt the remaining brown soap using 10-20 second bursts and allow it to cool to about 125-130° F. Spritz the soap in the mold with 99% isopropyl alcohol and pour the remaining brown soap into the mold. Spritz with alcohol to get rid of bubbles and allow it to cool and harden for 20-30 minutes.
 NINE: Remelt the remaining white soap using 10-20 second bursts and allow it to cool to about 125-130° F. Spritz the soap in the mold with 99% isopropyl alcohol and pour the remaining white soap into the mold. Spritz with alcohol to get rid of bubbles.
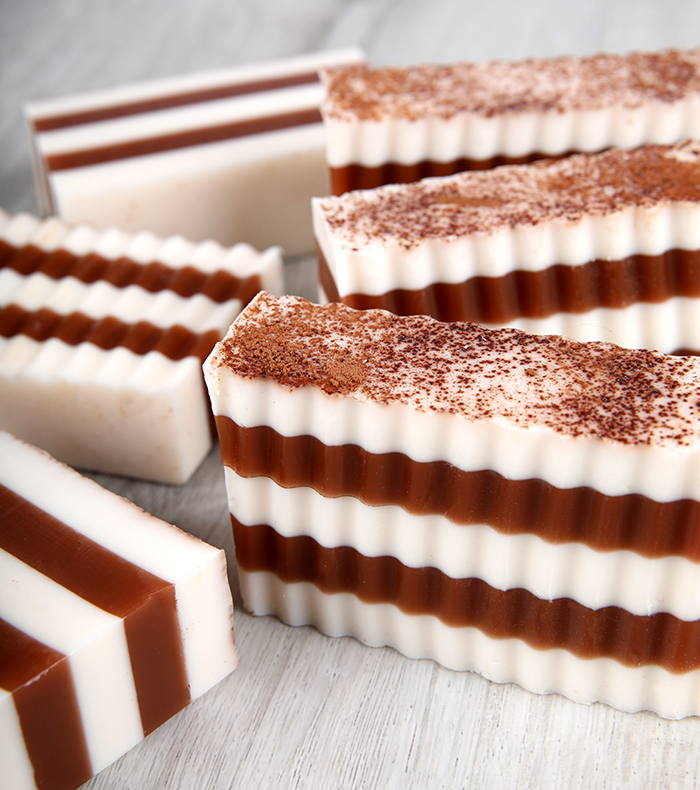
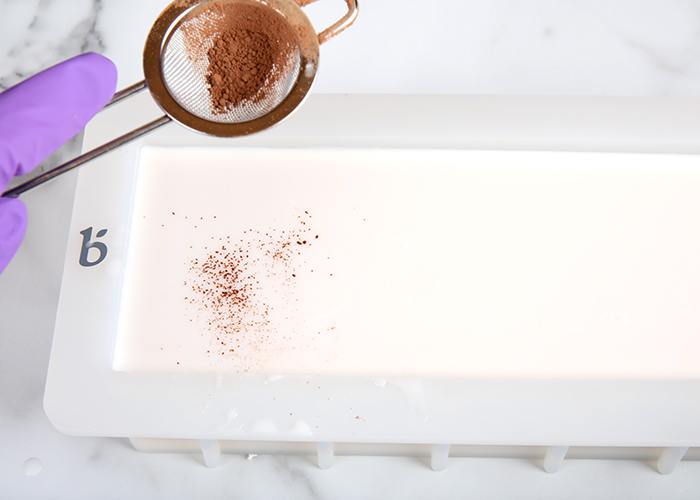
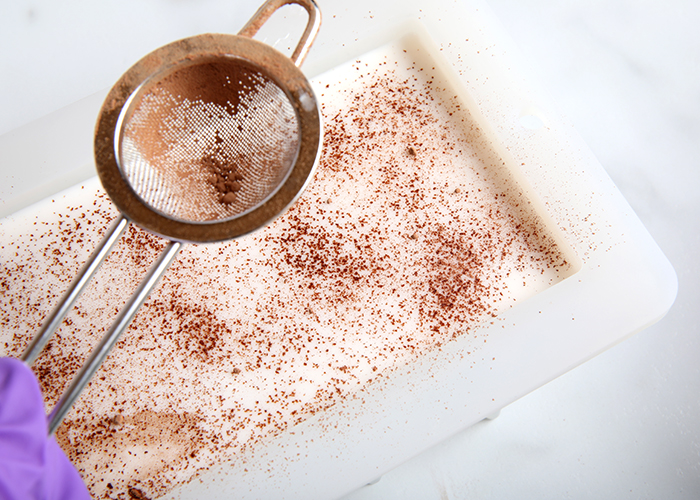
 TEN: Place a small amount of cocoa powder into a sifter – we used the Powder Duster. Gently tap the sifter to dust the top of the soap with cocoa powder. Once you’re happy with the look, allow the soap to fully cool and harden for about 4 hours or overnight.
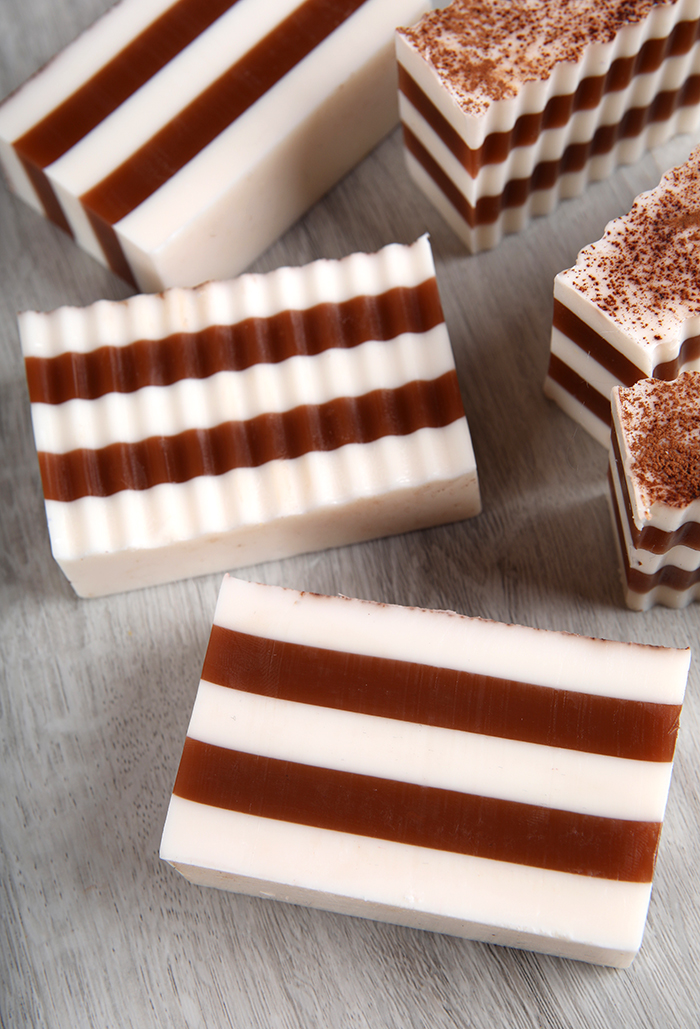
 ELEVEN: Remove the soap from the mold. Cut the soap into bars with either a non-serrated knife or a crinkle cutter. Which you use just depends on what look you prefer. The non-serrated knife shows off crisp layers, while the crinkle cutter gives extra detail. To prevent glycerin dew, wrap the soap in plastic wrap. Enjoy!
- 10″ Silicone Loaf Mold
- 30 oz. White Melt and Pour Soap Base
- 20 oz. Honey Melt and Pour Soap Base
- 0.8 oz. Cinnamon Cocoa Fragrance Oil
- 0.8 oz. Vanilla Color Stabilizer
- Brown Oxide Color Block
- Cocoa Powder
- 99% Isopropyl Alcohol in a Spray Bottle
- Optional: Crinkle Cutter
- Chop 30 ounces of White Melt and Pour Soap Base into small uniform pieces. Place the soap into a heat-safe container. Chop 20 ounces of Honey Melt and Pour Soap Base and place into a separate heat-safe container.
- Place the container of white soap into the microwave and melt using 30-60 second bursts. Add 0.4 ounces of Cinnamon Cocoa Fragrance Oil and 0.4 ounces of Vanilla Color Stabilizer. Use a spoon to thoroughly mix in.
- To make each layer exactly the same size, place the mold on a scale and pour 10 ounces of white soap into the mold. Spritz the soap with 99% isopropyl alcohol to get rid of bubbles. Allow the layer to harden and cool for about 20-30 minutes so it can support the next layer.
- Once the white layer has cooled and hardened, melt the 20 ounces of Honey Melt and Pour Soap Base in the microwave using 30-60 second bursts. Add chunks of the Brown Oxide Color Block to the melted soap and stir until you have a rich brown color.
- Add 0.4 ounces of Cinnamon Cocoa Fragrance Oil and 0.4 ounces of Vanilla Color Stabilizer. Stir in thoroughly. Allow the soap to cool to 125-130° F so it doesn’t melt the soap below. NOTE: While this soap is already brown, the Vanilla Color Stabilizer prevents the vanilla discoloration from bleeding into the white layers.
- Spritz the white layer with 99% isopropyl alcohol and place the mold onto a scale. Pour 10 ounces of the brown soap into the mold and spritz with alcohol to get rid of bubbles. Allow the soap to cool for 20-30 minutes.
- Remelt the white soap using 20-30 second bursts and allow it to cool to 125-130° F. Spritz the bottom layer with 99% isopropyl alcohol and pour 10 ounces of white soap into the mold. Spritz the soap with alcohol to get rid of bubbles. Allow this layer to cool and harden for 20-30 minutes.
- Remelt the remaining brown soap using 10-20 second bursts and allow it to cool to about 125-130° F. Spritz the soap in the mold with 99% isopropyl alcohol and pour the remaining brown soap into the mold. Spritz with alcohol to get rid of bubbles and allow it to cool and harden for 20-30 minutes.
- Remelt the remaining white soap using 10-20 second bursts and allow it to cool to about 125-130° F. Spritz the soap in the mold with 99% isopropyl alcohol and pour the remaining white soap into the mold. Spritz with alcohol to get rid of bubbles.
- Place a small amount of cocoa powder into a sifter – we used the Powder Duster. Gently tap the sifter to dust the top of the soap with cocoa powder. Once you’re happy with the look, allow the soap to fully cool and harden for about 4 hours or overnight.
- Remove the soap from the mold. Cut the soap into bars with either a non-serrated knife or a crinkle cutter. Which you use just depends on what look you prefer. The non-serrated knife shows off crisp layers, while the crinkle cutter gives extra detail. To prevent glycerin dew, wrap the soap in plastic wrap. Enjoy!



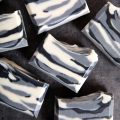

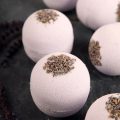
All the soaps look like a milky bar chocolate.
This was my first layered soap. I’ve had so many compliments about the smell and the way it “suds”. I absolutely love this recipe and will make it many times to come!
I am not sure why but when I poured my second layer of white the brown started rising up into the white. I let every layer sit for 20 minutes?
It depends on how hot you pour the second layer. It sounds like it was melting the bottom layer which is why you are seeing that happen.
Tried this recipe with the low sweat clear soap and shea butter soap (because that’s what I had available) and when I cut them the next day, each layer separated! It looked so great though! Hopefully I can try it again soon.
Layering melt and pour soap can be pretty tricky. To fix what you have already made you can melt a small amount of clear MP down and use it like a glue between the layers that came apart.
5 Tips for Layering Melt and Pour Soap:
https://www.soapqueen.com/bath-and-body-tutorials/5-tips-layering-melt-pour/
My soap came apart in the layers also. What would I have done wrong that it did that? I waited at least 30 minutes between the layers so there was no bleeding. Was that too long?
That was most likely too long of a time to wait between layers. Layering melt and pour soap can definitely be tricky and usually comes down to a timing issue. You want to wait until the first layer has just hardened enough to form a skin that can hold up your next layer before pouring that one.
For more tips on layering MP: https://www.soapqueen.com/bath-and-body-tutorials/5-tips-layering-melt-pour/
To fix your soap that already separated you can melt down a small amount of Clear MP and use that like a glue between layers.
Approximately how many bars do you get out of one kit?
This recipe will make 10 bars if you cut them 1″ thick.
I love the idea of this soap, however, I prefer not to use fragrance oils at all, unless they are all natural plant derived oils. Do you have alternative scenting suggestions?
Use essential oils but remember they will evaporate quickly from the soap leaving it dull and unattractive. I tried it myself.
You can use any essential oils for this recipe you’d like. I think the Cinnamon leaf EO or Massage EO Blend would be nice.
Cinnamon Leaf EO: https://www.brambleberry.com/Cinnamon-Leaf-Essential-Oil-P3641.aspx
Massage EO Blend: https://www.brambleberry.com/Massage-Essential-Oil-Blend-P6781.aspx
Hi..
I live in India and wanted to try soap making but I am unable to find the above ingredients.
Please help.
You can find all of the ingredients to make this at http://www.brambleberry.com