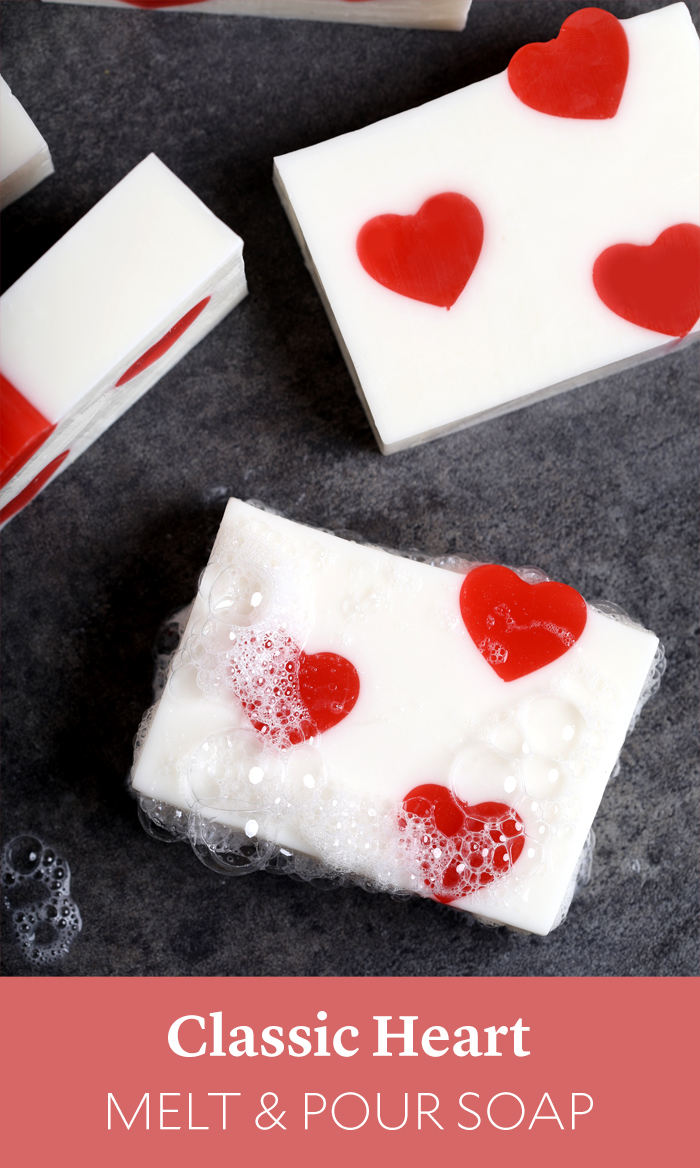
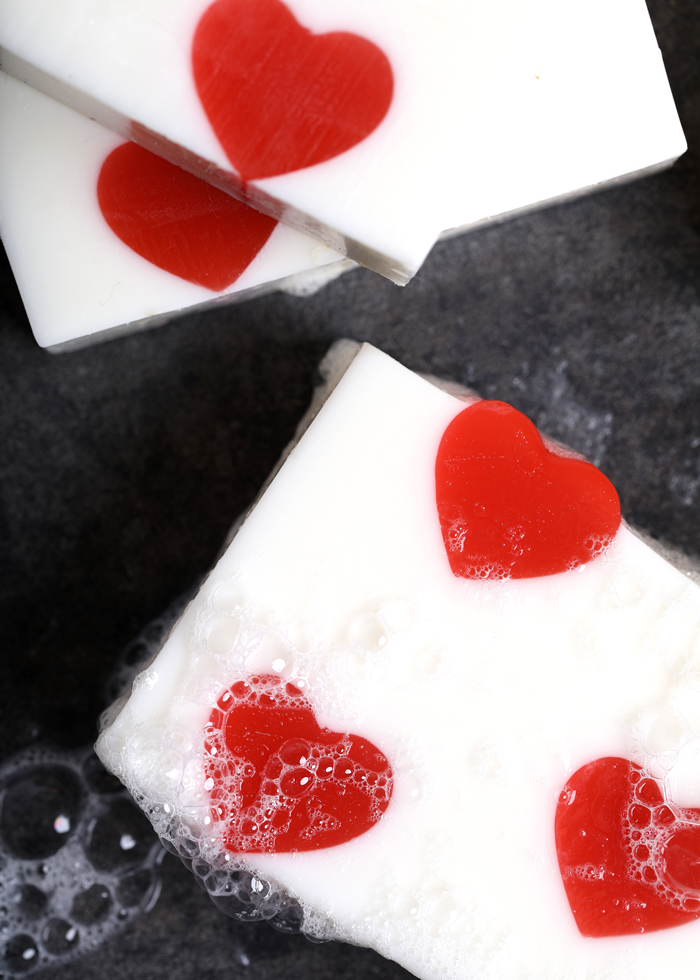
Valentine’s Day is exactly one month away. These Classic Heart Melt & Pour Soaps are the perfect way to spread love to the special people in your life. They’re ready in just a few hours, and one batch makes about 8-10 bars.
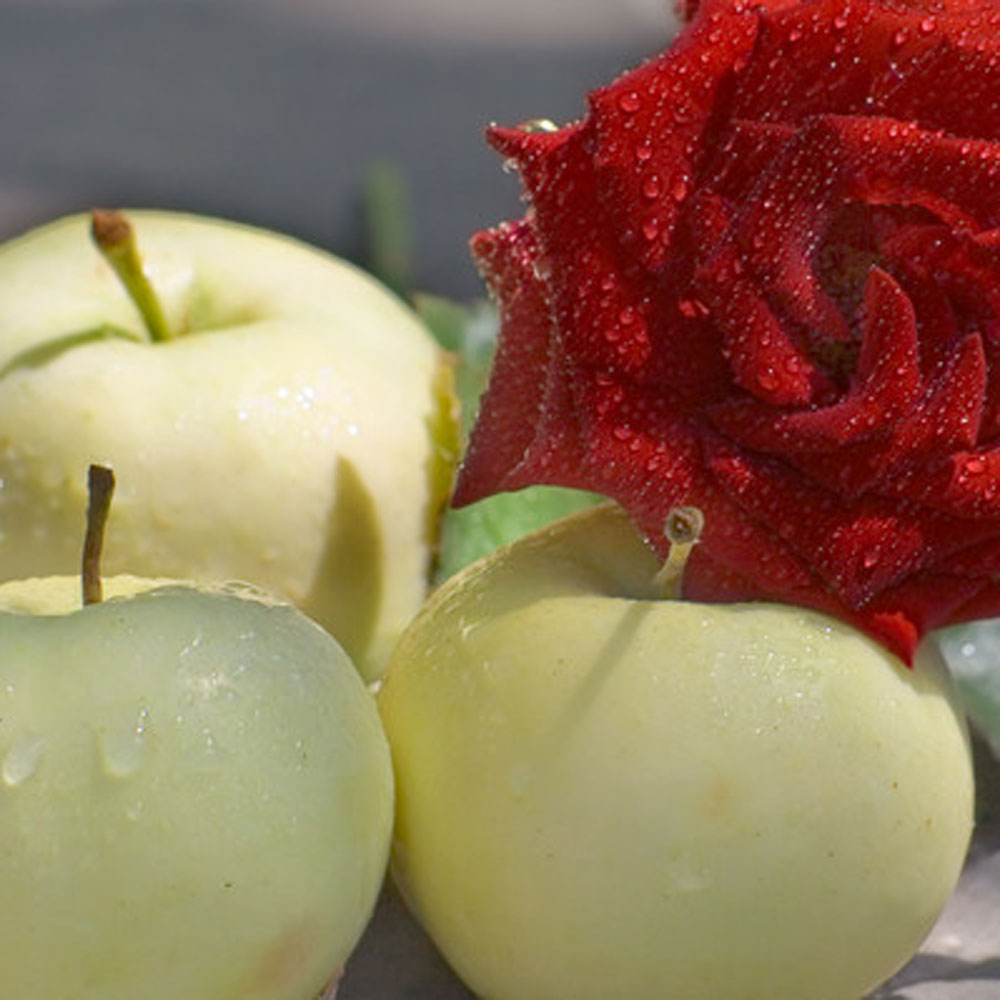
They’re scented with Crisp Apple Rose Fragrance Oil. It’s one of our top-rated scents with more than 40 reviews and 5 stars.
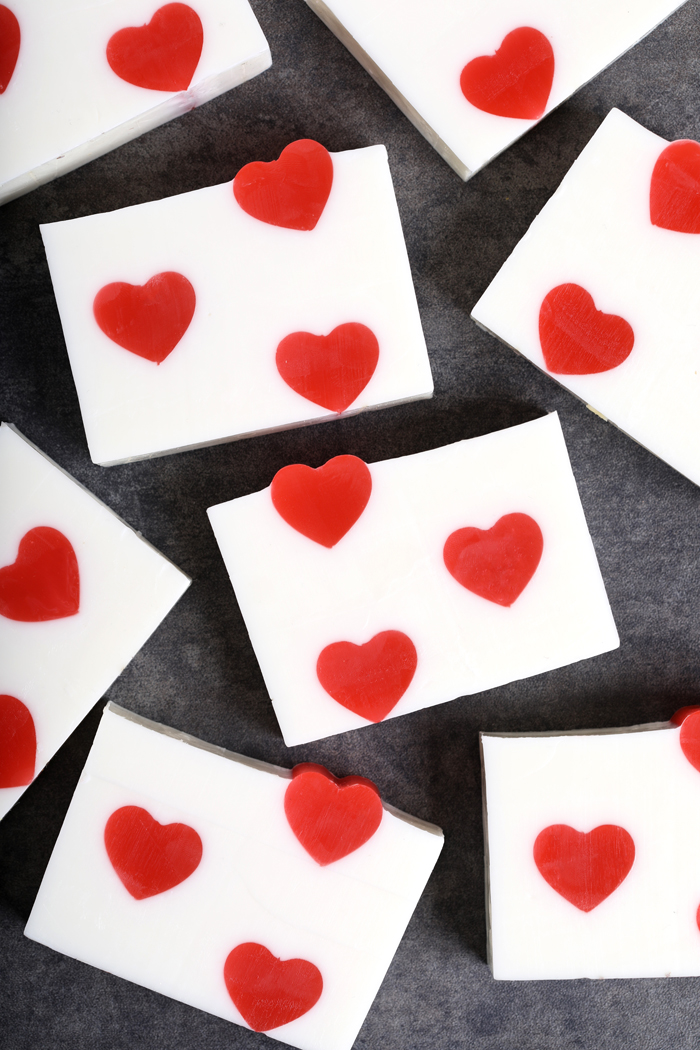
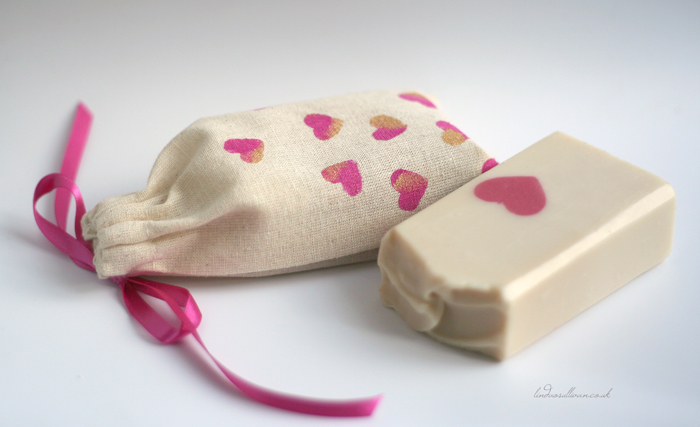
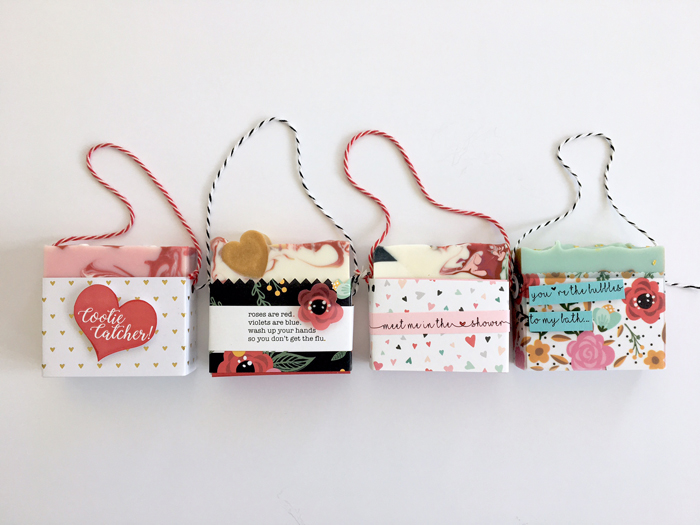
Once you’re ready to gift these bars, check out the tutorials below from Tania of Soapish and Linda O’Sullivan. Both came up with adorable packaging options that make your gift feel truly special.
How to Make Stenciled Muslin Bags with Linda O’Sullivan
How to Make Hangable Valentine Soap Packaging with Tania of Soapish
Click below to add everything you need for this project to your Bramble Berry shopping cart!Classic Heart Melt & Pour Soap
What You Need:
10″ Silicone Loaf Mold
Mini Heart Silicone Column Mold
48 oz. Goat Milk Melt & Pour Soap Base
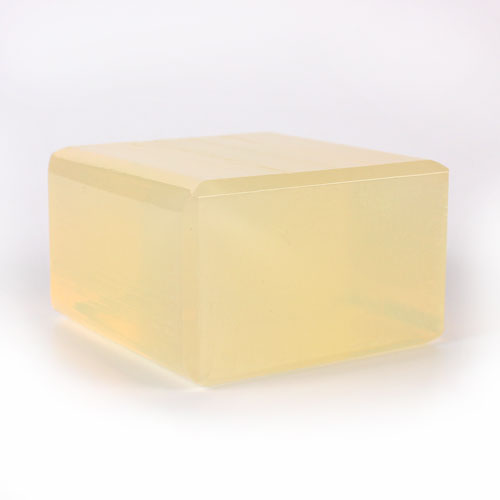
15 oz. Clear Melt & Pour Soap Base
Perfect Red Color Block
1.3 oz. Crisp Apple Rose Fragrance Oil
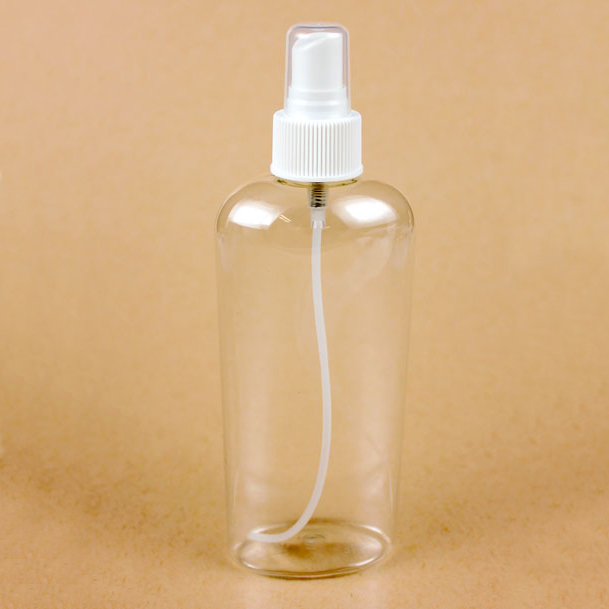
99% Isopropyl Alcohol in a Spray Bottle
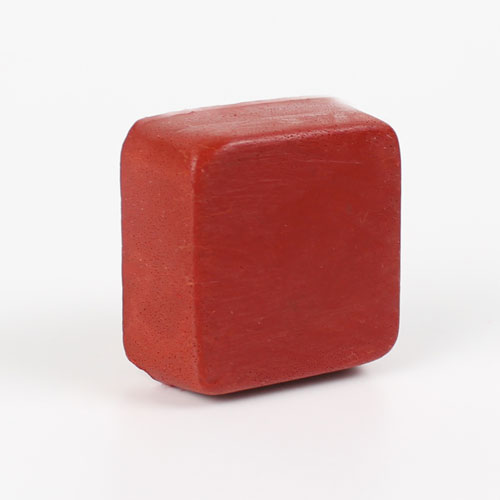
ONE: Chop 15 ounces of Clear Melt and Pour Soap Base into small, uniform pieces. Place them in a small heat-safe container along with a chunk of the Perfect Red Color Block. Melt in the microwave using 15 second bursts. Once melted, stir thoroughly to mix in the color. If the color isn’t saturated enough, add more small chunks of the Perfect Red Color Block.
TWO: Place the Mini Heart Column Mold into a tall container to keep it upright. Pour the soap into the mold until filled, and set the rest of the red soap aside. Allow the soap in the mold to fully cool and harden. Remove the soap from the mold and trim off any imperfections. Cut the embed to a length that will fit inside the 10″ Silicone Loaf Mold.
TIP: You can place the soap in the fridge to help speed up the cooling process. If you live in a humid area, this can increase the chance of glycerin dew.
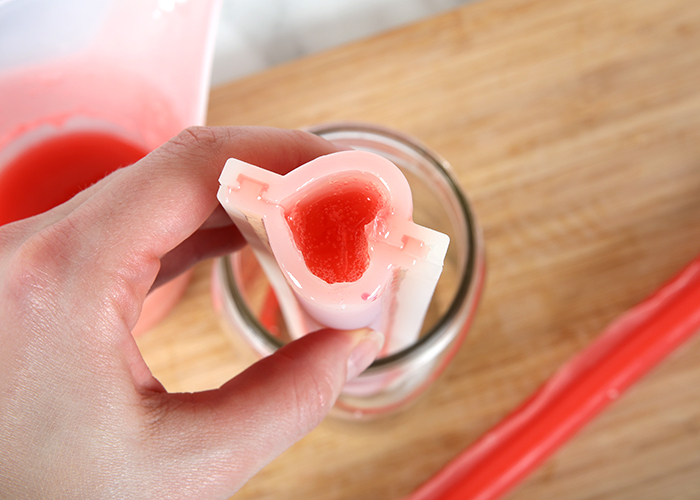
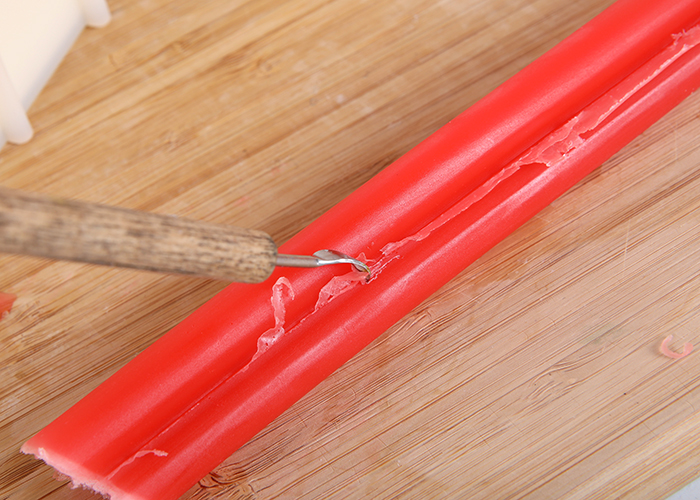
THREE: Remelt the red soap using 10 second bursts. Pour more of the soap into the Mini Heart Column Mold. Allow to fully cool and harden. Remove from the mold, trim any imperfections, and cut to a size that will fit inside the 10″ Silicone Loaf Mold.
FOUR: Remelt the red soap using 10 second bursts. Pour the remaining red soap into the Mini Heart Column Mold and allow to harden. Unmold, trim any imperfections, and cut to a size that will fit inside the 10″ Silicone Loaf Mold. You now have 3 heart embeds – set them aside.
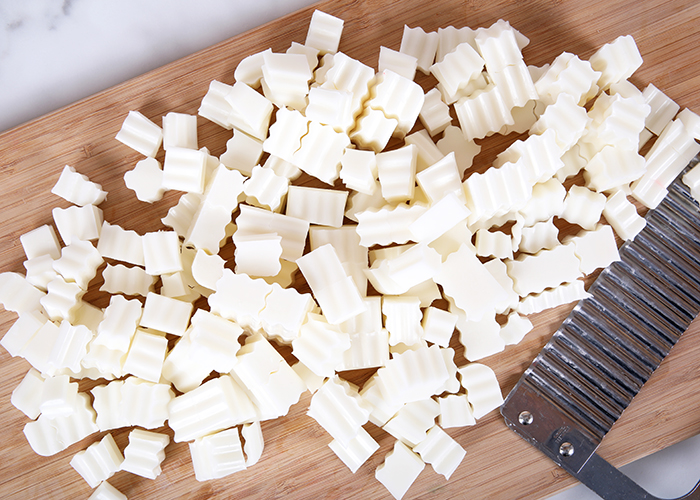
FIVE: Chop 48 ounces of Goat Milk Melt and Pour Soap into small, uniform pieces. Place them in a large heat-safe bowl and melt in the microwave using 30-60 second bursts.
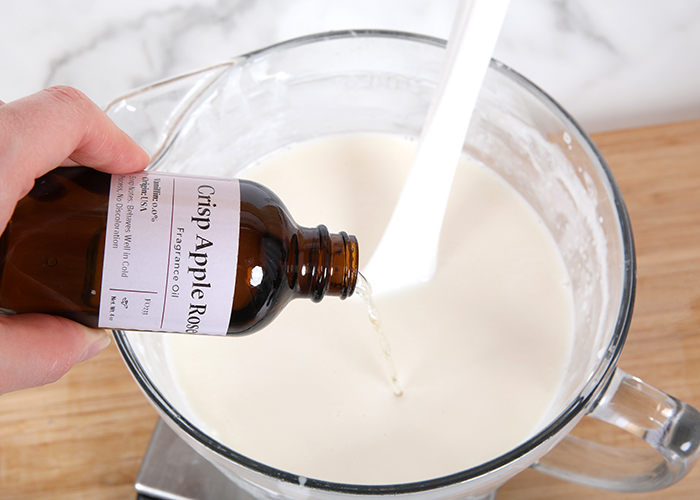
SIX: Add 1.3 ounces of Crisp Apple Rose Fragrance Oil. Stir to thoroughly combine. Allow the soap to cool to about 130°F – if the soap is too hot for the following steps, it can melt the heart embed.
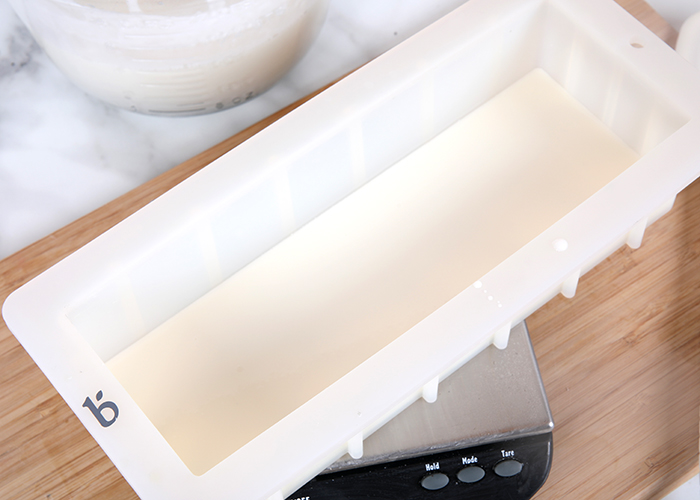
SEVEN: Pour enough white soap into the mold to completely cover the bottom – about 10 ounces. Spritz with 99% isopropyl alcohol to get rid of bubbles.
EIGHT: Place one of the heart embeds into the soap toward one side of the mold. Hold the embed in place for several minutes until the white soap hardens enough to keep it steady.
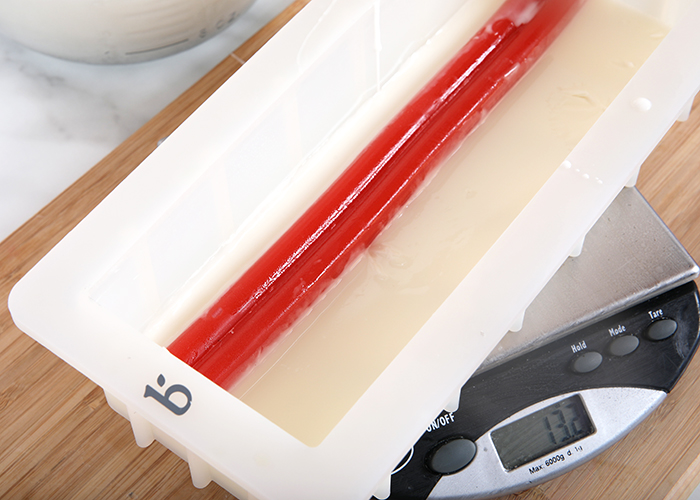
NINE: Spritz the soap in the mold with 99% isopropyl alcohol, then pour more white soap into the mold. Pour enough to completely cover the heart embed. Spritz with 99% isopropyl alcohol to get rid of bubbles. Allow to cool and harden for about 5-10 minutes.
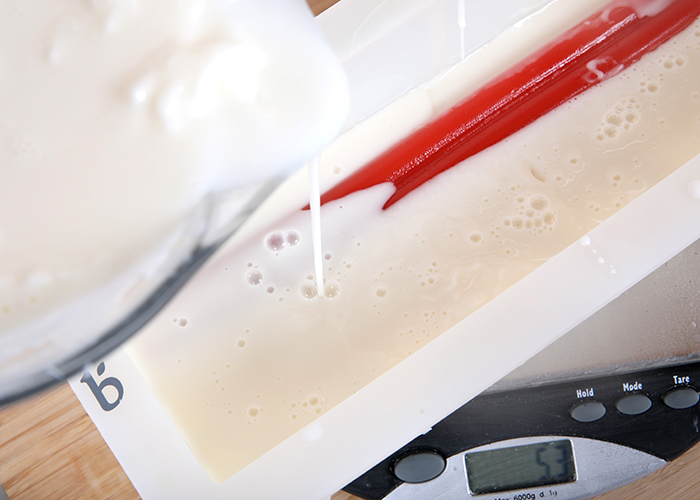
TEN: If necessary, remelt the white soap in the microwave using 10-15 second bursts. Once the soap is fluid but below 130°F, spritz the soap in the mold with 99% isopropyl alcohol. Pour a small amount of white soap into the mold – enough to completely cover the bottom embed. Place another heart embed into the soap on the opposite side of the mold from the first one. Hold the embed in place for several minutes until the white soap can hold on its own.
ELEVEN: Spritz the soap again with 99% isopropyl alcohol and pour more white soap into the mold until the heart embed is covered. Spritz with 99% isopropyl alcohol to get rid of bubbles. Allow the soap to cool and harden for about 10-15 minutes.
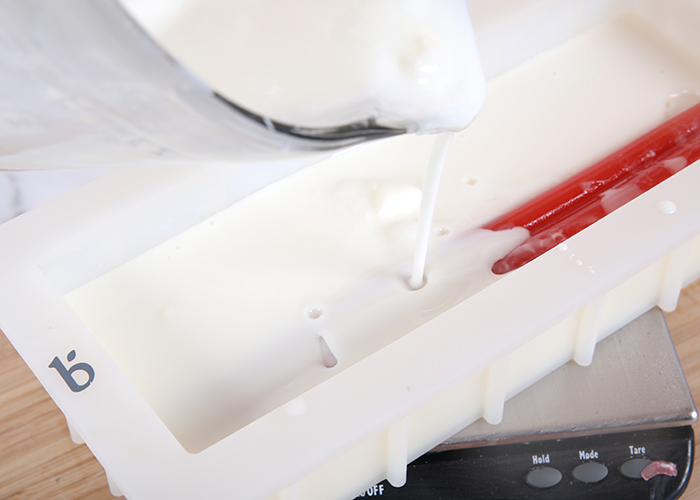
TWELVE: If necessary, remelt the remaining white soap using 10-15 second bursts. Once the soap is fluid but below 130°F, spritz the soap in the mold with 99% isopropyl alcohol. Pour a portion of the white soap into the mold and place the last embed into the soap on the opposite side of the mold as the second embed. Hold in place for several minutes until the soap cools and hardens enough to hold the embed on its own.
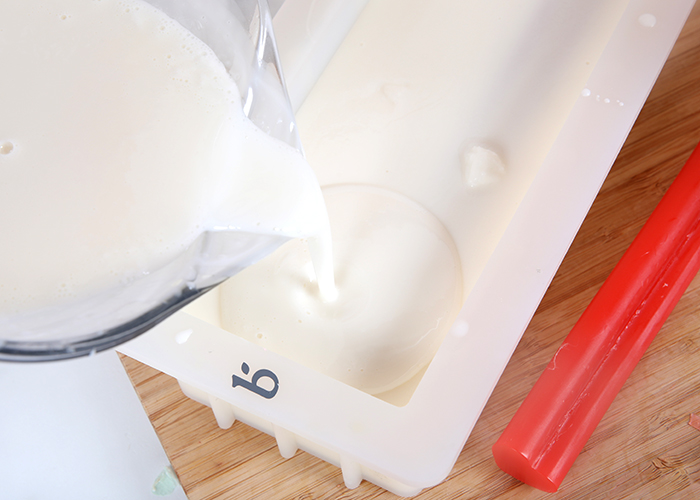
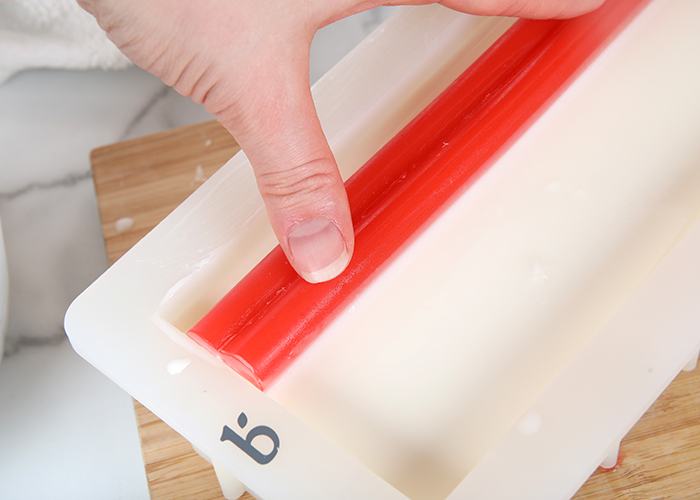
THIRTEEN: Spritz again with 99% isopropyl alcohol and pour the remaining white soap into either sides of the embed. Try your best to make both sides level. Spritz with alcohol to get rid of bubbles.
TIP: If you dribble a bit of white soap on the top embed, don’t fret. You can clean that off once the soap is hard with the Clean Up Tool. If you pour a little too much white soap into the mold (like we did) and it begins to flow outside the mold, this can also be cleaned up once the soap is cool and unmolded.
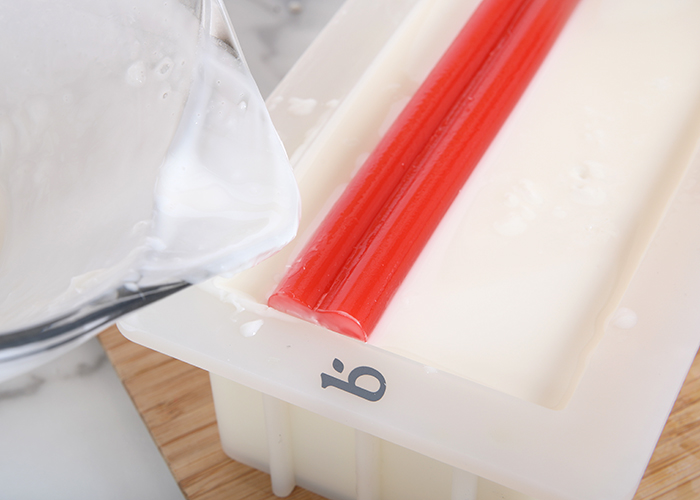
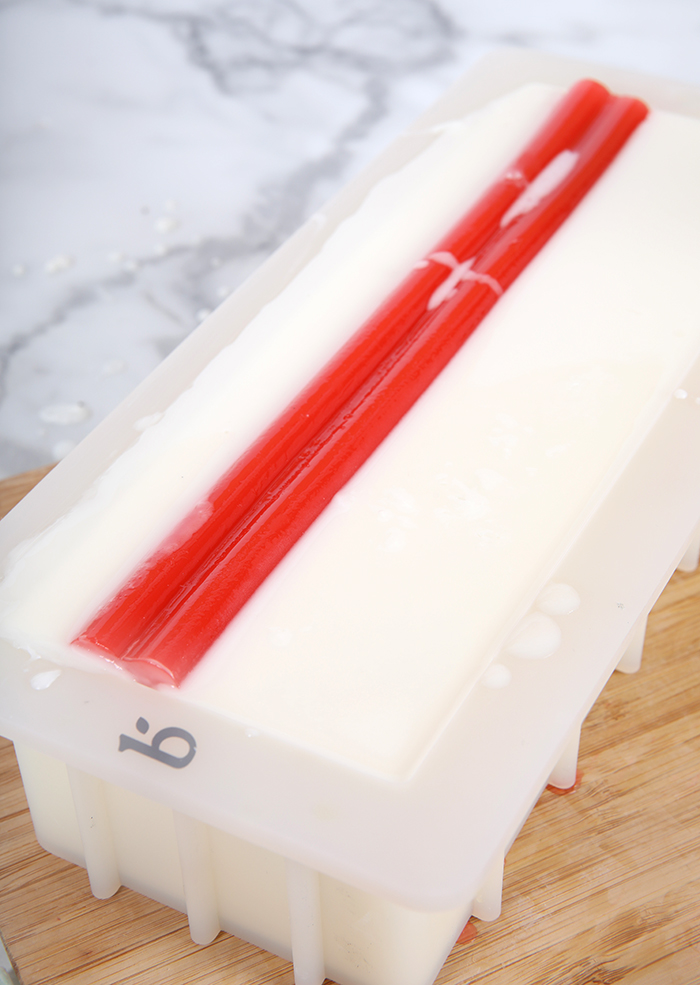
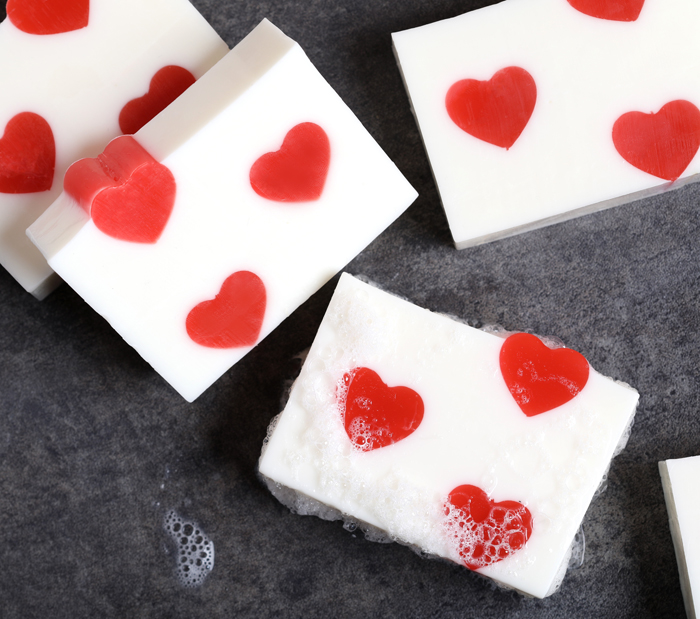
FOURTEEN: Allow the soap to fully cool and harden. Remove from the mold and use a non-serrated knife to cut into bars. If you live in a very humid area, wrap the bars in plastic wrap to prevent glycerin dew. Enjoy!
- 10″ Silicone Loaf Mold
- Mini Heart Silicone Column Mold
- 48 oz. Goat Milk Melt & Pour Soap Base
- 15 oz. Clear Melt & Pour Soap Base
- Perfect Red Color Block
- 1.3 oz. Crisp Apple Rose Fragrance Oil
- 99% Isopropyl Alcohol in a Spray Bottle
- Chop 15 ounces of Clear Melt and Pour Soap Base into small, uniform pieces. Place them in a small heat-safe container along with a chunk of the Perfect Red Color Block. Melt in the microwave using 15 second bursts. Once melted, stir thoroughly to mix in the color. If the color isn’t saturated enough, add more small chunks of the Perfect Red Color Block.
- Place the Mini Heart Column Mold into a tall container to keep it upright. Pour the soap into the mold until filled, and set the rest of the red soap aside. Allow the soap in the mold to fully cool and harden. Remove the soap from the mold and trim off any imperfections. Cut the embed to a length that will fit inside the 10″ Silicone Loaf Mold. TIP: You can place the soap in the fridge to help speed up the cooling process. If you live in a humid area, this can increase the chance of glycerin dew.
- Remelt the red soap using 10 second bursts. Pour more of the soap into the Mini Heart Column Mold. Allow to fully cool and harden. Remove from the mold, trim any imperfections, and cut to a size that will fit inside the 10″ Silicone Loaf Mold.
- Remelt the red soap using 10 second bursts. Pour the remaining red soap into the Mini Heart Column Mold and allow to harden. Unmold, trim any imperfections, and cut to a size that will fit inside the 10″ Silicone Loaf Mold. You now have 3 heart embeds – set them aside.
- Chop 48 ounces of Goat Milk Melt and Pour Soap into small, uniform pieces. Place them in a large heat-safe bowl and melt in the microwave using 30-60 second bursts.
- Add 1.3 ounces of Crisp Apple Rose Fragrance Oil. Stir to thoroughly combine. Allow the soap to cool to about 130°F – if the soap is too hot for the following steps, it can melt the heart embed.
- Pour enough white soap into the mold to completely cover the bottom – about 10 ounces. Spritz with 99% isopropyl alcohol to get rid of bubbles.
- Place one of the heart embeds into the soap toward one side of the mold. Hold the embed in place for several minutes until the white soap hardens enough to keep it steady.
- Spritz the soap in the mold with 99% isopropyl alcohol, then pour more white soap into the mold. Pour enough to completely cover the heart embed. Spritz with 99% isopropyl alcohol to get rid of bubbles. Allow to cool and harden for about 5-10 minutes.
- If necessary, remelt the white soap in the microwave using 10-15 second bursts. Once the soap is fluid but below 130°F, spritz the soap in the mold with 99% isopropyl alcohol. Pour a small amount of white soap into the mold – enough to completely cover the bottom embed. Place another heart embed into the soap on the opposite side of the mold from the first one. Hold the embed in place for several minutes until the white soap can hold on its own.
- Spritz the soap again with 99% isopropyl alcohol and pour more white soap into the mold until the heart embed is covered. Spritz with 99% isopropyl alcohol to get rid of bubbles. Allow the soap to cool and harden for about 10-15 minutes.
- If necessary, remelt the remaining white soap using 10-15 second bursts. Once the soap is fluid but below 130°F, spritz the soap in the mold with 99% isopropyl alcohol. Pour a portion of the white soap into the mold and place the last embed into the soap on the opposite side of the mold as the second embed. Hold in place for several minutes until the soap cools and hardens enough to hold the embed on its own.
- Spritz again with 99% isopropyl alcohol and pour the remaining white soap into either sides of the embed. Try your best to make both sides level. Spritz with alcohol to get rid of bubbles. TIP: If you dribble a bit of white soap on the top embed, don’t fret. You can clean that off once the soap is hard with the Clean Up Tool. If you pour a little too much white soap into the mold (like we did) and it begins to flow outside the mold, this can also be cleaned up once the soap is cool and unmolded.
- Allow the soap to fully cool and harden. Remove from the mold and use a non-serrated knife to cut into bars. If you live in a very humid area, wrap the bars in plastic wrap to prevent glycerin dew. Enjoy!




Hi
I am new to soap making. I am interested to know how to prepare a soapbase for my own. I wanted to create a soapbase using mu own recipes. I am don’t want to use existing soap base.
Please advise or guide me regarding this.
We don’t currently have any recipes for creating a melt and pour base as it requires a lot of specialized equipment and working at very high temperatures. If you find a way that a small home crafter could use please let us know!
Love all the info…… ♡
Hi, does it matter how far in advanced you make the heart? I found it didn’t really fuse with the base and I did spritz with alcohol?
Yes, we try to work with them as soon as they dry but overnight is typically okay.
I also had trouble with the layers separating. You mention it could be a “timing issue”. Meaning what? Add new layers sooner? Or wait longer? I sprayed the alcohol as directed. I also had difficulty maintaining a smooth texture as I reheated the white soap. Help! I love this soap pattern and would like to make much more but need to know how to fix these problems.
There is a narrow window in which pouring layers works best with melt and pour. It is just when the first layer is cooled enough to forma skin that will hold up the second layer. Though if you wait too long the layer will be too firm to stick with another.
5 Tips for Layering Melt and Pour Soap: https://www.soapqueen.com/bath-and-body-tutorials/5-tips-layering-melt-pour/
I just want to say that this scent is amazing! I love it!!!
This technique is a little difficult for beginners but with practice and patience, you’ll get it.
Hi. I have a problem. When i made my soap and, wait until one mounth, then i use it and wash my hand with this soap, then i understood that my food grade colores that i used in soap, comes out with water and then the latheres color turens to pink insted of with. Can u help me for solving this problem? Tnx😊
Soap lathering color isn’t necessarily a bad thing. Oftentimes it happens with over-coloring the soap so you may want to use a little less colorant. Keep in mind sometimes you do need to over-color a bit to achieve darker colors.
Give our soap colorants a try for Melt and Pour:
https://www.brambleberry.com/For-Melt-Pour-Soap-C450.aspx
Is it possible to use real red wine in melt and pour soaps or face masks? I know red wines go bad due to oxidation after 3-4 weeks, but if I used a wine such as a port…how do you think it would hold up in each of these forms?
Hi Ria, I don’t think they will work super well in melt and pour but in a face mask as long as it is sealed before you open it I don’t see why you can’t use it as long as you stick by that same 3-4 week shelf life.
Mine Came out Perfect! Love the way it looks 🙂
Made this yesterday morning. I used 99% alcohol everywhere it said to and let it set overnight. Went to cut it this morning and it fell apart. All layers separated. Any ideas why this happened?
Layering and embedding melt and pour soap can definitely be tricky. Normally it is a timing issue. You will also want to make sure you are not spraying too much alcohol between the layers which can have the opposite effect.
The same thing happened to me!! Please help!!!
Not sure why one loaf split and the other was perfect – any thoughts on that?
Thanks for this great tutorial. I have a heart mold that I’ve not used successfully in the past. I definitely have to give it a go now!
Hello! Thank you for another lovely tutorial 🙂 Would the heart imbed work as well if made with white M&P vs. clear? Thanks!
Yes, but using a white base and adding red to it will make your hearts turn out pink.
Oh that’s ok! I am using pink clay for one imbed, and will be using activated charcoal for another to get a grayish tint. 🙂 I was asking because I was wondering whether the white base might end up being as sturdy as the clear imbed in this application. But it sounds like both would be sturdy enough to be “poured over” without melting as long as the base used to pour over is not too hot. As always, thanks for responding! 🙂
Is there a way to make our own goat milk melt n pour soap? We have a herd of goats and make cold process goat milk soap all the time! Awfully cute for Valentine’s soaps! Thanks
We have no experience or advice for making melt and pour from scratch – we purchase our bases from vendors.
I’ve made it but I find it’s cheaper to buy than make I don’t know why
so adorable! is there a pattern and instructions to make the little soap holders made of paper with the string handles?
There’s a link and a video above!