Henna body art is a very popular tradition in India. Henna, or mendhi, is a paste of crushed leaves and twigs from the henna plant. When this paste is applied to skin, it leaves a beautiful stain behind. The tradition is often used to celebrate a happy occasion or special day. What better inspiration for a cold process soap?
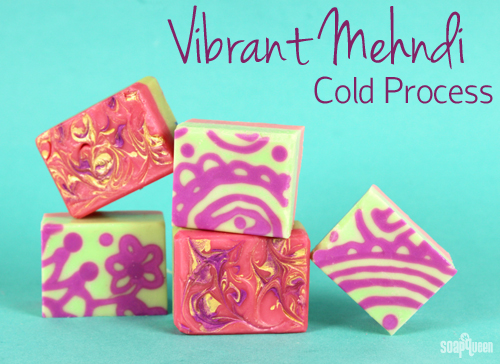
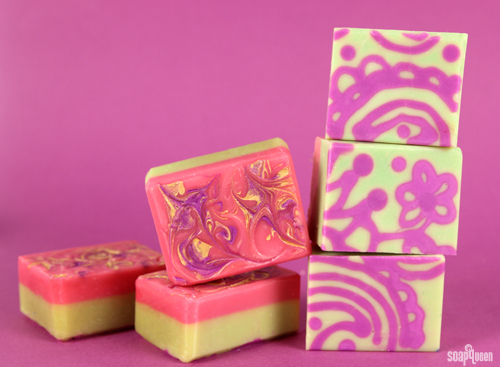
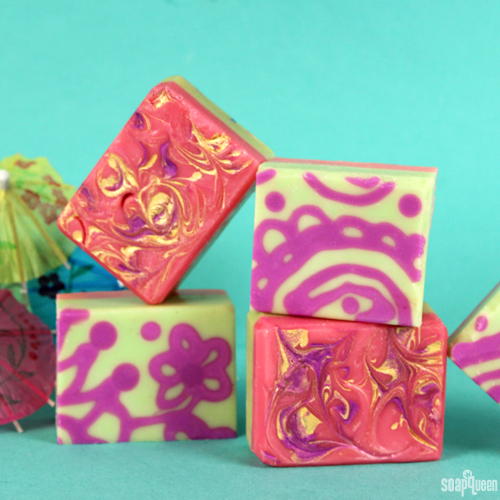
The intricate detail and gorgeous designs are breathtaking to look at. To recreate the mehndi appearance, cold process soap colored with Radiant Plum Colorant is used to trace a mehndi inspired design. Brightly colored lime green and pink soap top the henna pattern. Scented with a fresh and slightly smoky mixture of Lime Fragrance Oil, Mango Mango Fragrance Oil and Patchouli Fragrance Oil, this is the perfect soap to celebrate a happy occasion.
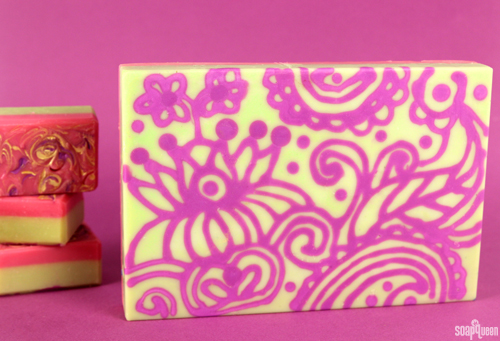
Creating the mehndi pattern using squeeze bottles can be a little tricky, and may require some practice. The key is achieving the right trace consistency; the soap should be thin enough to flow out of the bottle, while thick enough to hold its shape. To simplify the technique, a pattern was placed under the liner to use as a guide. This mehndi template is available for download if you’d like to recreate the same pattern.
What You’ll Need:
Henna pattern soap
.35 oz. Castor Oil
2.1 oz. Coconut Oil
.7 oz. Mango Butter
1.75 oz. Olive Oil
2.1 oz. Palm Oil
1 oz. Sodium Hydroxide Lye
2.3 oz. Distilled Water
Optional: Clean Up Tool
1.55 oz. Castor Oil
9.3 oz. Coconut Oil
3.1 oz. Mango Butter
7.75 oz. Olive Oil
9.3 oz. Palm Oil
4.4 oz. Sodium Hydroxide Lye
10.2 Distilled Water
9 Bar Unfinished Birchwood Mold
1 oz. Mango Mango Fragrance Oil
1 oz. Patchouli Fragrance Oil
Vibrant Mehndi Cold Process Template
 Click here to add everything you need for this project to your Bramble Berry shopping cart!
Make the Henna Pattern Soap:
If you’ve never made Cold Process soap before, stop here! I highly recommend checking out our FREE four part SoapQueen.tv series on Cold Process Soapmaking, especially the episode on lye safety. And if you’d rather do some reading, Bramble Berry carries a wide range of books on the topic, including my newest book, Soap Crafting. You can also checkout the digital downloads for that instant gratification factor.
SAFETY FIRST: Suit up for safe handling practices! That means goggles, gloves and long sleeves. Make sure kids, pets, and other distractions and tripping hazards are out of the house or don’t have access to your soaping space. Always soap in a well-ventilated area.
COLOR PREP: Disperse 1 teaspoon of the Radiant Plum Colorant into 1 tablespoon of sunflower or sweet almond oil (or any other liquid oil). Use a mini mixer to get the clumps of color worked out smoothly.
ONE: Slowly and carefully add the lye to the water and gently stir until the lye has fully dissolved and the liquid is clear. Set aside to cool.
TWO: Fully melt and combine the coconut, castor, mango, palm and olive oils (remember to fully melt then mix your entire container of palm oil before portioning). Once the lye water and the oils have cooled to 130 degrees or below (and are ideally within 10 degrees of each other), add the lye water to the oils and stick blend until medium trace. If you’d like a harder bar of soap that releases faster from the mold, you can add sodium lactate to the cooled lye water. Use 1 teaspoon of sodium lactate per pound of oils in the recipe. For this recipe, you’d add about 1/2 tsp. sodium lactate.
TIP: Because you are working with a very small amount of soap, using a small, tall container prevents air bubbles.

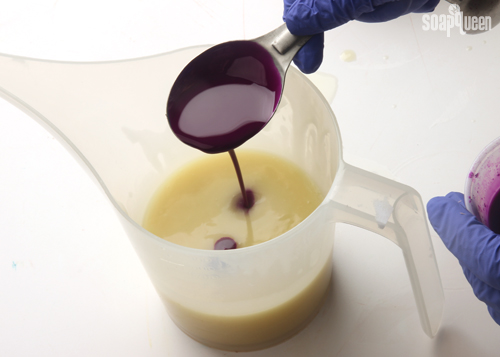
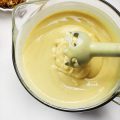
THREE: Once you have reached a medium trace, add all of the Radiant Plum Colorant and whisk thoroughly to combine.
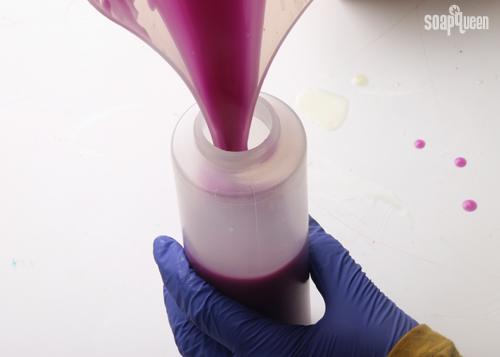
FOUR: Pour the soap into your squeeze bottle. To test the trace, practice drawing on a sheet of paper, or plastic cutting board. The trace should be thick enough to hold shape, but thin enough to be able to pour smoothly.

FIVE: Lay the printed pattern in the bottom of the mold, and lay the silicone liner on top of the pattern. If using freezer paper to line the mind, place the printed pattern first, and lay the freezer paper on top. Squeeze the soap onto the lines of the henna design. Work fairly quickly so avoid the soap becoming too thick to squeeze out of the bottle.
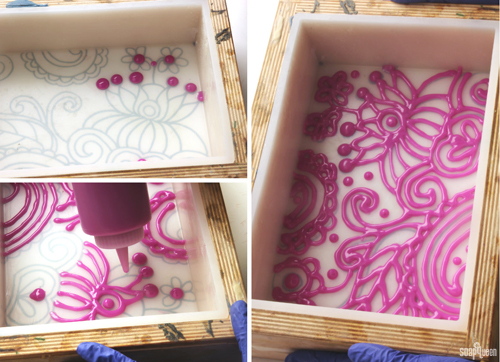
SEVEN: After all the lines are finished, use a Clean Up Tool to fix any mistakes.
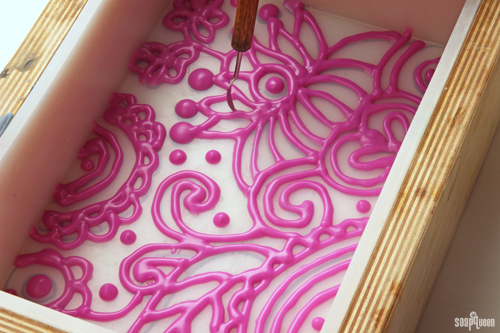
EIGHT: Pour the excess soap into a small mold. The reason it is difficult to make a smaller amount of soap for this step, you will have less time to pipe as the soap will become harder more quickly. It’s also better to have a little extra, rather than not enough! Having extra soap is great for making projects like the Cherry Blossom Glitter Soap!
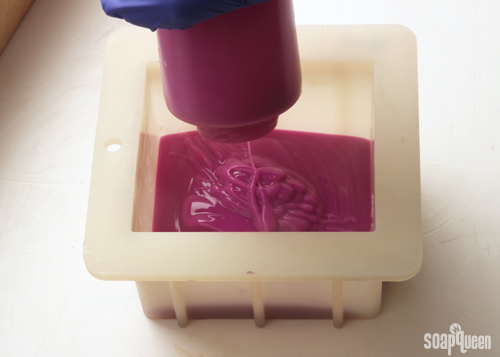
NINE: Let the soap harden for 30-45 minutes. Allowing the design to harden before pouring the next layer avoids the top layer from moving the henna design.
Make the rest of the soap:
If you’ve never made Cold Process soap before, stop here! I highly recommend checking out our FREE four part SoapQueen.tv series on Cold Process Soapmaking, especially the episode on lye safety. And if you’d rather do some reading, Bramble Berry carries a wide range of books on the topic, including my newest book, Soap Crafting. You can also checkout the digital downloads for that instant gratification factor.
SAFETY FIRST: Suit up for safe handling practices! That means goggles, gloves and long sleeves. Make sure kids, pets, and other distractions and tripping hazards are out of the house or don’t have access to your soaping space. Always soap in a well-ventilated area.
COLOR PREP: In separate containers, disperse 1 teaspoon of Fizzy Lemonade and Green Chrome Oxide into 1 tablespoon of sunflower or sweet almond oil (or any other liquid oil). In another container, add 1 tsp. of Radiant Plum Colorant to 1 tbsp. of sunflower or sweet almond oil (or any other liquid oil). In another container, add 2 tsp. of Fired Up Fuchsia and one .15 CC Scoop of Merlot Sparkle Mica to 2 Tbsps. of sunflower or sweet almond oil. Use a mini mixer to get the clumps of color worked out smoothly.
ONE: Slowly and carefully add the lye to the water and gently stir until the lye has fully dissolved and the liquid is clear. Set aside to cool.
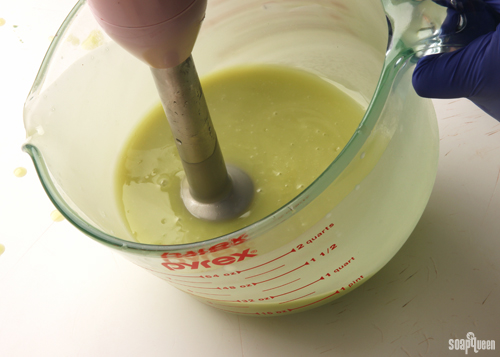
TWO: Fully melt and combine the coconut, castor, mango, palm and olive oils (remember to fully melt then mix your entire container of palm oil before portioning). Once the lye water and the oils have cooled to 130 degrees or below (and are ideally within 10 degrees of each other), add the lye water to the oils and stick blend until thin trace. If you’d like a harder bar of soap that releases faster from the mold, you can add sodium lactate to the cooled lye water. Use 1 teaspoon of sodium lactate per pound of oils in the recipe. For this recipe, you’d add about 3 tsp. sodium lactate.
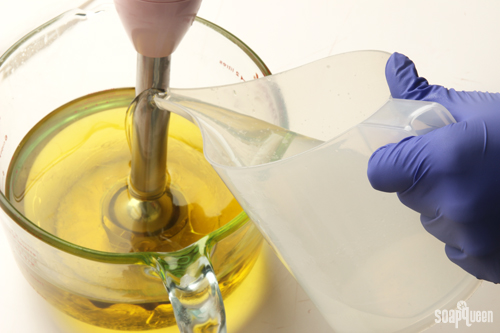 THREE: Once you have reached a thin trace, pour half your soap into a second c0ntainer. Each container will have about 3 cups. To one container, add 1 3/4 tsp. Fizzy Lemonade Colorant and 1/4 tsp. Chrome Green (oxide) Pigment. Use a whisk to stir in colorants.
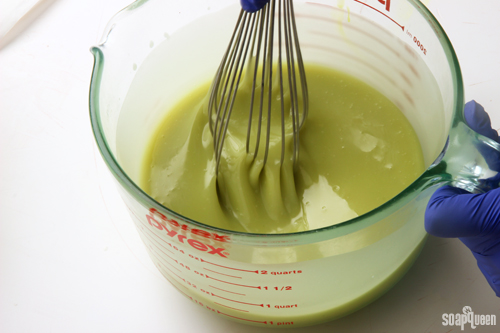 FOUR: To the other container, add all of the dispersed Fired Up Fuchsia Colorant and Merlot Sparkle Mica. Use a whisk to thoroughly combine the color.
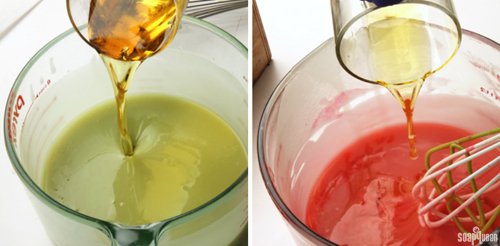
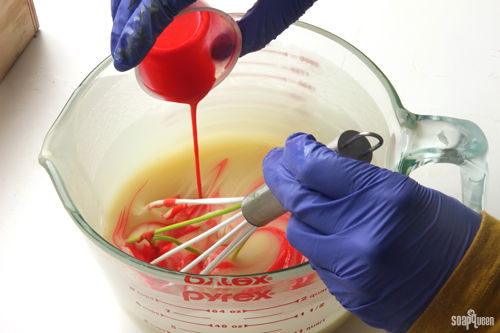 FIVE: Add half of the fragrance blend to each container. Whisk to thoroughly combine the fragrance.
 SIX: While the green soap is still very thin, pour half of the green soap into the mold. Tap the mold firmly on your counter to release any air bubbles. Pouring while the green soap is still thin trace will help the soap to cover the small areas of the henna design, and not leave any air bubbles.
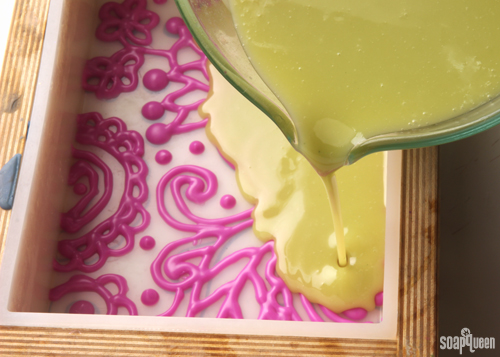
SEVEN: Stick blend the rest of the green soap until it reaches medium trace. This is done to help support the pink layer that goes on top. Slowly and carefully pour the soap over a spatula. Pouring over the spatula helps avoid breaking through the layers below. Tap the mold firmly on your counter to release any air bubbles.
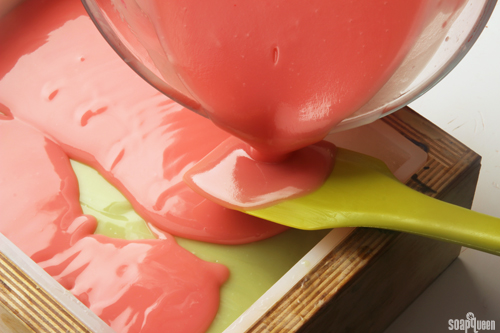
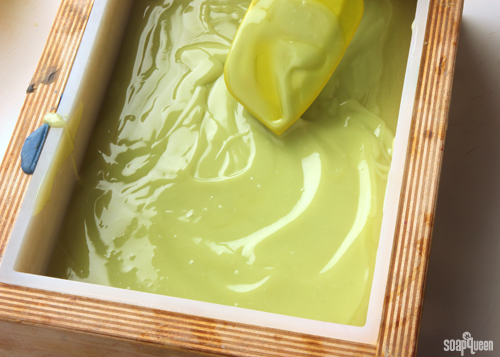 EIGHT: Slowly and carefully pour the pink soap over a spatula. Tap the mold firmly on your counter to release any air bubbles.
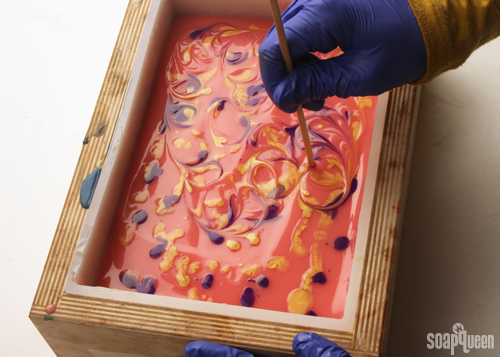
 NINE: Using a dropper, drop small amounts of dispersed Gold Sparkle Mica and Radiant Plum Colorant.
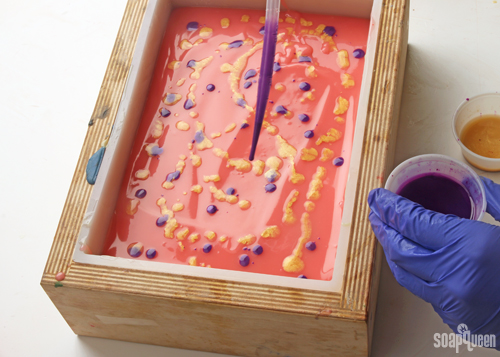 TEN: Insert a chopstick or dowel about 1/4 inch inch the soap. Start in the middle of your drops of color and swirl pattern outward. Don’t be afraid to make whatever pattern you wish. This is where you can really get creative!
TIP: Swirling is a lot of fun, and it’s easy to get a little carried away. Don’t over swirl the colors, or you the colors will blend together and the swirl may look muddled.
 Allow the soap to sit in the mold for 3-4 days before unmolding. Allow the soap to cure for 4-6 weeks and enjoy.


This has my creative wheels turning! Thanks for the inspiration!
😀
Hi Jill!
You’re welcome, I’m glad you like it! 🙂
-Kelsey with Bramble Berry
I Am Wondering Whether I Can Get Your Book Soap Crafting And Begin Buying Some EOs And Butters Fron Your Company. In Uganda We Do Not Have Such Stores, Can You Make Me Your Agent Under My Company?
Hi Kello!
Good news, we do ship to Uganda! That way you can get the supplies you need.
I would recommend reading our international soaping policies. It has a lot of information about the process. 🙂
-Kelsey with Bramble Berry
International shipping policies: https://www.brambleberry.com/International-Shipping-Policies.aspx
O’ I love this!!! Thanks for sharing the technique!
Hi Pam!
You’re welcome! I’m happy you like it. 🙂
-Kelsey with Bramble Berry
I was just thinking how I like loaf soap design better than in a flat mold. This is a really cool double sided design!
Hi Amy!
I’m glad you like it! I like the two-sided design a lot too. 🙂
-Kelsey with Bramble Berry
I love this!! The soaps look gorgeous and I have to try this look sometime! Wow! Thanks for the great project 🙂
Hi Margaret!
Thank you so much, I’m happy you like it! 🙂
-Kelsey with Bramble Berry
Thanks! This is a great tutorial. I’ll have fun with this. : )
Hi Hettie!
I’m so glad you like it! Let us know how it goes. 🙂
-Kelsey with Bramble Berry