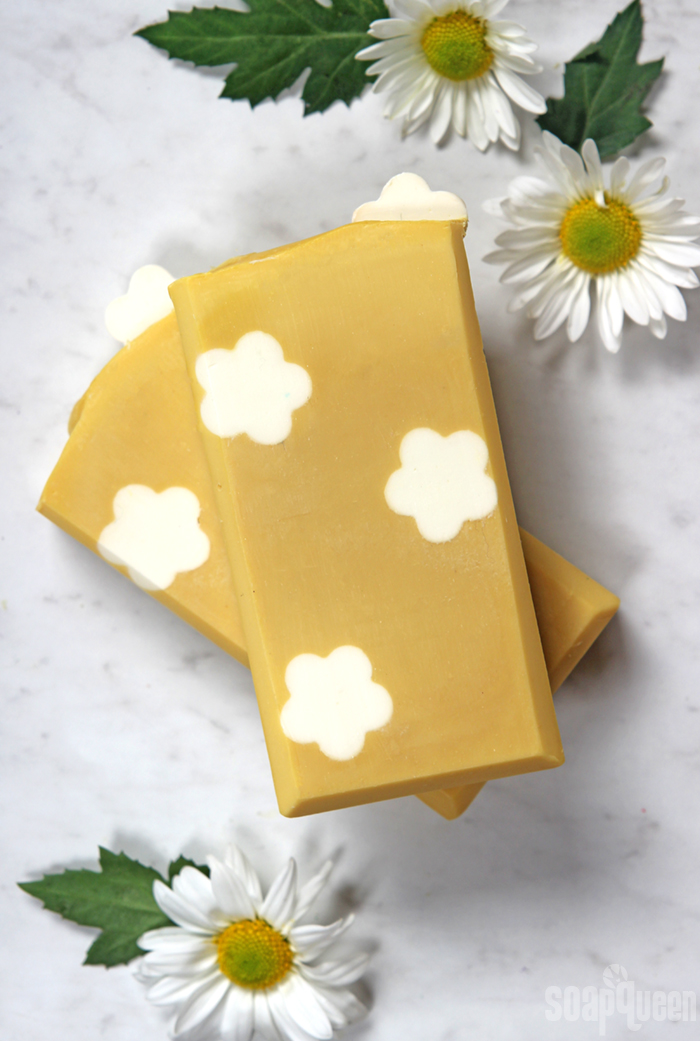
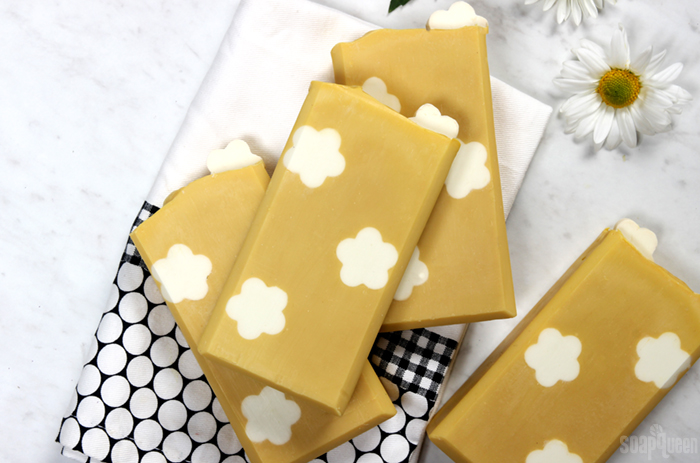
Daisies are such cheerful, happy-looking flowers. The bright white petals were the inspiration for this cold process soap recipe. White flower embeds are placed into a yellow soap base to create tall and skinny bars that are perfect for spring.
The embeds are created with the Mini Daisy Silicone Column Mold. They need to be made 3-4 days in advance to allow them to fully harden. If you don’t want to wait for the cold process embeds, you can make the embeds with LCP White Melt and Pour Soap Base instead.
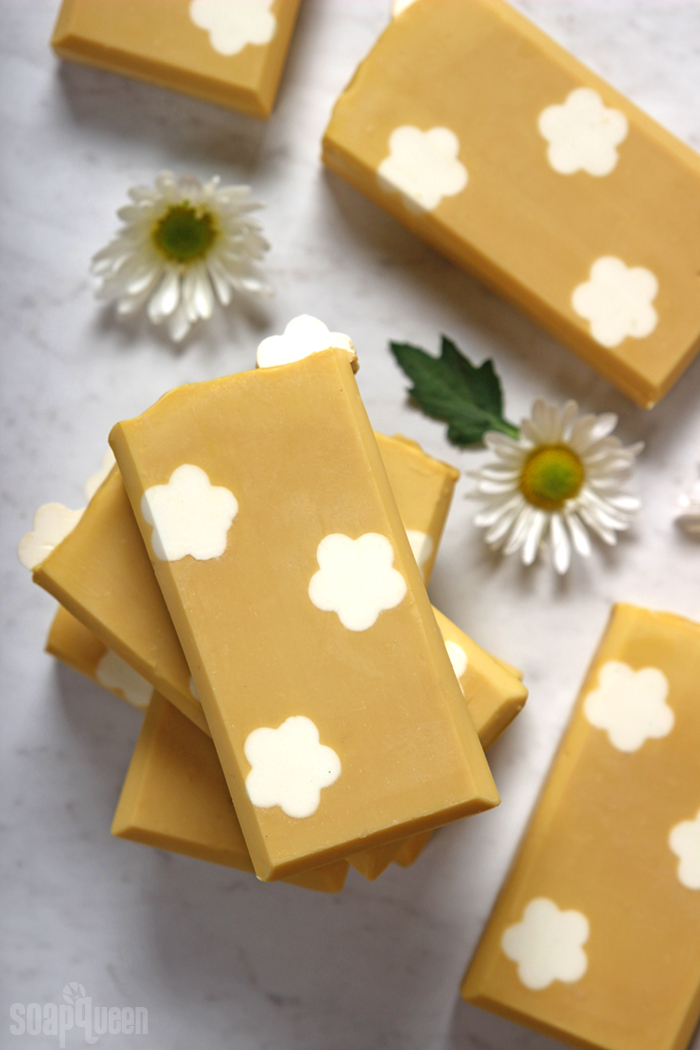
This soap is scented with Sunflower Fragrance Oil, which is a sophisticated and warm floral scent. Everybody who smells it can’t help but love it. Sunflower Fragrance Oil does accelerate trace, but in this design the acceleration helps suspend the embeds throughout the soap. Just make sure to use your stick blender sparingly once the fragrance is added. A touch of titanium dioxide is added to combat the slight fragrance discoloration and keep the yellow bright.
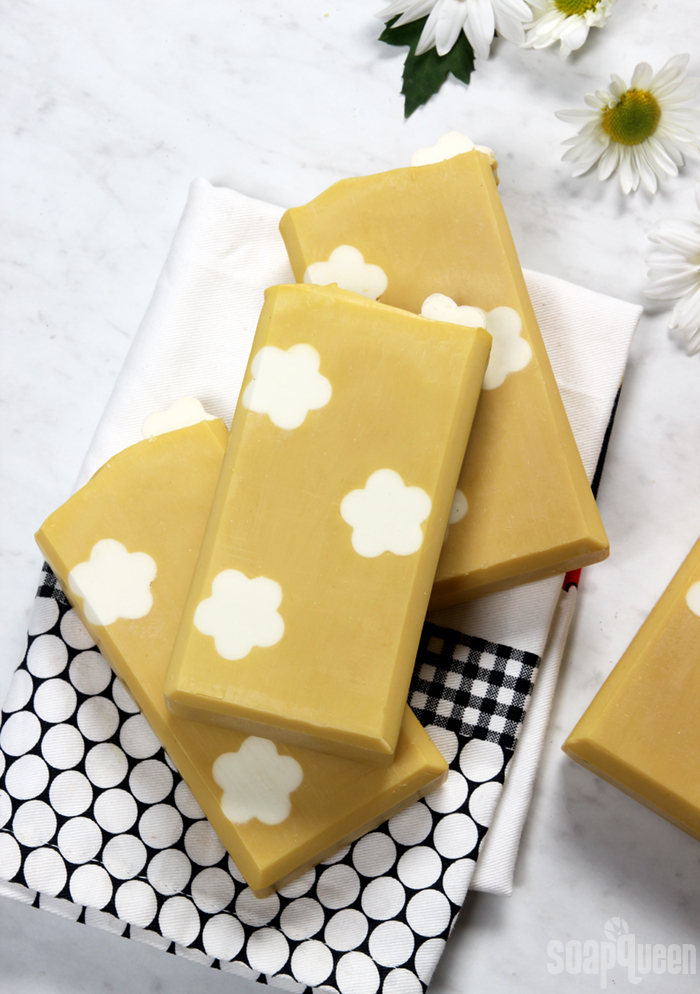
What You’ll Need:
Embeds (Superfat 3%)
Three Mini Daisy Silicone Column Molds
2.8 oz. Coconut Oil (25%)
3.3 oz. Olive Oil (30%)
2.8 oz. Palm Oil (25%)
2.2 oz. Sunflower Oil (20%)
1.6 oz. Sodium Hydroxide Lye
3.6 oz. Distilled Water
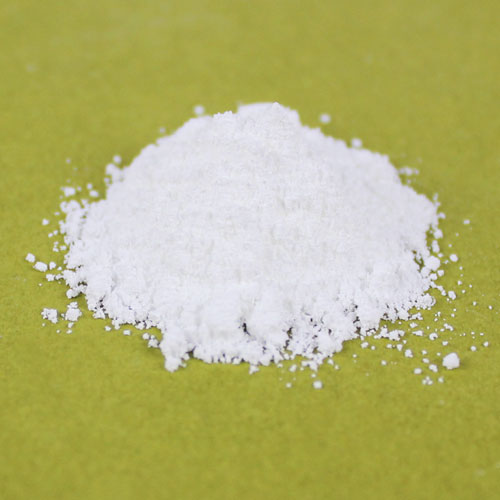
Titanium Dioxide
Base (Superfat 3%)
Tall Narrow Wood Loaf Mold
8 oz. Coconut Oil (25%)
9.6 oz. Olive Oil (30%)
8 oz. Palm Oil (25%)
6.4 oz. Sunflower Oil (20%)
4.6 oz. Sodium Hydroxide Lye
10.6 oz. Distilled Water
2.5 oz. Sunflower Fragrance Oil
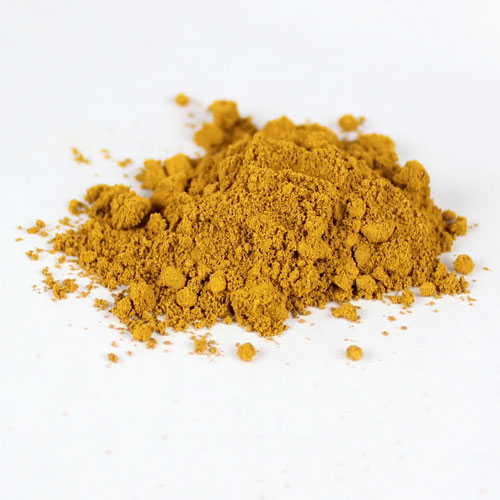
Yellow Oxide
Titanium Dioxide

Click here to add everything you need for this project to your Bramble Berry shopping cart!
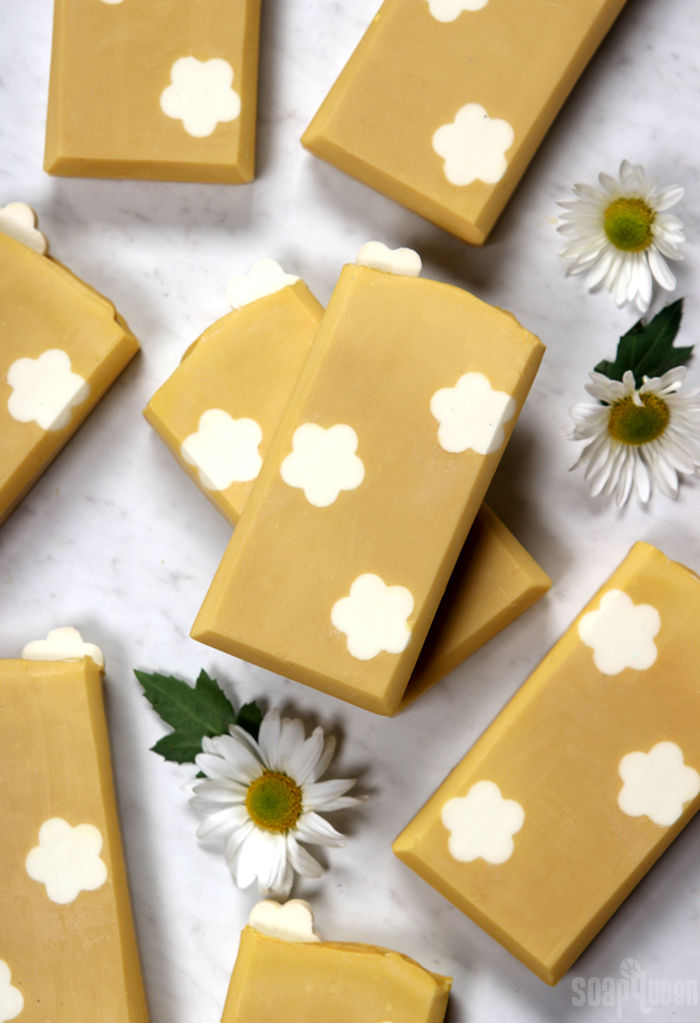
MAKE THE EMBEDS (3-4 Days in Advance)
If you’ve never made cold process soap before, stop here! I highly recommend checking out our FREE four part SoapQueen.tv series on Cold Process Soapmaking, especially the episode on lye safety. And if you’d rather do some reading, Bramble Berry carries a wide range of books on the topic, including my newest book, Pure Soapmaking. You can also checkout the digital downloads for that instant gratification factor.
SAFETY FIRST: Suit up for safe handling practices! That means goggles, gloves and long sleeves. Make sure kids, pets, and other distractions and tripping hazards are out of the house or don’t have access to your soaping space. Always soap in a well-ventilated area.
COLOR PREP: To ensure that the titanium dioxide blends smoothly into the soap batter, we recommend micronizing it before dispersing it in oil. Please note this is an optional tip but it does help with the titanium dioxide clumping in the soap. To micronize colorant, simply use a coffee grinder to blend the colorant to break up any clumps of color and prevent streaks of white from showing in the final soap. We like to use a coffee grinder that has a removable, stainless steel mixing area for easy cleaning. Then, disperse 2 teaspoons of the colorant into 1 tablespoon of sunflower or sweet almond oil (or any other liquid oil). The color dispersion is more concentrated to avoid adding extra oil, which makes the embeds take longer to unmold.
ONE: Slowly and carefully add the lye to the water and gently stir until the lye has fully dissolved and the liquid is clear. Set aside to cool. Place each embed into a tall, stable container where it can stand vertically.
TWO: Fully melt and combine the coconut oil, palm oil, olive oil and, sunflower oil (remember to fully melt then mix your entire container of palm oil before portioning). Once the lye water and the oils have cooled to 130 degrees or below (and are ideally within 10 degrees of each other), add the lye water to the oils and stick blend until thin trace. If you’d like a harder bar of soap that releases faster from the mold, you can add sodium lactate to the cooled lye water. For this recipe, it’s highly recommended. Use 1 teaspoon of sodium lactate per pound of oils. For this recipe, you’d add 1/2 teaspoon sodium lactate. Stick blend the soap until it’s at a thin trace.
THREE: Add all the dispersed titanium dioxide to the soap batter, and use a whisk to fully mix in. If the soap is still very thin, pulse the mixture with the stick blender until you reach a pourable medium trace. Carefully pour the soap batter into each Mini Daisy Silicone Column Mold until full. Set the molds aside in a safe place where they will not get knocked over.
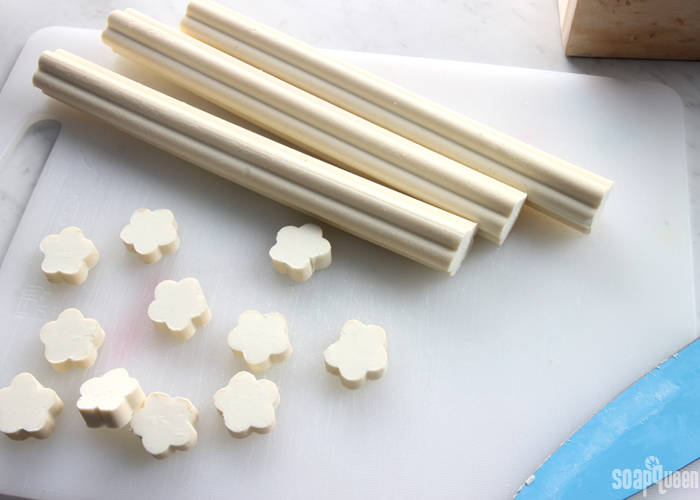
FOUR: After three days, test to see if you can easily pull the molds apart. Because this recipe is on the softer side, they may take a little longer to unmold. If the mold does not easily pull away, give the soap another day or two in the mold. You don’t want to tear the embeds! Once removed from the mold, cut them to fit lengthwise into the Tall Narrow Wood Loaf Mold. With the leftovers, cut small flower pieces for the top of the soap. Set the embeds aside and prep the soap base. It’s okay to wait a few days between unmolding the embeds and making the base soap if you prefer.
MAKE THE BASE
SAFETY FIRST: Suit up for safe handling practices! That means goggles, gloves and long sleeves. Make sure kids, pets, and other distractions and tripping hazards are out of the house or don’t have access to your soaping space. Always soap in a well-ventilated area.
COLOR PREP: To ensure that the titanium dioxide blends smoothly into the soap batter, we recommend micronizing it before dispersing it in oil. Please note this is an optional tip but it does help with the titanium dioxide clumping in the soap. To micronize colorant, simply use a coffee grinder to blend the colorant to break up any clumps of color and prevent streaks of white from showing in the final soap. We like to use a coffee grinder that has a removable, stainless steel mixing area for easy cleaning. Then, disperse 1 teaspoon of the colorant into 1 tablespoon of sunflower or sweet almond oil (or any other liquid oil). Then in a separate container, disperse 1/2 teaspoon Yellow Oxide into 1/2 tablespoon lightweight liquid oil. Use a mini mixer to help get rid of any clumps.
FRAGRANCE PREP: Measure 2.5 ounces of Sunflower Fragrance Oil into a glass, fragrance oil safe container. Set aside.
MOLD PREP: Line the Tall Narrow Wood Loaf Mold with freezer paper, shiny side up. For tips on how to line the mold, click here.
ONE: Slowly and carefully add the lye to the water and gently stir until the lye has fully dissolved and the liquid is clear. Set aside to cool.
TWO: Fully melt and combine the coconut oil, palm oil, olive oil, and sunflower oil (remember to fully melt then mix your entire container of palm oil before portioning). Once the lye water and the oils have cooled to 130 degrees or below (and are ideally within 10 degrees of each other), add the lye water to the oils and stick blend until thin trace. If you’d like a harder bar of soap that releases faster from the mold, you can add sodium lactate to the cooled lye water. Use 1 teaspoon of sodium lactate per pound of oils in the recipe. For this recipe, add 2 teaspoons sodium lactate. Stick blend the soap until it’s at a thin trace.
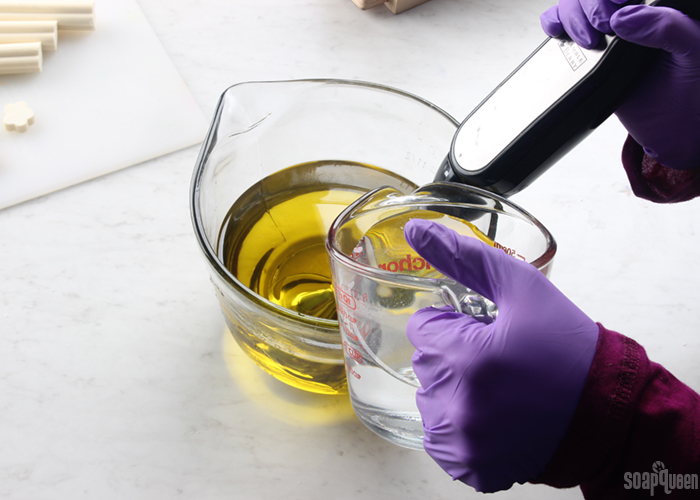
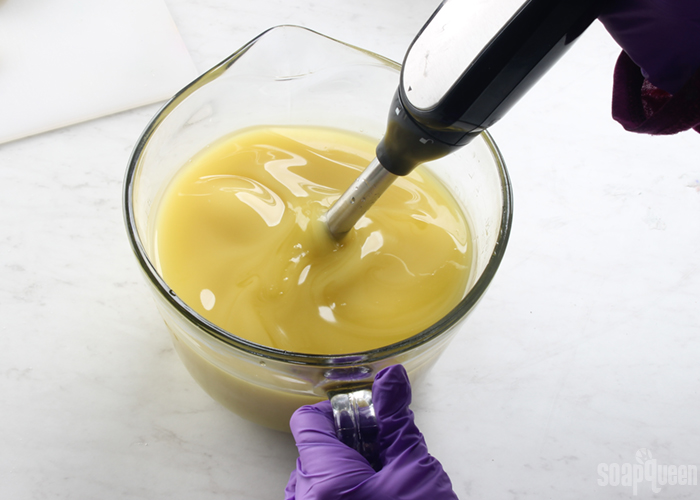
THREE: Once you reach a thin trace, add 1 teaspoon of the dispersed Yellow Oxide and all the dispersed titanium dioxide. Use a whisk to fully mix in the colorants.
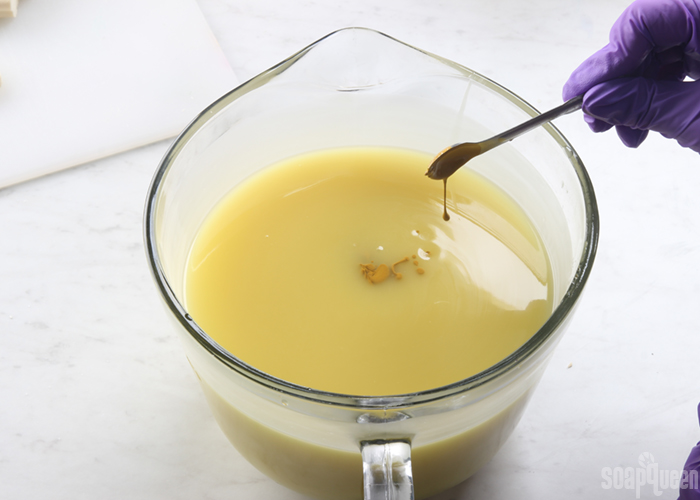
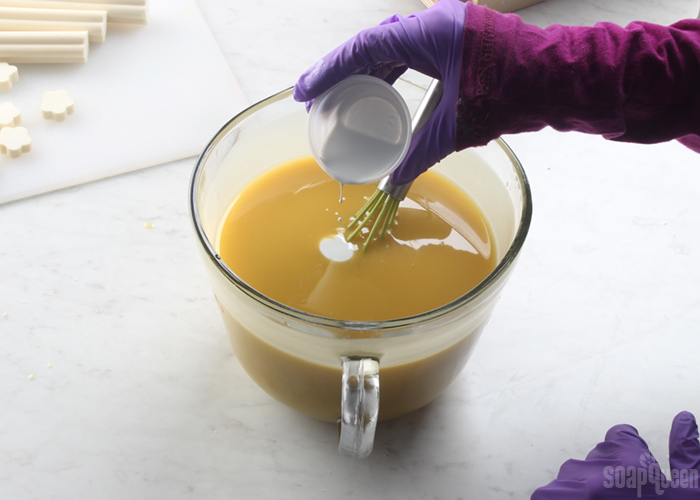
FOUR: Add all the Sunflower Fragrance Oil into the soap batter. Use a whisk to fully incorporate.
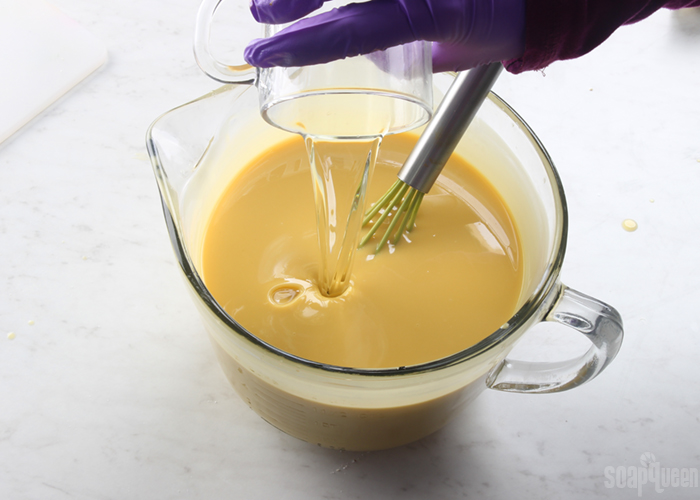
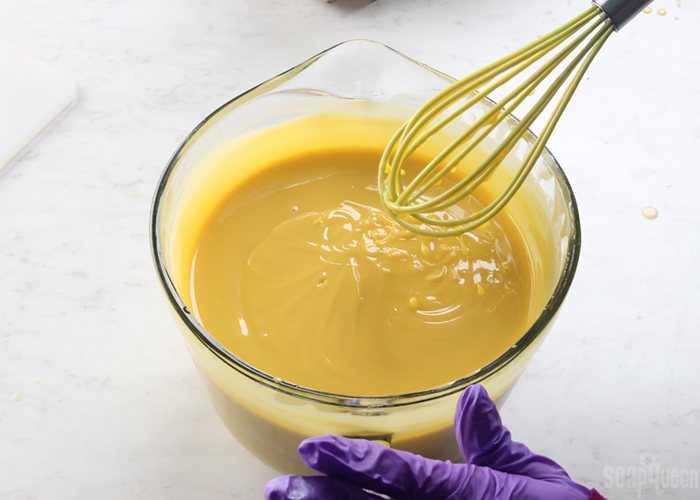
FIVE: After the fragrance is fully mixed in, test the trace. The Sunflower Fragrance Oil does accelerate, but this design uses the acceleration to its advantage. The soap batter needs to be a medium trace to suspend the embeds throughout the soap. If your batter is still a thin trace after mixing in the fragrance oil with a whisk, give it a few short bursts with the stick blender to help thicken it. When you pull out the stick blender or whisk, it should leave defined trailings on the top of the soap, as shown below.
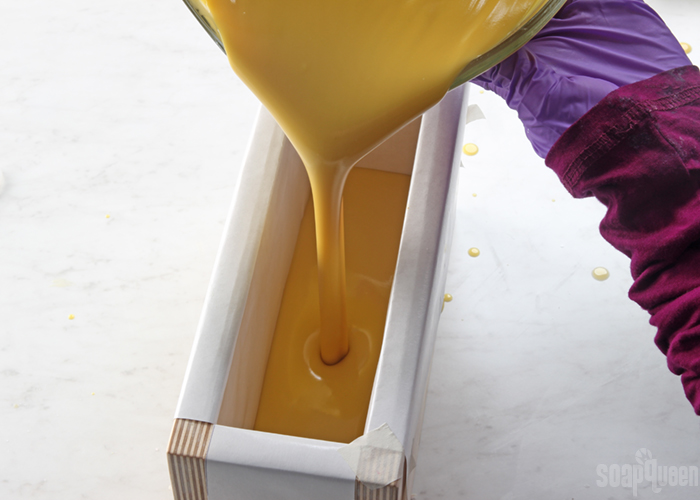
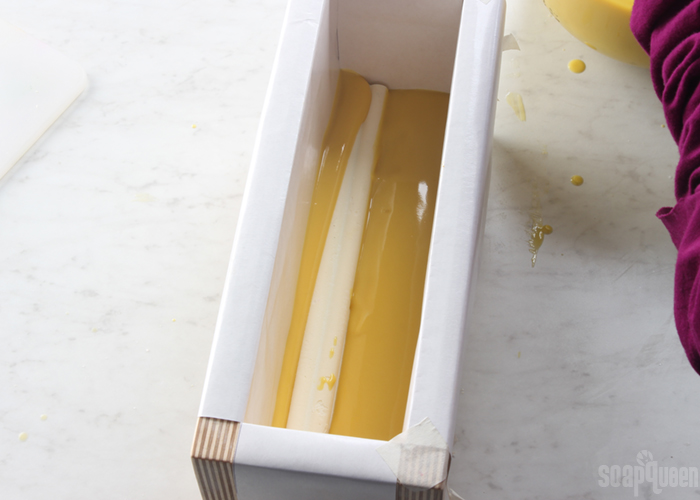
SIX: Pour a small amount of soap batter into the mold, enough to cover the bottom completely. This will suspend the first embed.
SEVEN: Place one of the daisy embeds into the mold off-center. Gently cover the embed with soap, then pour more soap until the mold is about half full.
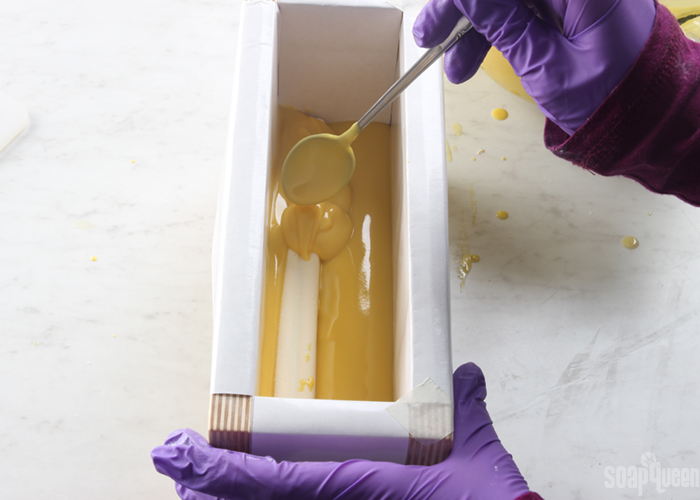
EIGHT: Place another daisy embed into the mold on the opposite side of the mold. Gently press it into the soap better to help it stay in place, then gently cover the embed with soap. Pour more soap into the mold, until almost full.
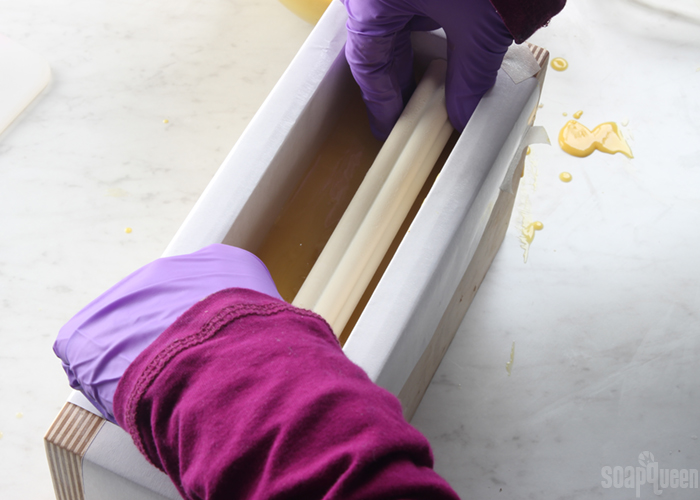
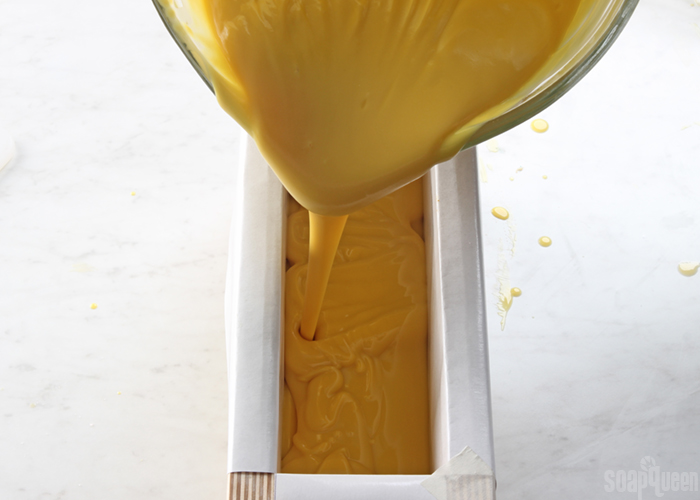
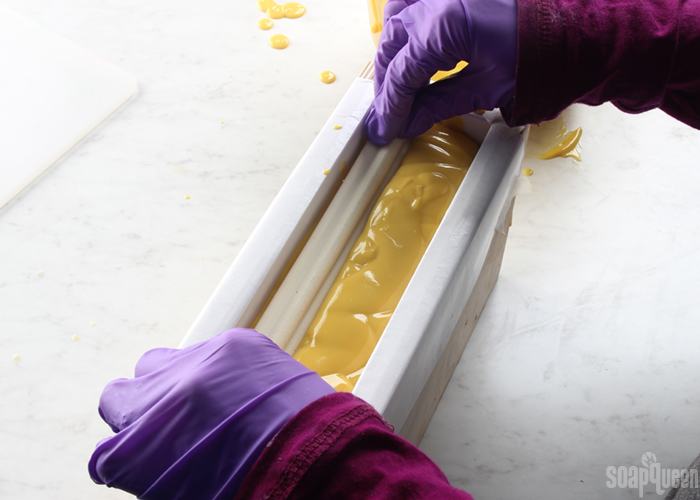
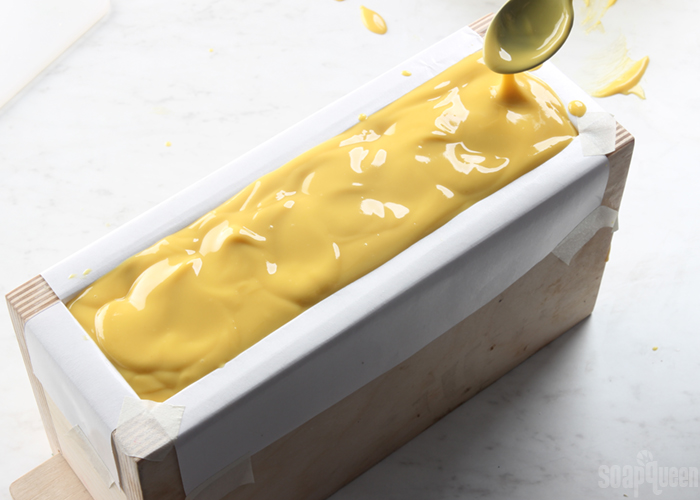
NINE: Place the last embed into the mold, on the opposite side of the second embed. Gently push it into the soap, and fill the mold with the remaining soap. Tap the mold firmly on the counter to help get rid of bubbles, and use a spoon to even out the top.
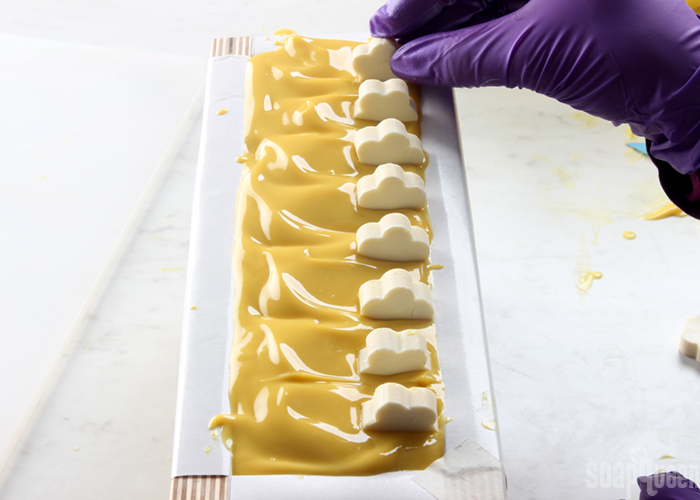
TEN: Once you’re happy with the top, place the individual daisy pieces cut from the embeds into the top of the soap. Place them on the opposite side of the top embed in the mold. Place them where you’d like the middle of the bar to be once cut. We placed eight daisies into the soap and cut the bars about 1 inch thick. Spritz the top of the soap with 99% isopropyl alcohol to avoid soda ash.
ELEVEN: Wood molds insulate very well, which causes the soap to become quite warm. If you live in a very hot area, you may want to place the soap in the fridge for 3-4 hours to prevent cracking. If you don’t live in an extremely hot area, leave the soap at room temperature (do not insulate). You may want to keep an eye on the soap for the first hour or two to make sure the top does not crack. If a crack forms, place the soap in the fridge to avoid further cracks. Allow the soap to stay in the mold for 2-3 days, remove and cut into bars. Allow them to cure for 4-6 weeks before use. Enjoy!
- Three Mini Daisy Silicone Column Molds
- 2.8 oz. Coconut Oil (25%)
- 3.3 oz. Olive Oil (30%)
- 2.8 oz. Palm Oil (25%)
- 2.2 oz. Sunflower Oil (20%)
- 1.6 oz. Sodium Hydroxide Lye
- 3.6 oz. Distilled Water
- Titanium Dioxide
- Tall Narrow Wood Loaf Mold
- 8 oz. Coconut Oil (25%)
- 9.6 oz. Olive Oil (30%)
- 8 oz. Palm Oil (25%)
- 6.4 oz. Sunflower Oil (20%)
- 4.6 oz. Sodium Hydroxide Lye
- 10.6 oz. Distilled Water
- 2.5 oz. Sunflower Fragrance Oil
- Yellow Oxide
- Titanium Dioxide
- Slowly and carefully add the lye to the water and gently stir until the lye has fully dissolved and the liquid is clear. Set aside to cool. Place each embed into a tall, stable container where it can stand vertically.
- Fully melt and combine the coconut oil, palm oil, olive oil and, sunflower oil (remember to fully melt then mix your entire container of palm oil before portioning). Once the lye water and the oils have cooled to 130 degrees or below (and are ideally within 10 degrees of each other), add the lye water to the oils and stick blend until thin trace. If you’d like a harder bar of soap that releases faster from the mold, you can add sodium lactate to the cooled lye water. For this recipe, it’s highly recommended. Use 1 teaspoon of sodium lactate per pound of oils. For this recipe, you’d add ½ teaspoon sodium lactate. Stick blend the soap until it’s at a thin trace.
- Add all the dispersed titanium dioxide to the soap batter, and use a whisk to fully mix in. If the soap is still very thin, pulse the mixture with the stick blender until you reach a pourable medium trace. Carefully pour the soap batter into each Mini Daisy Silicone Column Mold until full. Set the molds aside in a safe place where they will not get knocked over.
- After three days, test to see if you can easily pull the molds apart. Because this recipe is on the softer side, they may take a little longer to unmold. If the mold does not easily pull away, give the soap another day or two in the mold. You don’t want to tear the embeds! Once removed from the mold, cut them to fit lengthwise into the Tall Narrow Wood Loaf Mold. With the leftovers, cut small flower pieces for the top of the soap. Set the embeds aside and prep the soap base. It’s okay to wait a few days between unmolding the embeds and making the base soap if you prefer.
- Slowly and carefully add the lye to the water and gently stir until the lye has fully dissolved and the liquid is clear. Set aside to cool.
- Fully melt and combine the coconut oil, palm oil, olive oil, and sunflower oil (remember to fully melt then mix your entire container of palm oil before portioning). Once the lye water and the oils have cooled to 130 degrees or below (and are ideally within 10 degrees of each other), add the lye water to the oils and stick blend until thin trace. If you’d like a harder bar of soap that releases faster from the mold, you can add sodium lactate to the cooled lye water. Use 1 teaspoon of sodium lactate per pound of oils in the recipe. For this recipe, add 2 teaspoons sodium lactate. Stick blend the soap until it’s at a thin trace.
- Once you reach a thin trace, add 1 teaspoon of the dispersed Yellow Oxide and all the dispersed titanium dioxide. Use a whisk to fully mix in the colorants.
- Add all the Sunflower Fragrance Oil into the soap batter. Use a whisk to fully incorporate.
- After the fragrance is fully mixed in, test the trace. The Sunflower Fragrance Oil does accelerate, but this design uses the acceleration to its advantage. The soap batter needs to be a medium trace to suspend the embeds throughout the soap. If your batter is still a thin trace after mixing in the fragrance oil with a whisk, give it a few short bursts with the stick blender to help thicken it. When you pull out the stick blender or whisk, it should leave defined trailings on the top of the soap, as shown below.
- Pour a small amount of soap batter into the mold, enough to cover the bottom completely. This will suspend the first embed.
- Place one of the daisy embeds into the mold off-center. Gently cover the embed with soap, then pour more soap until the mold is about half full.
- Place another daisy embed into the mold on the opposite side of the mold. Gently press it into the soap better to help it stay in place, then gently cover the embed with soap. Pour more soap into the mold, until almost full.
- Place the last embed into the mold, on the opposite side of the second embed. Gently push it into the soap, and fill the mold with the remaining soap. Tap the mold firmly on the counter to help get rid of bubbles, and use a spoon to even out the top.
- Once you’re happy with the top, place the individual daisy pieces cut from the embeds into the top of the soap. Place them on the opposite side of the top embed in the mold. Place them where you’d like the middle of the bar to be once cut. We placed eight daisies into the soap and cut the bars about 1 inch thick. Spritz the top of the soap with 99% isopropyl alcohol to avoid soda ash.
- Wood molds insulate very well, which causes the soap to become quite warm. If you live in a very hot area, you may want to place the soap in the fridge for 3-4 hours to prevent cracking. If you don’t live in an extremely hot area, leave the soap at room temperature (do not insulate). You may want to keep an eye on the soap for the first hour or two to make sure the top does not crack. If a crack forms, place the soap in the fridge to avoid further cracks. Allow the soap to stay in the mold for 2-3 days, remove and cut into bars. Allow them to cure for 4-6 weeks before use. Enjoy!

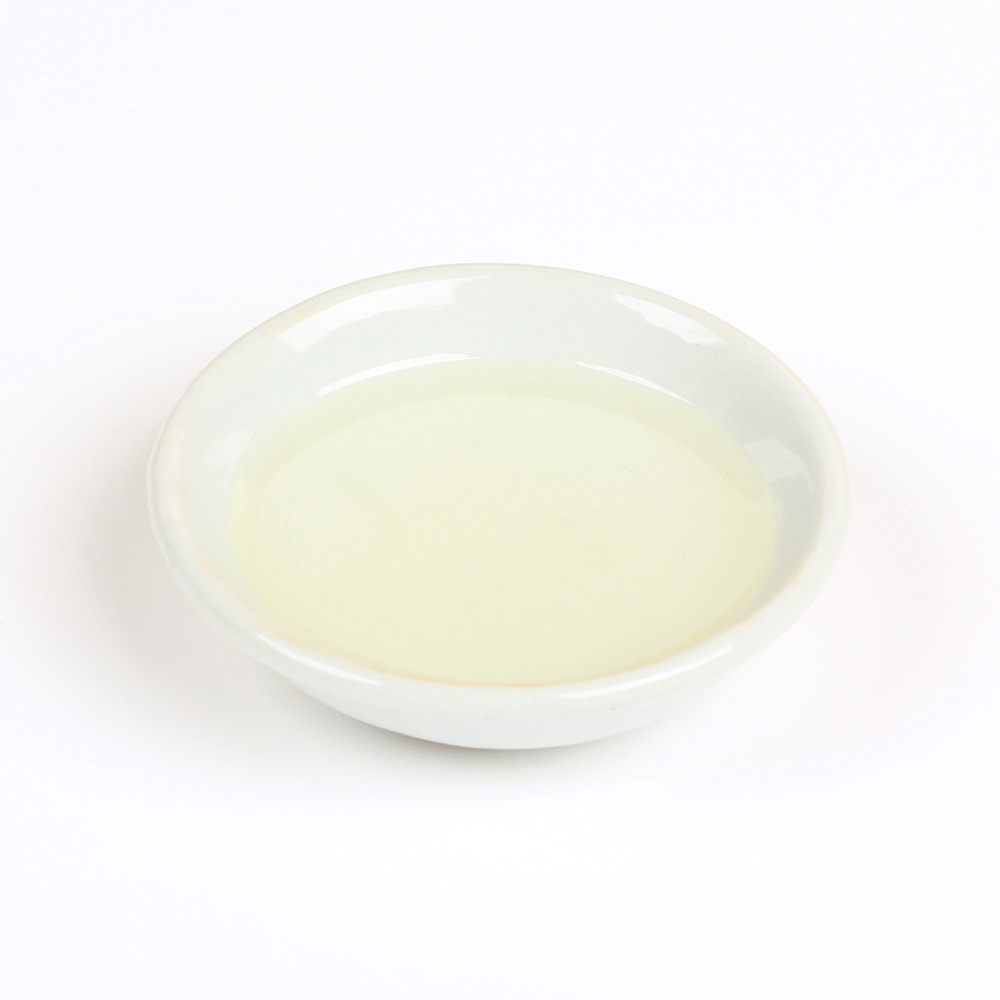
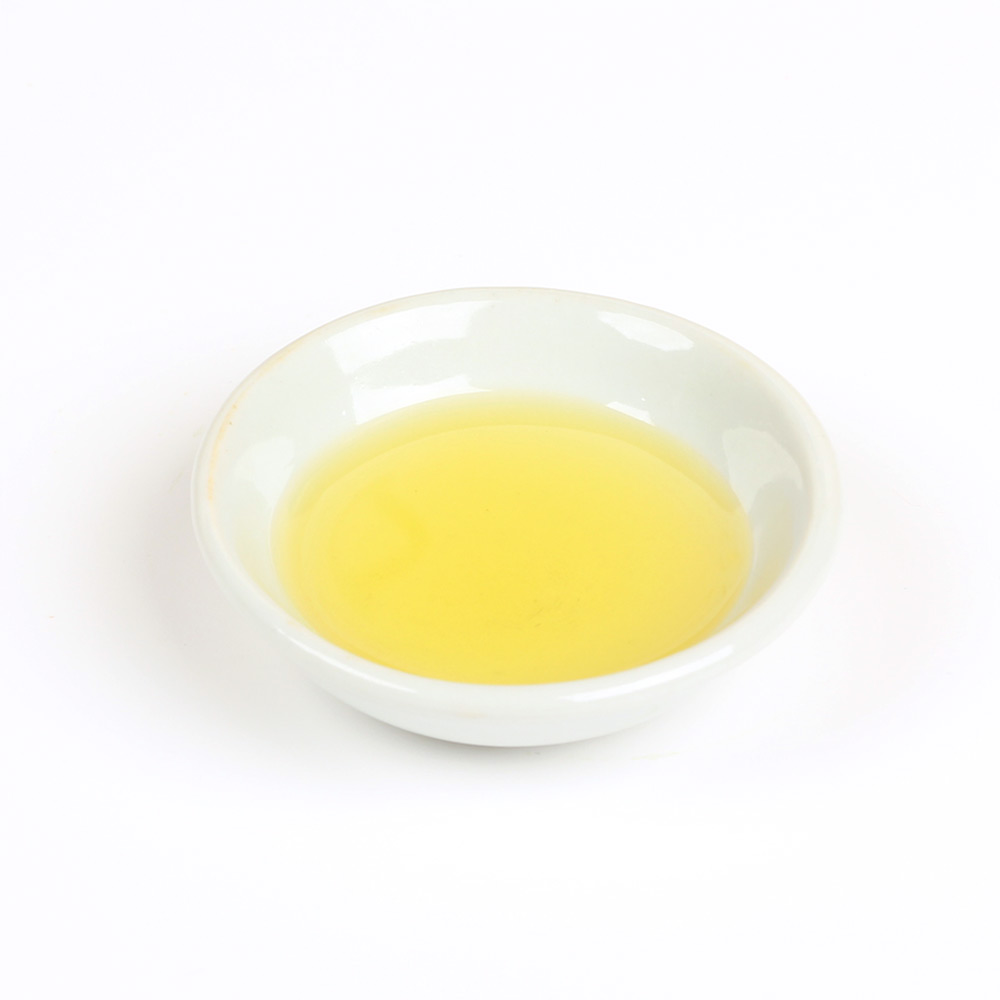
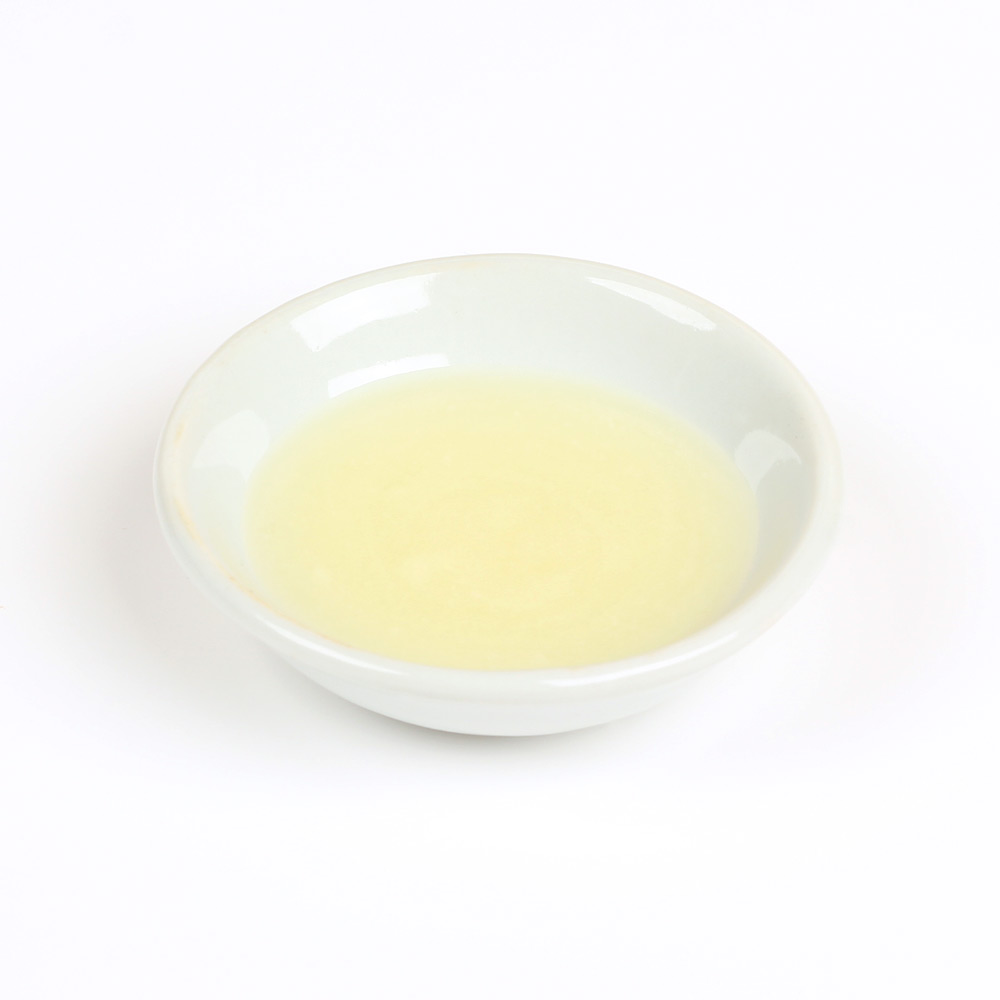




I got a tall skinny mold and made the embeds with melt and pour. But something went wrong. It’s like my embeds melted a little around the edges! The soap didn’t crack, so I know it didn’t get that hot. I used melt and pour from M*******. Is that the difference? I also got some air bubbles in a few bars (operator error) so I’m not too happy with the outcome. I didn’t put the soap in the fridge. Would that have made a difference? Should I try again? I did get my embeds in the center, which I was pleased with. I made marks on the paper-thanks for that tip, Kelsey!
On a side note, are there little plastic cups for mixing colorants that are completely flat on the bottom? Does anyone know where to get them?
I’m thinking the bases are sweating in the soap and create that melting look. Melt and pour bases have a lot of glycerin, so they draw moisture into the bars and morph. We recommend using LCP bases because they have less glycerin and don’t sweat as much: https://www.brambleberry.com/Search.aspx?k=lcp+bases
For the soap now, it’s totally fine to use and will feel great on the skin. You’ll want to keep it at room temperature because the fridge can actually cause more sweating. It helps to run a fan over the bars, use a dehumidifier, or place silica packets or rice nearby. That will help absorb some of that moisture.
For the cups, we find them at a local restaurant supply store like Cash and Carry. You may also be able to find them at the grocery store or online.
-Kelsey with Bramble Berry
suggest me a best recipe for oily skin plzzzzzzzzzzzzz
This Charcoal Facial Soap is really cleansing and great for oily skin: https://www.soapqueen.com/bath-and-body-tutorials/charcoal-facial-soap-tutorial/
-Kelsey with Bramble Berry
can we do that with out charcoal using bentonite clay
You can. We recommend mixing 1 teaspoon of clay with 1 tablespoon of distilled water, then adding 1 dispersed teaspoon a time at trace. Learn more about working with clay here: https://www.soapqueen.com/bramble-berry-news/sunday-night-spotlight-brazilian-clay/
Bentonite Clay: https://www.brambleberry.com/Bentonite-Clay-P4059.aspx
-Kelsey with Bramble Berry
i have added bentonite clay to oils before adding lye solution to oils , my soap doesnt cook even after 3:30 hours can u solve this
recipe is
coconut oil 12.8oz
olive oil 12.8oz
castoroil 6.4oz
bentonite clay 2tbsp
essential oil 2oz
lye 4.66oz
water 12.16oz
How long are you stick blending your soap? Is it cooking in a Crock-Pot or another source?
-Kelsey with Bramble Berry
I made the baby soap with bentonite clay and used goat milk instead of water. My mom uses it and so does a lady at work. I love it! I didn’t do the chamomile infusion – just used the oils without it.
I read that survivor breast cancer patients should not consume sunflower sends or sunflower oils .
That it can increase tumors.
All of the ingredients in this recipe are safe to use on the skin. However, if you have any concerns, I would recommend talking to your doctor. They can give you more information about what ingredients are best for you.
-Kelsey with Bramble Berry
Can I use this recipe and then sell the soap?
Absolutely, all of our recipes are available for making and selling.
-Kelsey with Bramble Berry
Hi , sorry to comment on this post about something else. I am new to soap making, have just made a HP batch a couple of weeks ago…it turned fine, although I was so intimidated by the lye that I overcooked it…you know just to make sure it was fully dissolved…Anyway, Since then I have bought the two books from Anne- Marie, seen almost of her videos and I am almost ready to do my first CP batch…I would like to use sodium lactate but I cannot find it where I live. I read in one of the books and in a couple of posts that I can use salt. My question is about the ratio of sat to use. In the Pure soapmaking book it recommends to use 1/2 teaspoon per pound of oils in the recipe but I saw some comments in this post (https://www.soapqueen.com/bath-and-body-tutorials/tips-and-tricks/formulating-cold-process-recipes/) that suggest to use 1 teaspoon per pound of soap. What is the recommended ratio? Also, some recommendations in the above post say to add it at trace and others to the water before adding the lye…what is the most effective way to use it? Finally, can I use sea salt? That is what I have at home. Thanks so much in advance!
You can use a salt water solution in place of sodium lactate. To make the solution, mix 1 teaspoon of regular table salt into 1 ounce (by weight) of warm distilled water. Stir until the salt is fully dissolved. We recommend 1 teaspoon of salt in 1 ounce of water per pound of soap. Make sure to discount the salt water solution from your liquid amount. Then, add the solution at trace. Sodium lactate is added to the lye water, but we recommend the salt solution at trace.
-Kelsey with Bramble Berry
Thanks so much Kelsey, will try it this way!
Hi!
Thanks for such a great recipe , I have just ordered 18 mini daisy silicone molds ^_^ but was wondering if I can do this recipe usig 5lb wooden mold ? Will the soaps come out weird ? Im soo worried ^_^
Thanks alot for your reply in advance
You’re welcome, glad you’re enjoying the recipe. This recipe will definitely work in the 5 pound Wood Mold, it will just need a few tweaks. The daisy embeds will be 12″ long, which will be too short for the mold, which is about 17″ long. You will need to cut a second embed to fit so it goes the full length of the soap. That means you’ll need to make a few extra embeds. Also, the 5 pound mold isn’t as tall, so you can pour less soap in between the embeds so they fit in the mold.
-Kelsey with Bramble Berry
5 Pound Wood Mold with Sliding Bottom: https://www.brambleberry.com/5-Pound-Mold-With-Sliding-Bottom-P5426.aspx
Thanks so much . Ill def give it a try
So cute! I have two questions. First, how thick did you cut the embeds for the top? And second, do you have any tips for placing the embeds so that when you cut the soap with the multibar cutter your embeds are in the center of each bar?
Why did you leave a one star review?
Technical difficulties!
Hi Dani,
If you look closely she makes marks in the soap before and after the embeds. You could also mark the paper.
That is my 2 cents until the more experienced can answer.
Debra
The embeds on top are about 1/4″ thick. You can cut them thinner or thicker if you like. To get them centered, I would recommend measuring the width in between the wires on the Multi Bar Cutter. Then, you can mark the freezer paper on the mold with those measurements, along with where the center is.
-Kelsey with Bramble Berry
Multi Bar Cutter: https://www.brambleberry.com/Multi-Bar-Cutter-P5256.aspx
I use the 10″ silicone mold…I had a custom order (my first) for bridal shower favor soaps. I was going to put dried rose buds in the center of each bar. I put them in and then freaked imagining cutting the bars and the rose buds being off. I started moving them around and messed up the tops so I pulled them off and used petals instead. I wish I could be sure without actually making cut marks on my silicone mold!
Congrats on your first custom order, that’s awesome. To prevent marks on your mold, you can place a long piece of tape on the top and mark that. You can use the strips of tape whenever you need to center something.
-Kelsey with Bramble Berry
Hello Anne-Marie!
I look forward to reading your recipes. These are pretty and plan to try it once I’m done with my basic essential oil soap kits. Question: Should I spritz alcohol right after adding every embed like in MP process?
Thank you!
Diona
You don’t need to spritz the embeds with alcohol! All you need to do is lay them in and pour the soap on top. That will hold them in securely.
-Kelsey with Bramble Berry