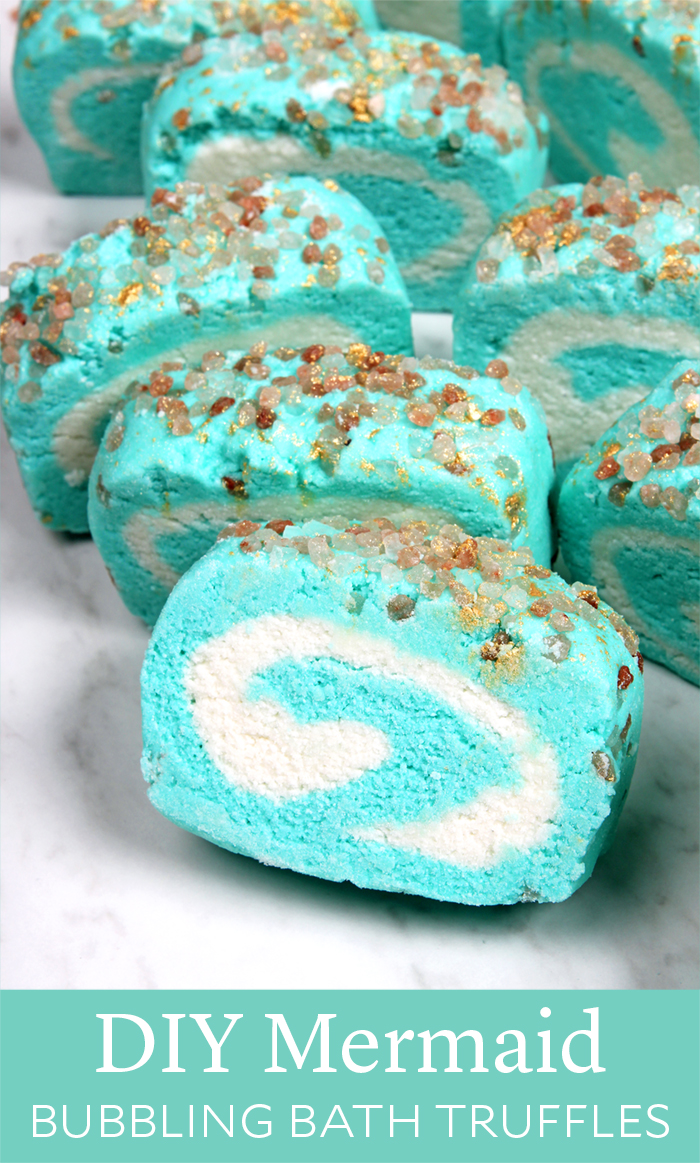
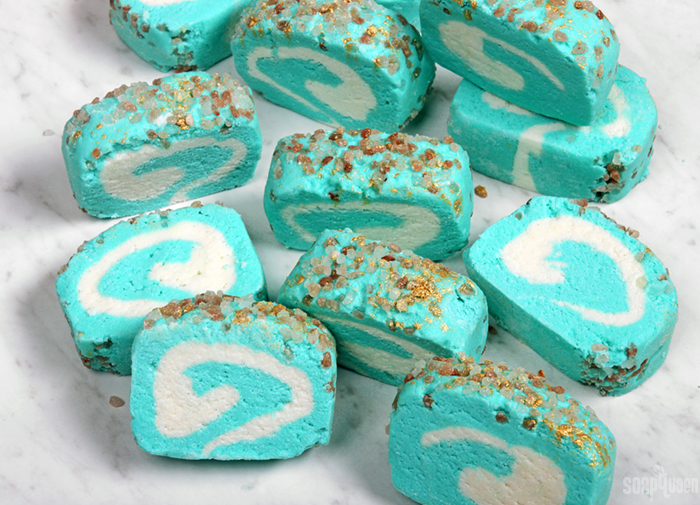
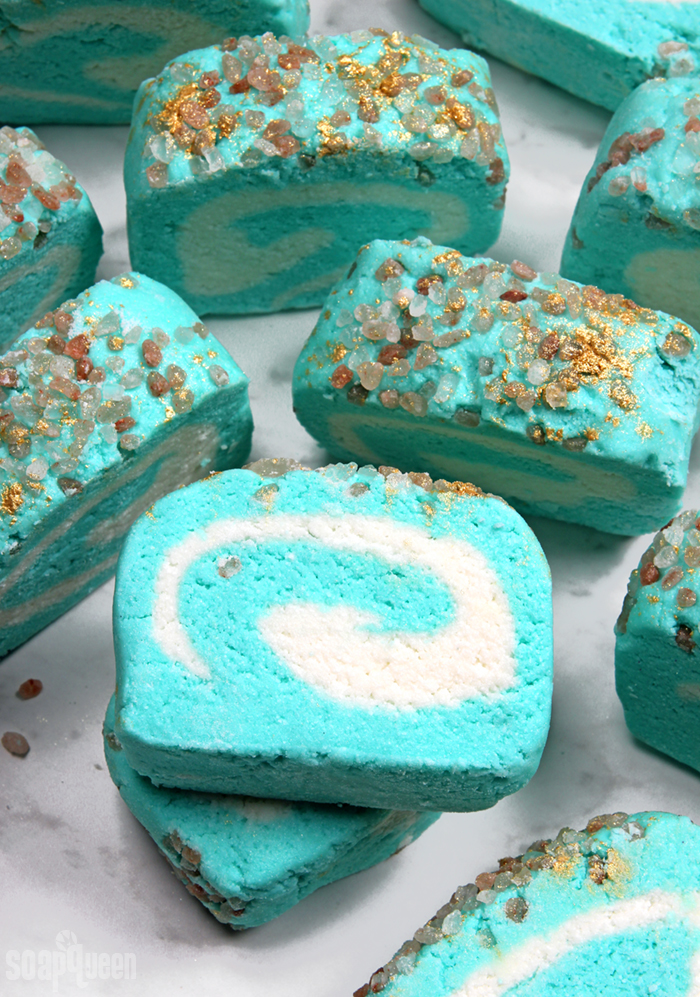
There’s no denying how fun bath bombs are. As soon as they hit the water they start fizzing, moving around the tub, and releasing color. But have you ever used a bubbling bath truffle? The experience is a bit different but just as fun. As you break them up under the running faucet, they slowly produce creamy, fluffy bubbles. It’s a luxurious experience unlike any other.
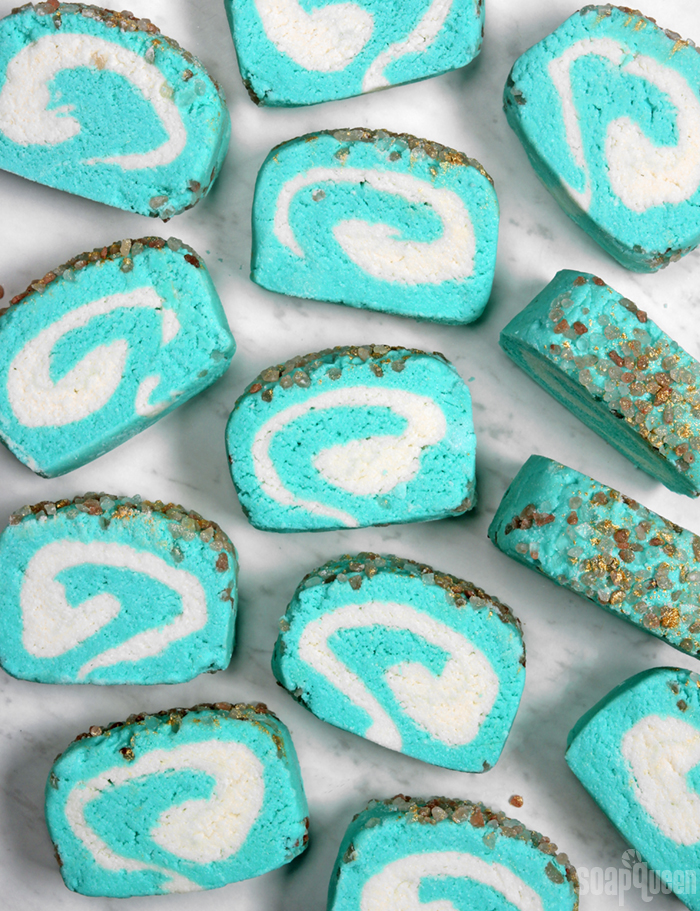
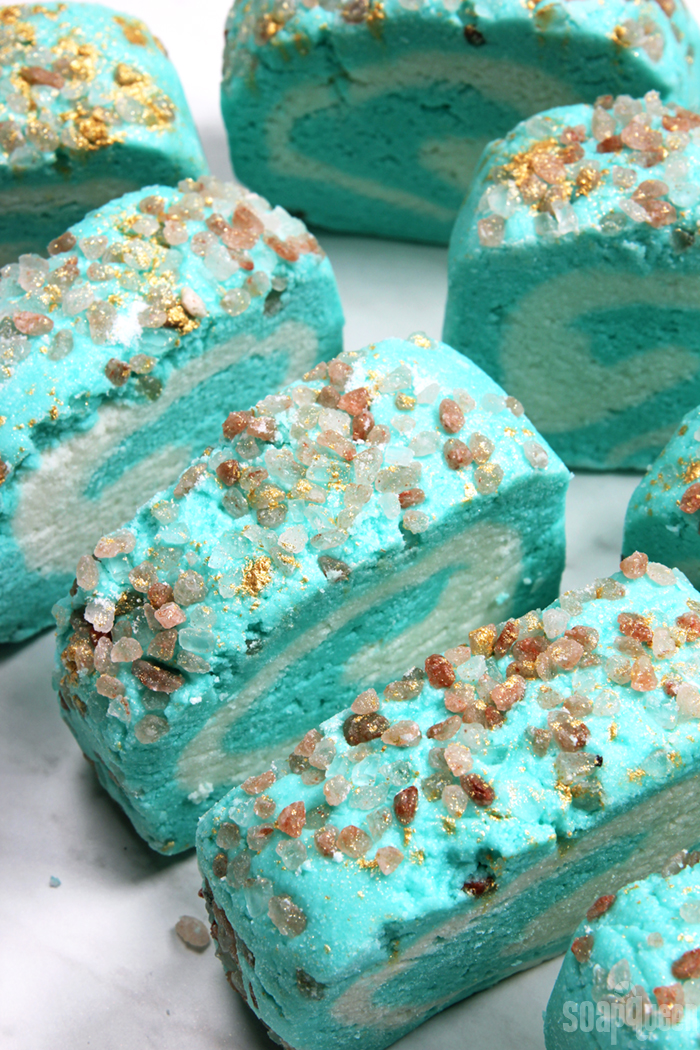
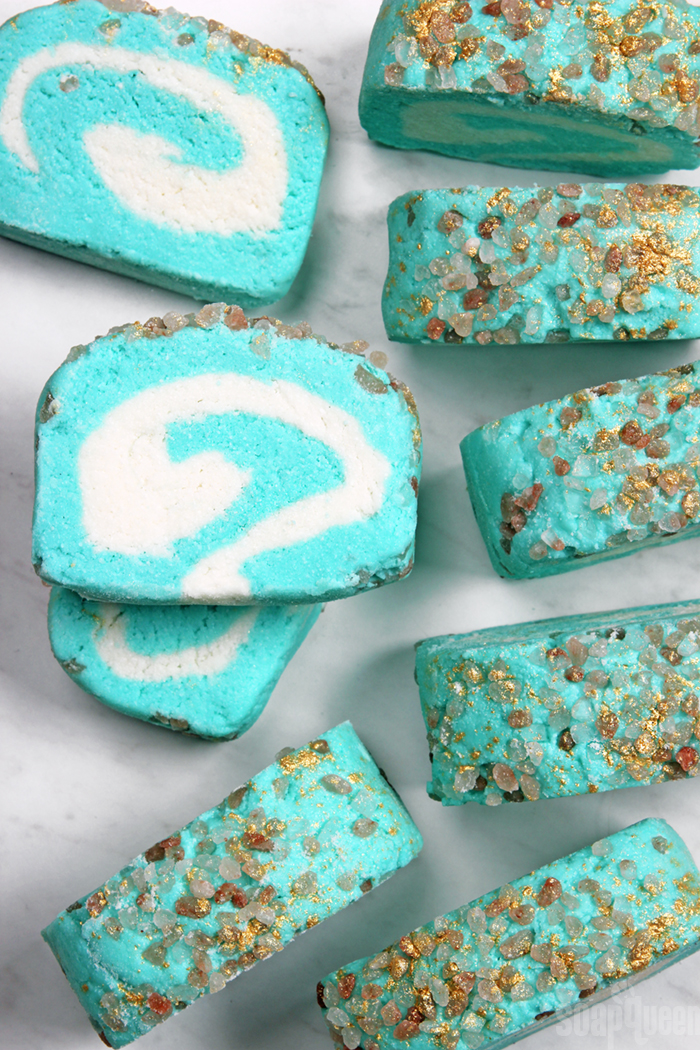
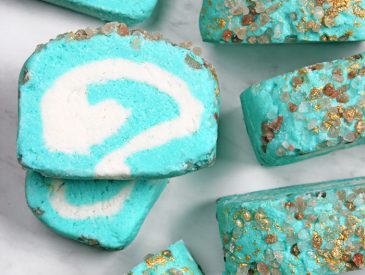
If you’re ready for some bubbly goodness, give these DIY Mermaid Bubbling Bath Truffles a try. They have all the components of a great truffle – SLSA for bubbles, shea and cocoa butter to moisturize, and cream of tartar for the signature fluffy texture. These bars also have sea-inspired additives like coarse pink sea salt and Aqua Pearl Mica. Finish them off with Island Escape Fragrance Oil and it will feel like you’re at the beach every time you use a bar.
What You’ll Need:
25 oz. Sodium Bicarbonate (Baking Soda) (41%)
7 oz. Citric Acid (12%)
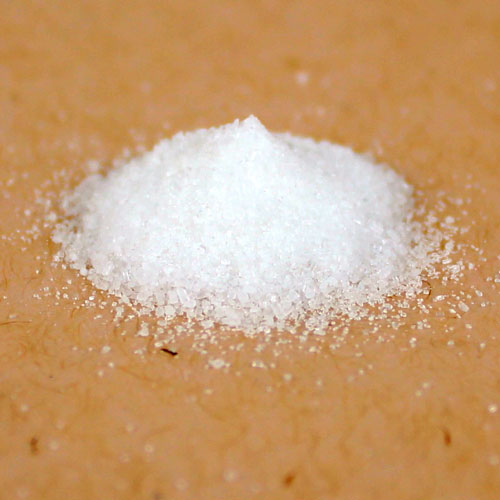
13 oz. SLSA (21%)
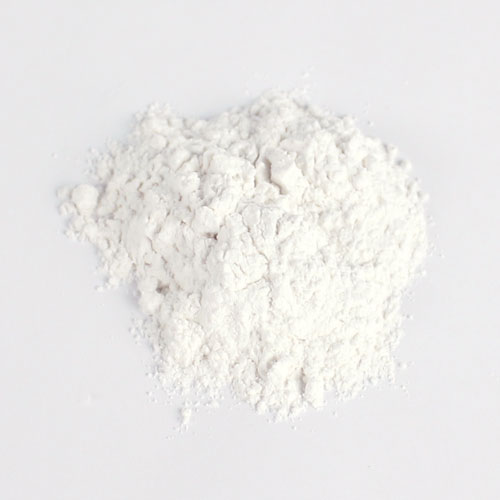
2.5 oz. Cream of Tartar (4%)
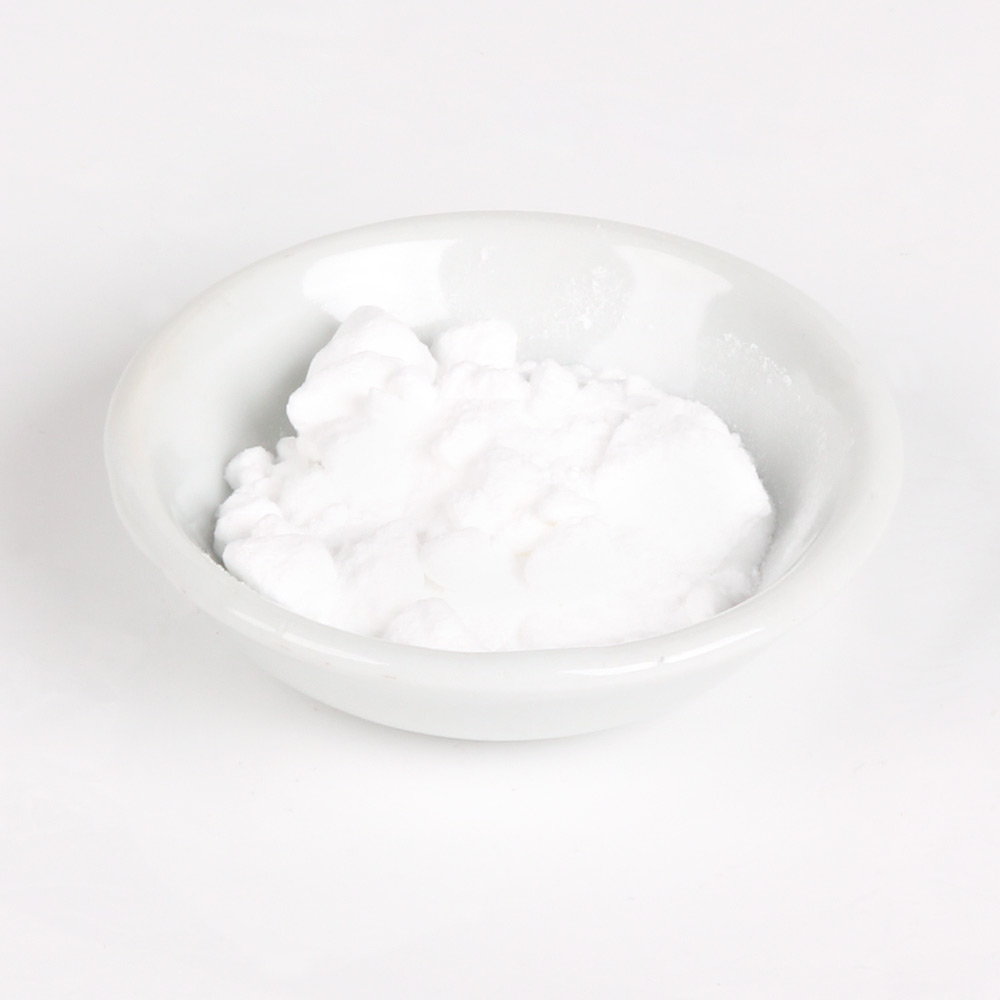
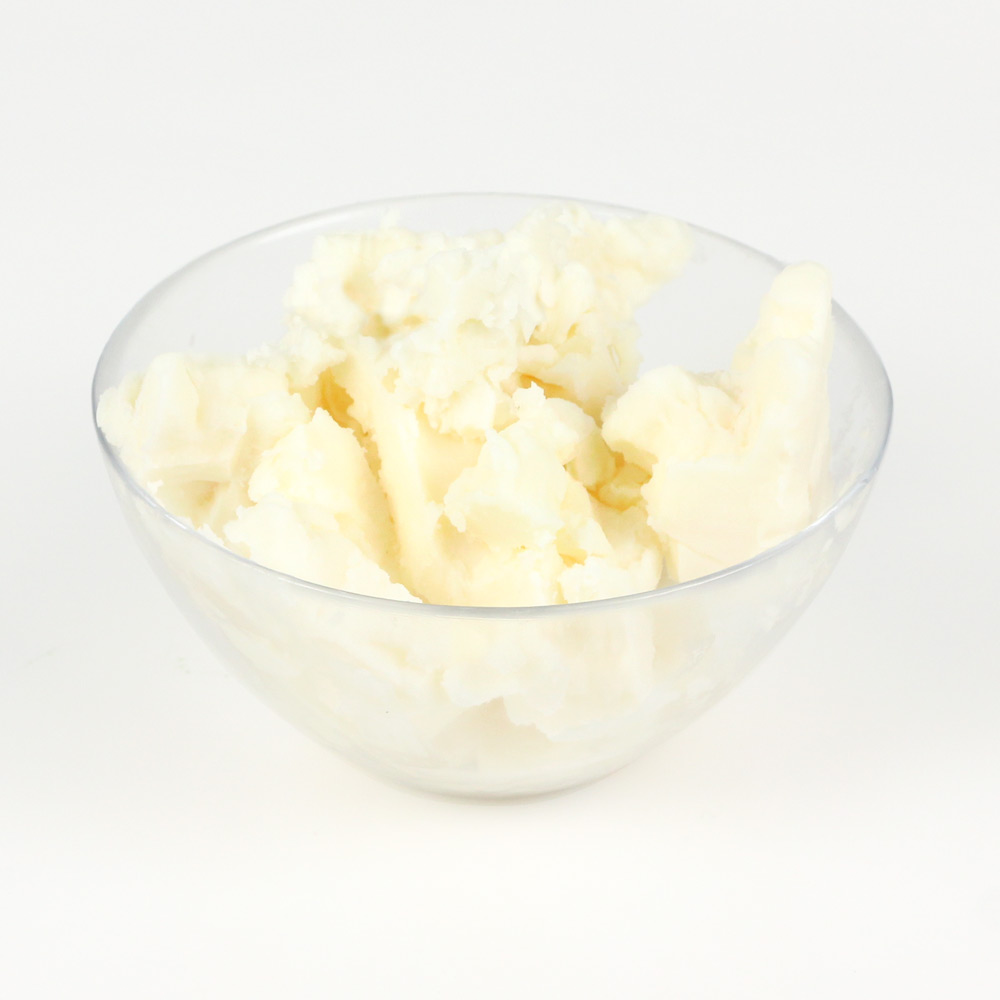
6 oz. Shea Butter (10%)
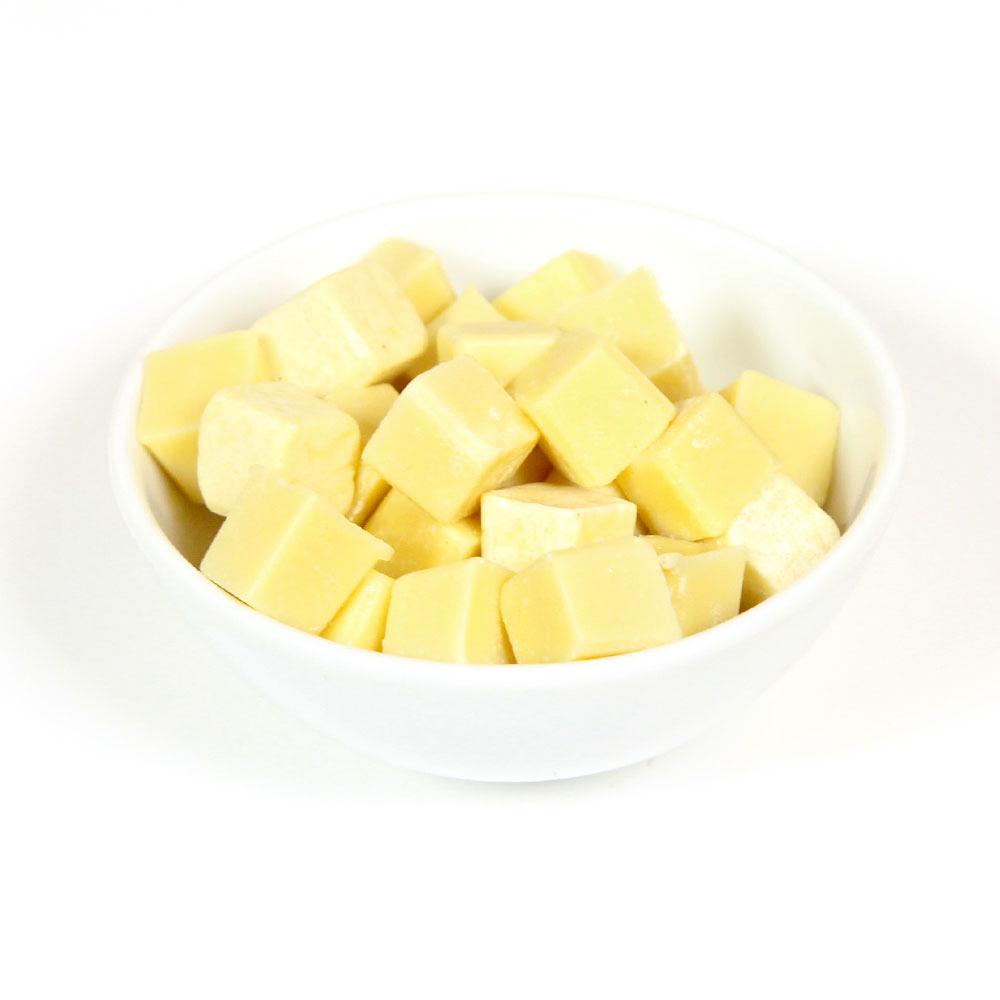
4.5 oz. Organic Cocoa Butter Cubes (7%)
1.5 oz. Liquid Glycerin (3%)
.5 oz. Polysorbate 80 (1%)
.6 oz. Island Escape Fragrance Oil (1%)
Aqua Pearl Mica
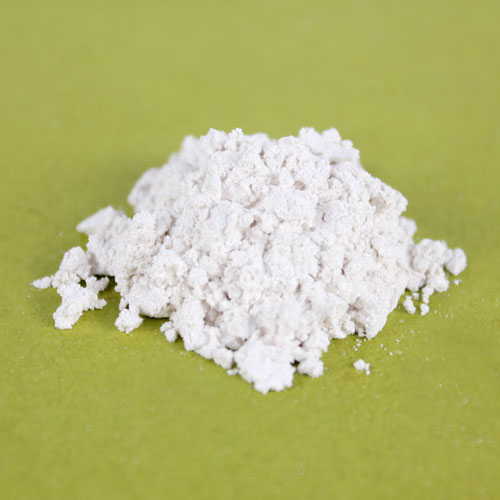
Super Pearly White Mica
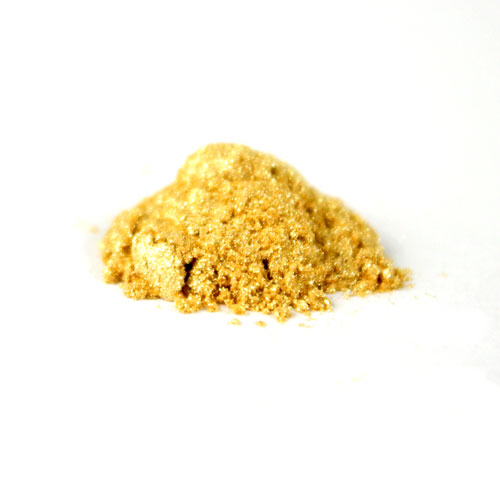
Gold Sparkle Mica
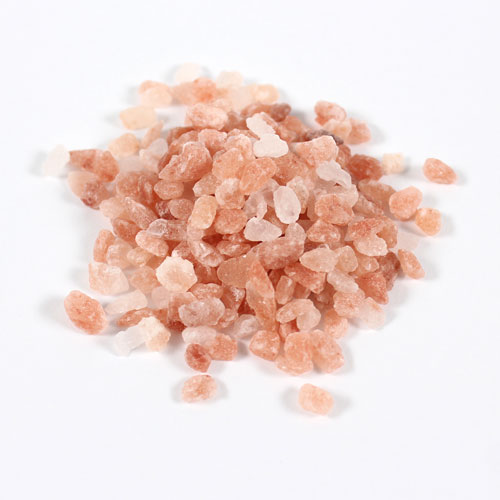
Coarse Pink Sea Salt

Click here to add everything you need for this project to your Bramble Berry shopping cart!
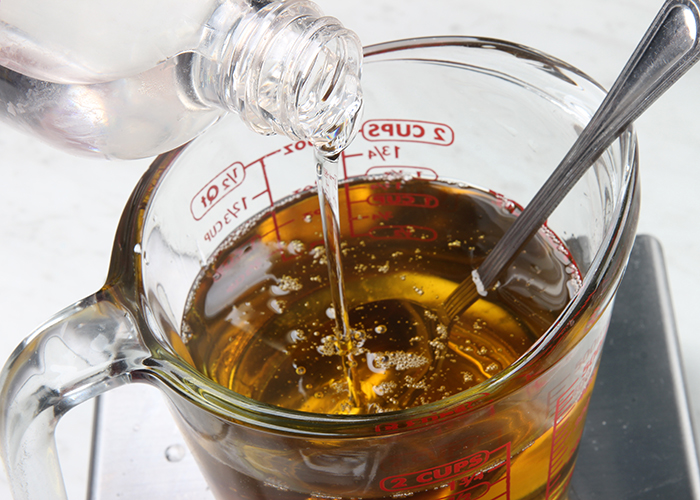
ONE: In a small heat-safe container, add the shea butter and cocoa butter cubes. Place the container in the microwave and melt the butters using 30-60 bursts. The cocoa butter takes a little while to melt. Be careful when removing it from the microwave, as it may be very hot.
TWO: Add the Island Escape Fragrance Oil, polysorbate 80 and glycerin to the melted butters. Use a spoon to thoroughly incorporate. Set aside.
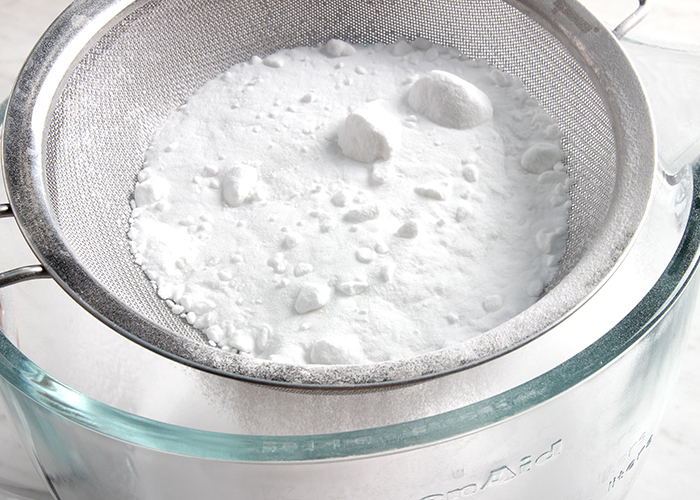
 THREE: Place a fine mesh sifter over a large container. Add the baking soda, citric acid and cream of tartar. Pour the ingredients through the sifter to get rid of chunks. Use a whisk to mix the ingredients together. Very carefully, add the SLSA to the large container (do not put it through the sifter). I recommend adding the SLSA very last. SLSA is extremely fine and powdery and can become airborne very easily. You may want to wear a mask during this step to avoid breathing in any SLSA. It is irritating if you breathe it in. Once all the ingredients have been added, slowly mix together the dry ingredients using a whisk.
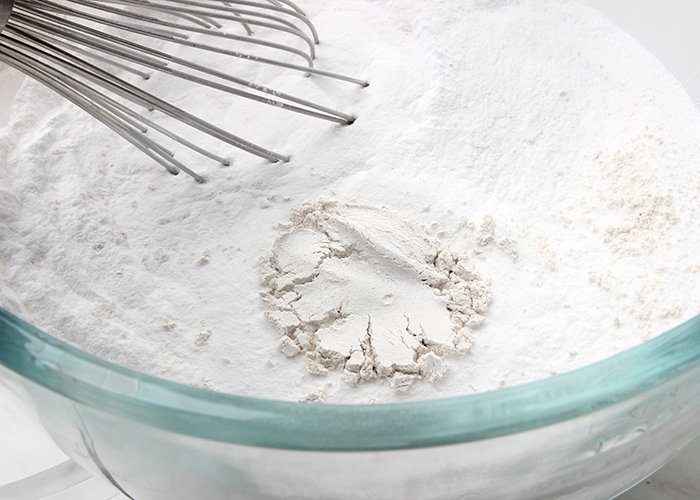
Add 1 teaspoon of Super Pearly White Mica to the entire batch and use the whisk to fully mix it in. The Super Pearly White gives more shimmer in the tub, but does not drastically change the color of the mixture. You can leave it out if you prefer.
 FOUR: Add about 1/3 of the melted butter mixture. I recommend adding the liquid ingredients to the powder when the liquids are about 180 ° F. This is quite hot, so I recommend using gloves to mix the liquid ingredients into the powder. The hotter the liquid ingredients are when added, the softer the final “dough” will be. Adding the liquid when it’s hot reduces the need to microwave it later. Use your hands to incorporate the liquid and powder ingredients together. If you prefer, you could also use a stand or hand mixer for this step, but I prefer using my hands.
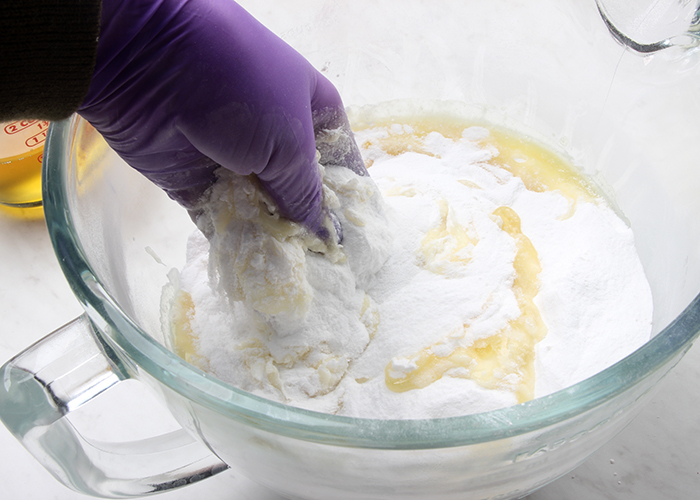 FIVE: Continue adding the liquid ingredients to the dry and mix together until fully incorporated. The final texture will be very similar to bread dough – soft, workable and slightly sticky. The texture of the mixture depends on the temperature of the butters. The warmer the dough, the softer it will be. We found a dough temperature of about 85-100 ° F is a great moldable texture. If your dough is cooler than that, place the entire mixture into the microwave for 10-20 seconds to warm it.
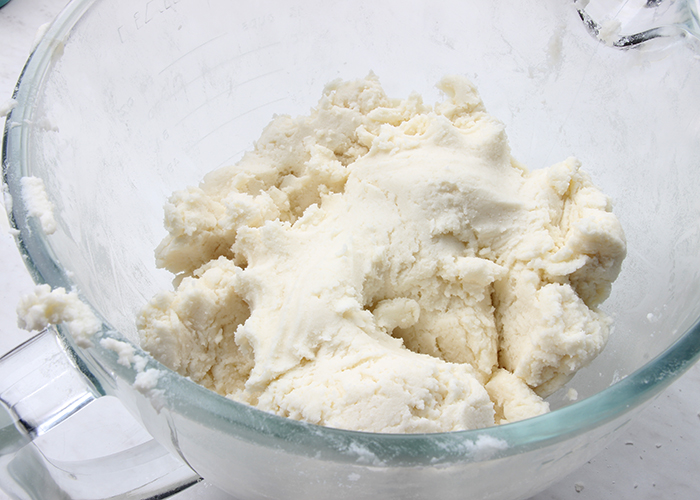 SIX: You will have about 60 ounces of mixture. Split the batch into two containers. One container will have about 40 ounces, the other will have about 20 ounces.
SEVEN: To the larger container, add 1 teaspoon of Aqua Pearl Mica. Use your hands to thoroughly mix in the colorant until there are no streaks.
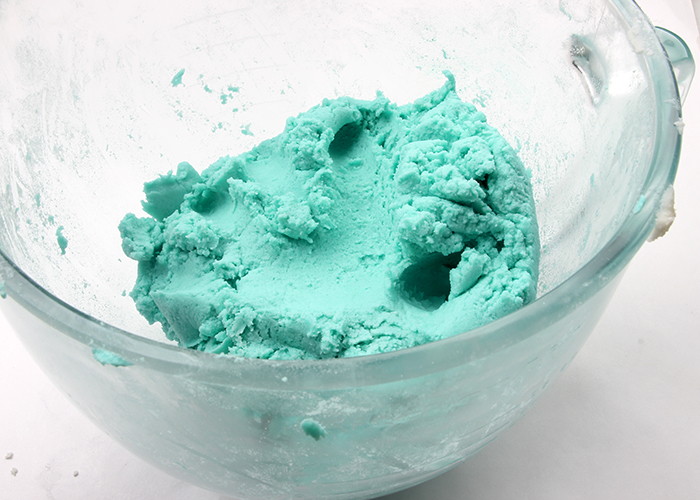 EIGHT: Once all the colors are mixed, it’s time to roll! Place a sheet of parchment or wax paper down to prevent the dough from sticking. Sprinkle your work surface with a bit of baking soda to prevent sticking. Clean off your counter space to mold the mixture and create a log shape.
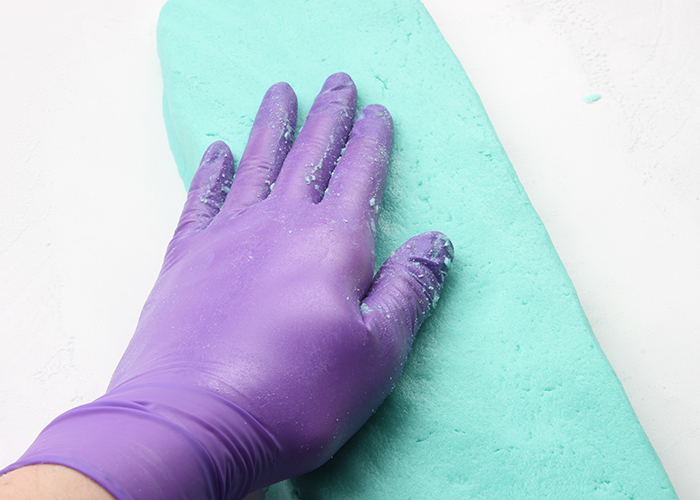 NINE: Place chunks of the white colored bubble bar mixture onto the blue. Use your hands to spread it evenly onto the blue, and press them down on each other. Create a flat rectangle shape – about 14 inches long, by about 7-8 inches tall.
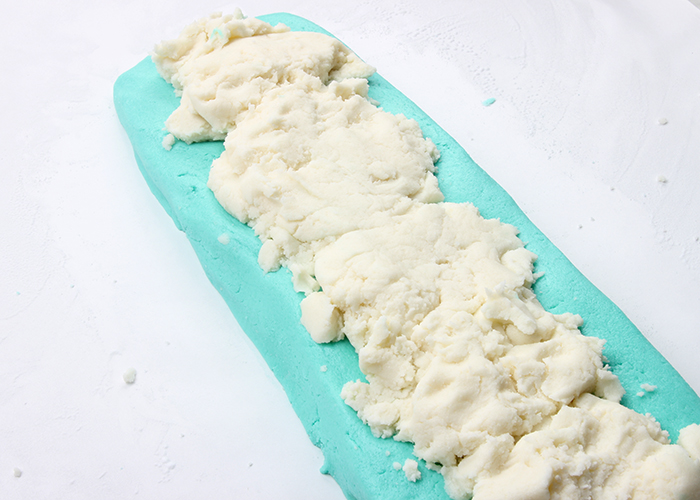
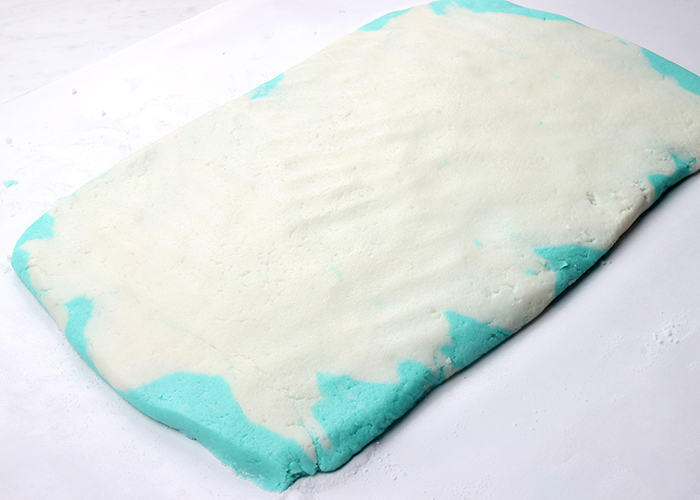 TEN: Use the parchment paper to roll the bubble bars. The bars may stick to the parchment or wax paper slightly, but that’s okay. You can use your hands to smooth out the roll.
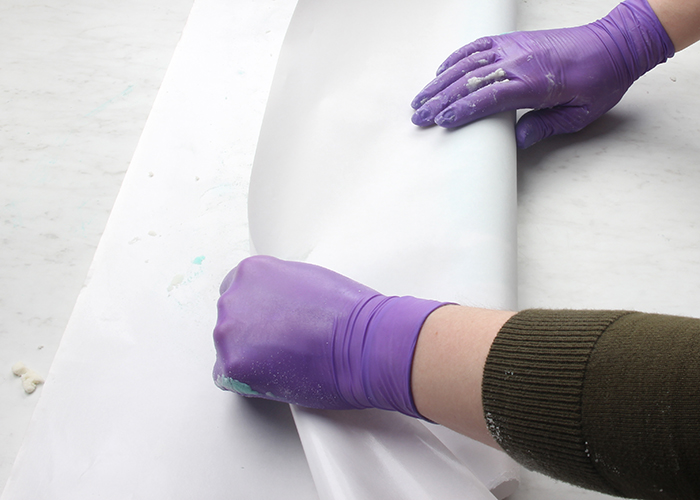
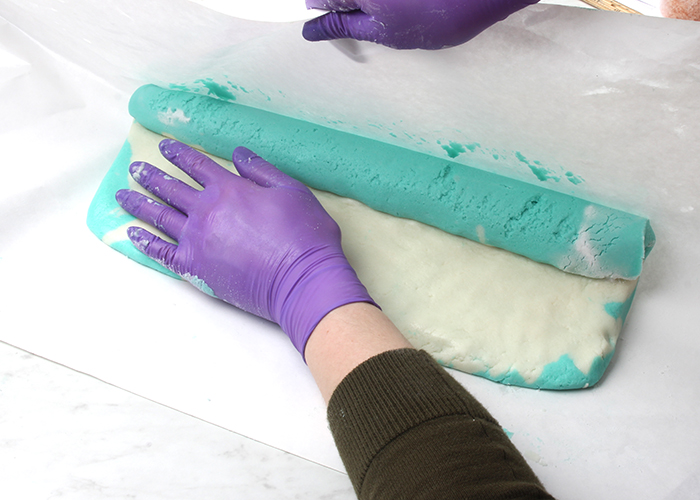
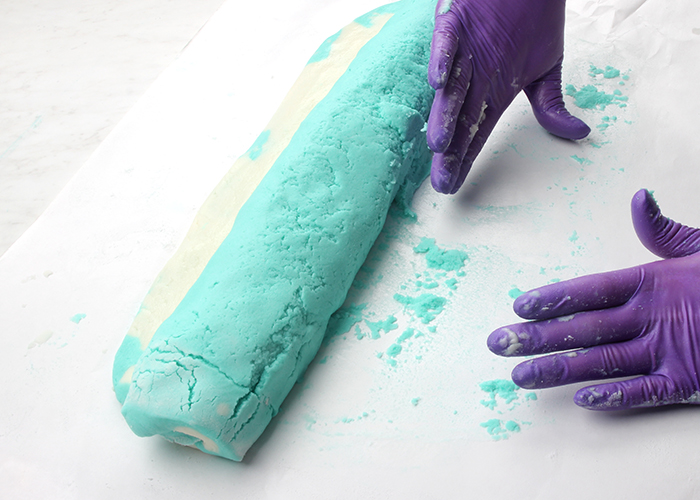 ELEVEN: Continue rolling, and use your hands to help create a smooth, even log.
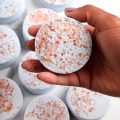
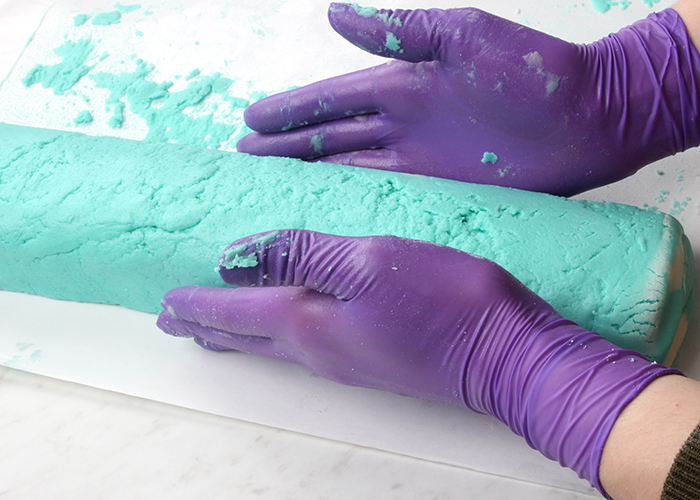 TWELVE: Once you’re happy with the shape, sprinkle the top with coarse pink sea salt and press the salt into the bars to help them stick.
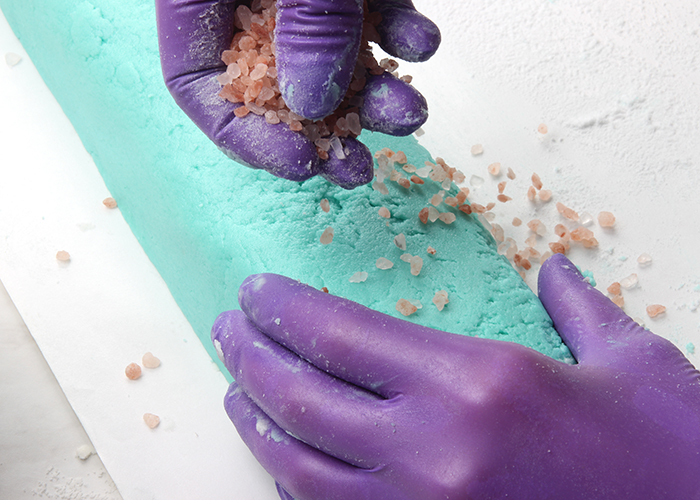
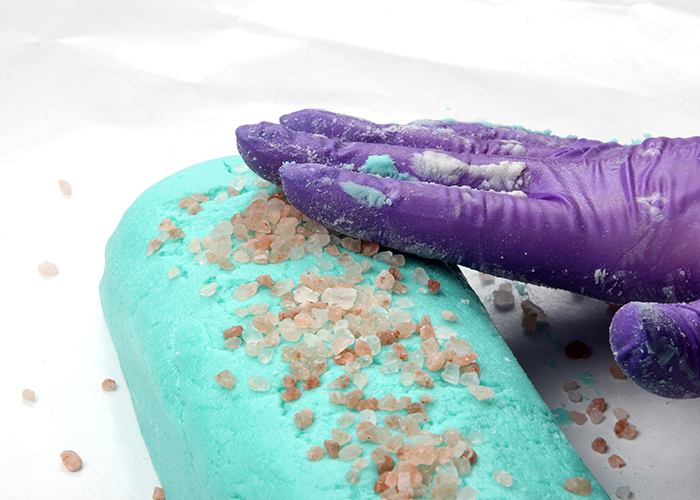 THIRTEEN: Sprinkle the top with Gold Sparkle Mica.
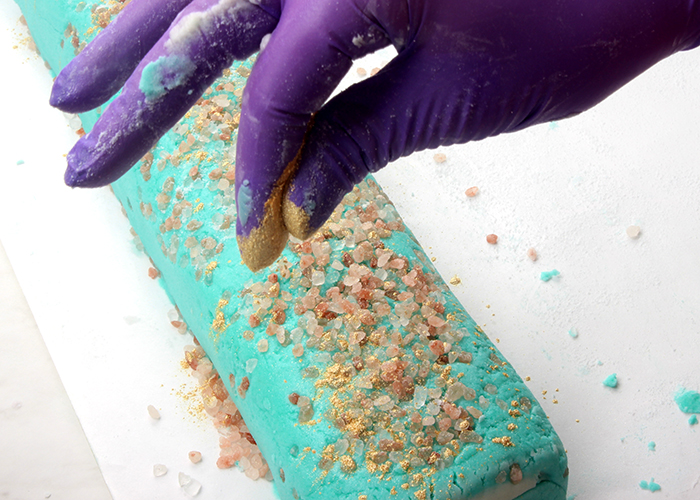
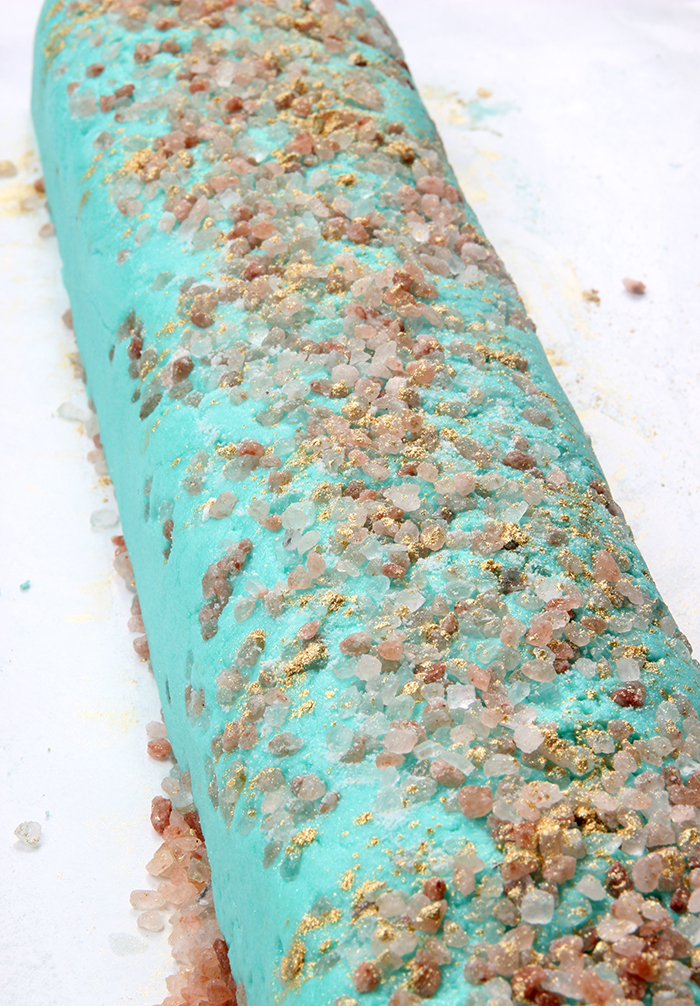 FOURTEEN: Use a sharp non-serrated knife to cut the log into bars. If the log is extremely soft, it can be a little sticky and needs to be handled very carefully. You can wait for about 30 minutes for it to harden slightly, or cut the bars very gently. How soft the log is will depend on how hot the butters were when mixed in, and if you placed the mixture in the microwave.
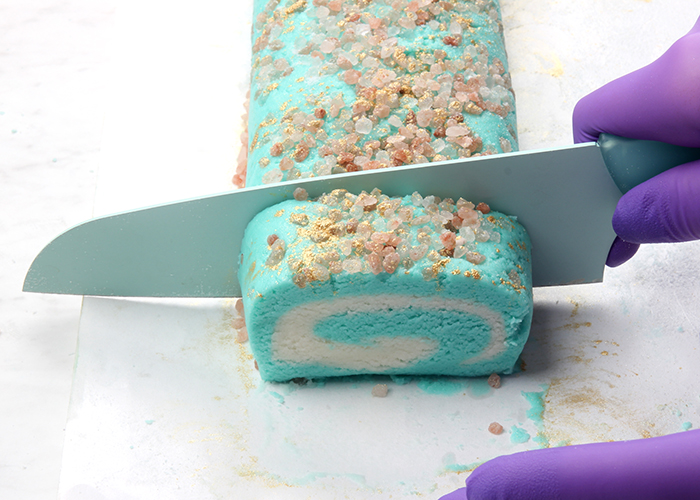 FIFTEEN: Once the bars are cut, place them gently on a piece of parchment paper or wax paper. Use your hands to give them a more uniform shape, smooth the edges, or fix any chunks that may have fallen off while cutting. As the butters in the bath truffles cool, they become hard. It takes about 3-4 hours for the bars to become firm depending on your room temperature. It can be hard to wait, but be patient!
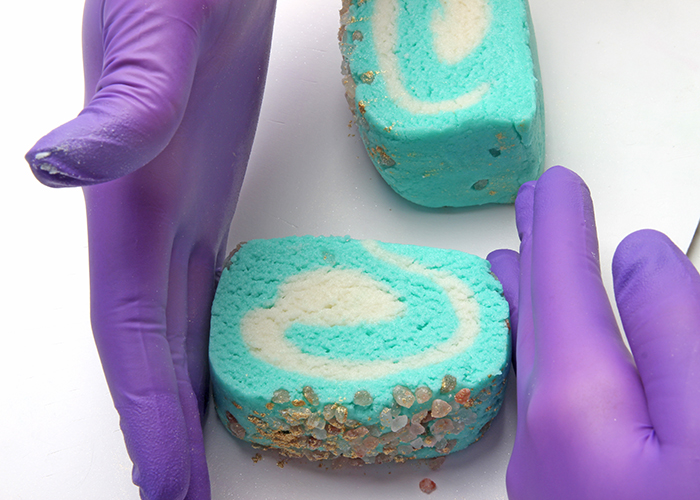
Once you’re ready to use the bath truffles, place them in the tub for a slow fizzing reaction with a small amount of foamy bubbles. If you want to “activate” more bubbles, hold the bar directly under the running bath faucet while breaking off small amounts of the bar.
- 25 oz. Sodium Bicarbonate (Baking Soda) (41%)
- 7 oz. Citric Acid (12%)
- 13 oz. SLSA (21%)
- 2.5 oz. Cream of Tartar (4%)
- 6 oz. Shea Butter (10%)
- 4.5 oz. Organic Cocoa Butter Cubes (7%)
- 1.5 oz. Liquid Glycerin (3%)
- .5 oz. Polysorbate 80 (1%)
- .6 oz. Island Escape Fragrance Oil (1%)
- Aqua Pearl Mica
- Super Pearly White Mica
- Gold Sparkle Mica
- Coarse Pink Sea Salt
- In a small heat-safe container, add the shea butter and cocoa butter cubes. Place the container in the microwave and melt the butters using 30-60 bursts. The cocoa butter takes a little while to melt. Be careful when removing it from the microwave, as it may be very hot.
- Add the Island Escape Fragrance Oil, polysorbate 80 and glycerin to the melted butters. Use a spoon to thoroughly incorporate. Set aside.
- Place a fine mesh sifter over a large container. Add the baking soda, citric acid and cream of tartar. Pour the ingredients through the sifter to get rid of chunks. Use a whisk to mix the ingredients together. Very carefully, add the SLSA to the large container (do not put it through the sifter). I recommend adding the SLSA very last. SLSA is extremely fine and powdery and can become airborne very easily. You may want to wear a mask during this step to avoid breathing in any SLSA. It is irritating if you breathe it in. Once all the ingredients have been added, slowly mix together the dry ingredients using a whisk.
- Add 1 teaspoon Super Pearly White Mica to the entire batch and use the whisk to fully mix it in. The Super Pearly White gives more shimmer in the tub, but does not drastically change the color of the mixture. You can leave it out if you prefer.
- Add about ⅓ of the melted butter mixture. I recommend adding the liquid ingredients to the powder when the liquids are about 180 ° F. This is quite hot, so I recommend using gloves to mix the liquid ingredients into the powder. The hotter the liquid ingredients are when added, the softer the final “dough” will be. Adding the liquid when it’s hot reduces the need to microwave it later. Use your hands to incorporate the liquid and powder ingredients together. If you prefer, you could also use a stand or hand mixer for this step, but I prefer using my hands.
- Continue adding the liquid ingredients to the dry and mix together until fully incorporated. The final texture will be very similar to bread dough – soft, workable and slightly sticky. The texture of the mixture depends on the temperature of the butters. The warmer the dough, the softer it will be. We found a dough temperature of about 85-100 ° F is a great moldable texture. If your dough is cooler than that, place the entire mixture into the microwave for 10-20 seconds to warm it.
- You will have about 60 ounces of mixture. Split the batch into two containers. One container will have about 40 ounces, the other will have about 20 ounces.
- To the larger container, add 1 teaspoon of Aqua Pearl Mica. Use your hands to thoroughly mix in the colorant until there are no streaks.
- Once all the colors are mixed, it’s time to roll! Place a sheet of parchment or wax paper down to prevent the dough from sticking. Sprinkle your work surface with a bit of baking soda to prevent sticking. Clean off your counter space to mold the mixture and create a log shape.
- Place chunks of the white colored bubble bar mixture onto the blue. Use your hands to spread it evenly onto the blue, and press them down on each other. Create a flat rectangle shape – about 14 inches long, by about 7-8 inches tall.
- Use the parchment paper to roll the bubble bars. The bars may stick to the parchment or wax paper slightly, but that’s okay. You can use your hands to smooth out the roll.
- Continue rolling, and use your hands to help create a smooth, even log.
- Once you’re happy with the shape, sprinkle the top with coarse pink sea salt and press the salt into the bars to help them stick. Sprinkle the top with Gold Sparkle Mica.
- Use a sharp non-serrated knife to cut the log into bars. If the log is extremely soft, it can be a little sticky and needs to be handled very carefully. You can wait for about 30 minutes for it to harden slightly, or cut the bars very gently. How soft the log is will depend on how hot the butters were when mixed in, and if you placed the mixture in the microwave.
- Once the bars are cut, place them gently on a piece of parchment paper or wax paper. Use your hands to give them a more uniform shape, smooth the edges, or fix any chunks that may have fallen off while cutting. As the butters in the bath truffles cool, they become hard. It takes about 3-4 hours for the bars to become firm depending on your room temperature. It can be hard to wait, but be patient!
- Once you’re ready to use the bath truffles, place them in the tub for a slow fizzing reaction with a small amount of foamy bubbles. If you want to “activate” more bubbles, hold the bar directly under the running bath faucet while breaking off small amounts of the bar.



How do I get the cocoa smell to go away. I’ve changed the f.o. in this recipe and another and I can still smell the cocoa.
If you’d rather they not have that chocolate scent to them, use deodorized cocoa butter instead: https://www.brambleberry.com/shop-by-product/ingredients/butters/deodorized-cocoa-butter/V000525.html
Hello,
I made this but used pink mica and .6 oz of baby rose fragrance instead and my bars came out too soft! I was able to cut about 4 really soft bars. I waited about 2 1/2 hours for it harden and it crumbled when I cut it. I believe the butter was about 85 degrees when I mixed it in.. What did I do wrong ?
This recipe is one that really relies on the humidity of where you are working, as if it is very wet it can cause them to stay soft for longer. If you were working with your butters when they were very warm it can also take longer to harden as well. My recommendation is to work cooler or in a room with a dehumidifier.
Hi I just tried to make these but unfortunately it didn’t become hard they become a little bit softer and not hard I follow the same amount and the same ingredients i dont no where is the proble?
Are they still soft now? How long ago did you make them? Also, do you live in a hot/humid climate? Let me know and I’ll help you troubleshoot.
would you say that this color is turquoise
The color be a lighter turquoise – it usually has more blue though. I think this color is closer to a light blue/teal.
Hi Kelsey
I’m finding that the truffles don’t take long to discolour? why would that be. We are making them, waiting for them to harden and then shrink wrapping them. Any ideas??
Fragrance discoloration in bath truffles can be tricky to predict – sometimes it happens quickly, other times it takes a few weeks. If you’re not a fan of the discoloration, you can use a fragrance that doesn’t discolor. Plumeria and Coconut Mango have nice tropical notes with no discoloration, so they’d be good options.
Plumeria Fragrance Oil: https://www.brambleberry.com/Plumeria-Fragrance-Oil-P3907.aspx
Coconut Mango Fragrance Oil: https://www.brambleberry.com/Coconut-Mango-Fragrance-Oil-P6086.aspx
Can I use deodorized cocoa butter instead of the cubes/pastilles?
Yes, the deodorized cocoa butter will work in this recipe.
Deodorized cocoa butter: https://www.brambleberry.com/deodorized-cocoa-butter-p3199.aspx
Hi Kelsey
If we were to use SLSA Needles instead of powder how would that effect the truffle? would I need to adjust the dry ingredients?
We haven’t worked with SLSA needles so I’m not sure. I would recommend contacting the manufacturer for information on how to use it in recipes. Then you can try a small test batch of this one.
You are out of cocoa butter cubes. I ordered the cocoa butter pastilles instead. Will this work out ok?
Yes, that will work for this recipe. Both will give you the nice moisturizing properties.
Cocoa butter pastilles: https://www.brambleberry.com/Cocoa-Butter-Pastilles–P3218.aspx
About how many bars does this make?
This recipe makes 10-12 bars. You can find that information at the top of the blog post in the “Yields” section.
Hi, did you use a rolling pin to roll the blue base into the long flat shape or just your hands??? Thanks Kate
You can just form the truffles with your hands. If you want to use a rolling pin, make sure to coat it with baking soda to prevent any sticking. Then, if you notice cracks after rolling, press those together with your hands.
-Kelsey with Bramble Berry
Thanks so much Kelsey 🙂
Can you use SLS in these instead of SLSA?
You can, that will work well: https://www.brambleberry.com/Sodium-Lauryl-Sulfate-P3562.aspx
-Kelsey with Bramble Berry
How much SLS/SLES would I use? It’s a liquid so would I decrease my oils or add more dry ingredients?
I wouldn’t recommend liquid SLS for this recipe. It’s usually diluted with water, which can set off the fizzing reaction when you’re working with it. Powdered SLS or SLSA would be best.
SLSA: https://www.brambleberry.com/Sodium-Lauryl-Sulfoacetate-SLSA-P5244.aspx
Do you use the whole package of pearly white mica?
You use 1 teaspoon of Super Pearly White Mica. Sorry for the confusion, we updated the blog with the amount it calls for. 🙂
-Kelsey with Bramble Berry
Hi!
Could I use Kaolin clay instead of cream of tartar?
If you want to substitute any ingredients in this recipe, it will change the texture of the dough. Changes to the recipe can affect how long you have to work with the dough, how firm the bars become, how easily the bars can be rolled and cut, how it behaves in the tub, etc. In general, we don’t recommend making substitutions for the dry and wet ingredients in this recipe. If you do want to tweak the recipe, consider making a smaller batch with one color to see how the changes affect the texture of the dough and results in the tub.
-Kelsey with Bramble Berry
I just made these from buying the kit but I noticed the recipe calls for 2.5 oz of cream of tartar and you only have one 2 ounce bag with the kit. Will this make a big difference?
Sorry about that Erica, we got the kit updated. It now comes with 4 oz. of cream of tartar so you’ll have enough for this recipe.
-Kelsey with Bramble Berry
I made these as scoops and they look and smell amazing. When I used one the bubbles really dissipated quickly though, is that how They normally work because of the butter?
That’s awesome, glad they look and smell amazing. These bars don’t bubble the whole time, just in those first few minutes. The butter may weigh some of that lather down, but it does feel really creamy and luxurious.
-Kelsey with Bramble Berry
The truffles are gorgeous but I stay as far away from SLSA as possible, what would be a possible sub that I could use, I have extremely sensitive skin so that’s why I stopped using items w harsh chemicals in them and most of my customers are the same they mostly have eczema & some have psoriasis so I only sell to them what I’d be willing to use myself. Plz advise. Thz
There isn’t a replacement for the SLSA, but you can make bath truffles without them. This recipe has no SLSA and is scented with essential oil: https://www.soapqueen.com/bath-and-body-tutorials/diy-sleep-time-bath-truffles/
-Kelsey with Bramble Berry
Hi..
for this recipe do u use vegetable glycerine?
We do, learn more about our glycerin here: https://www.brambleberry.com/Glycerin-Liquid-P5965.aspx
-Kelsey with Bramble Berry
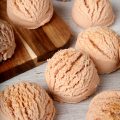
Made this last night with my daughter. I didn’t bother to roll it but instead opted to make scoops with an ice cream spoon. They came out great and we were able to get 20 large truffles out of it. These things are awesome! Thank you so much for sharing this recipe!
That’s awesome, glad you’re enjoying the recipe. The ice cream scoop truffles look adorable, we’ll have to make those for a tutorial.
-Kelsey with Bramble Berry
can someone tell me what a burst is. thank you
The 30-60 second bursts are how long the container stays in the microwave. So, put the container into the microwave for 30-60 seconds, remove, stir, and if it’s not quite melted, put it back in for 30 seconds and repeat until it is.
-Kelsey with Bramble Berry
I tried to made this recipe and I didn’t have enough shea butter. I mixed mango butter (soft) with a little bit of kokum butter (very hard) to add to the shea. I also used sal butter instead of cocoa butter. It turned out wonderful!! It didn’t fall apart and hardened up nicely. It was easy to crumble and felt my skin feeling great!
That’s awesome Missie, glad you’re enjoying this recipe. Butters are great for moisturizing the skin.
-Kelsey with Bramble Berry
What about making these in a silicone mold? Has anyone tried that? If so, how did they come out?
When this dough is first made it’s soft and slightly sticky. We tried the recipe with a mold before and found it stuck to the sides. You can see our experiments with this recipe here: https://www.soapqueen.com/bath-and-body-tutorials/diy-rainbow-bubbling-bath-truffle/
You may try a small test batch to see if it sticks to the silicone at all.
-Kelsey with Bramble Berry
Can you make this without the polysorbate and substitute with a natural clay for coloring ?
We recommend Polysorbate 80 in this recipe because it’s an emulsifier that helps mix the color and oil into the bath water, rather than pooling on top. Without it the bars can make the tub pretty slippery so you’ll need to use caution when exiting. Also, clay absorbs moisture so it can make the bars drier and tricky to work with. I would recommend a small test batch with the substitutions to see what you think.
-Kelsey with Bramble Berry
Hi,
Can I use sunflower lecithin as an emulsifier instead of polysorbate?
Thank you
We haven’t given that a try so I’m not entirely sure. You may want to make a small test batch to see if it works in this recipe.
-Kelsey with Bramble Berry
Can I half the recipes. I want to use 2 different oils. It’s only for me.
You can halve the recipe if you like. Also, if you use different oils, keep in mind it can change the consistency and performance of this recipe. You may want to make a small test batch to see how it works.
-Kelsey with Bramble Berry
Hi, thanks for the recipe they are beautiful.
i was just wondering if I want to substitute the fragrance oil with essential oil. how much of a essential oil would go in? I know essential oils are pure and only a little is needed. Please and thank you for your help 🙂
You can use an essential oil if you like, that will smell nice in this recipe. Find out how much to add with our Fragrance Calculator: https://www.brambleberry.com/Pages/Fragrance-Calculator.aspx
-Kelsey with Bramble Berry
I tried to go to that link but there is no option for bubble bars only like soap, wax lotion 🙁
Oh sorry for not being more clear, you can use the “Salts” category for this recipe.
-Kelsey with Bramble Berry
Hi–am curious about the dust/glitter–whether it is not the best for you to soak in/get amongst private parts..?
All the ingredients in this recipe are skin safe. If you have any concerns, I would recommend talking to your doctor.
-Kelsey with Bramble Berry
I saw glitter mentioned in the Blog, but not in the recipe. Where is it in the recipe?
That’s a mistake on our part, this recipe doesn’t contain glitter. I removed it from the introduction. Thanks for catching that.
Hi! I was wondering what the polysorbate 80 is for? I would prefer to leave it out if possible. If not, can I sub an emulsifying wax instead? Thanks 🙂
We recommend Polysorbate 80 in this recipe because it’s an emulsifier that helps mix the color and oil into the bath water, rather than pooling on top. Emulsifying wax will change the texture of the bars and can make them feel clumpy or waxy.
Polysorbate 80: https://www.brambleberry.com/Polysorbate-80-P4438.aspx
-Kelsey with Bramble Berry
Looks amazing!! Is there any way to make it without the SLSA? I know it wouldn’t be foamy bubbles, but would it still fizz and bubble a little with just the other ingredients?
These bars will fizz but they won’t bubble without the SLSA. We definitely recommend it for best results. If you do leave the SLSA out, you will need to adjust the liquid ingredients so the dough isn’t too wet.
-Kelsey with Bramble Berry
I made these yesterday and they turned out wonderful. I used about .1 to .2 more of glycerin because I live in a very dry climate (vegas). I also used my kitchen aid mixer because I did not want to rush and worry about the butters cooling. Using the mixer was awesome! The consistency came out very well and I had plenty of time to play with the dough. Thanks for the recipe!
Oh that’s awesome, thanks for the great tips Natalie. Have you had a chance to try one yet? Can’t beat those creamy bubbles.
-Kelsey with Bramble Berry
Yes I have tried one. Very nice foam and bubbles! Love them.
So glad to hear that. 🙂
-Kelsey with Bramble Berry
Could I make these with your Stephenson foaming bath butter?
Foaming Bath Butter has a fairly high water content, so over time it may set these fizzies off. If they go off before they’re used in the tub they won’t bubble or fizz as much. The SLSA will give you nice bubbles and doesn’t have any water, so it’s what we recommend for this recipe.
-Kelsey with Bramble Berry
Foaming Bath Butter: https://www.brambleberry.com/Foaming-Bath-Butter-P4955.aspx
What is the best way to store these? And how long can they be stored and still keep their “bubbles”?
We recommend wrapping them tightly with plastic wrap and storing them in a cool, dry place. We’ve found they perform best when used within 6 months.
Learn more about storing your products here: http://www.soapqueen.com/bath-and-body-tutorials/tips-and-tricks/how-to-store-handmade-bath-products/
-Kelsey with Bramble Berry
Roughly how much in weight does this make because that seems like a lot!
This recipe makes about 60 ounces. Our bars weigh about 5 ounces each, so we got 12 bars. You may get more or less depending on how big you cut the bars.
-Kelsey with Bramble Berry
I tried and mine crumbled didn’t roll well, turned them into a MOLD letting them dry now, I get so frustrated, I wonder what I did wrong? maybe the butters ?
If the butters start to harden they can make the mixture crumbly. If you notice the mixture in the bowl getting crumbly, put it in the microwave for about 30 seconds and it should soften and mold easily.
-Kelsey with Bramble Berry
would adding more glycerin help as well? just curious, because I am getting ready to make these and I live in a very dry climate.
Yep, you can definitely add a bit more glycerin if you live in a dry climate. The .1 to .2 oz. you used is a great place to start.
-Kelsey with Bramble Berry
OMG!!! Those are beautiful. Definitely making these. I was wondering if it will be the same as the rainbow ones as far as about a 5 oz. bar for the right amount of bubbles? Thank you, very excited to try these.
I have the rainbow bars ready to make and I just compared the two and they are identical so I guess that answers my question. Thank you, Lynda
Yep, these bars are about 5 oz. each depending on how thick they’re cut. 🙂
-Kelsey with Bramble Berry
The problem is, is it a bubbly bath fizzy, or a fizzy bubble bath bar?
This truffle is really fantastic in the tub. As you break it up under the running water, it slowly starts to fizz and bubble. It creates a creamy lather in the tub that feels really nice on the skin. If you have Instagram, you can see the way it bubbles in the @Brambleberry story.
-Kelsey with Bramble Berry
Hi there!
I made a version of these today, and I love the high moisture content! My skin feels very soft. But here’s my problem: We live in the Central Valley in California, and we have hard water, so the bubbles didn’t last. Will adding more slsa make more bubbles? Can I fix my hard water situation to make the bubble effect better?
These bars don’t bubble the whole time, just in those first few minutes. You can try adding more SLSA if you like, but you will need to adjust the liquid ingredients so they don’t get too dry. A small test batch will help you determine how to adjust the recipe and if that helps with more bubbles.
-Kelsey with Bramble Berry
Totally going to do this tomorrow!! I love the fact that all of the recipes here are so Skin nourishing. Isn’t that the point?
Products that are fun to use and make your skin happy are a win win! Have fun giving these bars a try Natalie.
-Kelsey with Bramble Berry
This is my all-time favorite (type) recipes!
I love making bubble bars, mostly because giving them away.
They’re amazing gifts, everyone usually lives bubble bath and these are even better!
Absolutely, it’s like giving your loved ones the gift of relaxation. 🙂
-Kelsey with Bramble Berry