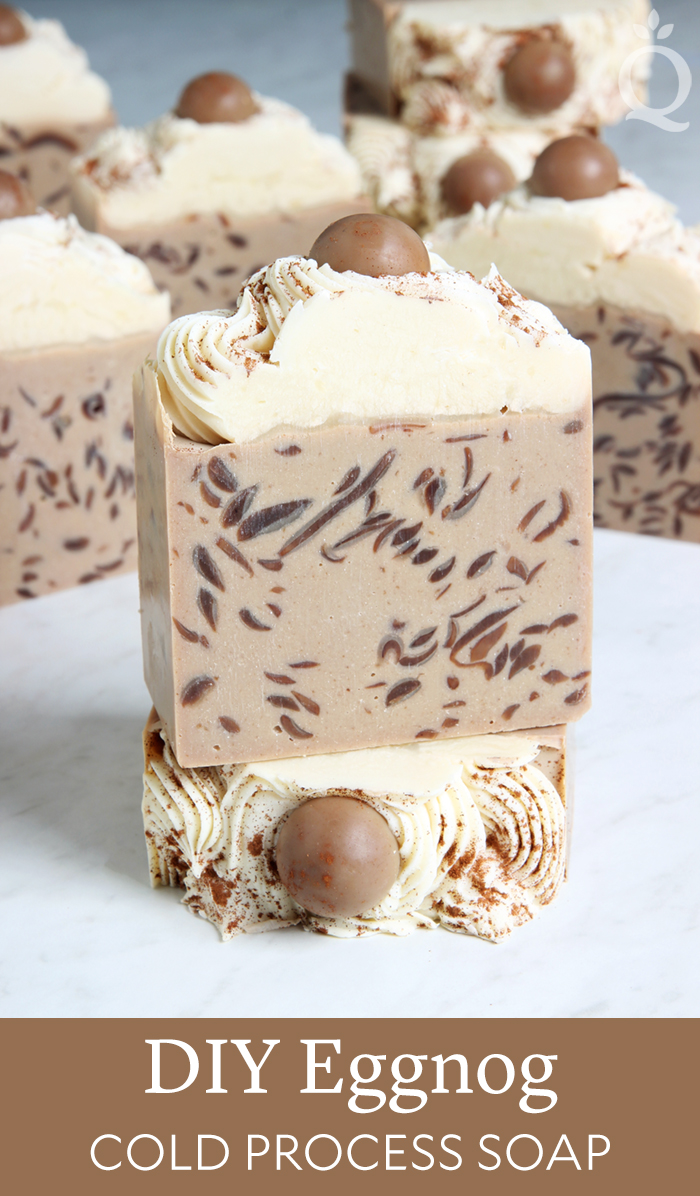
 When the temperature starts to drop, nothing beats a glass of eggnog. Well, nothing except a glass of eggnog with a little splash of rum. If you’re a fan of that combination, you’ll love our new Spiked Eggnog Fragrance Oil. It has notes of vanilla, nutmeg, caramel, and rum.
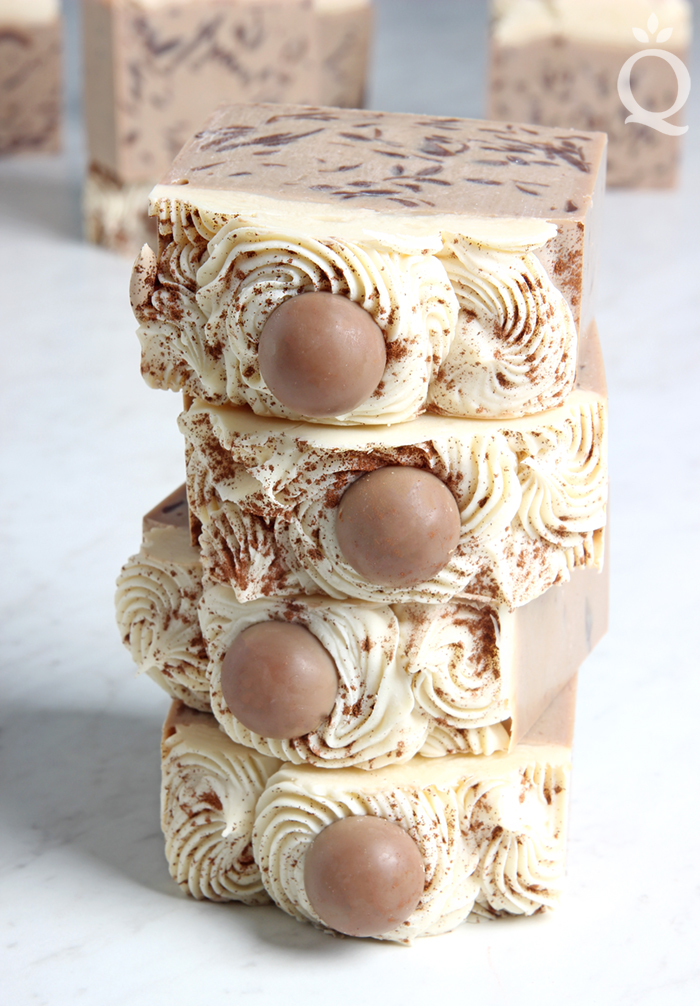
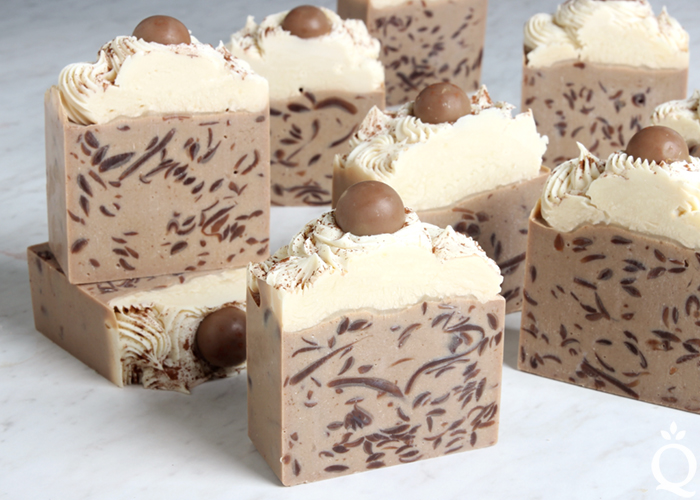
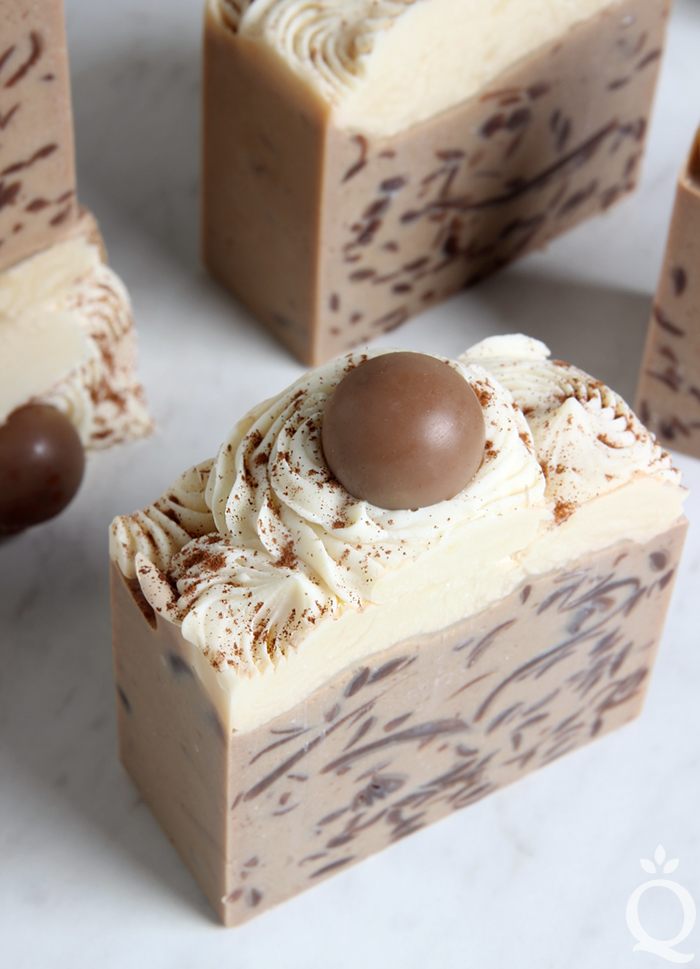
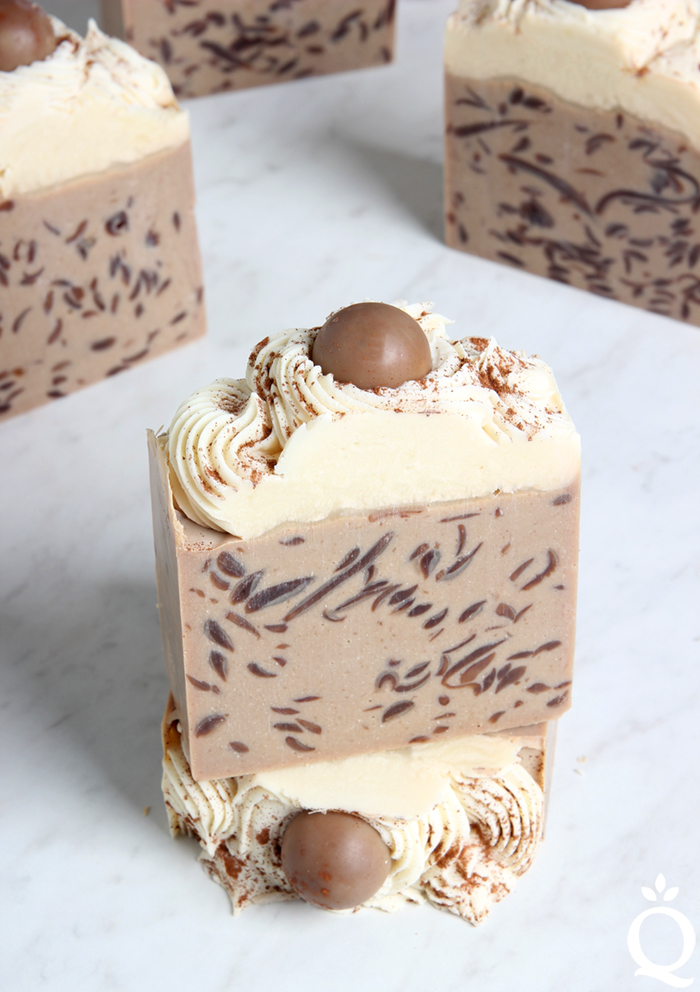
Those warm and comforting notes inspired this Eggnog Cold Process Soap. The base is made with fresh eggs, which add a creamy feeling to the bars. Then, shredded soap is added for texture – you can use any leftover scraps you have on hand. Finally, the base is topped with fluffy white soap and cute embeds colored with cocoa powder. The final bars make perfect holiday gifts for your loved ones.
This project requires a good understanding of temperature. This soap is created at slightly lower temperatures (around 90 ° F) to prevent the egg yolks from “cooking” in the soap batter. To further prevent this, a portion of the soaping oils are slowly introduced to the egg yolks prior to adding them to the soap at trace. This helps slowly raise the temperature of the eggs. It’s a similar process to creating hollandaise sauce.
The cooler temperatures also prevent the soap frosting from losing its shape and prevents extreme glycerin rivers. We did experience some minimal glycerin rivers in the soap frosting due to the amount of titanium dioxide. Learn more about glycerin rivers here. If you live in a very hot climate, you may want to place this soap in the fridge or freezer once it’s in the mold for 5-24 hours.
Embeds:
2 Small 9 Ball Silicone Molds
1 oz. Cocoa Butter
2.5 oz. Coconut Oil
4 oz. Olive Oil
2.5 oz. Palm Oil
1.5 oz. Sodium Hydroxide Lye (2% superfat so they harden more quickly)
3.3 oz. Distilled Water
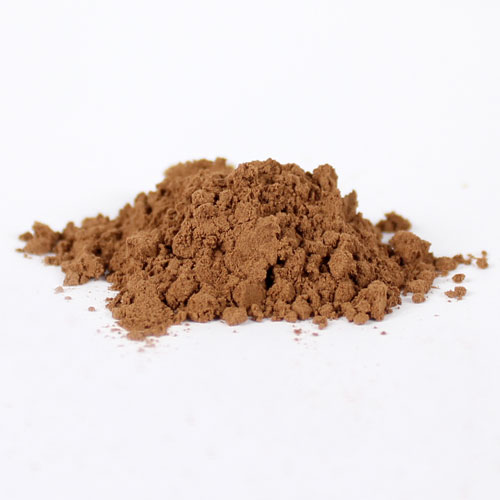
1 Tbsp. Cocoa Powder
Base:
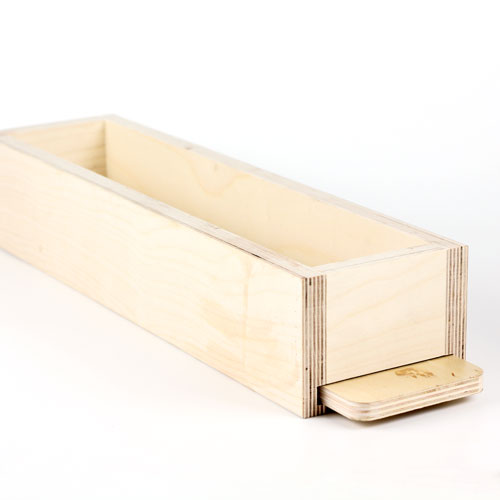
5 Pound Mold with Sliding Bottom
Silicone Liner for 5 Pound Wood Mold
4 Egg Yolks
5.4 oz. Cocoa Butter
13.5 oz. Coconut Oil
21.6 oz. Olive Oil
13.5 oz. Palm Oil
7.6 oz. Sodium Hydroxide Lye (5% superfat)
17.8 oz. Distilled Water
3.5 oz. Spiked Eggnog Fragrance Oil
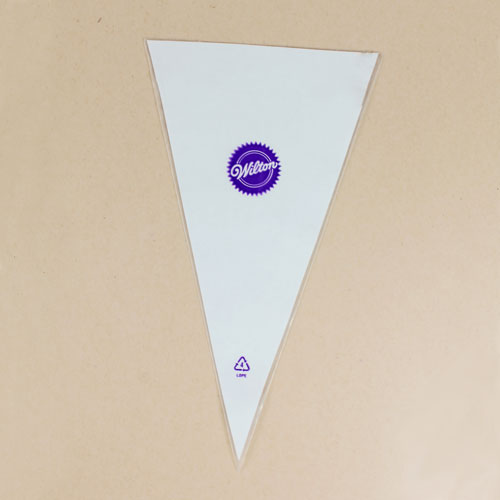
Disposable Frosting Bag
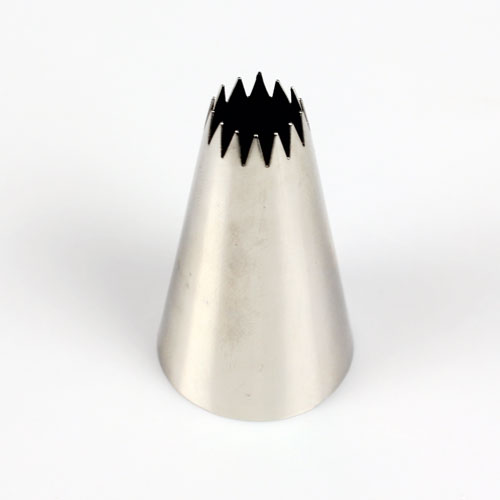
4B Frosting Bag

Click here to add everything you need for this project to your Bramble Berry shopping cart!
Make the Embeds
If you’ve never made cold process soap before, stop here. We highly recommend checking out our FREE four part SoapQueen.tv series on cold process soapmaking, especially the episode on lye safety. And if you’d rather do some reading, Bramble Berry carries a wide range of books on the topic, including Pure Soapmaking. You can also check out the digital downloads for that instant gratification factor.
SAFETY FIRST: Suit up for safe handling practices. That means goggles, gloves, and long sleeves. Make sure kids, pets, and other distractions and tripping hazards are out of the house or don’t have access to your soaping space. Always soap in a well-ventilated area.
ONE: Slowly and carefully add the lye to the water and gently stir until the lye has fully dissolved and the liquid is clear. Set aside to cool. If you’d like a harder bar of soap that releases faster from the mold, you can add sodium lactate to the cooled lye water. Use 1 teaspoon of sodium lactate per pound of oils in the recipe. For this recipe, you’d add .5 teaspoons sodium lactate.
TWO: In a container large enough to fit all your ingredients, combine and melt the coconut oil, cocoa butter, olive oil, and palm oil (remember to fully melt then mix your entire container of palm oil before portioning). Add the cocoa powder directly to the oils, and stir to get rid of chunks. Once the lye water and the oils have cooled to 130 degrees or below (and are ideally within 10 degrees of each other), add the lye water to the oils and stick blend until a very thin trace. Because this recipe contains plenty of cocoa butter, this will take about 30-60 seconds of blending and stirring with the stick blender.
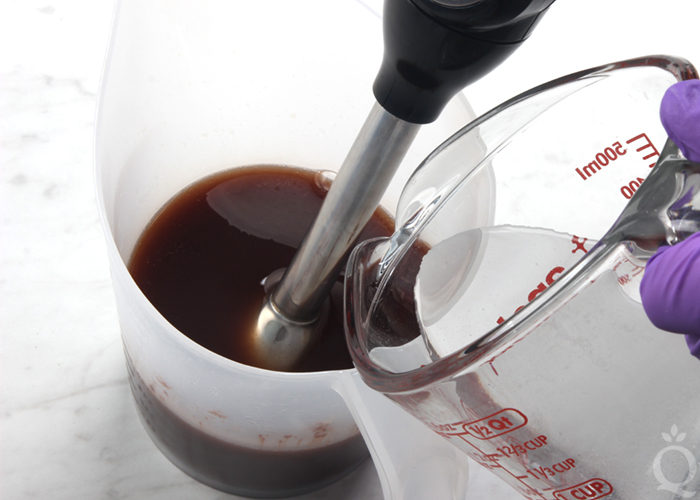
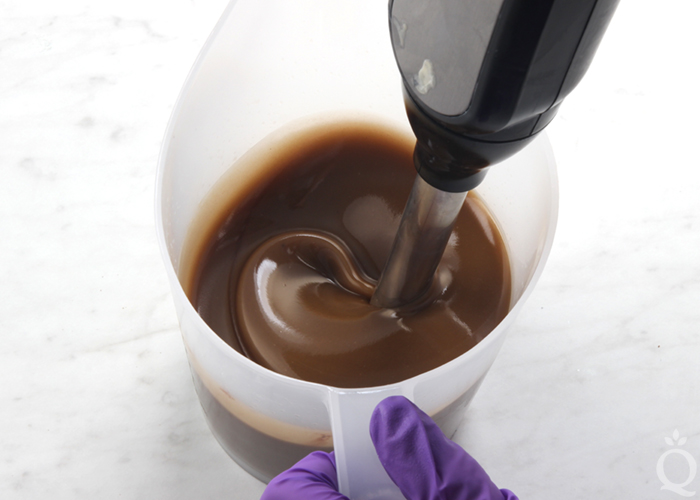
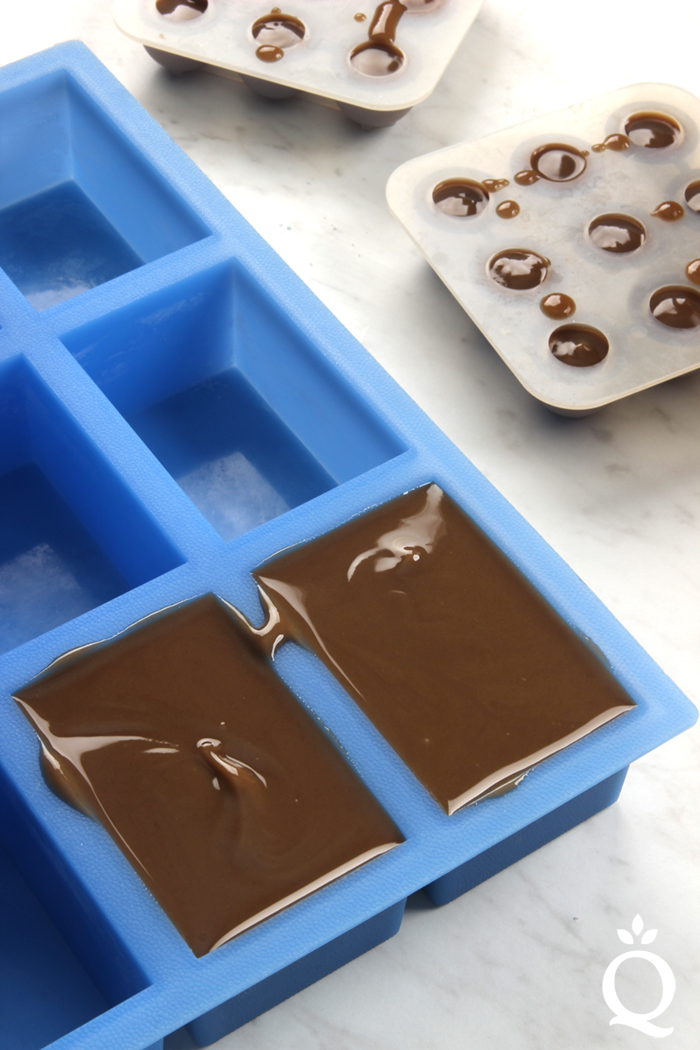
THREE: Once the oils and lye solution are completely mixed, carefully pour the soap batter into each cavity of both Small 9 Ball Silicone Molds. Once each cavity is full, pour the remainder into a separate mold. The exact shape of the mold is not extremely important because this soap will be shredded once it’s firm. We poured our leftover batter into the 12 Cavity Rectangle Silicone Mold.
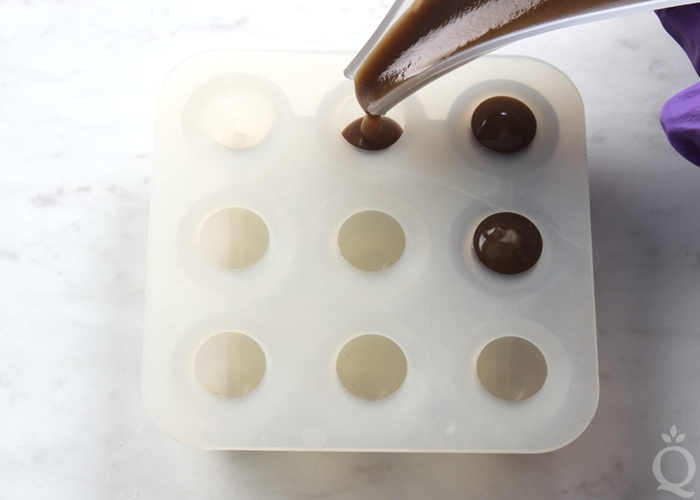
FOUR: Allow the soap to stay in the mold for 1-2 days. If you did not use sodium lactate, it may take an extra day to remove the soap. Remove the soap from each mold. Set the small spheres aside. Then, use a cheese grater to grate the soap poured into the “extra” mold. These shreds will be used in the base of the soap and the spheres will go on top. Set all the soap aside while you prep the ingredients for the base.
Create the Base
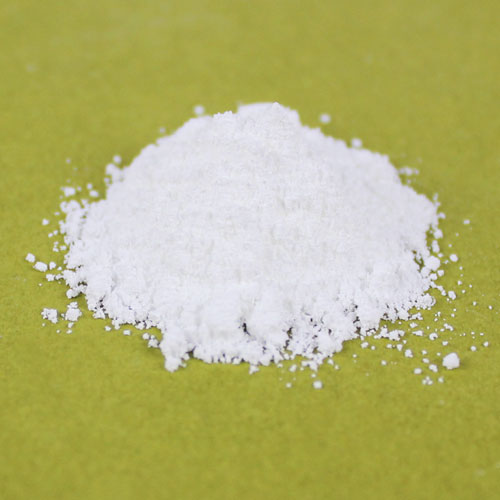
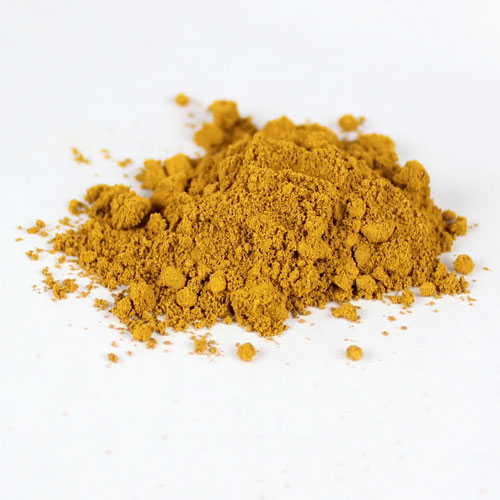
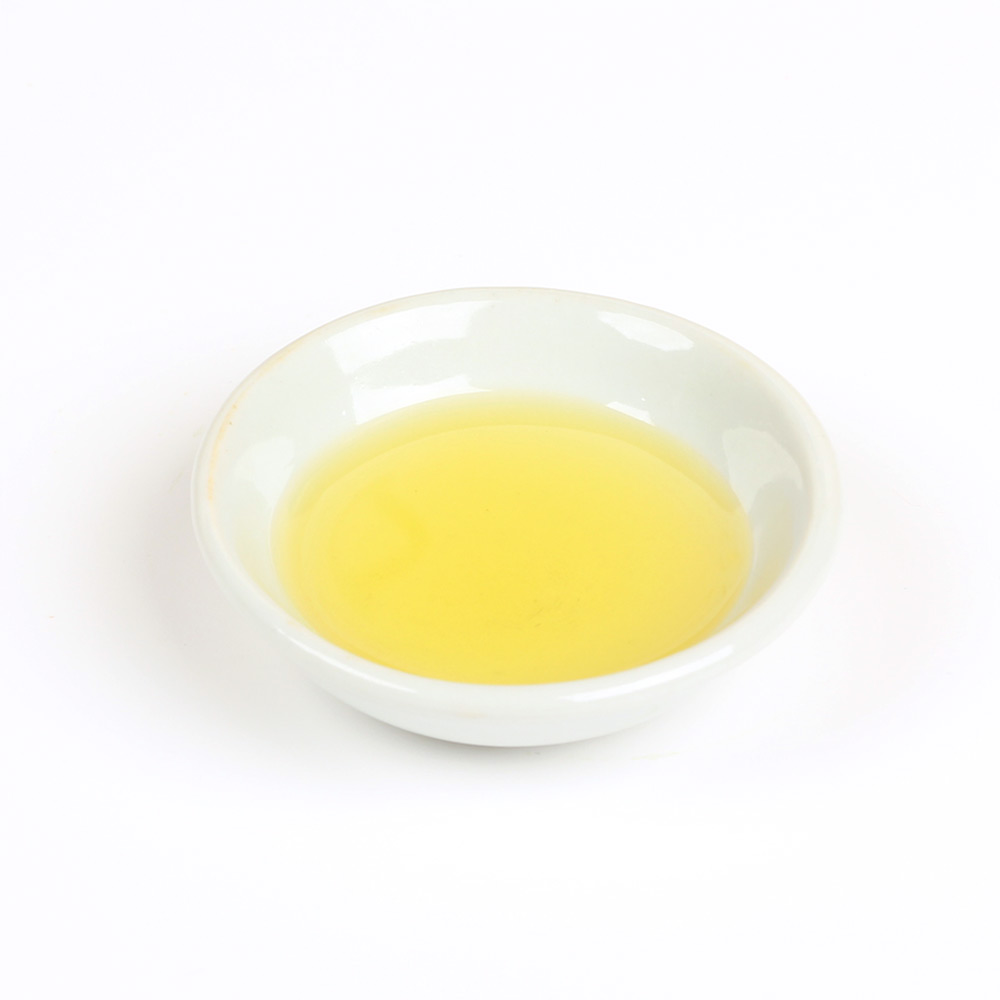
COLOR PREP: To ensure that the titanium dioxide blends smoothly into the soap batter, we recommend micronizing it before dispersing it in oil. Please note this is an optional tip but it does help with the titanium dioxide clumping in the soap. To micronize the colorant, simply use a coffee grinder to break up any clumps of color and prevent streaks of white from showing in the final soap. We like to use a coffee grinder that has a removable stainless steel mixing area for easy cleaning. Disperse 6 teaspoons of the titanium dioxide into 4 tablespoons of sunflower or sweet almond oil (or any other liquid oil). Use a mini mixer to get rid of any clumps. The color dispersion is a little more concentrated than usual to avoid adding too much extra oil. In a separate container, mix 1/2 teaspoon of Yellow Oxide into 1/2 tablespoon lightweight liquid oil. Use a mini mixer to get rid of any clumps.
FRAGRANCE PREP: Measure 3.5 ounces of Spiked Eggnog Fragrance Oil into a small glass container and set aside.
FROSTING BAG PREP: Cut off the tip of the disposable frosting bag and insert the frosting tip. Set aside.
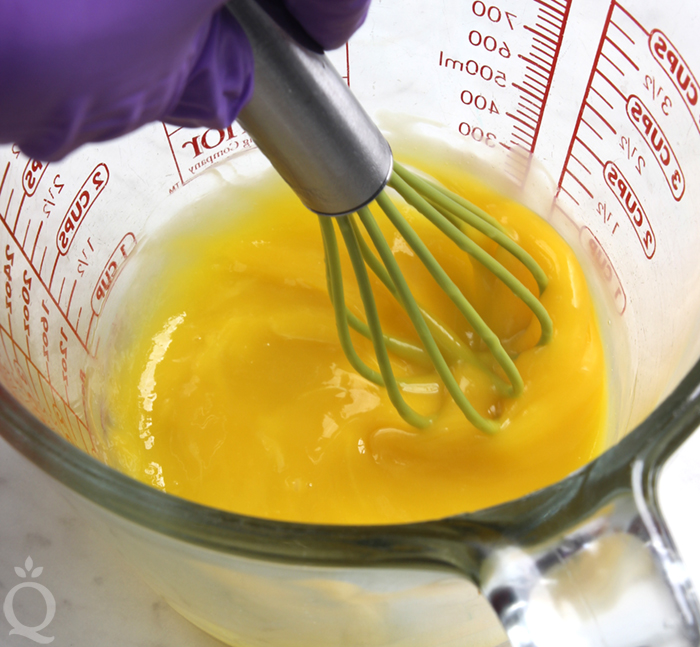
EGG PREP: Separate four egg yolks from the whites. Place the egg yolks into a small container and whisk them together until smooth.
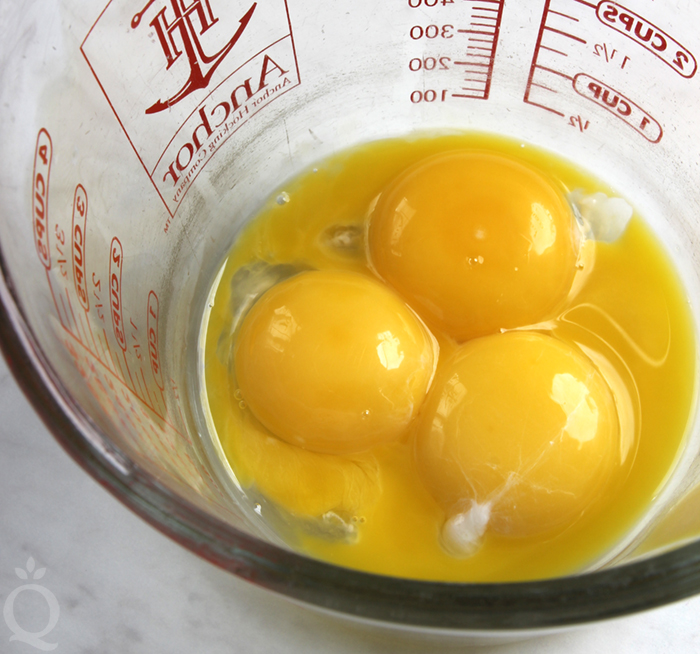
ONE: Slowly and carefully add the lye to the water and gently stir until the lye has fully dissolved and the liquid is clear. Set aside to cool. If you’d like a harder bar of soap that releases faster from the mold, you can add sodium lactate to the cooled lye water. Use 1 teaspoon of sodium lactate per pound of oils in the recipe. For this recipe, you’d add 3.5 teaspoons sodium lactate.
TWO: Melt and combine the coconut oil, cocoa butter, olive oil, and palm oil (remember to fully melt then mix your entire container of palm oil before portioning) into a large container. Allow the oils to cool to about 90 ° F. Then, add a small amount of the oils (about 1 ounce) to the egg yolks and quickly whisk. You want to slowly raise the temperature of the egg yolks. If the oil is added to the egg yolks while it’s too hot, you’ll have chunks of cooked eggs. Keep adding small amounts of oil and whisking until the egg yolks reach a temperature of about 80 ° F and have a smooth, liquid texture. Set the eggs aside.
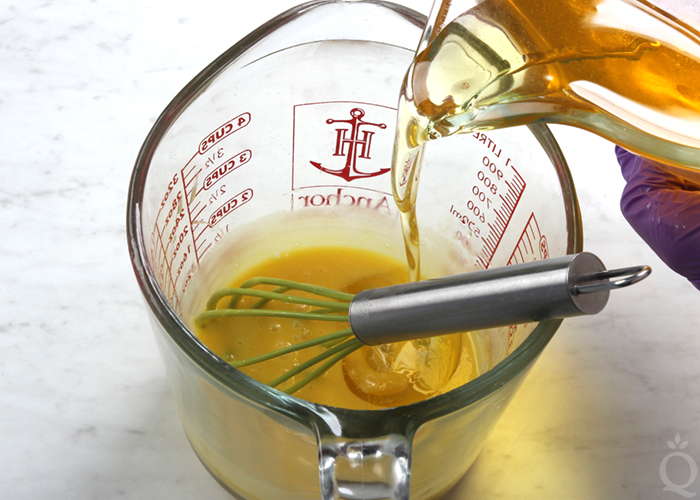
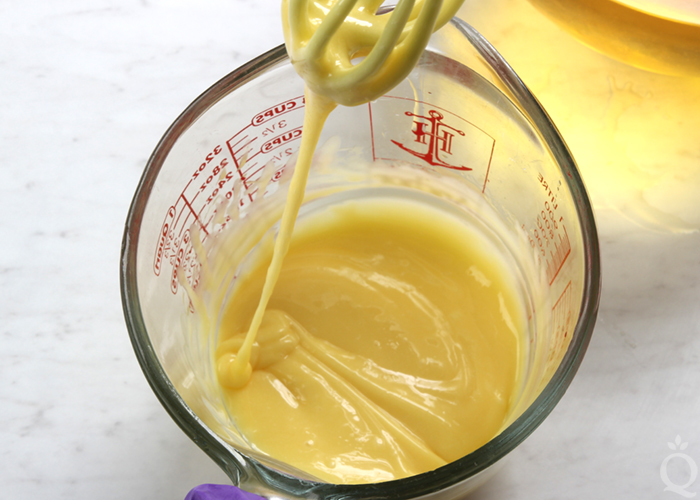
THREE: Check the temperature of the lye solution. It should be fairly cool – about 90 ° F or below. Slowly pour the lye solution into the large container of oils and begin pulsing with the stick blender. Use the blender to stir the oils in addition to pulsing the blender. Continue blending for about 30-60 seconds, or until the mixture looks like thin pudding.
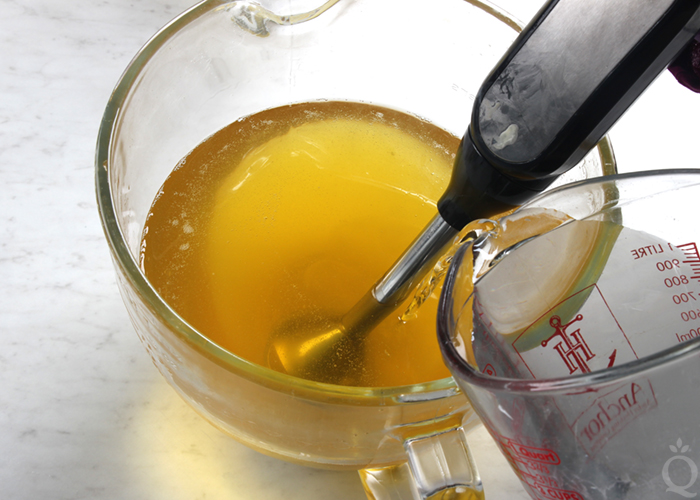
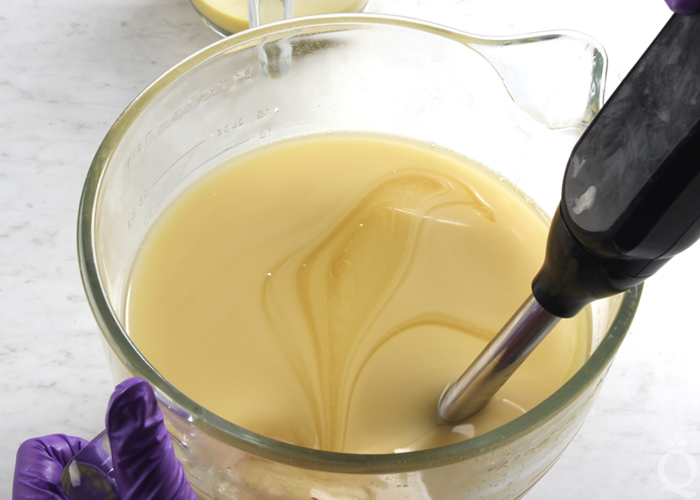
FOUR: Slowly begin pouring the egg mixture into the soap batter, while using your other hand to pulse the stick blender to quickly incorporate the eggs. Continue this process until all the egg yolks have been added.
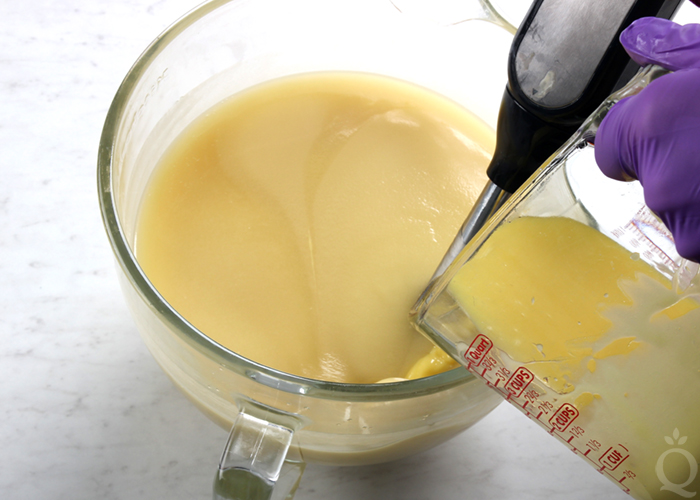
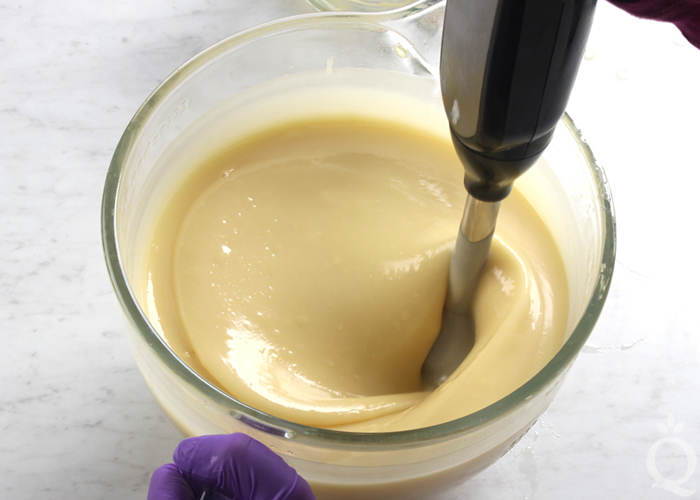
FIVE: Once all the egg yolks have been added, pour about 800 mL of the batter into a separate container. Add 1 tablespoon of dispersed titanium dioxide into this container. Use a whisk to fully mix in the titanium dioxide and set the soap aside. This will be the frosting for the top.
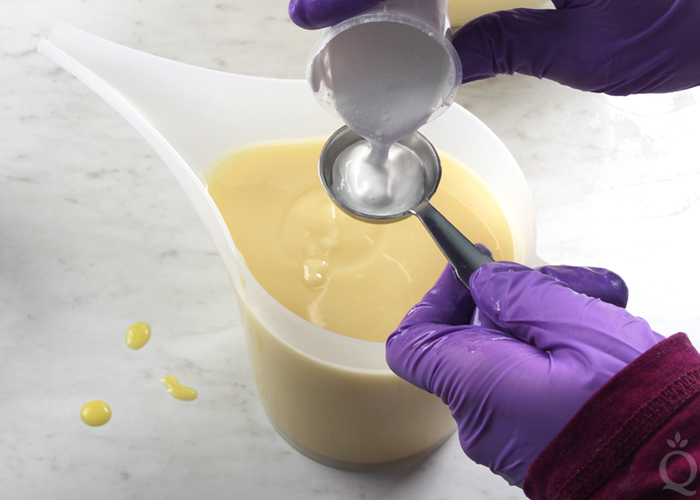
SIX: Add the remaining dispersed titanium dioxide to the other large container of soap. Use a whisk to fully mix in the colorant. Then, add 1/4 teaspoon of dispersed Yellow Oxide and mix in fully with a whisk.
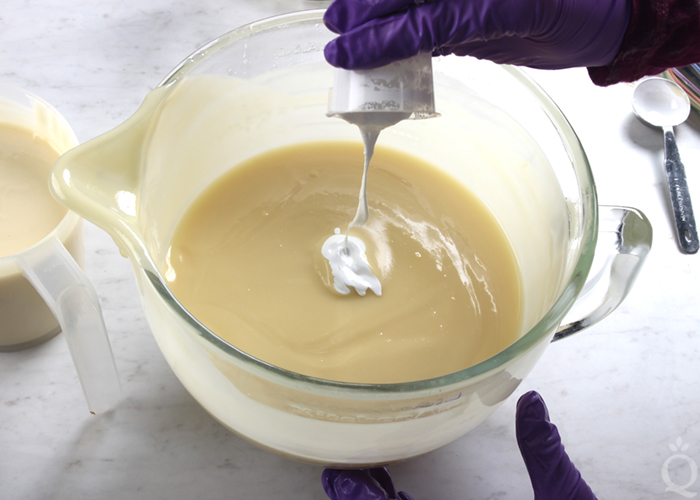
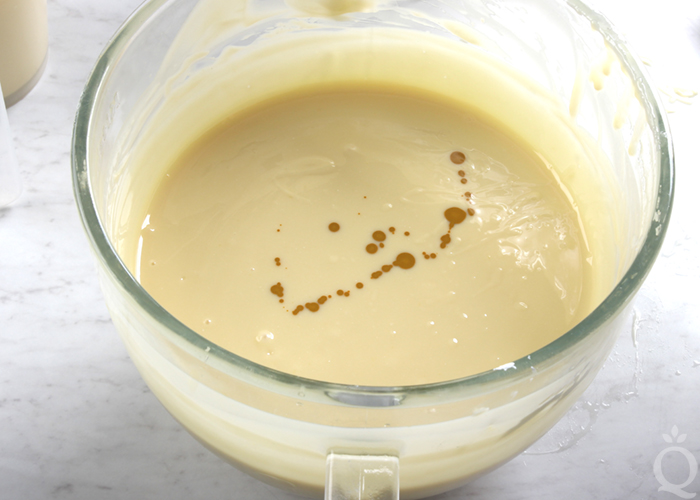
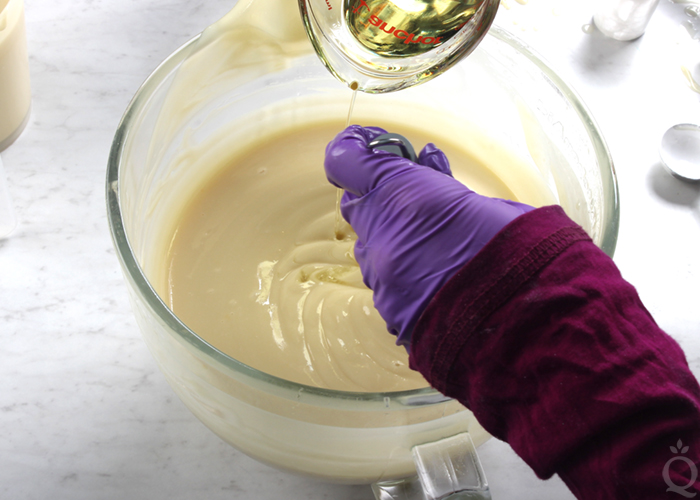
SEVEN: Pour all the measured Spiked Eggnog Fragrance Oil into the large container of soap and mix in. Do not add any fragrance to the 800 mL of soap. The smaller container of soap will be the frosting and should be white. Adding fragrance oil to this soap will cause it to discolor.
If the large container of soap is still a very thin texture, pulse the soap with the stick blender a few times to thicken it.
EIGHT: Add all of the shredded brown soap to the large container, and use a whisk or spatula to fully mix in.
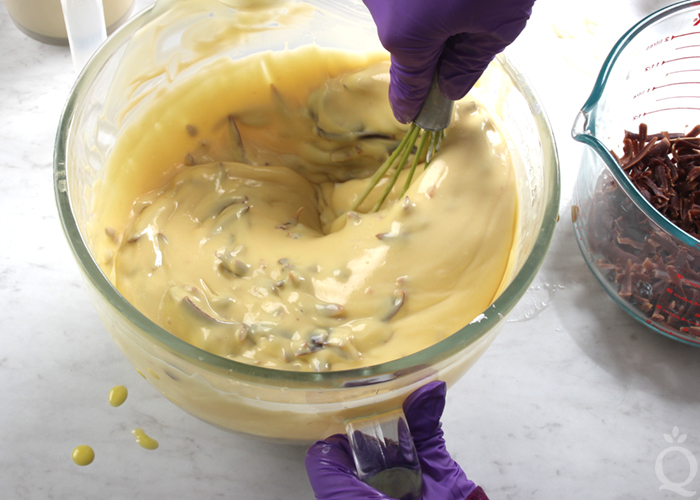
NINE: Pour all of the soap in the large container into the mold. Use a spoon or spatula to spread the soap evenly throughout the mold. Tap the mold on the counter to help get rid of bubbles.
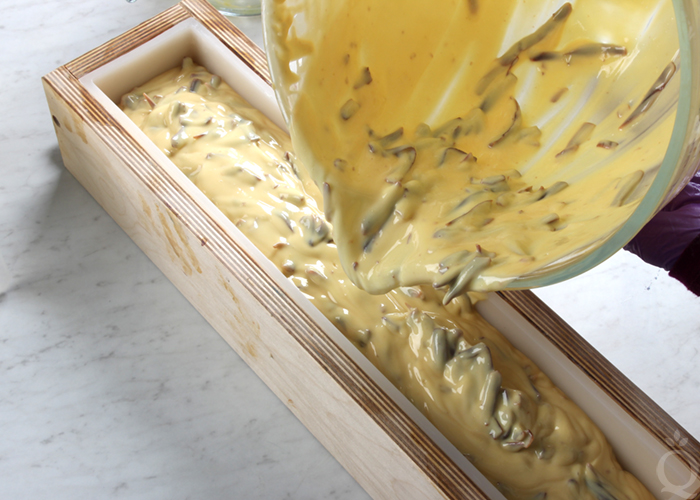
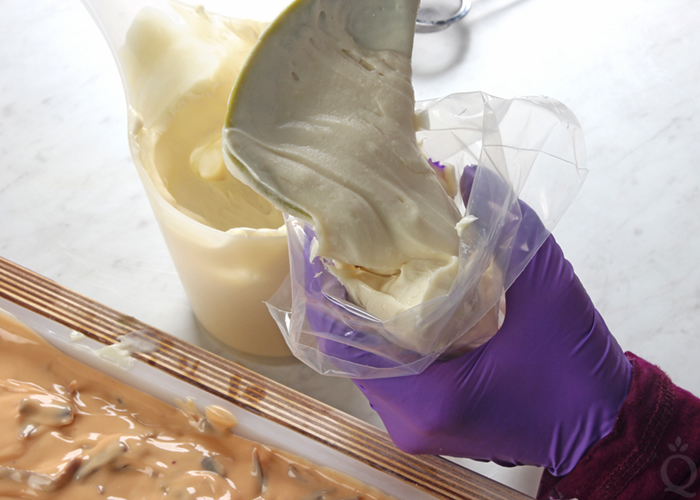
TEN: Check the texture of the white soap. This soap needs to be thick enough to hold shape but smooth enough to pipe. Test the consistency by adding a small amount of the soap to the prepped bag and piping a dollop into the mold. If it holds its shape, you’re ready to pipe. If the soap falls flat and loses the details of the frosting tip, allow the soap to sit in the container for a few more minutes.
Once the soap is thick enough to pipe, transfer a portion of the soap into the frosting bag.
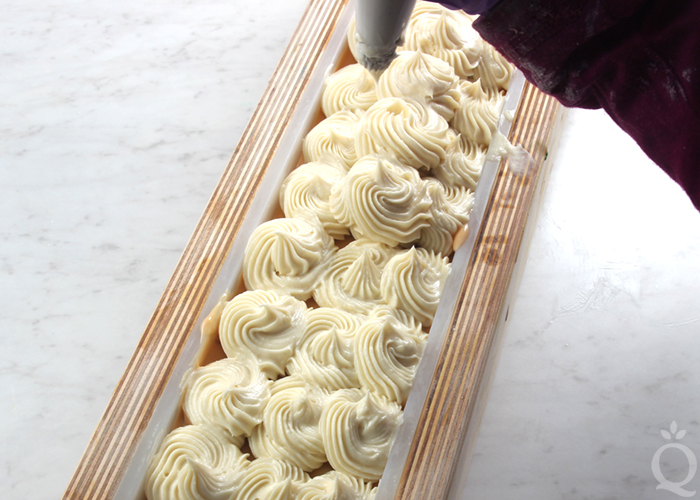
ELEVEN: Begin by piping small dollops of soap down the middle of the mold. Then, pipe dollops on either side to create rows of three dollops.
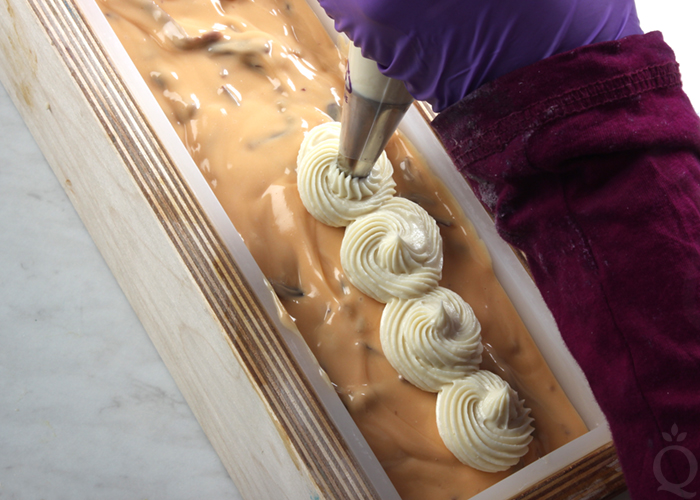
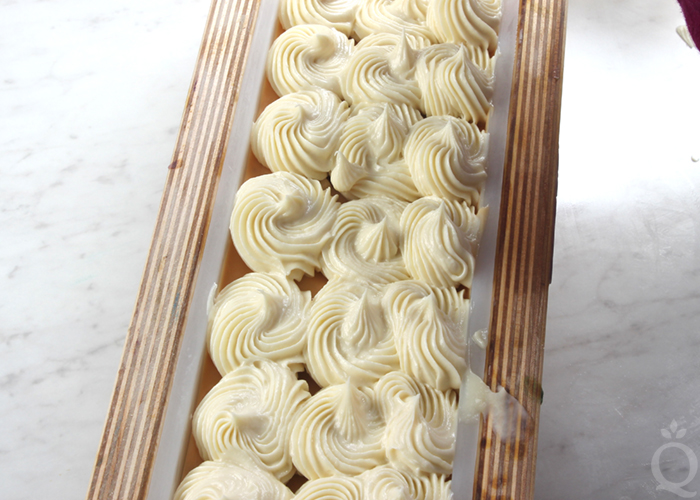
TWELVE: Finally, pipe a larger dollop of soap on top of the center dollop to create height. There is no right or wrong way to pipe soap frosting – just have fun with it. If you need some piping inspiration, Katie of Royalty Soaps creates amazing frosting on her bars. Ours pale in comparison!
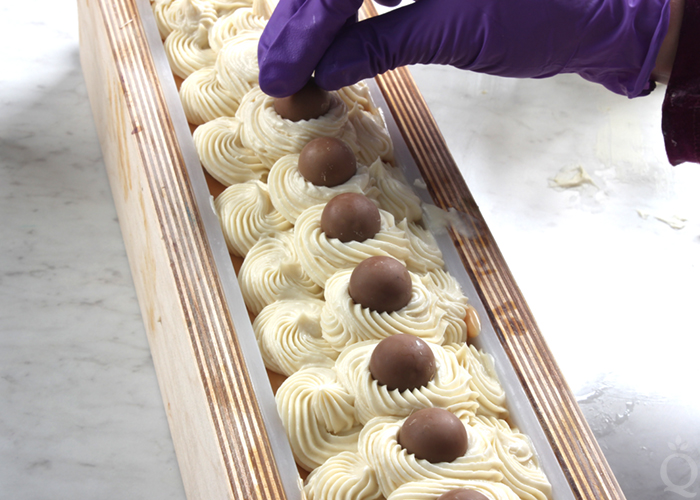
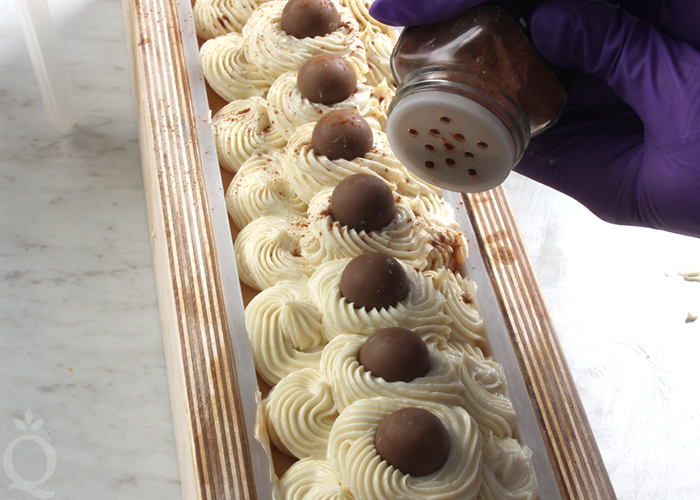
THIRTEEN: Once you’re done piping, place a soap sphere embed into the center of each dollop. Then, sprinkle the top with a light dusting of cinnamon powder. Save the leftover embeds for your next batch.
Note: Cinnamon can cause irritation, so if you have sensitive skin you can use a sprinkling of mica instead. Cappuccino Mica is a good option.
FOURTEEN: Spritz the top of the soap with 99% isopropyl alcohol to help prevent soda ash. This soap needs to be kept cool, so don’t insulate it. It can be left at room temperature of about 70 ° F or cooler. If you live in a hot climate you may want to place the soap in the fridge or freezer for 5-24 hours. Then, remove from the fridge or freezer and allow it to stay in the mold for about 2 days. Unmold and cut into bars. Allow the soap to cure for 4-6 weeks and enjoy!
- 2 Small 9 Ball Silicone Molds
- 1 oz. Cocoa Butter
- 2.5 oz. Coconut Oil
- 4 oz. Olive Oil
- 2.5 oz. Palm Oil
- 1.5 oz. Sodium Hydroxide Lye (2% superfat so they harden more quickly)
- 3.3 oz. Distilled Water
- 1 Tbsp. Cocoa Powder
- 5 Pound Mold with Sliding Bottom
- Silicone Liner for 5 Pound Wood Mold
- 4 Egg Yolks
- 5.4 oz. Cocoa Butter
- 13.5 oz. Coconut Oil
- 21.6 oz. Olive Oil
- 13.5 oz. Palm Oil
- 7.6 oz. Sodium Hydroxide Lye (5% superfat)
- 17.8 oz. Distilled Water
- 3.5 oz. Spiked Eggnog Fragrance Oil
- Disposable Frosting Bag
- 4B Frosting Bag
- Slowly and carefully add the lye to the water and gently stir until the lye has fully dissolved and the liquid is clear. Set aside to cool. If you’d like a harder bar of soap that releases faster from the mold, you can add sodium lactate to the cooled lye water. Use 1 teaspoon of sodium lactate per pound of oils in the recipe. For this recipe, you’d add .5 teaspoons sodium lactate.
- In a container large enough to fit all your ingredients, combine and melt the coconut oil, cocoa butter, olive oil, and palm oil (remember to fully melt then mix your entire container of palm oil before portioning). Add the cocoa powder directly to the oils, and stir to get rid of chunks. Once the lye water and the oils have cooled to 130 degrees or below (and are ideally within 10 degrees of each other), add the lye water to the oils and stick blend until a very thin trace. Because this recipe contains plenty of cocoa butter, this will take about 30-60 seconds of blending and stirring with the stick blender.
- Once the oils and lye solution are completely mixed, carefully pour the soap batter into each cavity of both Small 9 Ball Silicone Molds. Once each cavity is full, pour the remainder into a separate mold. The exact shape of the mold is not extremely important because this soap will be shredded once it’s firm. We poured our leftover batter into the 12 Cavity Rectangle Silicone Mold.
- Allow the soap to stay in the mold for 1-2 days. If you did not use sodium lactate, it may take an extra day to remove the soap. Remove the soap from each mold. Set the small spheres aside. Then, use a cheese grater to grate the soap poured into the “extra” mold. These shreds will be used in the base of the soap and the spheres will go on top. Set all the soap aside while you prep the ingredients for the base.
- Slowly and carefully add the lye to the water and gently stir until the lye has fully dissolved and the liquid is clear. Set aside to cool. If you’d like a harder bar of soap that releases faster from the mold, you can add sodium lactate to the cooled lye water. Use 1 teaspoon of sodium lactate per pound of oils in the recipe. For this recipe, you’d add 3.5 teaspoons sodium lactate.
- Melt and combine the coconut oil, cocoa butter, olive oil, and palm oil (remember to fully melt then mix your entire container of palm oil before portioning) into a large container. Allow the oils to cool to about 90 ° F. Then, add a small amount of the oils (about 1 ounce) to the egg yolks and quickly whisk. You want to slowly raise the temperature of the egg yolks. If the oil is added to the egg yolks while it’s too hot, you’ll have chunks of cooked eggs. Keep adding small amounts of oil and whisking until the egg yolks reach a temperature of about 80 ° F and have a smooth, liquid texture. Set the eggs aside.
- Check the temperature of the lye solution. It should be fairly cool – about 90 ° F or below. Slowly pour the lye solution into the large container of oils and begin pulsing with the stick blender. Use the blender to stir the oils in addition to pulsing the blender. Continue blending for about 30-60 seconds, or until the mixture looks like thin pudding.
- Slowly begin pouring the egg mixture into the soap batter, while using your other hand to pulse the stick blender to quickly incorporate the eggs. Continue this process until all the egg yolks have been added.
- Once all the egg yolks have been added, pour about 800 mL of the batter into a separate container. Add 1 tablespoon of dispersed titanium dioxide into this container. Use a whisk to fully mix in the titanium dioxide and set the soap aside. This will be the frosting for the top.
- Add the remaining dispersed titanium dioxide to the other large container of soap. Use a whisk to fully mix in the colorant. Then, add ¼ teaspoon of dispersed Yellow Oxide and mix in fully with a whisk.
- Pour all the measured Spiked Eggnog Fragrance Oil into the large container of soap and mix in. Do not add any fragrance to the 800 mL of soap. The smaller container of soap will be the frosting and should be white. Adding fragrance oil to this soap will cause it to discolor. If the large container of soap is still a very thin texture, pulse the soap with the stick blender a few times to thicken it.
- Add all of the shredded brown soap to the large container, and use a whisk or spatula to fully mix in.
- Pour all of the soap in the large container into the mold. Use a spoon or spatula to spread the soap evenly throughout the mold. Tap the mold on the counter to help get rid of bubbles.
- Check the texture of the white soap. This soap needs to be thick enough to hold shape but smooth enough to pipe. Test the consistency by adding a small amount of the soap to the prepped bag and piping a dollop into the mold. If it holds its shape, you’re ready to pipe. If the soap falls flat and loses the details of the frosting tip, allow the soap to sit in the container for a few more minutes. Once the soap is thick enough to pipe, transfer a portion of the soap into the frosting bag.
- Begin by piping small dollops of soap down the middle of the mold. Then, pipe dollops on either side to create rows of three dollops.
- Finally, pipe a larger dollop of soap on top of the center dollop to create height. There is no right or wrong way to pipe soap frosting – just have fun with it. If you need some piping inspiration, Katie of Royalty Soaps creates amazing frosting on her bars. Ours pale in comparison!
- Once you’re done piping, place a soap sphere embed into the center of each dollop. Then, sprinkle the top with a light dusting of cinnamon powder. Save the leftover embeds for your next batch. Note: Cinnamon can cause irritation, so if you have sensitive skin you can use a sprinkling of mica instead. Cappuccino Mica is a good option.
- Spritz the top of the soap with 99% isopropyl alcohol to help prevent soda ash. This soap needs to be kept cool, so don’t insulate it. It can be left at room temperature of about 70 ° F or cooler. If you live in a hot climate you may want to place the soap in the fridge or freezer for 5-24 hours. Then, remove from the fridge or freezer and allow it to stay in the mold for about 2 days. Unmold and cut into bars. Allow the soap to cure for 4-6 weeks and enjoy!

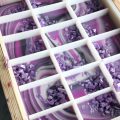


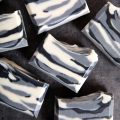
I made this exact recipe and it turned out perfectly. I was a little impatient and unmolded after 48 hours, 24 of those in the fridge. Smells amazing and soaps very well at room temps. very pleased.
I’m so glad to hear that Brandy!
Can we use one of the quick mix oils instead of the individual oils mentioned? If so, what is the proportion? Also, can the soap shreds and balls be made out of melt and pour soap? Will the decorations separate from the soap in this case? Thanks!
You can use quick mixes. Just make sure that the amount of quick mix you use is the same as the amount of oils in the recipe.
You can make the soap shreds and balls out of melt and pour, but they may bleed a little in your soap. You’ll want to stick the soap in the fridge to stop the melt and pour from melting in the soap while it hardens.
Thanks! Is there a difference in quality of the finished soap when using the individual oils versus the quick mix?
Using individual oils allows you to have more control over the recipe. For example, if you want a more moisturizing bar, you might increase the amount of one oil and decrease the amount of another. You can’t do that with the mixes.
I really would like to make and use this soap before the holidays. What other fragrance oils can be used instead of eggnog? (Wondering about other FO that will give enough time for trace so we can complete piping the ‘frosting’. I am thinking more in terms of vanilla/ coffee/mocha.
If you don’t mind discoloration, the Almond Biscotti Fragrance Oil and Hazelnut Toffee Fragrance Oil are really nice. You could also try Oatmeal Milk and Honey Fragrance Oil.
Almond Biscotti Fragrance Oil: https://www.brambleberry.com/Almond-Biscotti-Fragrance-Oil-P3866.aspx
Hazelnut Toffee Fragrance Oil: https://www.brambleberry.com/Hazelnut-Toffee-Fragrance-Oil-P5111.aspx
Oatmeal Milk and Honey Fragrance Oil: https://www.brambleberry.com/Oatmeal-Milk-and-Honey-Fragrance-Oil-P3931.aspx
I have a question about this soap. This soap calls for 3.5 ounces of fragrance. I ran the recipe through the Brambleberry lye calculator and it comes up to 79.40 ounces of soap. (I’m rounding to 80 just to make things a bit easier.) When I run the full 80 ounces of soap through the fragrance calculator I get 3.40 for medium strength fragrance and 4 ounces for strong, 3.5 ounces of fragrance would be enough to scent about 80 ounces of soap between medium and strong strength. It says in the instructions to separate about 800 ml of soap for piping the frosting on top, that’s about 27 onces and it says to NOT add fragrance to this portion of the soap, which then leaves 53 ounces of soap that you DO add fragrance to. When I ran that through the fragrance calculator. (cold process soap, 53 ounces, spiked eggnog fragrance) I get this
light 1.46
medium 2.25
strong 2.65
Yet, this recipe calls for 3.5 ounces of fragrance. This is way too much fragrance for just 53 ounces of soap batter isn’t it??
We added the Spiked Eggnog Fragrance Oil to the base so the frosting won’t discolor. You are adding the 3.5 oz. to one part of the soap, but in the shower you’re using the full bar. We’ve found it doesn’t cause skin irritation. However, if you have sensitive skin or you like your bars with a softer scent you can definitely add less. You can use the 2.65 oz. or even the 1.46 oz. amount depending on your preference.
Oh, it makes sense actually! I didn’t think of it that way..I was only thinking about the part you added fragrance to, not the fact you’re still using the full bar including the unscented part..thanks for explaining!
You’re welcome!
Definitely going to try this for my fall sells!! I won’t be using the eggs – but I love this look and I can just imagine the scent is AMAZING! I have one question about piping. Sometimes – and I can’t quite identify why – my piping doesn’t “stick” to the loaf and wants to pop off when I cut. Some places say to spritz with alcohol between loaf and piping – others don’t seem to do this and don’t mention a problem. Does it have more to do with how far the loaf has set up? I do them at the same time, though I obviously create the icing second so it isn’t setting up while I’m trying to create/pour my loaf. Thanks for any insights.
We recommend not using alcohol – it can create a skin on top of the soap that causes the frosting to pop off. As for why yours isn’t sticking, I’m not quite sure why. We pipe the soap when it’s still fresh as well. We’ve had the soap fairly set up by the time we got the frosting made, so I don’t think it’s that. Do you think it would help to pipe the bottom layer on more firmly so the base soap grabs onto it?
“SEVEN: Pour all the measured Spiked Eggnog Fragrance Oil into the large container of soap and mix in. Do not add any fragrance to the 800 mL of fragrance.”
I think the second ‘fragrance’ was meant to be soap, correct?
That is correct, we got that fixed. Thanks.
Would it work to use cocoa powder to color base soap instead of using the titanium doixide?
You can use cocoa powder if you’d like the soap to be brown. You can use it the same way as the embeds, you’ll just need more to color the base soap.
Leaving a comment to say that this soap is super pretty. Love everything about it.
hi. great recipe.. I am a new soaper. 🙂
just wanted to know what does superfat means, how to do it and is it mandate?
also, I have found only the red palm oil? is it okay to use in the same quantity? or do i need to change it? if i need to change, what do i use instead? please tell me something about it?
The superfat level is the amount of leftover oil in your recipe that’s not turned into soap. Essentially, it’s free-floating oil that adds extra luxury to your bars and acts as insurance in case of small measuring mistakes. Learn more about superfatting here: http://www.soapqueen.com/bath-and-body-tutorials/cold-process-soap/superfatting-soap-an-explanation-2/
Also, I believe red palm oil is unrefined palm oil. I would recommend talking to the manufacturer to find out the SAP value. Then, you can find an oil with a similar SAP value on this chart to use when calculating your recipe: http://www.soapqueen.com/bath-and-body-tutorials/tips-and-tricks/free-beginners-guide-to-soapmaking-common-soapmaking-oils/
Find the liquid and lye amounts you need with this calculator: https://www.brambleberry.com/Pages/Lye-Calculator.aspx
Thank u so much for that amazing piece of information… I would also like to ask one more thing, as in how to discount the distilled water in case we are using some additives such as pulp or puree of some fruits or vegetable.. plz reply
Absolutely, this post talks about how to water discount your soap: http://www.soapqueen.com/bath-and-body-tutorials/tips-and-tricks/water-discounting-cold-process-soap-how-why/
And this post talks about how to work with fruit and vegetable purees: https://www.soapqueen.com/bath-and-body-tutorials/tips-and-tricks/how-to-add-purees-to-cold-process-soap/
Hi, great tutorial, would love to watch you make some new videos 🙂
I’m planing to make some chary cupcakes because i have a wonderful fragrance, but i’m really scared of piping…maybe more scared of my titanium dioxide. Sounds like crazy, but when i add it to a light trace…oh my God! It’s thick in 5 seconds, and thick like “soap on a stick”. 🙁 Tried different suppliers, but it happens again and again. The same thing happens when i use my favorite pink mica, on the label i can see it contains td. I learned to work with this situation and make layered soap, and the white is at the bottom. Wondering what’s wrong with the titanium dioxide? or am i doing something wrong? Should i try buying from a another country? Do you have some suggestions? Thank you.
Titanium dioxide can thicken trace slightly, but I’m wondering if another factor is causing your soap to thicken that quickly. Can you tell me more about your recipes and the temperatures you’re using? Also, how long are you stick blending, does your fragrance accelerate, and are you adding the dry titanium dioxide to your recipe or mixing it with oil? Let me know and I’ll help you troubleshoot.
Sorry for the late response.
I use almost the same recipe just changing the butters ( shea or cocoa):
Olive oil pomace 200g (grams), Palm oil 130g, Coconut oil 130g, Cocoa butter 55g, Castor oil 5g, Sweet almond oil 5g, lye 73.67g, d.water 173.25g and i double check in your lye calculator 🙂
Temperature, well i tried 120F, than i tried lower at 100F, and last time it was around 92F. Stick blending? just enough to get a trace, and between i stir with the stick blender ( about 30-40 seconds ). I’m adding the titanium dioxide 1tsp in 1tbs sweet almond oil, mix it with the coffee grinder, and add it at a thine or medium trace and mixing by hand. Fragrance or essential oil, it’s the same, i get a super fast thickening process 😀 When i use natural colorants like nettle leaf or activated charcoal, everything is as planed. Any idea, or suggestions? Thank you.
Are you using the 92F coconut oil or 76F coconut oil? Thanks for answering all my questions.
Using the 76F coconut oil that’s solid on room temperature,why?
I really wont to solve this mystery, and the least is to share all the information with you 🙂
It sounds like you’re doing everything we recommend, so I’m not entirely sure why that titanium dioxide is thickening the soap so quickly. Does it have any other ingredients besides titanium dioxide?
Im reading these comments and I read your comment. I use Shea butter a lot for HP soap. I noticed that Shea Butter is a tracer too. It could be the FO that is causing the soap to accelerate the trace. That happens to me all the time. I have heard of adding FO to the oils and even colarants.
Yes, that’s correct – hard oils like shea tend to speed up trace. Using more liquid oils can help: https://www.soapqueen.com/bath-and-body-tutorials/tips-and-tricks/five-tips-swirling-cold-process-soap/
And this post has more tips on working with accelerating fragrances: http://www.soapqueen.com/bath-and-body-tutorials/tips-and-tricks/soap-behaving-badly/
I love this recipe! Although, I cannot afford the 5lb mold and wood at this time do you know the ratio of oils (%) so that i can cut the batch to my 10″ brambleberry mold?
I hope to hear from you soon so that i can make an order…I love eggnog and will probably keep the soap for myself BAHAHA
You can input the recipe into the Bramble Berry Lye calculator and change the batch size to the amount you want for your 10″ mold….works great!!
Sly
thank you for such a quick response and also I want to thank your company for sparking a passion that is sooooo addicting… I have done knitting, and beadwork, but this is nothing compared to making soap and the multitude of designs and fragrances one can do!
Thanks Sly for your response! This post talks more about how to resize recipes as well: https://www.soapqueen.com/bath-and-body-tutorials/tips-and-tricks/how-to-resize-cold-process-soap-recipes/
Also, glad to hear you’re enjoying soapmaking. It’s amazing how fast the addiction takes hold. 😉
What doe the egg yolk do for the soap? Is it just a label appeal thing? Thank you for this recipe and all the information you offer on your site.
I too would like to know why the use of the raw eggs. Wouldn’t that mean you need a preservative as well? Can it be made without the eggs?
You can definitely make this recipe without the eggs if you prefer. Adding eggs to soap is great for label appeal, but some soapers find that it helps give the soap a creamier lather. This recipe does not need a preservative, because the eggs are saponified with the oils and are turned into soap.
-Amanda with Bramble Berry
WOW!! I probably won’t try this because I have never piped anything and I’m not sure I have that skill. However, I certainly enjoyed seeing and reading this tutorial. By the way, I’m a HUGE fan of cutting or shredding other soaps for embeds such as left over soap batter from a batch, or soap that is too ugly to give out. I have two batches of that curing at this moment.
Thanks for sharing this!
So glad you liked the tutorial Eric! It’s definitely a more intense project. A good way to practice piping is to buy the inexpensive frosting from the store, and practice with that instead of soap. That way you don’t waste precious soap ingredients. It definitely takes some practice to get the feel for how much pressure to use, but practice makes perfect.
-Amanda with Bramble Berry
From the description on the Spiked Eggnog Fragrance Oil, it appears that the cold process soap will discolor to a light brown/tan in the finished product. Therefore, I’m curious about the addition of the yellow oxide. Do you think this is necessary to achieve the color in the DIY pictures? Just curious. Thank you for all of your inspiration! 🙂
Good point Lynn. We actually debated whether or not to leave the Yellow Oxide in this project or not, because it’s possible it doesn’t make much of a difference in the final bar. When it’s being made, the Yellow Oxide does make quite a difference. As you can see in the photos, it’s a bit of an orange color. But after a few days the orange/yellow does subside due to the vanilla discoloration. I think if you were to leave it out, it would still look great but just have a slightly different tint. If you give it a try without the Yellow Oxide, let us know how it goes!
-Amanda with Bramble Berry
Thanks for the insight! I will definitely let you know if I try this one.
You can use a vanilla stabilizer for the FO to prevent discoloration
Vanilla Color Stabilizer works well for melt and pour, but it is more inconsistent in cold process. We recommend instead adding titanium dioxide to try and combat the browning.
Vanilla Color Stabilizer: https://www.brambleberry.com/Vanilla-Color-Stabilizer-P4156.aspx
These look so great! I’m waiting now for my fragrance set to come. I gotta say i’m just not a fan of food in soap. If using eggs would there be any allergy issues for one to worry about, or would the eggs just be turned into soap and it wouldn’t matter? Same thing with any nut derived products such as sweet almond oil or walnut shells?
It’s a little tricky to say for sure, because everybody reacts differently to allergens. The eggs in this soap are saponified, but it’s also possible that some of the egg particles were not turned into soap. If you’re allergic to food products such as eggs or nuts, it’s always best to consult with your doctor to see if products containing those ingredients are right for you. You may find the blog post below helpful.
Soaping with Allergies: https://www.soapqueen.com/bath-and-body-tutorials/tips-and-tricks/soaping-with-allergies-nuts-gluten-more/
-Amanda with Bramble Berry
Oops…one more comment:
I commend you on using CP embeds. I have switched to those entirely, as I get so frustrated with the MP embeds sweating (even after taking all the precautions and using Low sweat or no sweat MP.)
I have also found that leaving my CP embeds in the mold for 1 week, then freezing before popping them out of the mold really helps get them out without damaging them (I always use sodium lactate too.)
Thanks again for the great soap tutorial.
Sly
Thanks for the tip Sly! We will have to try that out for our next CP embed recipe.
-Amanda with Bramble Berry
This looks like a beautiful soap and a wonderful FO to try!
Did it darken on curing or is this the final color?
I have read that using foods in soap (like eggs) will decrease the shelf life of the soap. Do you have any more information on that? (I know that hand made soaps are supposed to only last 1 year, however, I have found hand made soaps in the back of my drawer that is 10 years old and still wonderful!)
Thank you for you input.
Sly
This is the final color. We waited about 1-2 weeks after cutting to take the photos to allow most of the discoloration to happen. I actually have a bar sitting on my desk, and it still looks the same as the photos, about 3 weeks later.
Regarding shelf life, it’s always a little tricky to say what the exact shelf life of a bar will be. You’re right, a good general rule of thumb is one year but some bars don’t experience DOS…well, ever it seems! We have found that in general, using fresh ingredients in soap can lead to a shorter shelf life, but it also depends on factors like what oils are used and how much fresh ingredients are added. I try to use soap with fresh ingredients within 6-12 months to be safe.
-Amanda with Bramble Berry
What size egg yolks should be used – large? I know egg size matters in baking. Not sure if it does in cold process soap making. Thanks for the clarification!
We used large eggs for this batch, but if you had a different size on hand it won’t greatly affect the recipe. My guess is that a slightly larger yolk would add more fat, which could slow trace a bit. But that would be easy to overcome with a bit more stick blending.
-Amanda with Bramble Berry