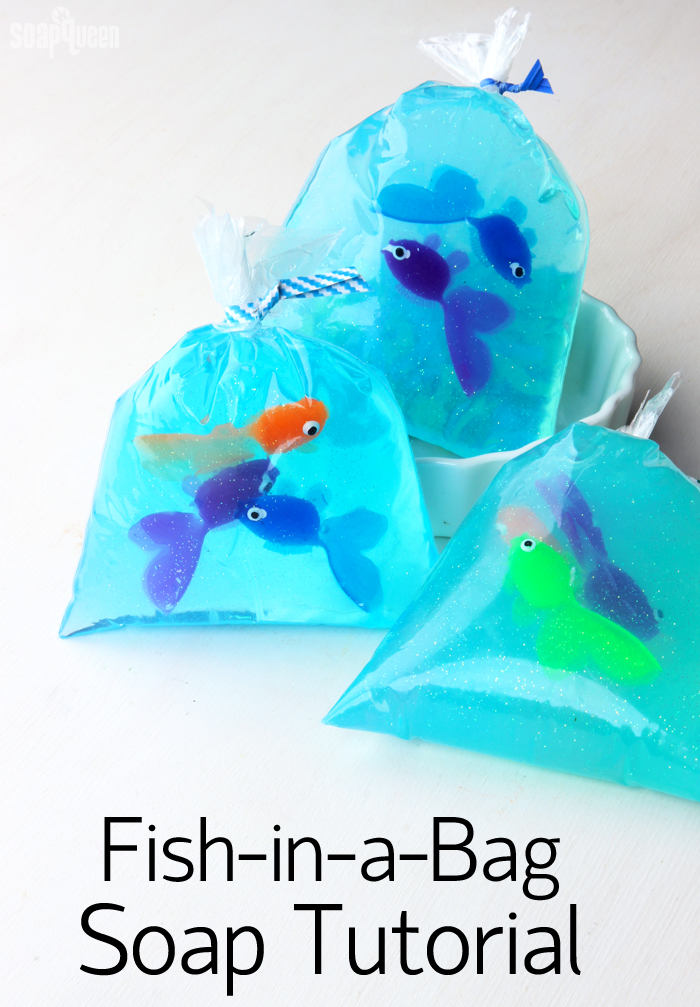
Some soapy projects put a smile on your face. This Fish-in-a-Bag Melt and Pour Soap is definitely one of them! The idea is quite classic and has been recreated many times. Now that Bramble Berry carries cute toy fish, I had to revisit this project. For a twist, I added Brilliant Blue LabColor and Fine Iridescent Glitter. You can’t go wrong with color and sparkle! Apple Macintosh Candle & Soap Fragrance Oil adds a fruity scent and leaves the soap crystal clear. Not all fragrances keep soap crystal clear so keep that in mind when making this project. If you have cloudy soap, it might be the fault of the fragrance oil. Kids love this soap, and it is perfect for party favors.
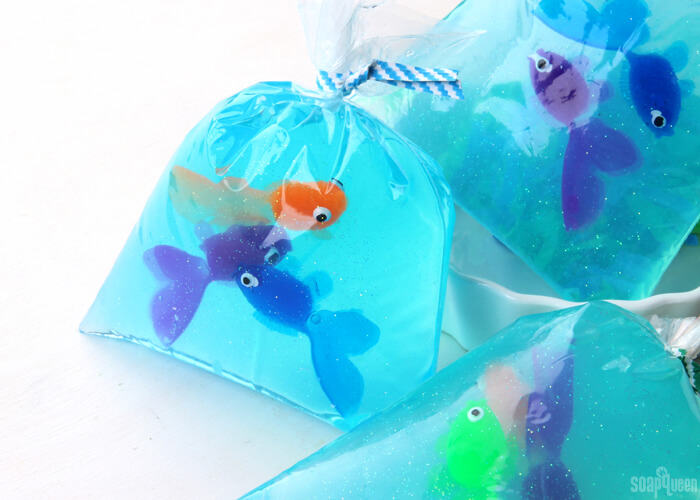
Some tutorials hang the plastic bags and pour the soap into the bag. I found that the fish went straight to the bottom, which made them look dead; definitely not what we are going for! Another option is to pour the soap into the bag halfway, allow the soap to cool, then place the fish in and fill up the bag. This is an option, but I wanted to make this project as quick and easy as possible.
To keep it simple, I poured all the soap into the bag, and dropped the fish in. Then I clipped the bag with binder clips to seal it and laid it on my counter. The fish fall to the side of the bag. I let the soap cool for about 10 minutes, then flipped the bag over to the other side. The fish stay put, while the other side cools and hardens completely flat. This allows the front to have a natural rounded shape. Once you’re ready to use, peel away the bag and enjoy!
What You’ll Need:
Small Clear Plastic Bags (We used 4″ x 6″ bags similar to these)
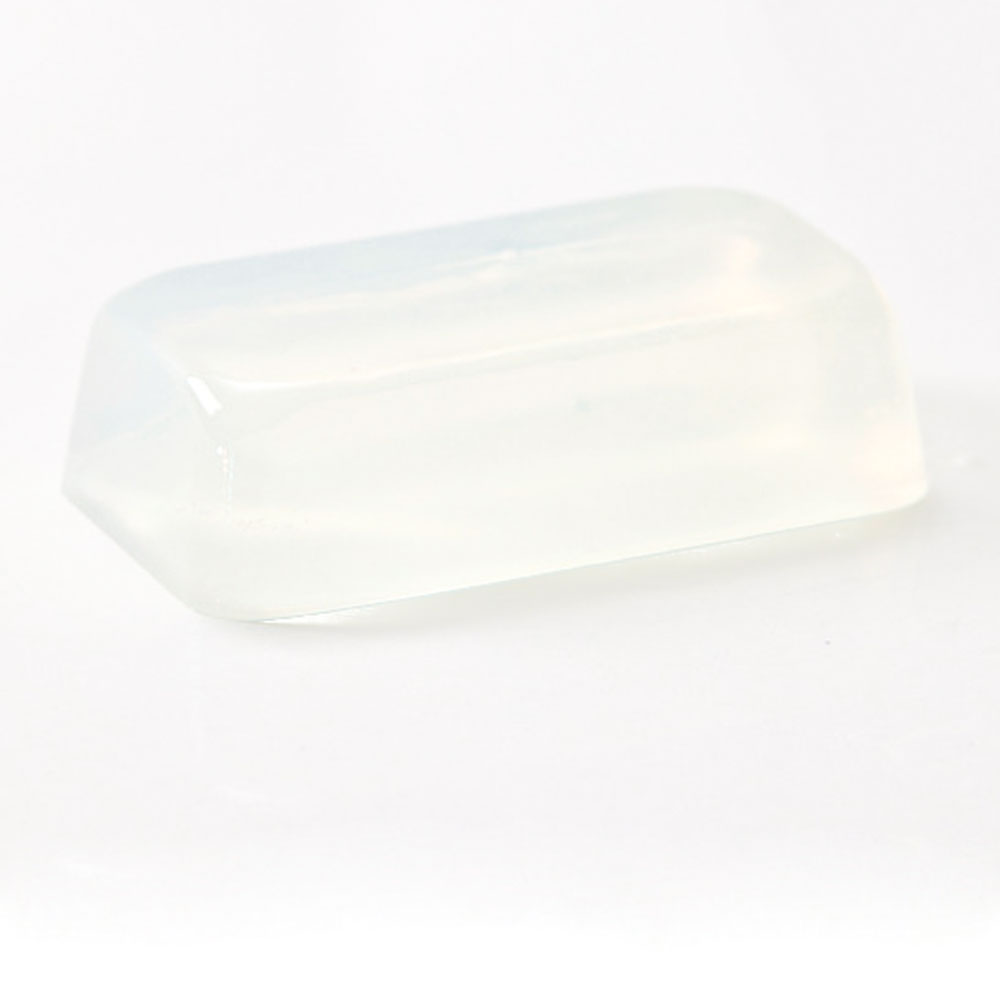
21 oz. Stephenson Ultra Clear Melt and Pour Base
0.4 oz. Apple Macintosh Candle & Soap Fragrance Oil
Brilliant Blue LabColor
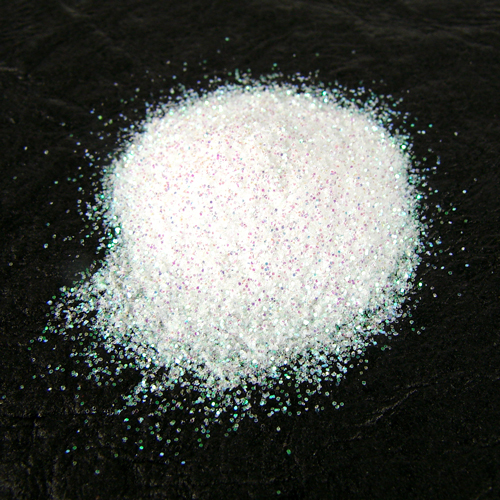
Fine Iridescent Glitter
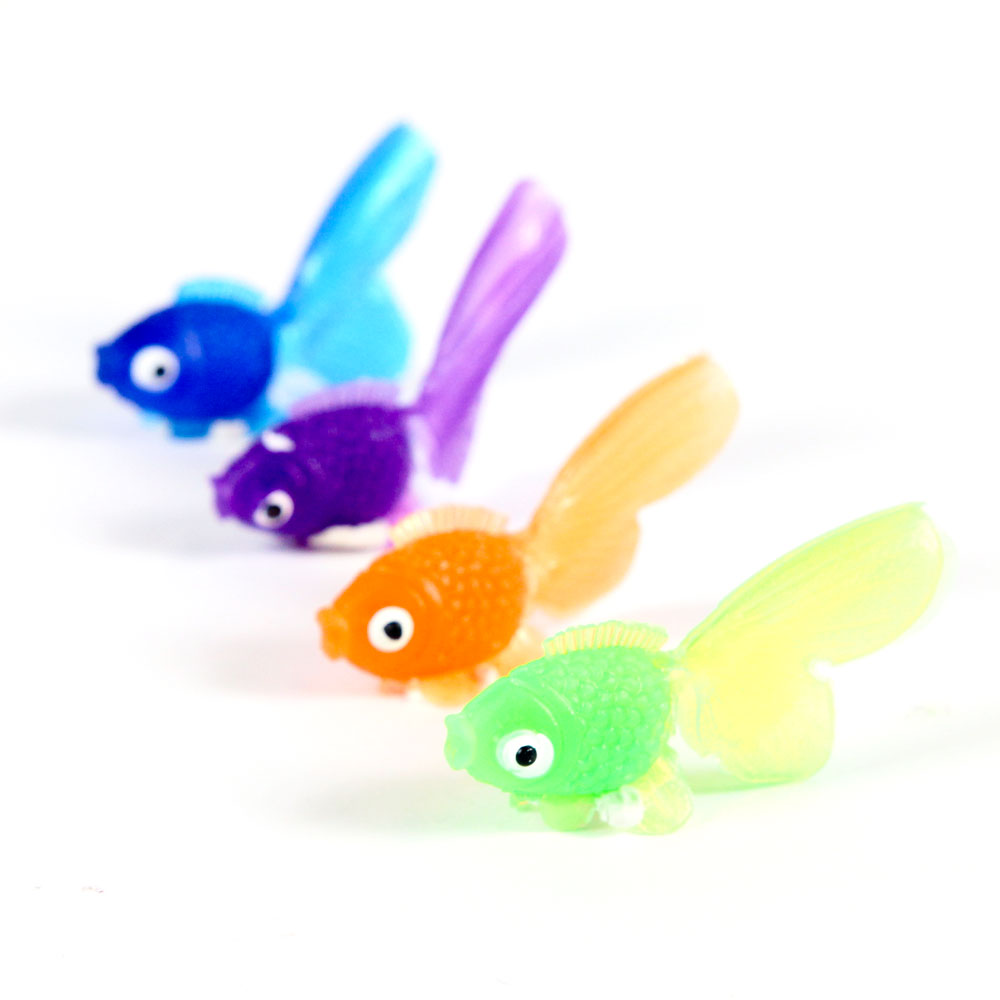
6-9 Toy Fish (In this tutorial, I used about 2-3 fish per soap. The kit includes 10 fish to save. Edit the amount in your cart if you’d like)
Droppers
Optional: Binder clips, yarn/ribbon/twist ties

Click here to add everything you need for this project to your Bramble Berry shopping cart!
DILUTING LABCOLOR: You’ll need to premix your LabColors in order to use them in this project. We like diluting the small bottle of LabColor in 4 oz. of distilled water. For more on diluting LabColors, check out this blog post.
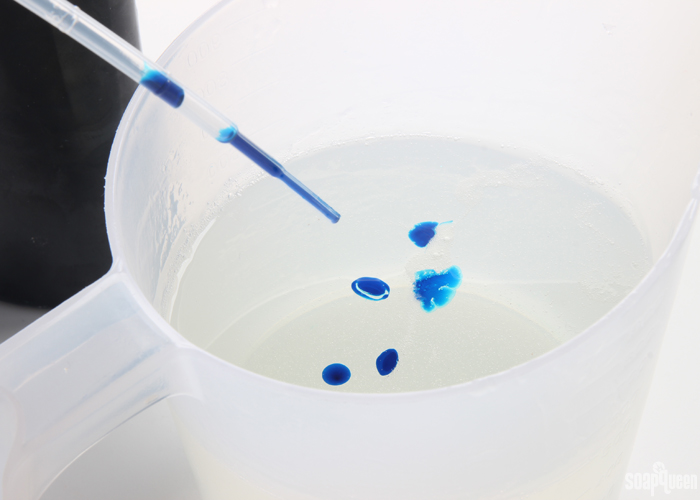
ONE: Chop and melt 21 ounces of the Stephenson Ultra Clear Soap Base in the microwave using 20-30 second bursts. Once completely melted, add .4 ounces of the Apple Macintosh Candle & Soap Fragrance Oil. Stir to combine.
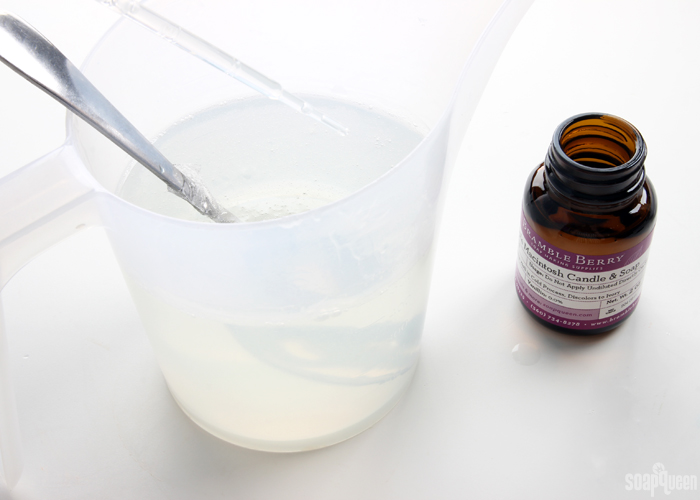 TWO: Add a few drops of the Brilliant Blue LabColor and stir to combine. Feel free to add more color if you’d like, but you want a light blue shade so you can still see the fish inside. You can also omit the blue colorant completely if you prefer the look of clear soap.
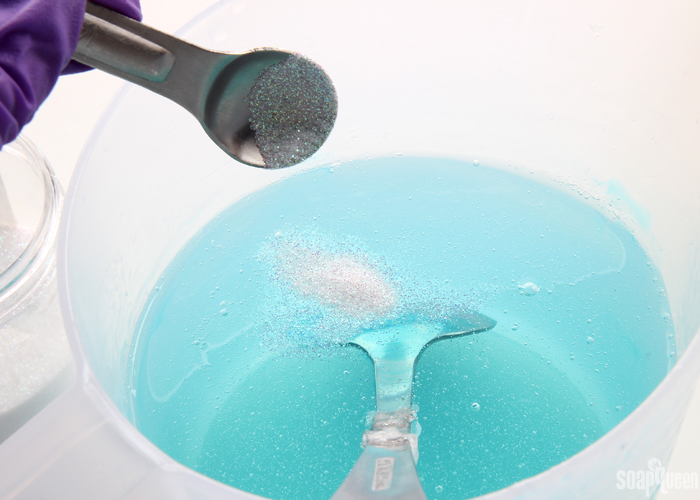
 THREE: Add a pinch of Fine Iridescent Glitter until you’re happy with the amount of sparkle and stir to combine.
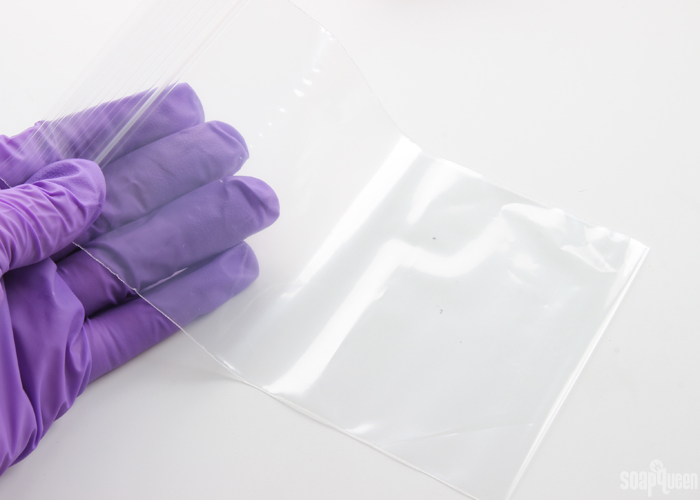
For this tutorial, we used small 4″ x 6″ plastic bags similar to these. We also tested basic sandwich bags, but I liked the shape of the longer bags shown below. Feel free to use whatever bag you’d like for this project. I recommend testing a bag first by pouring a small amount of hot, melted soap to make sure the bag doesn’t melt.
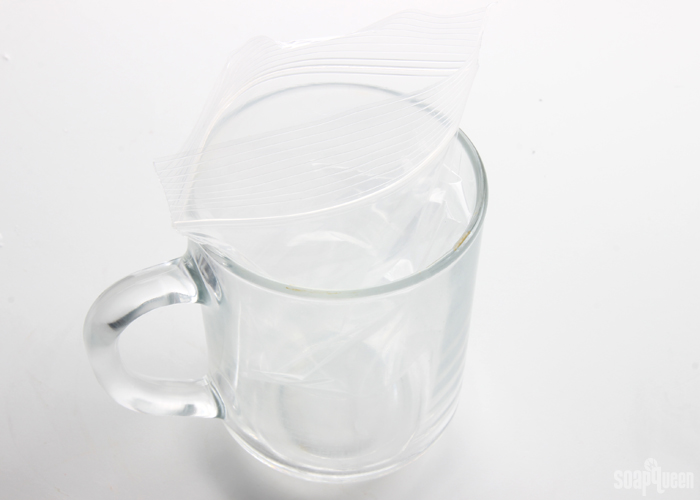
 FOUR: To help with pouring the soap into the bag, you can place the bag into a small cup or container. This is optional, but it can help. It’s also a nice safeguard just in case the soap melts the bag. In our tests, the soap never melted the bag when it was poured at 135° F or below. Pouring at a hotter temperature could melt the bag, so allow the soap to cool if necessary.
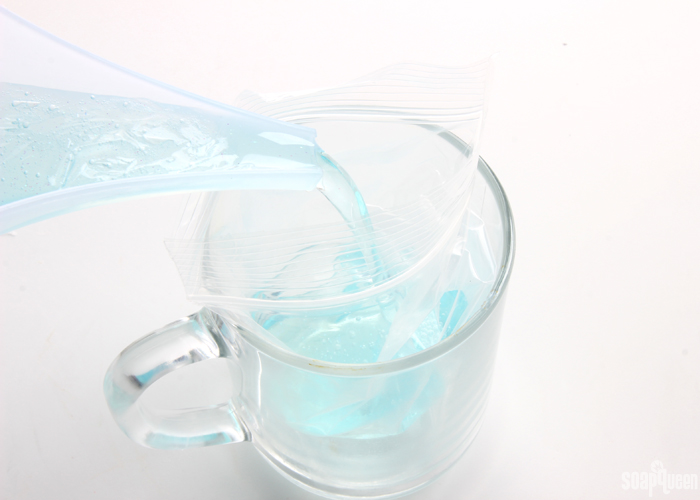
 FIVE: Once the soap is below 135° F, pour the soap into the bag until it’s filled as much as you’d like. Don’t overfill the bag – there should be enough space at the top to twist it closed tightly.
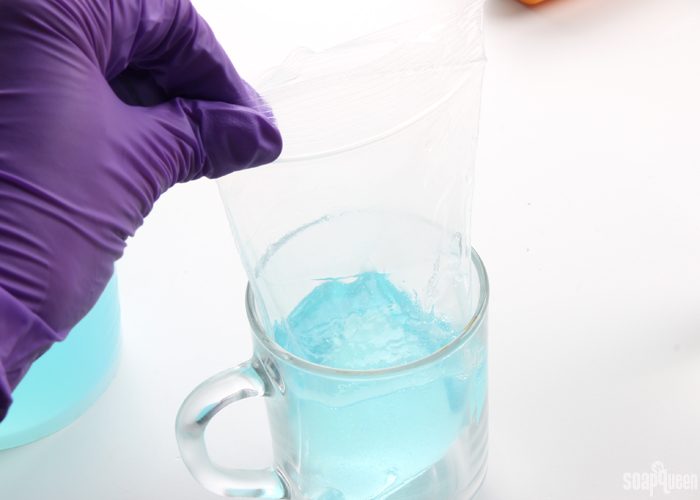 SIX: Spritz the top of the bag with alcohol to help disperse bubbles. Drop 1-3 fish into the soap. If the soap is quite hot, the soap will sink to the bottom.
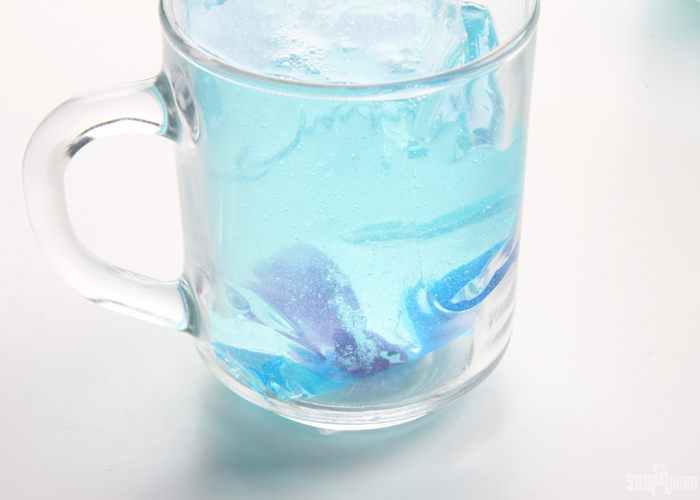 SEVEN: Tightly twist the top of the bag, and use a clip with a very firm clasp (we used binder clips) to firmly hold it shut. Lay the bag on its side. This will cause the fish to fall to the side of the bag that is face down. Allow the bags to lay for about 10 minutes. During this time, the soap will cool slightly and the fish will stay on the side rather than falling to the bottom.
Once the soap has slightly cooled, flip the bag over. The fish should stay in place. If the fish fall back to the other side of the bag, allow the soap to cool for a little longer face down. Once you’re able to flip the bag over without the fish moving, flip the bag to the opposite side and allow to fully harden and cool for several hours up to overnight. This way, the bag will be flat on the opposite side of the fish.
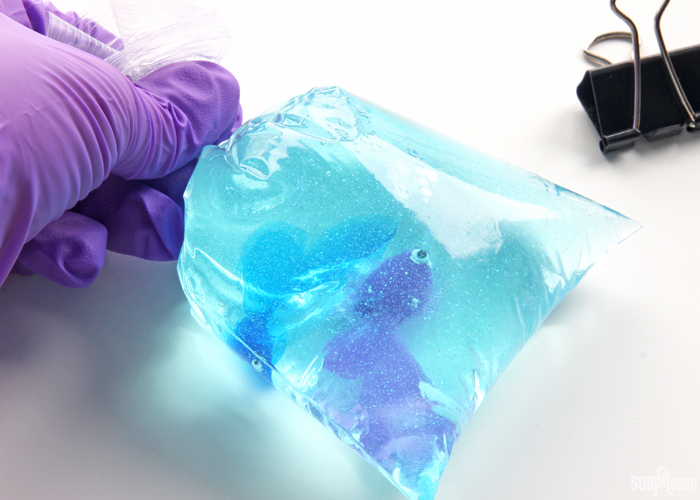
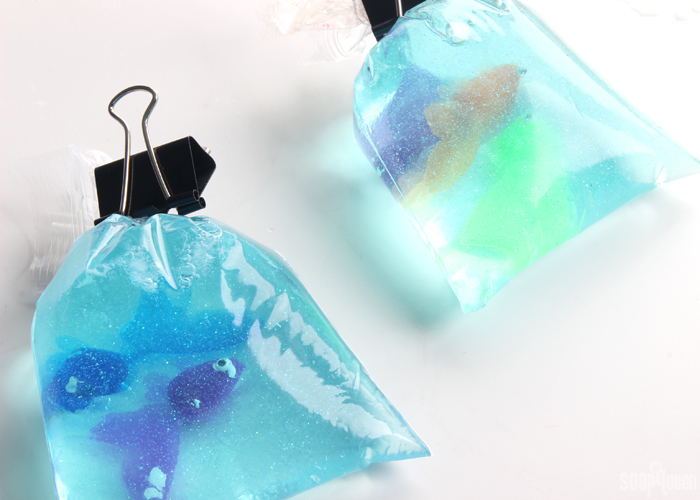
Cut off the top of the bag if it has a zip closure, and use yarn, ribbon or a twist tie to “seal” the bag closed. Once you’re ready to use the soap, peel away the plastic bag and use. Enjoy!
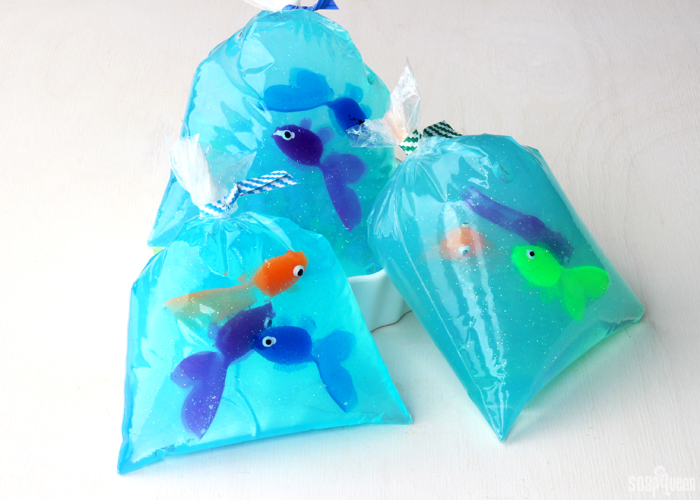
Have you ever made these cute soaps before? It’s such a clever idea, I wish I knew who thought of it first so I could credit them! =)
- Small Clear Plastic Bags (We used 4″ x 6″ bags similar to these)
- 21 oz. Stephenson Ultra Clear Melt and Pour Base
- 0.4 oz. Apple Macintosh Candle & Soap Fragrance Oil
- Brilliant Blue LabColor
- Fine Iridescent Glitter
- 6-9 Toy Fish (In this tutorial, I placed about 2-3 fish per bag. The kit includes 10 fish to save. Edit the amount in your cart if you’d like)
- Droppers
- Optional: Binder clips, yarn/ribbon/twist ties
- Chop and melt 21 ounces of the Stephenson Ultra Clear Soap Base in the microwave using 20-30 second bursts. Once completely melted, add .4 ounces of the Apple Macintosh Candle & Soap Fragrance Oil. Stir to combine.
- Add a few drops of the Brilliant Blue LabColor and stir to combine. Feel free to add more color if you'd like, but you want a light blue shade so you can still see the fish inside. You can also omit the blue colorant completely if you prefer the look of clear soap.
- Add a pinch of Fine Iridescent Glitter until you’re happy with the amount of sparkle, and stir to combine.
- To help with pouring the soap into the bag, you can place the bag into a small cup or container. This is optional, but it can help. It's also a nice safeguard just in case the soap melts the bag. In our tests, the soap never melted the bag when it was poured at 135° F or below. Pouring at a hotter temperature could melt the bag, so allow the soap to cool if necessary.
- Once the soap is below 135° F, pour the soap into the bag until it’s filled as much as you’d like. Don’t overfill the bag – there should be enough space at the top to twist it closed tightly.
- Spritz the top of the bag with alcohol to help disperse bubbles. Drop 1-3 fish into the soap. If the soap is quite hot, the soap will sink to the bottom.
- Tightly twist the top of the bag, and use a clip with a very firm clasp (we used binder clips) to firmly hold the bag shut. Lay the bag on its side. This will cause the fish to fall to the side of the bag that is face down. Allow the bags to lay for about 10 minutes. During this time, the soap will cool slightly and the fish will stay on the side rather than falling to the bottom.
- Once the soap has slightly cooled, flip the bag over. The fish should stay in place. If the fish fall back to the other side of the bag, allow the soap to cool for a little longer face down. Once you’re able to flip the bag over without the fish moving, flip the bag to the opposite side and allow to fully harden and cool for several hours up to overnight. This way, the bag will be flat on the opposite side of the fish.
- Cut off the top of the bag if it has a zip closure, and use yarn, ribbon or a twist tie to “seal” the bag closed. Once you’re ready to use the soap, peel away the plastic bag and use. Enjoy!





That was a smart idea
Thanks Savanna, glad you like it.
It states the FO in this recipe does not make the soap cloudy. Is there a list of other fragrance oils that remain clear in CP soap?
I meant M&P not CP…
Yes, you can find our list of water white fragrances here: https://www.soapqueen.com/bath-and-body-tutorials/tips-and-tricks/what-are-water-white-fragrance-oils/
-Kelsey with Bramble Berry
Thank you!
Can Stephenson Ultra Clear Soap Base be remelted if you have extra that hardens after it’s been melted the first time?
It sure can! You can remelt the base several times after it’s hardened. If you find the base is starting to dry up a bit, you can add up to 5% distilled water or glycerin to add some moisture. 🙂
Liquid glycerin: https://www.brambleberry.com/Glycerin-Liquid-P5965.aspx
-Kelsey with Bramble Berry
Is it advisable to make your own melt-and-pour soap base? I currently make cold process soap, but have used melt-and-pour in the past, and it is so much easier to ‘whip up a batch’ without waiting for the cure process. Is there a recipe or technique that allows one to make their own melt and pour soap base?
You can make melt and pour from scratch! It is a fairly long process and it can be tricky to get the recipe just right. Learn more about making melt and pour soap here: https://www.brambleberry.com/Making-Transparent-Soap-1-Book-P3732.aspx
If you’re looking for something that’s a bit quicker, I would recommend using a premade base. They’re easy to use and feel great on the skin. 🙂
Melt and pour bases: https://www.brambleberry.com/Melt-Pour-Bases-C151.aspx
-Kelsey with Bramble Berry
Does this soap have to cure?
It doesn’t! Melt and pour has already turned into soap, so once it’s cool and hard it’s ready to use. 🙂
-Kelsey with Bramble Berry
Made these last month!
I tried different ways of filling the bag, for my best looking bags, I made a bowl of ice water, opened the bag and filled it while the bag I held suspended while holding with one hand, in the bowl of ice water, this helped the soap to harden fast, but, you must be ready with a long scurr to right face the fish! Once the soap started to harden, I suspended it from my cabinet with clothes pins, or binder clips!
This was the easiest way for me.
What an awesome tip! I love the idea of using ice water. I’ll definitely have to give that one a try. Thanks for sharing Dianney. 🙂
-Kelsey with Bramble Berry
Made these with my nephew for shark week. He made his with a shark that had a lego man in his mouth… 🙂
Ha, that is awesome! Sounds like a fun crafting session. 🙂
-Kelsey with Bramble Berry
I made them once and, although my nephew loved it, I guess my baggies were a bit larger and I had not put them into a glass so the soap ended up being very big (it really spread width-wise I think). The cup helps contain it, so I ended up melting them down and re-doing them, using the cup as well as a smaller bag – in this instance bigger was not better. But I did not know about then putting on their sides, etc. I will try that the next time. They were still very cute and well liked, esp. when a bit more manageable size.
Those are some great tips, thanks Lisa! Glad your nephew loved them. They’re perfect for kids. 🙂
-Kelsey with Bramble Berry
That’s a cool idea!
Thank you Patti, glad you like it! 🙂
-Kelsey with Bramble Berry
I’ve never made them, but always thought they were neat. I like your method of doing it all at once too!
They’re pretty fun to make, and super adorable! Hope you get a chance to try this tutorial out. 🙂
-Kelsey with Bramble Berry