It seems like a lifetime ago but Lily’s Baby Sprinkle was so fun with the extra projects we did and I just realized I haven’t shared one last DIY project. Another crafty touch for the Baby Sprinkle were these fun (inexpensive) painted vases, inspired by this tutorial from Pinterest (as seen in a past Soapy Social Media Roundup). The result added just the right touch to some coordinating seasonal flowers using just some water-based acrylic paint from the local craft store and a few leftover mason jars (and of course, friends and a stove).

The multiple sizes of mason jars brought charm to the vases. Their similar styles and color palette of the flowers and paint added cohesion to the project’s final look. Any mason jar will do (one that is designed for canning; these have to sustain heating in an oven).
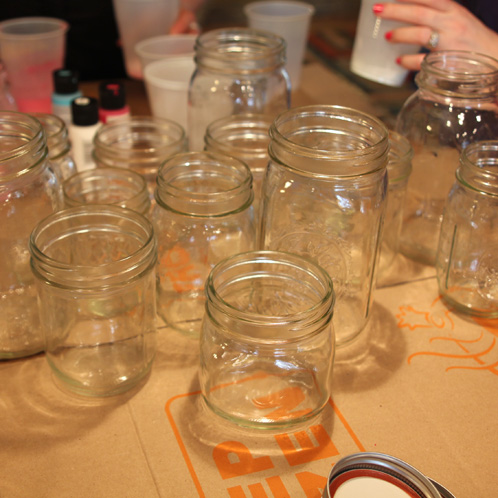
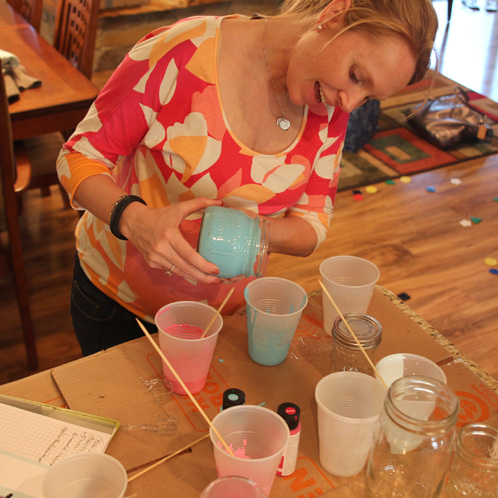
And yes, I was still pregnant in the photos. We did these when I was about 8 1/2 months pregnant. Like I said, it seems like a lifetime ago that little Miss Lily was in my belly. She’s currently in my arms as I awkwardly try to type this and her older brother is playing trains with Dad. For this project, we experimented with diluting the paint with water and found that too much water requires multiple coats inside the jars (boo! hiss! extra work) and does not provide enough solid coverage in our mason vases. About 1 tablespoon of water in about 1/4 cup paint (about 1 part water to 4 parts paint) seemed to work well. But your experience may vary depending on the paint you use. Try small batches of diluted paint on empty baby food jars or other small glass containers if you’d like to test the coverage.
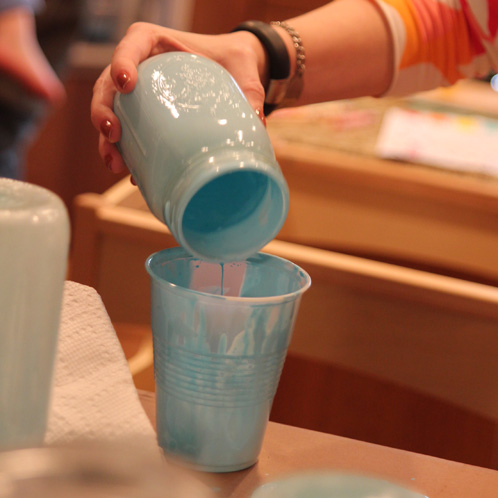
Once you’ve diluted the paint to your liking, pour a bit into a jar and roll it around in there until the inside of the glass is evenly coated. When the glass is evenly coated, pour as much excess paint back into the mixing container and possible. Note the large cardboard sheets we laid down to protect our counters. My long-suffering husband would have had a heart attack otherwise.
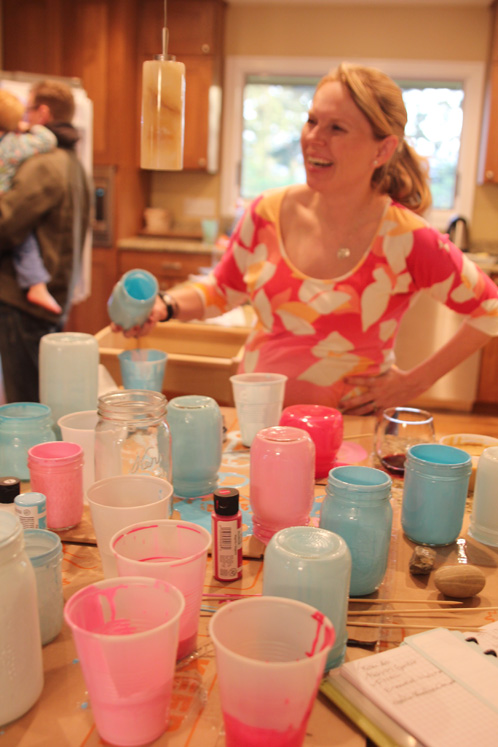
Turn the jars upside down on a protected surface to allow the paint to dry (any excess paint will also leave the jars). If I had planned better, this would have been covered with a white piece of paper so I could have framed the aftermath or cut it up into small squares to paste onto card stock for handmade thank-you cards.
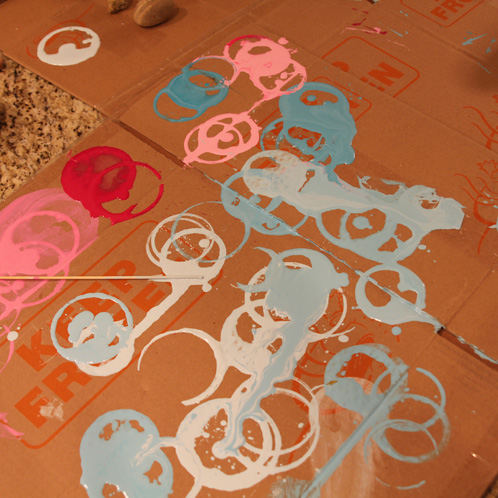
Flattened cardboard boxes worked well as a surface protectant – thick enough to withstand the excess paint with no seepage! If do newspapers, make sure there are lots of layers to withstand the paint. You don’t want the paint getting through and staining your counters.
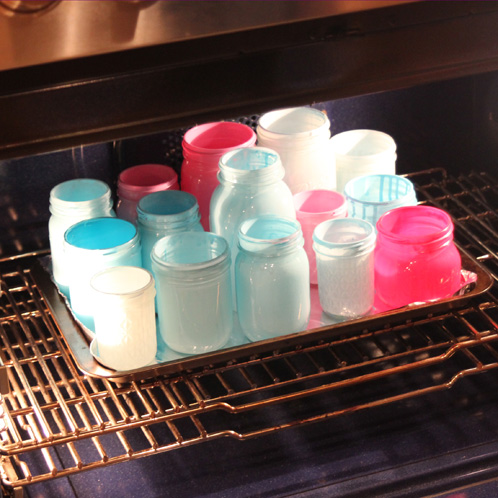
An optional step is to bake the jars in the oven to help the paint to stick onto the sides of the jars. Go with the lowest setting on your oven and bake for about an hour on an. Be cautious and open up all your windows and get the fan going – the paint I used caused some pretty wicked fumes! After the hour, I simply turned off the oven and let the jars cool with the oven. You can also let the jars sit out in the sun for a week to “cure” or in a quiet place in your house for a month. Otherwise, the paint just falls off and mixes with the water and all your hard work is for naught.
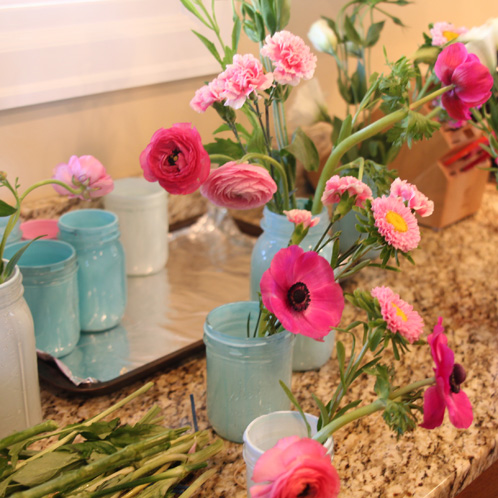
If you’re worried about the paint coming off, some plastic cups into the jars hold water just fine and voila, some fun and functional flower arrangements are born! Shades of pink and aqua in the jars went perfectly with pink seasonal flowers. For other Baby Sprinkle projects, click through to see Mini Flower Bath fizzies, Strawberry Tart Melt and Pour soaps, Ombre Gift Bags, the free downloadable tag and finally the full wrap-up of the Sprinkle, complete with our DIY Mimosa station.

Love the look of your painted jars! May I know what kind of paint you used?
Hi Silvia!
You can actually use any acrylic craft paints for this project (how cool is that!) and we hope you get a chance to try it out. =)
-Becky with Bramble Berry