April showers didn’t fail to deliver lots of May flowers. This clever Garden Candle is a fun way to bring the fresh scent of a spring garden inside. This candle features Sunny Herb Garden, which is May’s Sample of the Month. This fragrance performs wonderfully in cold process soap as it does not accelerate trace or discolor. It’s a sweet, floral scent, which makes it a great choice for fresh-smelling hair products or lotions.
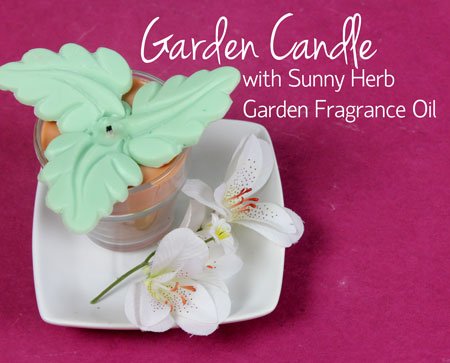
And don’t forget, you can also use this project to participate in our Make It Month!
To participate, simple make a project using Sunny Herb Garden or Carnation Fragrance Oil. Then, post your photo on the Bramble Berry Facebook Page with the hashtag, ‘#BrambleGarden.’ We’ll post a collage of our favorite projects on the Soap Queen blog on June 9. Hurry, because the posting fun ends Friday, May 30. If you need a little inspiration, check out the photos that have already been posted here.
What You’ll Need:
20 oz Ecosoya Advanced Soy Wax
1 oz Sunny Herb Garden Fragrance Oil
4 Candle Pot Candle Containers
10 CD-12 Wicks
Click here to add everything you need for this project to your Bramble Berry shopping cart!
ONE: Melt 20 oz. of Ecosoya Advanced wax in a microwave safe container in 30 second bursts until clear.
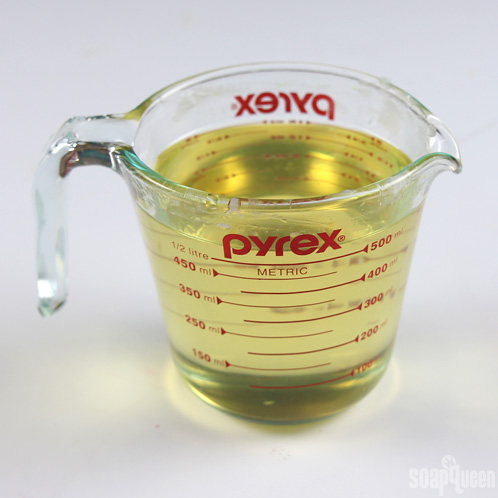
TWO: Pour 4 oz. (volume measurement) of melted wax into smaller container.
THREE: Shave off a small pile of Hunter Green wax dye block, and put shavings into the 4 oz. of wax. To check the color, try the spoon trick: run cold water over a metal spoon, dry off, and quickly dip the tip of the spoon in your colored wax. This should give you an idea of what the green will look like when it is hardened.
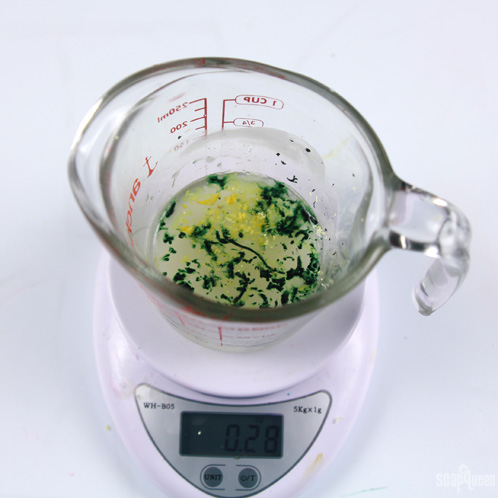
FOUR: Once you are happy with the green, use your dropper to fill just the leaf section of the Guest Botanicals mold. Don’t fill this too full! You want just the leaf itself, not the rectangle part of the mold.

Tip: Wax that cools too rapidly can get a white haze on the surface. To prevent this haze on the leaves, fill a large flat container with hot water. Gently lay your leaf mold that has the wax in it, to float in this water. This will ensure your wax doesn’t cool too quickly.
FIVE: Shave off a pile of Orange and Red wax dye blocks. We used approximately 4 times the amount of orange to red. Add this to the large batch of uncolored wax, reheating it if necessary. Again, you can check the color of this wax using a cold metal spoon. Once you have a nice terra cotta color, measure out 1 oz. of Sunny Herb Garden Fragrance Oil. Add to colored wax and stir well.
SIX: Grab your flower pot containers and wicks. Using another dropper, place one drop of terra cotta wax in the center of a flower pot. Place a wick in this puddle of wax and hold it firmly until the wax sets up (about 10 seconds). Repeat for all four pots.
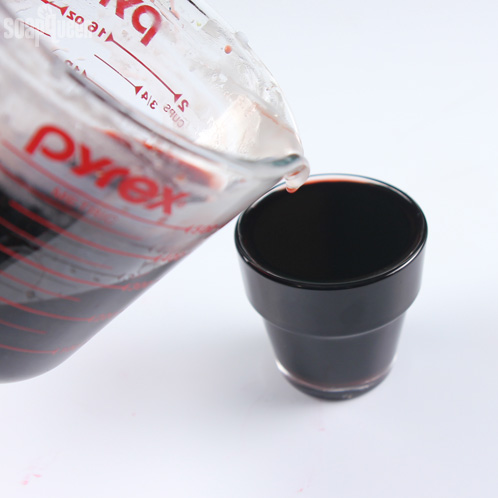
SEVEN: Fill flower pots almost to the brim with terra cotta wax. Use two pencils or chopsticks to hold wicks centered in the pot. Place each pot in a warm bath of water to help them to slowly cool.
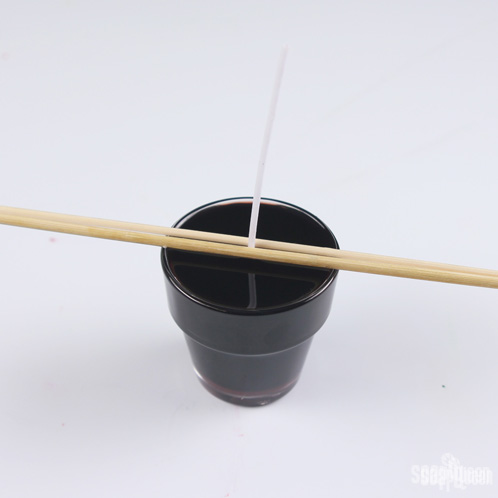
EIGHT: Check on the green leaves. If they are solid, gently press on the back of the mold to release them. You will need three leaves per flower pot, so refill the leaves again, and repeat the water bath until you have 12 leaves total.
NINE: Once you have 12 leaves and all your terra cotta pots are set up, it is time to assemble the candles. Melt the remainder of the green wax. Using a dropper, dribble a little wax on top of the candle. Use this wax like glue to arrange three leaves around the top of each candle.

TEN: Trim wick to 1/2″, and your candle is ready to use! In case of waxy leaf dribbles, place your candle on a heat-safe surface so you can easily scrape away fallen wax. Our tests didn’t leak but just in case, protecting your surface is worth the extra step.


I’m having a hard time getting the leaves out of the mold without cracking. Any tips?
Hi Rebecca!
Temperature is key when removing the leaves! If they’re too cool, they can crack. You want to remove the leaves when they’re solid but still slightly warm and flexible. Then, press gently on the back of the mold to help them release. 🙂
-Kelsey with Bramble Berry
I love this. It’s so cute!
Hi Michelle!
Glad you like this project, I hope you give it a try! 🙂
-Amanda with Bramble Berry
Wow thanks for sharing. What an amazingly fun tutorial.
Hi Odette!
So glad you enjoyed this tutorial, I hope you give it a try. It’s such a cheery little candle 🙂
-Amanda with Bramble Berry