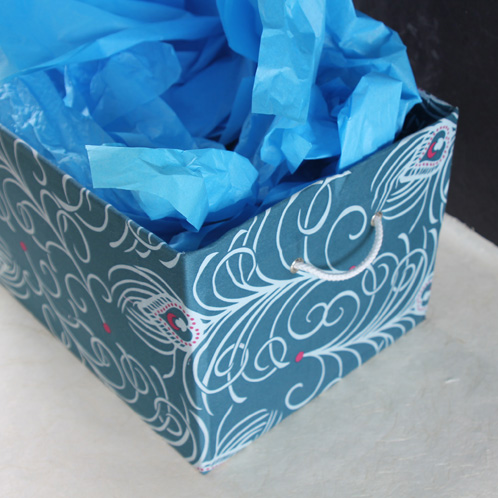
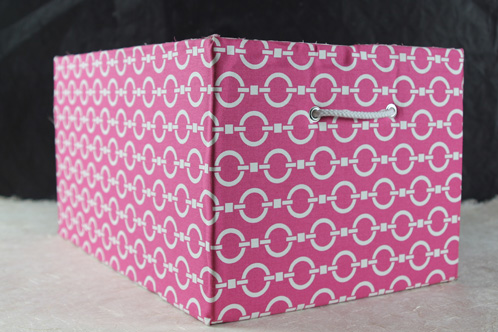
Waste not, want not! Since I started Bramble Berry on the proverbial shoestring budget, some habits die hard and I’ve stayed as true to this mantra as much as possible. I don’t like throwing anything away (as my horrified team discovered during a recent office remodel). In the spirit of renewal and the need for a bit more organization, I decided to reclaim a few office boxes that had previously held reams of paper. The result was these cute and functional storage bins, large enough to handle bulk accumulation but perfectly sized to fit under my desk. Read on to learn how to turn any plain box into a fabric-covered storage bin. No sewing required – just glue and scissors!
What you’ll need:
Fabric: I used home decor weight fabric. It’s heavier than quilting cottons and most apparel weight fabrics and is often used to cover furniture. The fabric I picked was also sateen, which means it had a natural sheen and slick feel.
Cardboard box(es): find something that will fit where you would like to use the storage bin(s).
Scissors or Rotary Cutter, Ruler and Cutting Mat
Spray adhesive
Craft Glue
Optional:
Cotton, Polyester or Nylon cording
Grommet and Grommet Tool
ONE: Measure your box to determine how to cut your fabric. Here are the measurements you need:
- The length + width of the box (the base).
- The height of the box.
Cut one piece of fabric using the length + width measurement, adding 1 inch to each measurement. This will fit into the base of the inside of the box.
Cut two pieces of fabric that are the height of the box wide by the sum of the length and width of the box plus one inch long. These will fit the interior walls of the box.
Cut two pieces that are the height of the box wide plus two inches wide by the sum of the length and the width of the box plus one inch long. These will fit the exterior walls of the box.
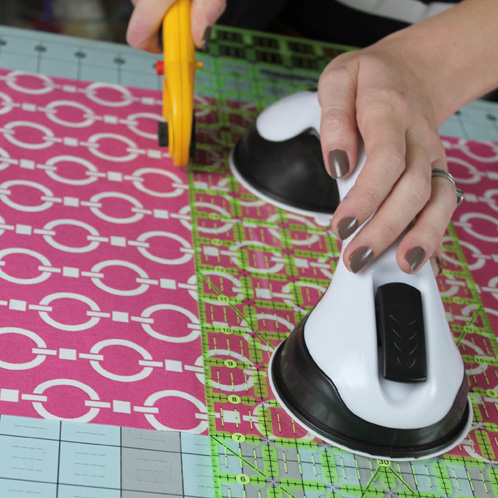
Tip: Label each of your cut pieces of fabric with masking tape. It helps keep the fabric pieces organized.
TWO: Measure 1/2″ in on each of the corners of the base fabric. Cut in toward the point created by the measurement on all four corners. With the right side of the fabric facing up, roll the fabric piece up like a newspaper.
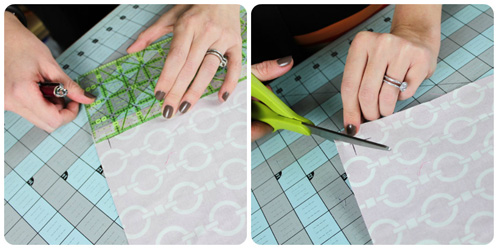
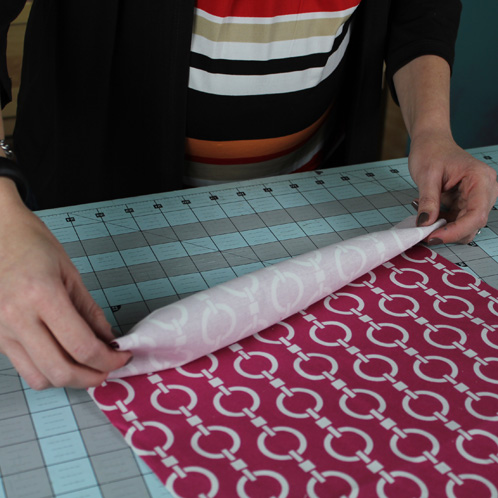
THREE: Layout a sheet of plastic to protect your work surface and put on gloves if desired (you desire … you desire … the glue is very sticky and absolutely will take off your nail polish when you’re trying to remove the glue from your fingers). Spray the inside base of the cardboard box with a thin layer of spray adhesive. Spray only about 1/3 of the base, starting on the left side. Align the edge of the base fabric along the wall of the box, so that the snipped corners fall against each other to create a clean corner. There will be about 1/2″ of fabric that runs up the side of the box. Press the fabric into the glue on the base, unrolling as you go. Spray a bit more and unroll, and continue until the fabric is unrolled and covers the bottom. Use the craft glue to touch up the sides.
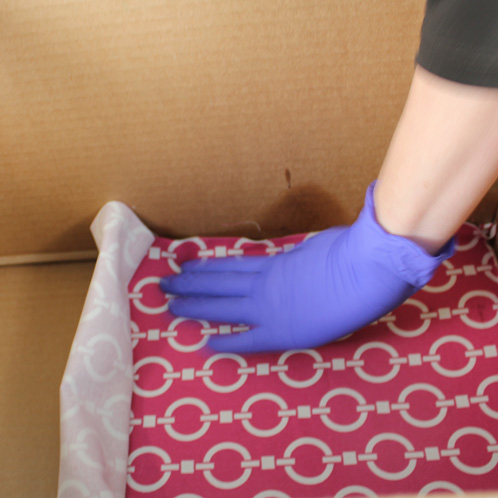
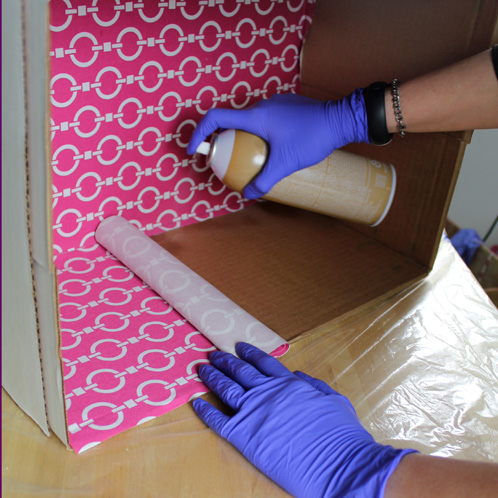
FOUR: With the right side of the fabric facing up, roll the interior pieces up like a newspaper. Lay the box on it’s side. Spray the inside of the box on one side with spray adhesive, leaving about 5″ unsprayed on the right. Line up the edge of one of the interior pieces perfectly with the corner on the right hand side, and unroll until you reach the other corner. Once you are unrolling over glue, press the fabric into the glue. Once you reach the first corner, turn the box again so that your working surface is flat on the table. Spray the cardboard and continue to unroll the fabric until you reach another corner. At this point, you should have about 1″ of fabric left. Adhere this to the third wall. Shift the box so that this third wall is flat on your work surface and the 1″ of overlap from the first piece of fabric is on the right. Repeat the process the second piece of fabric, butting up the edge to the corner, except do not leave 5″ of space unglued. Work your way around the last two interior walls of the box until you reach the corner you started with. Affix the 1″ overlap to the wall that you started with.
FIVE: You should have a 5″ flap of fabric that is unglued still. Pull this unglued flap back (hold in place with a binder clip if it’s helpful) and spray adhesive onto the exposed cardboard and over the 1″ fabric overlap. Press the fabric into the glue. Trim any excess fabric from the top so that the fabric is flush with the top of the cardboard.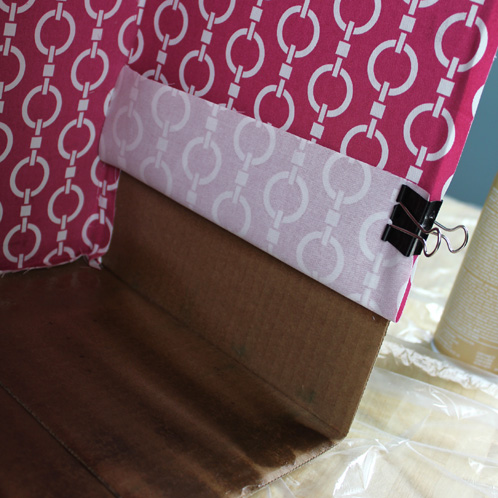
SIX: The process to cover the outside of the box is similar, except the width of the fabric will extend about 1″ past each side of the edges of the box. Center the fabric over the outside of the box and follow the same procedure for covering the interior walls.
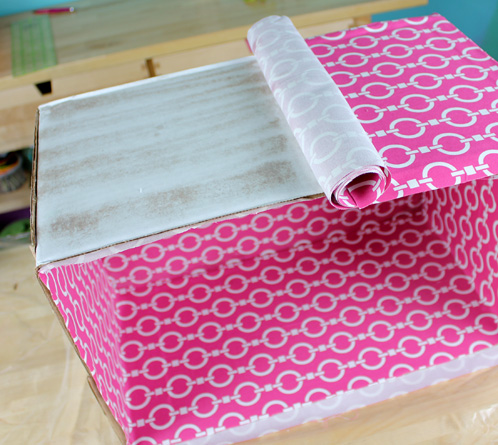
SEVEN: At the corners of the excess fabric at both the top and the base of the box, make a slit that is perpendicular to the edge of the box.
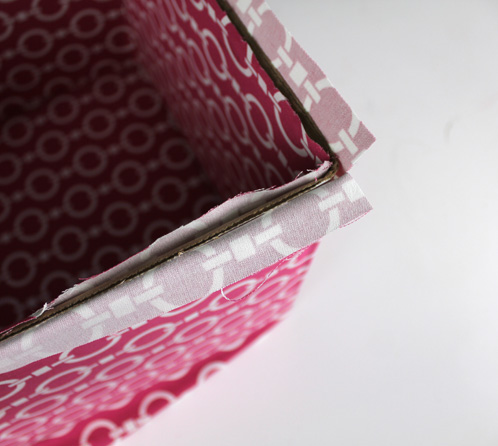
EIGHT: Using the craft glue, affix the 1″ fabric overlap at the top and base of the box by wrapping the fabric around the edges and toward the center of the box. At this point, there should be no visible exposed edges of cardboard!
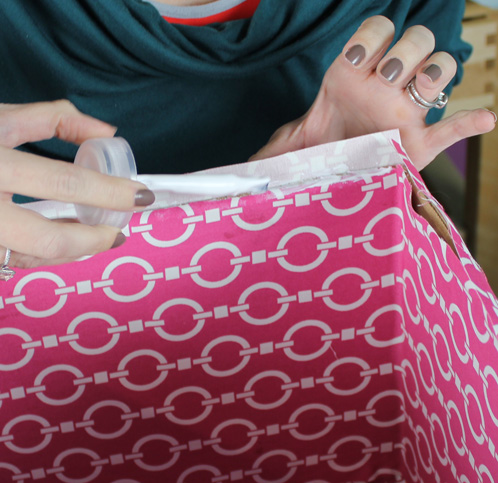
OPTIONAL FINISH: Cut two holes in either side of the box and affix grommets using a grommet tool. Thread knotted cording through the grommets to create handles. Use Scotch tape to finish the edge of the cording if it’s cotton or polyester, or melt the tips with heat if the cording is nylon.
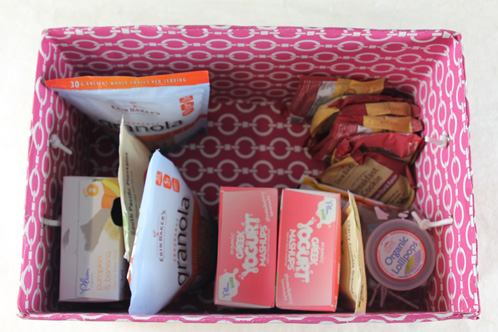
This is my kid-friendly-healthy-snacks-disguised-as-treats arsenal for when Jamisen visits the office: my dear friend Erin Baker’s wholesome snacks, fruit puree in on-the-go pouches, Greek yogurt snacks, and organic agave sweetened lollipops.



i love this! i’m the same way! i love recycling and upcycling everything…
Good morning, Jamie!
We are so glad you got a chance to check this tutorial out, let us know if you end up trying it out, we’d love to hear your feedback. =)
-Becky with Bramble Berry
Really nice and such a pretty, functional idea.
Thanks
Hi Odette!
Thanks for stopping by! We hope you get a chance to try this type of project out soon. =)
-Becky with Bramble Berry
Thank you so much for a wonderful idea. My husband, Mr. Aesthetics, really dislikes what he considers ugly things in the house, whereas I don’t care how things look as long as they’re functional (with exception to soapmaking of course. 🙂 ) So this is the perfect way to keep both of us happy.
Good morning, Monica!
What a great compromise! Be sure to share with us what your boxes look like, we can’t wait to see it! =)
-Becky with Bramble Berry
Such a great idea! We always end up with so many boxes and never know what to do with them all. I’m going to try this 🙂
Good morning, Michelle!
We are so excited that our customers are going to be able to use this tutorial for all their extra boxes. We’d love for you to share photos on Bramble Berry’s Facebook with us if you get a chance. =)
-Becky with Bramble Berry
What a perfect idea for making gift baskets as the holidays approach! Can even use remnant for smaller boxes. Thank you!
Hi Catherine!
That is a creative idea, be sure to let us know how it works for your gift baskets this holiday season. =)
-Becky with Bramble Berry
What a fantastic idea! I cure my soaps in cardboard trays that I cut from my Bramble Berry boxes. It would look so nice to cover them like this.
What is that cool black and white tool in the top photo called? It looks REALLY handy.
Thanks for sharing such a clever idea! 🙂
Hi Nikki!
We are so excited to see your upcycled Bramble Berry boxes and if you get any pictures, we’d love for you to share them with us on Bramble Berry’s Facebook page.
https://www.facebook.com/BrambleBerry
The black-and-white tool in the top photo is actually called a ruler grip, which you should be able to find at any craft store. It helps to suction your ruler to give you a better grip.
I hope this helps! =)
-Becky with Bramble Berry