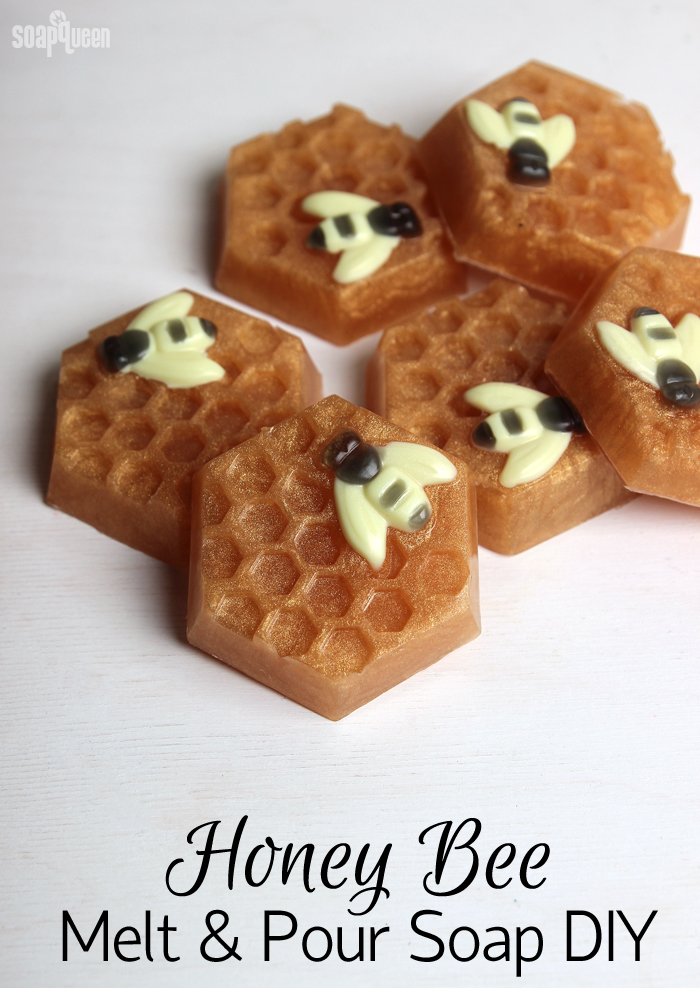
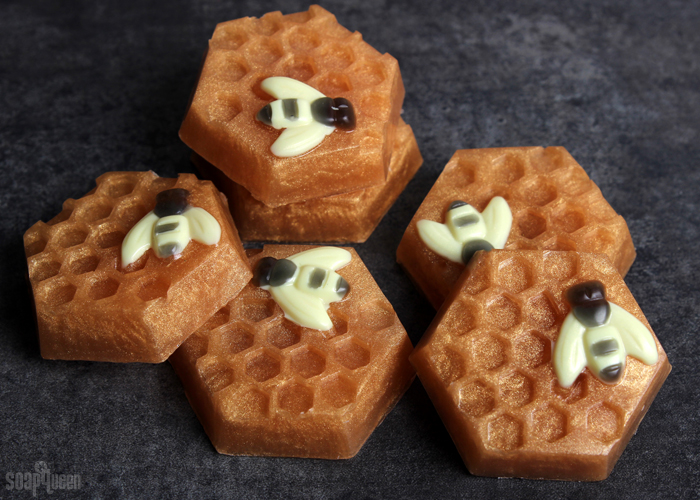
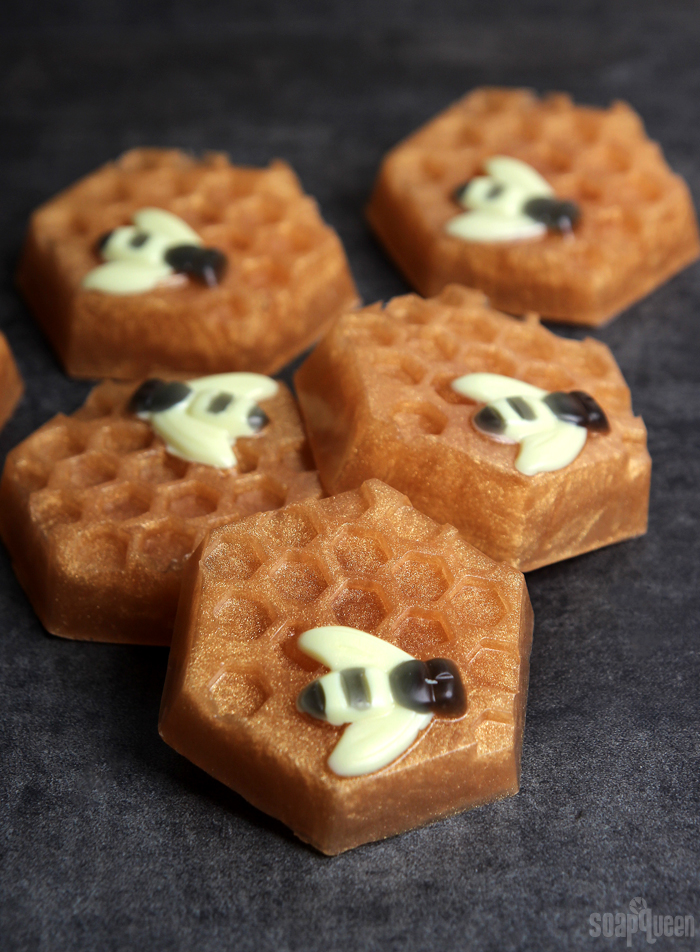
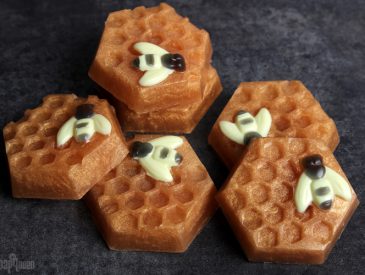
A few months ago, I created these cute Honeycomb Melt and Pour Soaps. I loved them so much, that I decided to make them into a Soap Queen TV tutorial! I changed the colors slightly, but stuck with Pure Honey Fragrance Oil. It smells absolutely amazing and is such a huge crowd pleaser. These honey bee soaps are made in the 6 Cavity Honeycomb Silicone Mold, which makes unmolding easy. It’s also easy to clean and works well for a variety of projects including cold process soap and lotion bars. There are also free downloadable labels for this project to package and give as gifts!
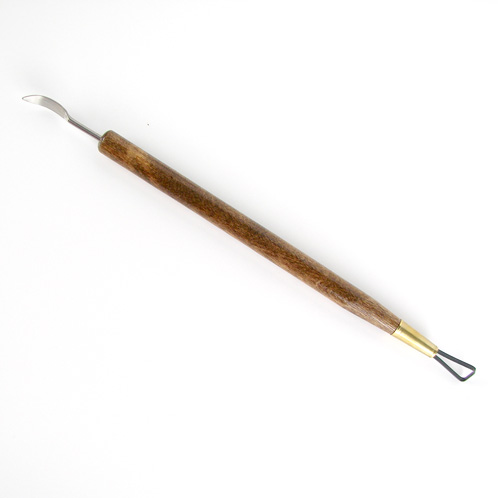
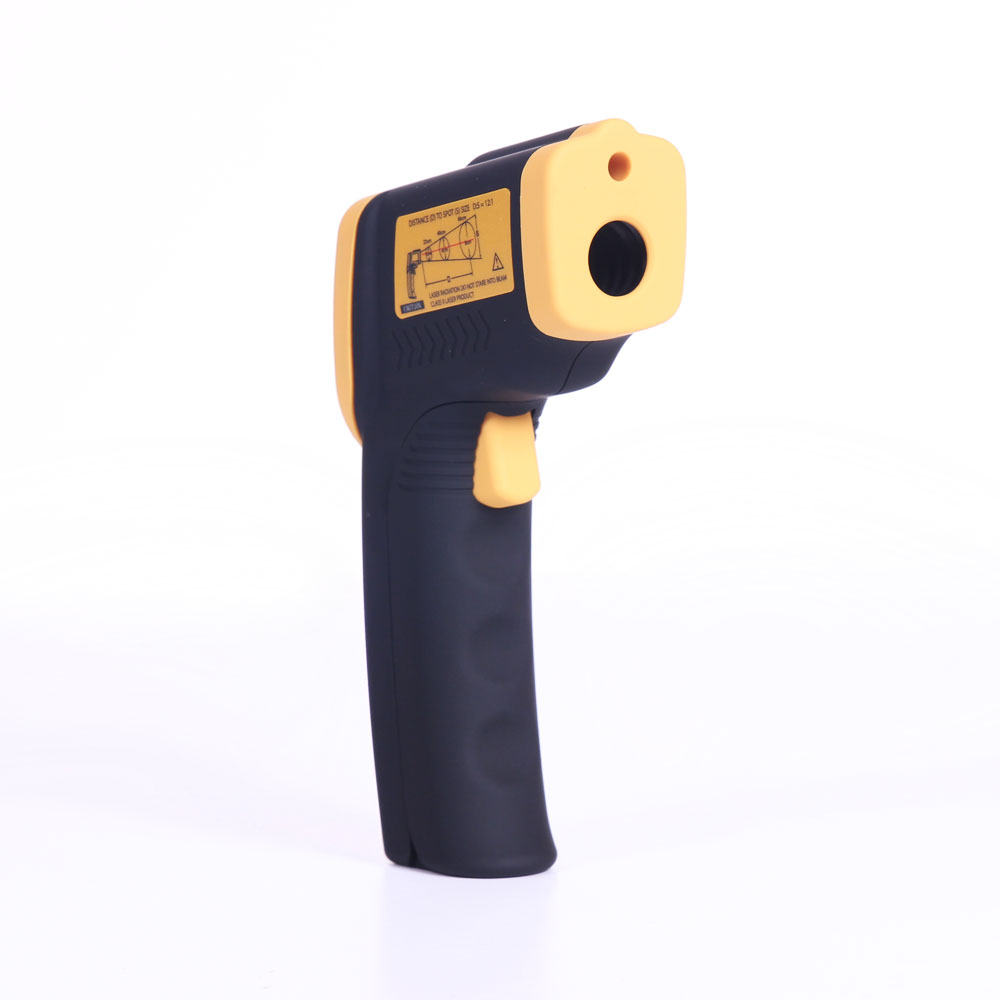
This honey bee project is suitable for both beginner and advanced crafters. It does require some detail work, which can take a little patience. To help with filling in the bee details, I recommend using an Injector Tool and having a Clean Up Tool nearby to fix any mistakes. As with any melt and pour project, 99% isopropyl alcohol in a spray bottle and an infrared thermometer are key!
What You’ll Need:
6 Cavity Honeycomb Silicone Mold
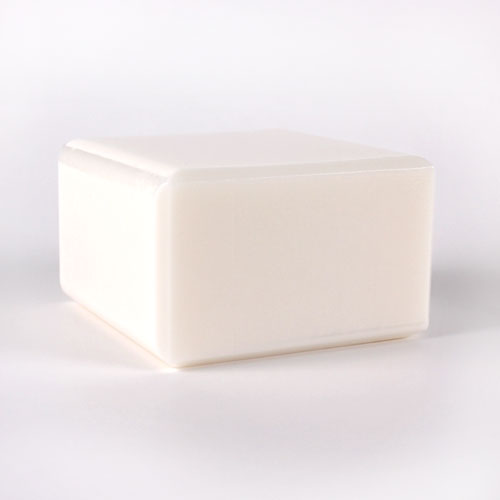
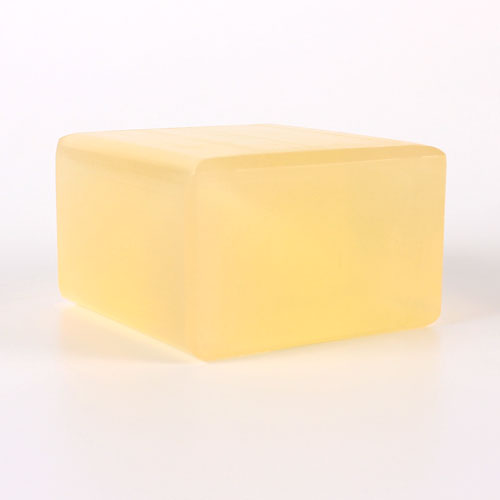
16 oz. Honey Melt and Pour Soap Base
3 oz. White Melt and Pour Soap Base
0.3 oz. Pure Honey Fragrance Oil
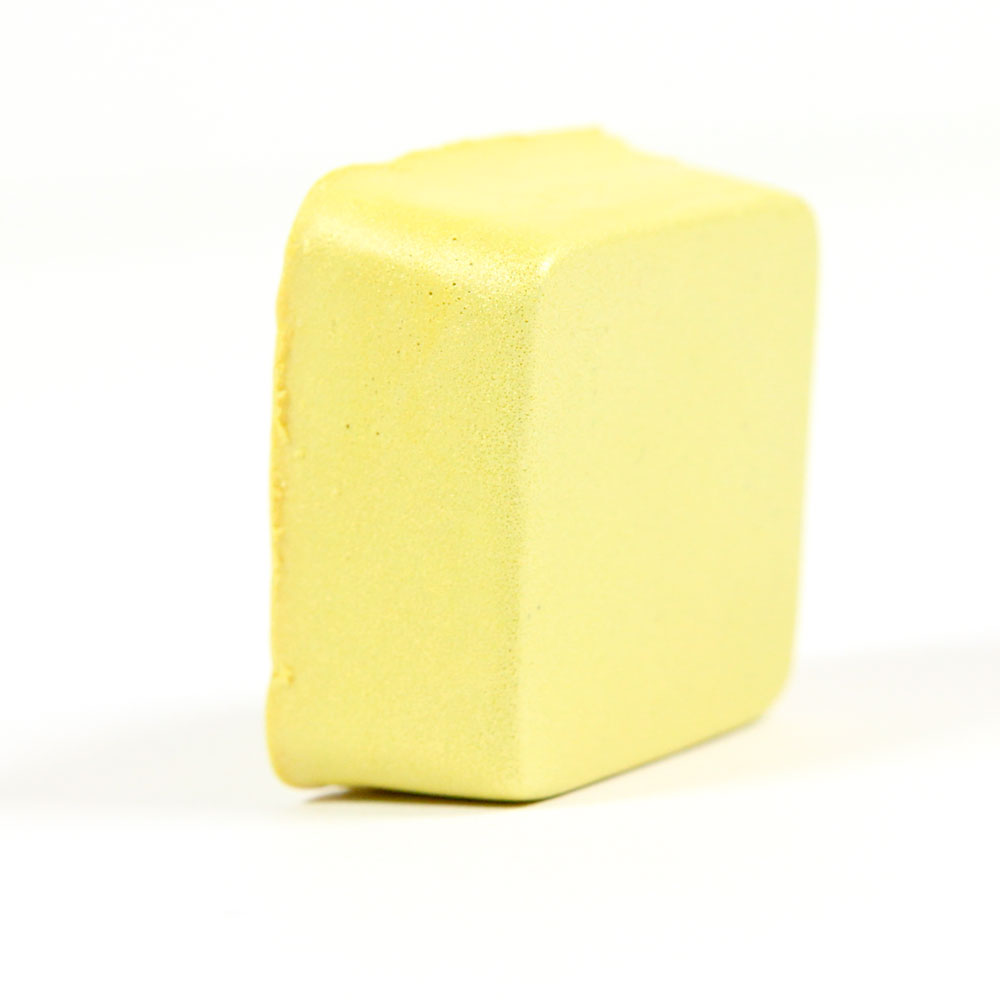
Shimmer Buttercup Color Block
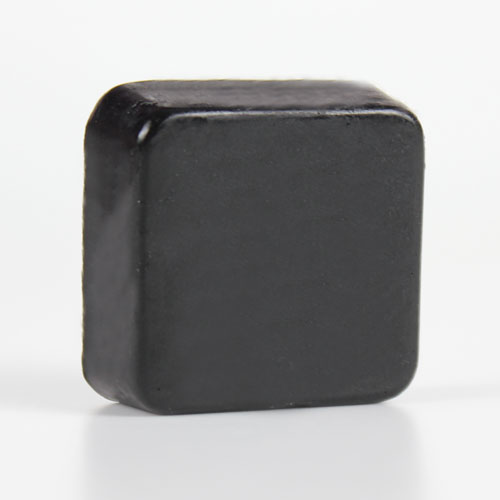
Black Oxide Color Block
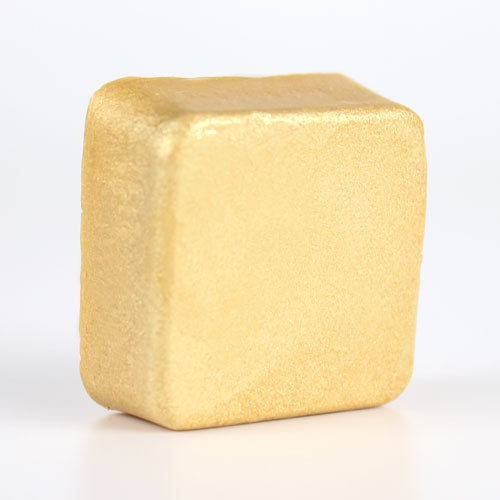
Shimmer Sparkle Gold Color Block
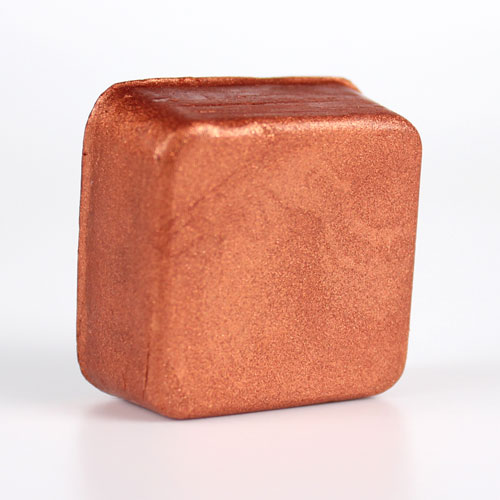
Shimmer Copper Sparkle Color Block
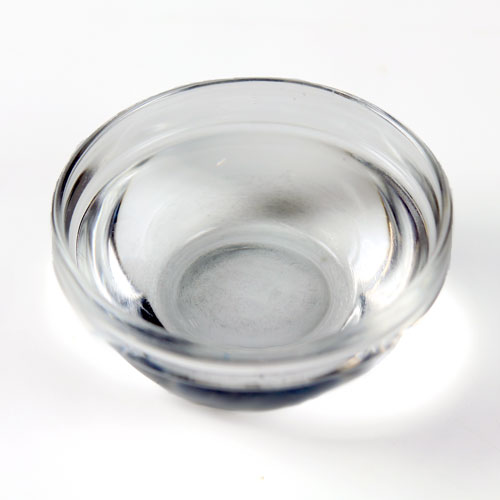
99% Isopropyl Alcohol in Spray Bottle
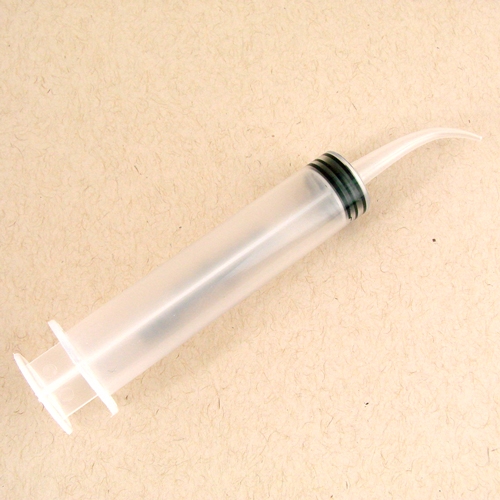
Injector Tool
Clean Up Tool
Infrared Thermometer
Optional: Pure Honey Circular Soap Label Template

Click here to add everything you need for this project to your Bramble Berry shopping cart!
- 6 Cavity Honeycomb Silicone Mold
- 16 oz. Honey Melt and Pour Soap
- 3 oz. White Melt and Pour Soap
- 0.3 oz. Pure Honey Fragrance Oil
- Black Oxide Color Block
- Buttercup Shimmer Color Block
- Shimmer Sparkle Gold Color Block
- Shimmer Copper Sparkle Color Block
- Injector Tool
- Clean Up Tool
- 99% Isopropyl Alcohol in Spray Bottle
- Chop and melt the 16 ounces of Honey Melt and Pour Base. Place 2 ounces of the base in a small, heat safe container and add shavings of the Black Oxide Color Block. Melt in the microwave using 5-10 second bursts.
- Using the Injector Tool, fill in the head of the bee with black soap. It’s helpful to tilt the mold slightly to help the soap stay in the “head cavity” of the mold, without dripping into the body. If it does, allow the soap to cool and harden for a few minutes, and use the Clean Up Tool to perfect the design, as shown below. After dropping the soap in the mold, spritz the soap with 99% isopropyl alcohol to get rid of any bubbles.
- Then, fill in two of the small stripes on the body of the bee with the black soap. Spritz with alcohol to help get rid of any bubbles. Allow to fully cool and harden.
- Chop and melt 3 ounces White Melt and Pour Soap in a small heat safe container using 5-10 second bursts. Add shavings of the Shimmer Buttercup Color Block to create a light yellow color.
- Then carefully pour the yellow soap into the bee cavity. If necessary, clean up any drips or imperfections with a Clean Up Tool. Spritz with alcohol to remove bubbles, and allow to fully cool and harden for several minutes.
- While the soap cools, chop and melt the remaining Honey Melt and Pour and shavings of the Shimmer Copper Sparkle Color Block, and the Shimmer Sparkle Gold Color Block in the microwave using 20 second bursts.
- Once completely melted, add the Pure Honey Fragrance Oil, and use a spoon to fully mix in.
- Check the temperature of the soap. If it’s hotter than 130° F, allow it to cool. If the yellow soap is poured while it’s too hot, it will melt the bee details. Once the soap is between 120-129° F, spritz the mold with 99% isopropyl alcohol. Pour the gold soap into each cavity.
- Spritz each cavity with 99% isopropyl alcohol to help disperse bubbles. Allow the soap to fully cool and harden for several hours before attempting to remove. Once fully hardened, remove the bars from the mold, and wrap in plastic wrap to help prevent glycerin dew. Learn more about storing handmade products here. Enjoy!



Can you use real honey in this?
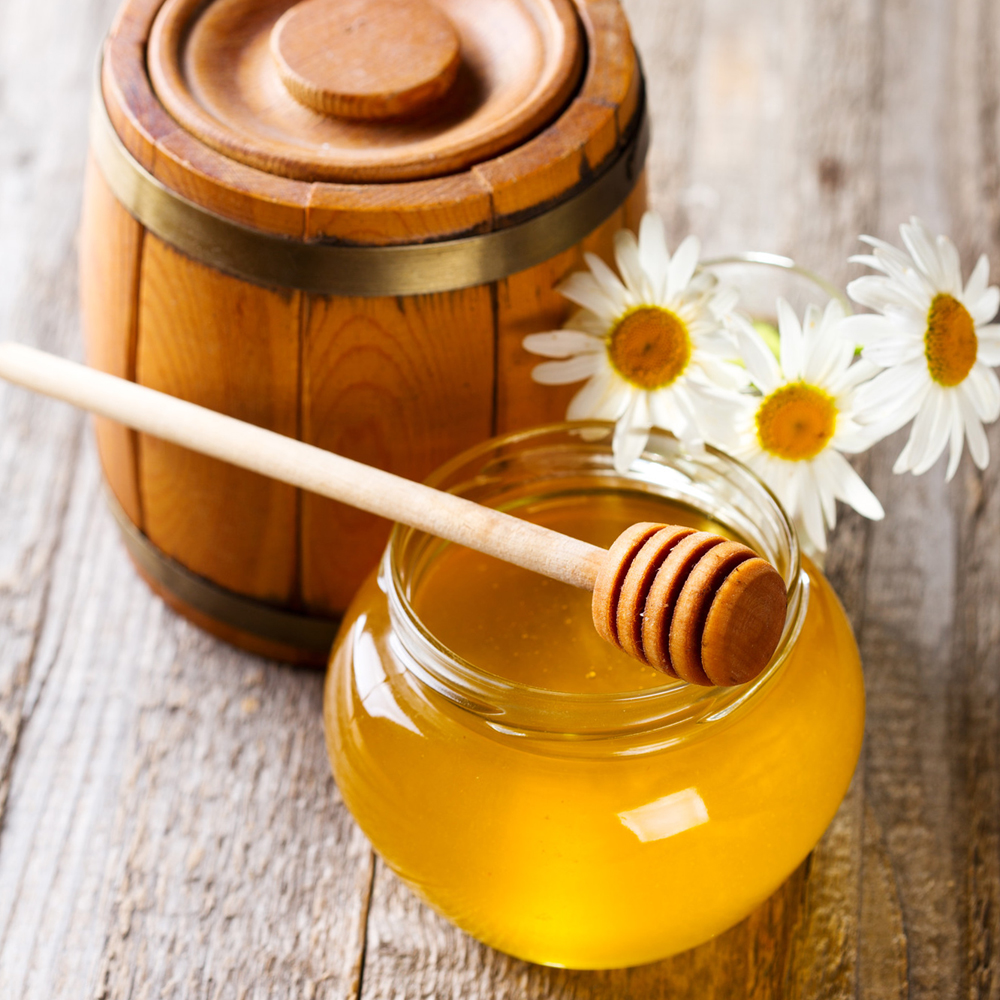
It won’t mix very well with a Melt and Pour base. Honey is best added to Cold Process recipes.
This will be my first soap, everything I need gets here tomorrow, however, what do I list as ingredients for all that above? I am spending the evening making labels in hopes I do well enough to start a business.
For labels, you’ll want to list all the ingredients from most used to least used. You’ll also want to list the weight, instructions for use, and your address. This post talks more about labeling soap: https://www.soapqueen.com/bath-and-body-tutorials/cold-process-soap/how-to-label-cold-process-soap/
I would also highly recommend the Soap and Cosmetic Labeling book by Marie Gale. She explains labeling regulations in an easy-to-understand way: https://www.brambleberry.com/Soap-And-Cosmetic-Labeling-Book-1-Book-P3663.aspx
-Kelsey with Bramble Berry
is there a kit for this?
No, but you can click the “Add to Cart” button to get all the items you need to make it. This link works as well: https://www.brambleberry.com/BRAMcustom/kitrecipehandler.ashx?recipe=honeybeempsqtv
-Kelsey with Bramble Berry
Is there a secret to easily removing melt and pour soap from plastic molds?
Once the soap is fully cool and hard (which can take up to overnight), pull on the sides of each cavity. That will break the airlock and help the soap slip out more easily. Then, flip the mold over and press gently on the cavity with your thumbs until the soap pops out. If it still doesn’t want to budge, pop the mold in the freezer for 15 minutes, remove to room temperature for 5, and try again.
You can see that removal process in this video: https://www.youtube.com/watch?v=mwtNblDKmfk&t=18s
-Kelsey with Bramble Berry
Very cute! Is it possible to make a candle melt out of this? Perhaps a tutorial
We’ll definitely keep that in mind! Thanks for your suggestion. You can definitely add this scent to wax tarts for a warm honey smell. A small amount of the Orange Wax Dye Block will give you a golden honey color: https://www.brambleberry.com/Orange-Wax-Dye-Block-P4467.aspx
You can use our Fragrance Calculator to find out how much scent to add: https://www.brambleberry.com/Pages/Fragrance-Calculator.aspx
As for the wax, EcoSoya Advanced Soy Wax works well: https://www.brambleberry.com/EcoSoya-Advanced-Soy-Wax-P4698.aspx
This tutorial shows you how to make them: https://www.soapqueen.com/bath-and-body-tutorials/home-crafts/neroli-shea-blossom-wax-tart-melts/
-Kelsey with Bramble Berry
What should I use as an ingredient to make bubbles?
These bars will bubble on their own! If you like lots of lather, you can use our Shaving Melt and Pour Base: https://www.brambleberry.com/SFIC-Shaving-Melt-And-Pour-Base-P4384.aspx
It has great lather. 🙂
-Kelsey with Bramble Berry
Thank you so much!
You’re welcome!
Wow, looks amazing!
Thanks so much! 🙂
-Kelsey with Bramble Berry
I love these! I used to make them all the time. Melt and Pour is absolutely the best to make beautiful detailed soap.
Absolutely, you can really get detailed with melt and pour! So glad you love the soap Linda. Thanks for your sweet comment. 🙂
-Kelsey with Bramble Berry