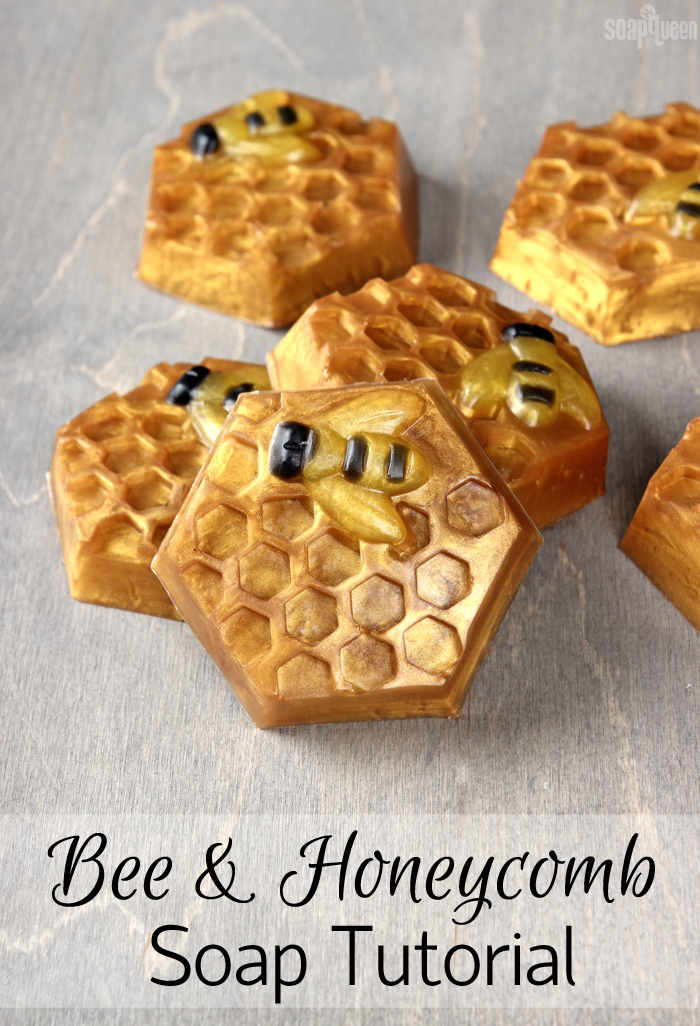
Over the past few years, I have spent more and more time in my garden. As my garden has grown, so has my appreciation for honey bees. Honey bees pollinate a wide variety of agricultural crops, making them a critical part of our ecosystem. The decline of the honey bee population, known as Colony Collapse Disorder, poses a serious threat to our environment and economy.
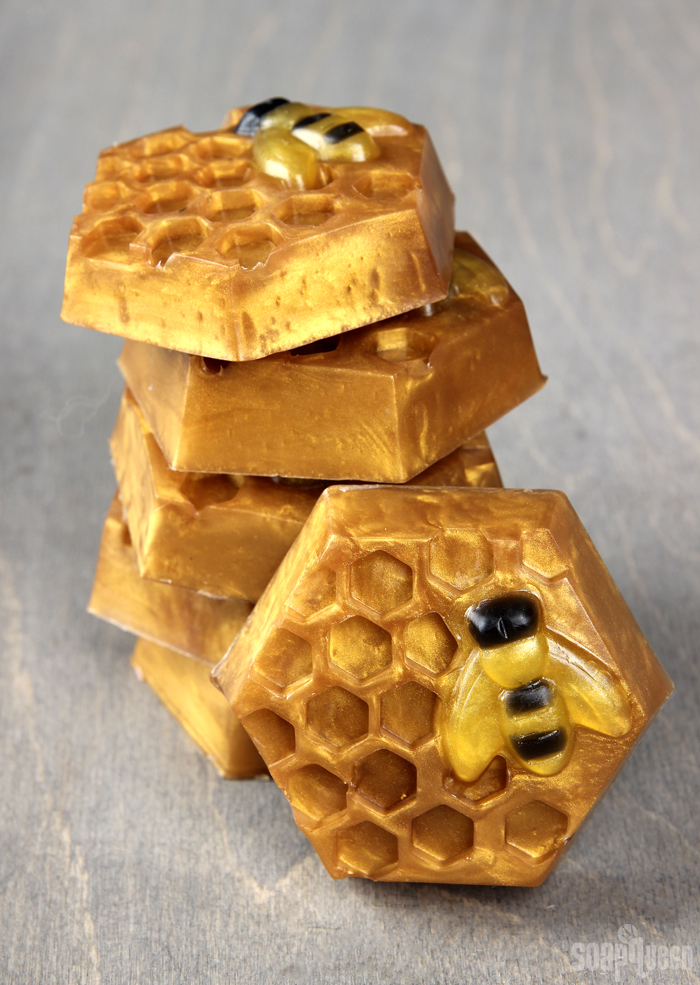
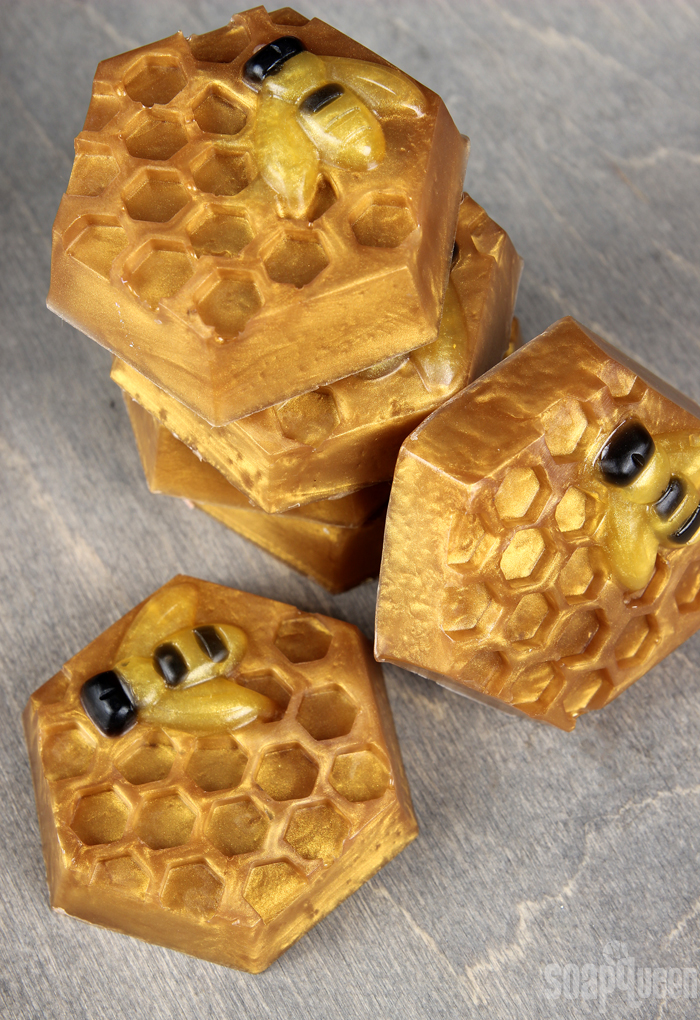
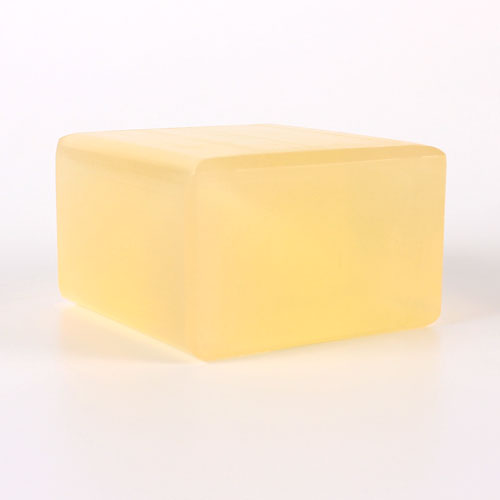
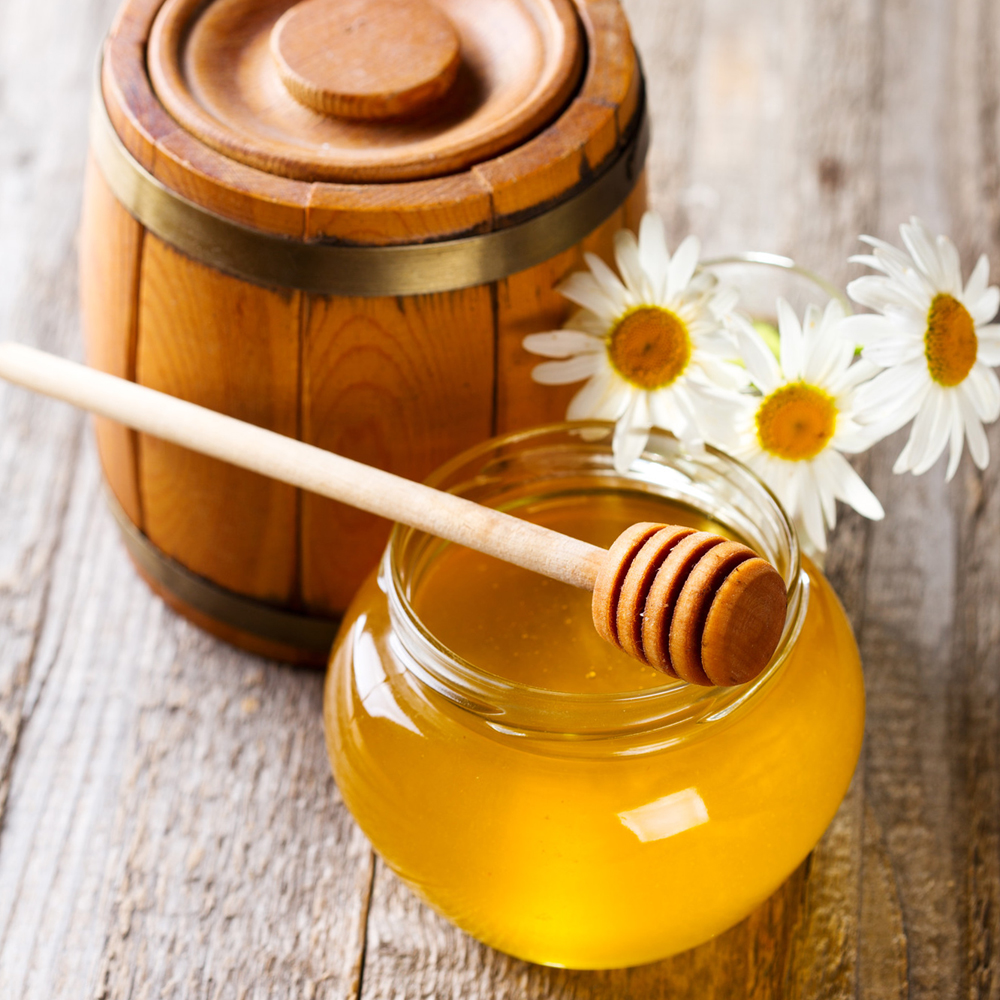
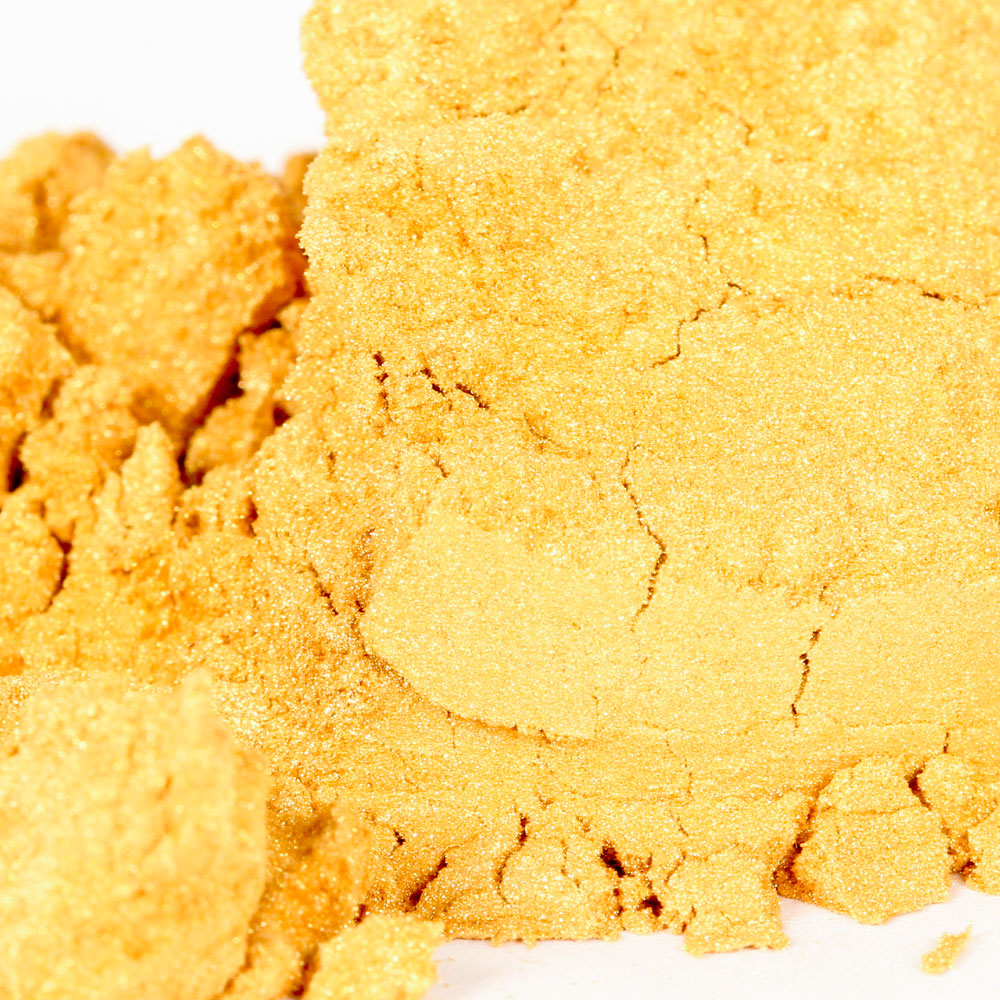
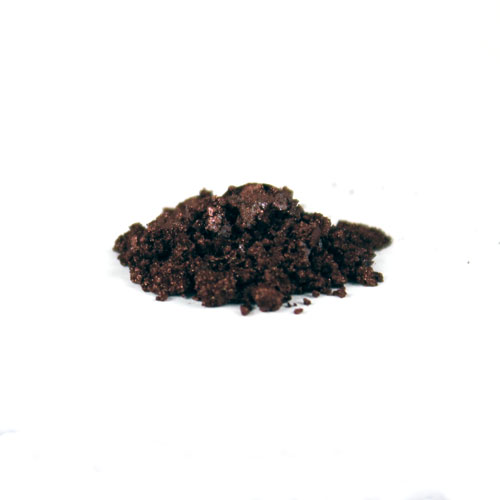
These Honeycomb Melt & Pour Soaps were inspired by the hard-working insects. They’re made with Honey Melt and Pour Soap Base, which contains real honey. Pure Honey Fragrance Oil gives these bars a sweet and delectable scent. To mimic the color of honeycomb, I used a combination of King’s Gold Mica and just a touch of Cappuccino Mica. The result is a vibrant and rich gold color.
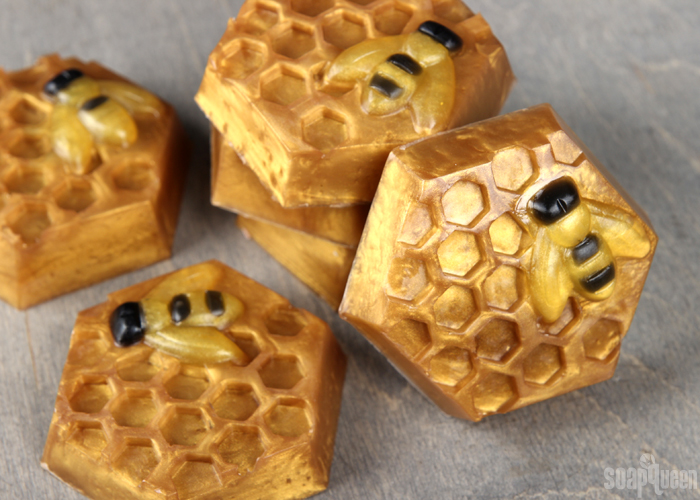
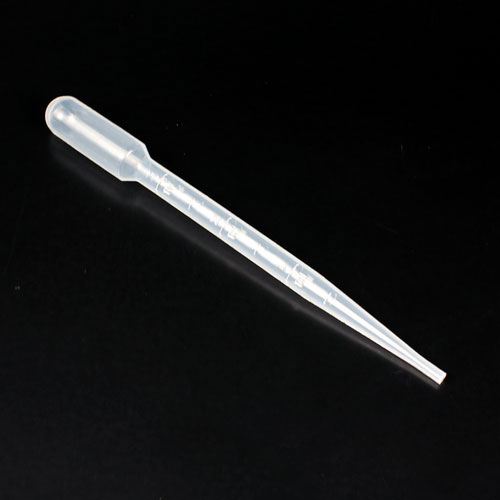
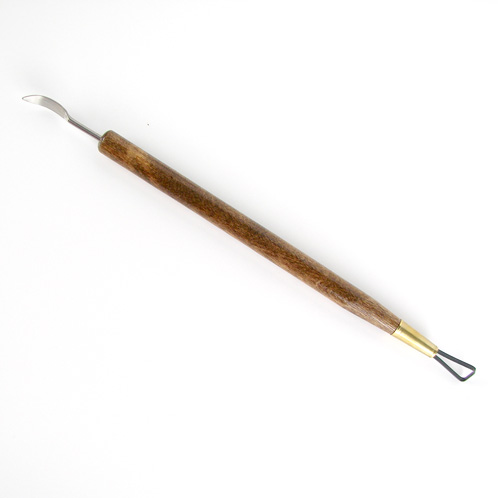
I highly recommend having a spray bottle of 99% isopropyl alcohol nearby for this project. Spritzing the soap with alcohol gets rid of air bubbles and will prevent the bee details from coming apart from the honeycomb. Filling in the bee details takes a steady hand and a little patience. I recommend using a dropper or Injector Tool to fill in the black stripes. Without these tools, it’s tricky to fill in such small details. A Clean Up Tool is perfect for fixing any mistakes; I definitely used it a few times! =)
What You’ll Need:
6 Cavity Honeycomb Silicone Mold
19.5 oz. Honey Melt and Pour Soap
0.3 oz. Pure Honey Fragrance Oil
King’s Gold Mica
Cappuccino Mica
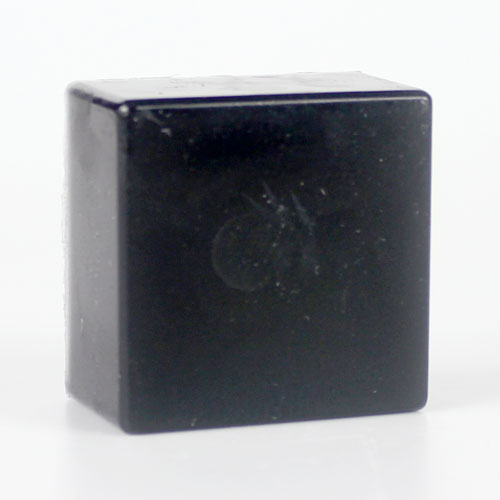
Black Oxide Color Block
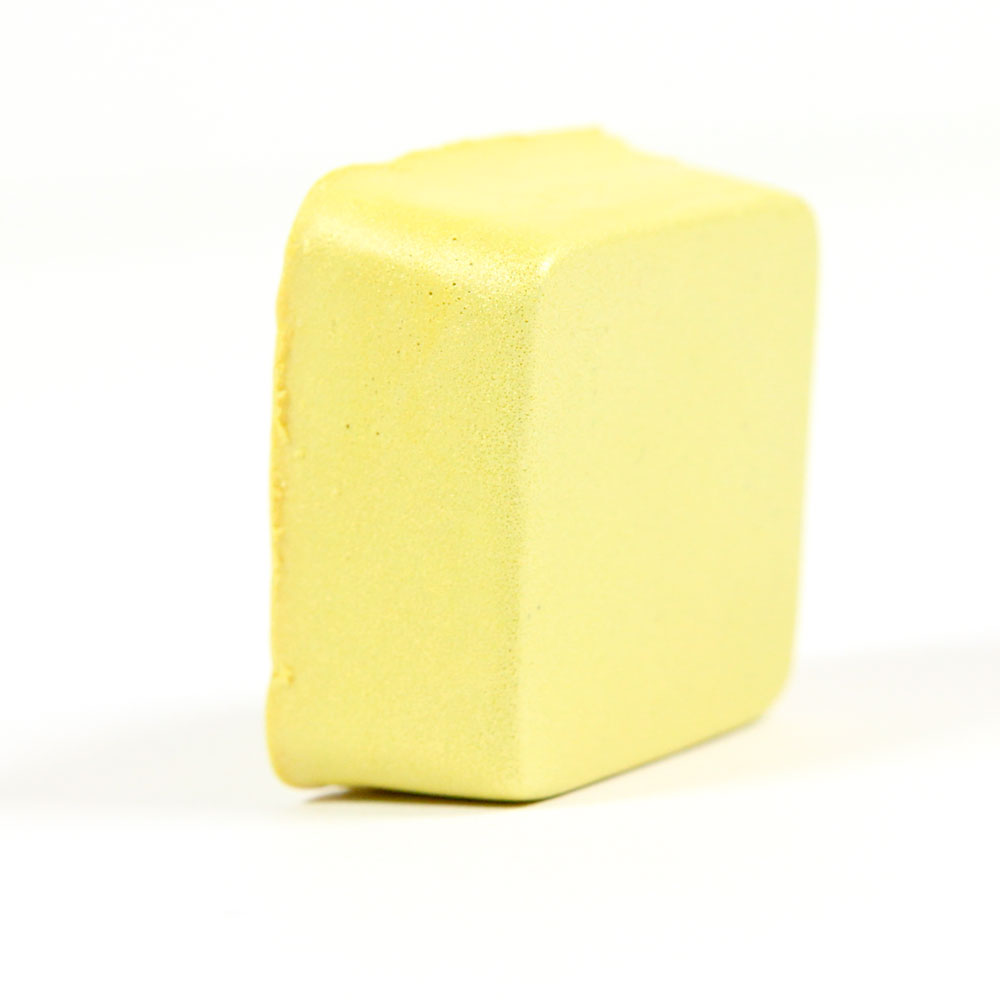
Shimmer Buttercup Color Block
Droppers
99% Isopropyl Alcohol in Spray Bottle
Optional: Clean Up Tool

Click here to add everything you need for this project to your Bramble Berry shopping cart!
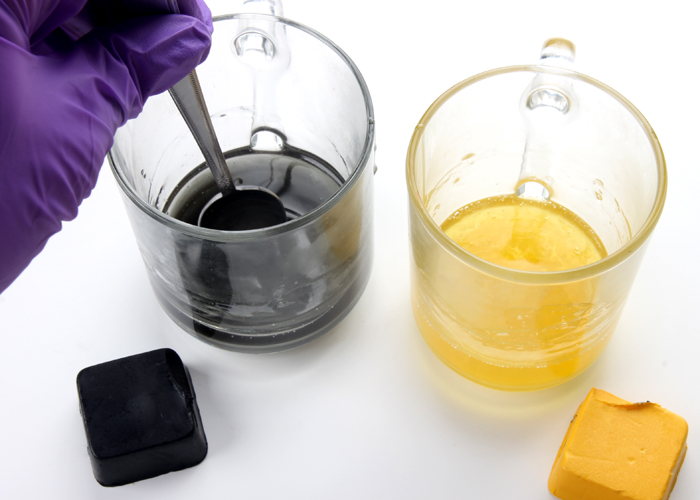
ONE: Chop and melt 4 ounces of Honey Melt and Pour Soap in the microwave using 5-10 second bursts. Because you’re melting such a small amount of soap, be careful to not burn it. Read more about burnt melt and pour and how to prevent it here. Once completely melted, divide the soap evenly into two small containers. To one container, add shavings of the Black Oxide Color Block until you achieve a dark black color. Don’t be afraid to add plenty of color; you want the black to be quite dark. To the other container, add shavings of the Buttercup Color Block until you achieve a bright and rich yellow color.
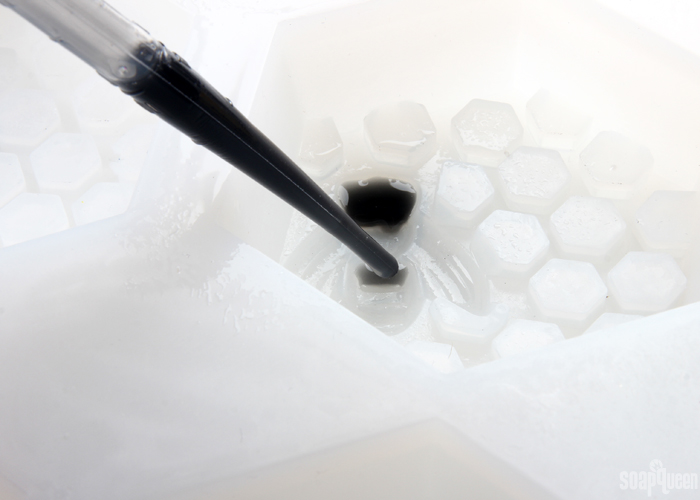
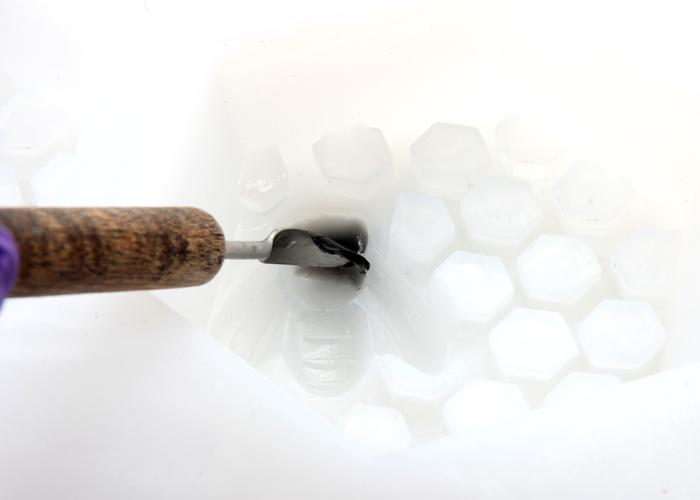
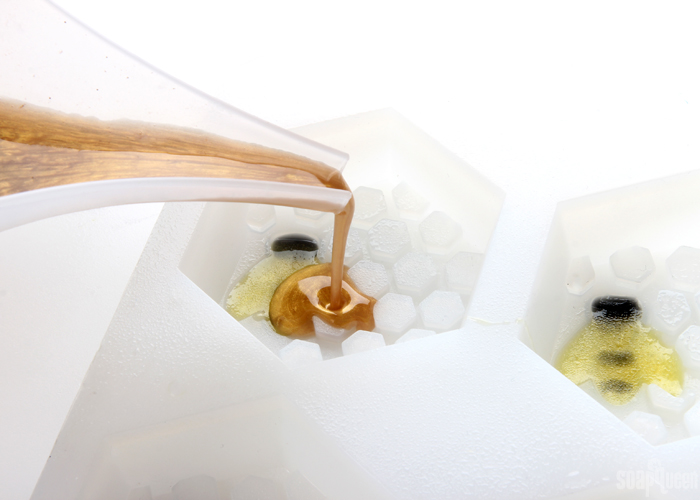
 TWO: Using a dropper (you can also use a Injector Soap Tool), fill in the head of the bee with black soap. It’s helpful to tilt the mold slightly to help the soap stay in the “head cavity” of the mold, without dripping into the body. If it does, allow the soap to cool and harden for a few minutes, and use the Clean Up Tool to perfect the design, as shown below. After dropping the soap in the mold, spritz the soap with 99% isopropyl alcohol to get rid of any bubbles.
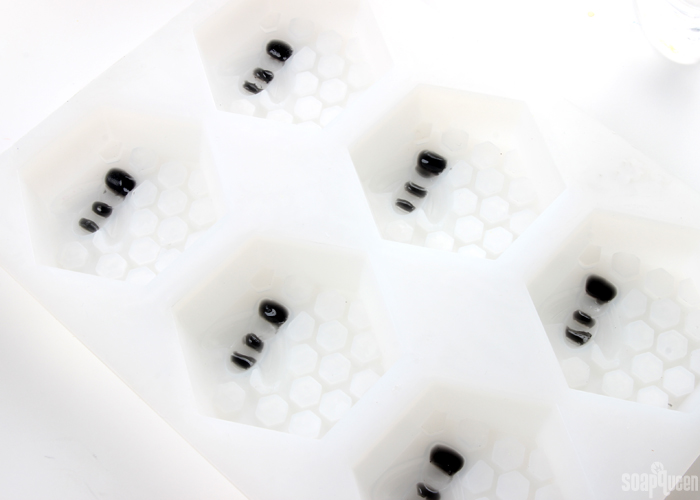
 THREE: Use the dropper or Injector Tool to fill in two small stripes of the bee. Just a drop or two of soap in each stripe usually does the trick. Use the Clean Up Tool to perfect the stripes if necessary. During this process, you may need to reheat the black soap in the microwave to become liquid and workable. Use 3 second bursts to reheat the soap in order to prevent scorching. Allow the details in the mold to cool and harden for several minutes.
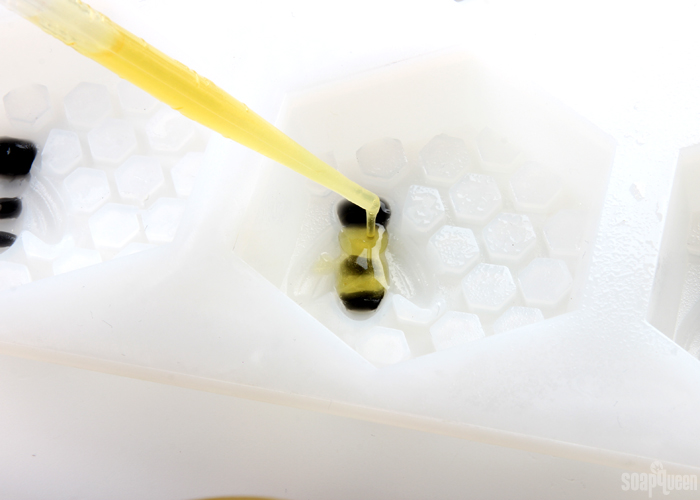
 FOUR: Reheat the yellow soap in the microwave using 3-5 second bursts. If necessary, allow it to cool until it is below 130° F. If the soap is too hot, it may melt the small black details. Once it is the correct temperature, spritz the mold with 99% isopropyl alcohol. Then, use a dropper (or carefully pour) the yellow soap into the bee cavity. If necessary, clean up any drips or imperfections with a Clean Up Tool. Spritz with alcohol to remove bubbles, and allow to fully cool and harden for several minutes.
 FIVE: While the soap cools, it’s time to prep your colorants. Disperse 1/8 teaspoon of Cappuccino Mica into 1/4 teaspoon of 99% isopropyl alcohol and 1/2 teaspoon King’s Gold Mica with 1 teaspoon 99% isopropyl alcohol. Then, chop and melt 15.5 ounces of Honey Melt and Pour in the microwave using 20 second bursts. Once completely melted, add all of the dispersed King’s Gold Mica and use a spoon to fully mix in.
 SIX: Add the Pure Honey Fragrance Oil and use a spoon to fully mix in.
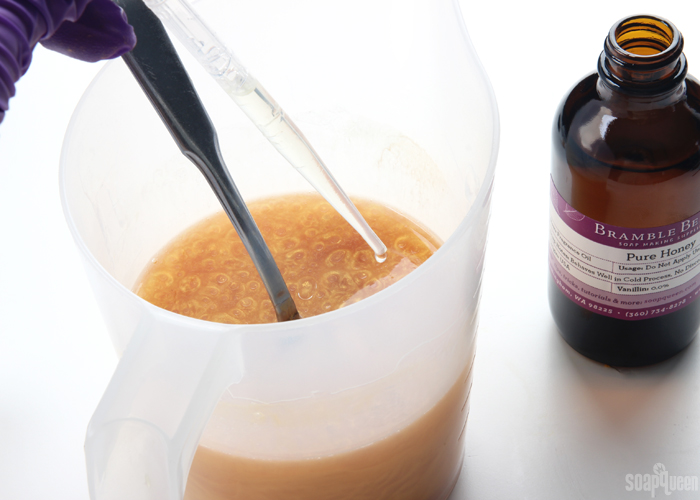 SEVEN: At this point, I thought my soap was looking a little light. So, I added Cappuccino Mica and it created the most gorgeous gold color! Add all of the dispersed Cappuccino Mica and mix to fully incorporate. Isn’t that color dreamy? =)
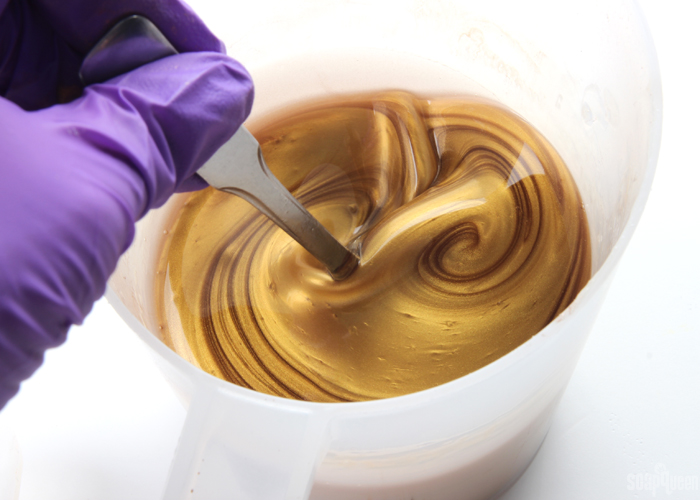 EIGHT: Check the temperature of the soap. If it’s hotter than 130° F, allow it to cool. If the yellow soap is poured while it’s too hot, it will melt the bee details. Once the soap is between 120-129° F, spritz the mold with 99% isopropyl alcohol. Pour the gold soap into each cavity.
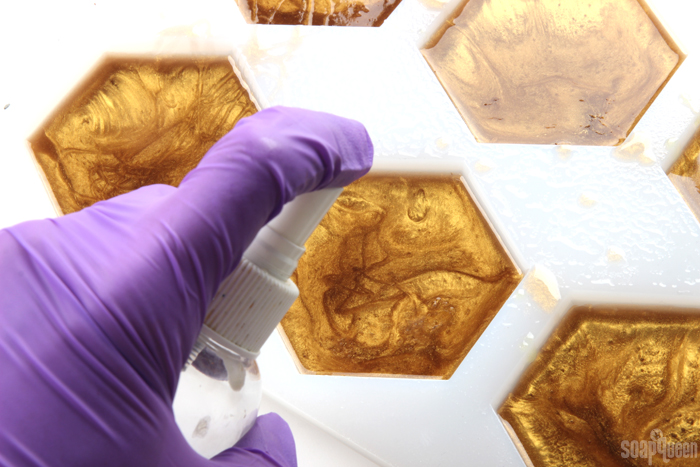
 NINE: Spritz each cavity with 99% isopropyl alcohol to help disperse bubbles. Allow the soap to fully cool and harden for several hours before attempting to remove. Once fully hardened, remove the bars from the mold and wrap in plastic wrap to help prevent glycerin dew. Learn more about storing handmade products here. Enjoy!
- 6 Cavity Honeycomb Silicone Mold
- 19.5 oz. Honey Melt and Pour Soap
- 0.3 oz. Pure Honey Fragrance Oil
- King’s Gold Mica
- Cappuccino Mica
- Black Oxide Color Block
- Shimmer Buttercup Color Block
- Droppers
- 99% Isopropyl Alcohol in Spray Bottle
- Optional: Clean Up Tool
- Chop and melt 4 ounces of Honey Melt and Pour Soap in the microwave using 5-10 second bursts. Because you’re melting such a small amount of soap, be careful to not burn it. Once completely melted, divide the soap evenly into two small containers. To one container, add shavings of the Black Oxide Color Block until you achieve a dark black color. Don’t be afraid to add plenty of color; you want the black to be quite dark. To the other container, add shavings of the Buttercup Color Block until you achieve a bright and rich yellow color.
- Using a dropper (you can also use a Injector Soap Tool), fill in the head of the bee with black soap. It’s helpful to tilt the mold slightly to help the soap stay in the “head cavity” of the mold, without dripping into the body. If it does, allow the soap to cool and harden for a few minutes, and use the Clean Up Tool to perfect the design, as shown below. After dropping the soap in the mold, spritz the soap with 99% isopropyl alcohol to get rid of any bubbles.
- Use the dropper or Injector Tool to fill in two small stripes of the bee. Just a drop or two of soap in each stripe usually does the trick. Use the Clean Up Tool to perfect the stripes if necessary. During this process, you may need to reheat the black soap in the microwave to become liquid and workable. Use 3 second bursts to reheat the soap in order to prevent it from scorching. Allow the details in the mold to cool and harden for several minutes.
- Reheat the yellow soap in the microwave using 3-5 second bursts. If necessary, allow it to cool until it is below 130° F. If the soap is too hot, it may melt the small black details. Once it is the correct temperature, spritz the mold with 99% isopropyl alcohol. Then, use a dropper (or carefully pour) the yellow soap into the bee cavity. If necessary, clean up any drips or imperfections with a Clean Up Tool. Spritz with alcohol to remove bubbles, and allow to fully cool and harden for several minutes.
- While the soap cools, it's time to prep your colorants. Disperse ⅛ teaspoon of Cappuccino Mica into ¼ teaspoon of 99% isopropyl alcohol and ½ teaspoon King's Gold Mica with 1 teaspoon 99% isopropyl alcohol. Then, chop and melt 15.5 ounces of Honey Melt and Pour in the microwave using 20 second bursts. Once completely melted, add all of the dispersed King's Gold Mica and use a spoon to fully mix in.
- Add the Pure Honey Fragrance Oil, and use a spoon to fully mix in.
- At this point, I thought my soap was looking a little light. So, I added Cappuccino Mica and it created the most gorgeous gold color! Add all of the dispersed Cappuccino Mica and mix to fully incorporate. Isn't that color dreamy? =)
- Check the temperature of the soap. If it’s hotter than 130° F, allow it to cool. If the yellow soap is poured while it’s too hot, it will melt the bee details. Once the soap is between 120-129° F, spritz the mold with 99% isopropyl alcohol. Pour the gold soap into each cavity.
- Spritz each cavity with 99% isopropyl alcohol to help disperse bubbles. Allow the soap to fully cool and harden for several hours before attempting to remove. Once fully hardened, remove the bars from the mold, and wrap in plastic wrap to help prevent glycerin dew. Learn more about storing handmade products here. Enjoy!




Will this lather up with any kind of shimmer thanks to the shimmery colorant blocks?
This soap lathers up clear, there isn’t any color transfer. If you add more color there is a chance it can have a shimmery lather, so just add enough to get the caramely gold color you see here.
-Kelsey with Bramble Berry
I’m trying to get emails but it’s saying my email not valid but it is please help
Hi Stacy! Are you signing up for the blog email? The one that says, become an email subscriber on the right? Let me know and we’ll get you signed up!
-Kelsey with Bramble Berry
I planted sunflowers so the bees go crazy over them. We have plenty of bees in south Carolina. This soap looks really cool.
Oh that’s awesome, your house is bee central! Glad you like the soap Anna, I hope you have a chance to give it a try. 🙂
-Kelsey with Bramble Berry
I’m opposite of Michael- I don’t spray anything! I don’t want to accidentally kill bees, beneficial insects, butterflies or hummingbirds. Nature usually takes care of itself. When I recently had a big aphids infestation on my honeysuckle, it got taken care of by lady bugs and their larvae. I don’t have hornets, but in case of wasps, I either let them be, or knock them down and RUN!! 😂
That soap looks beautiful- looove that deep gold color. I’ve been planning a soap with Pure Honey FO for awhile now, I love that FO. I think I’ll have to do it soon. 🙂
Me too, I’ve made peace with a few spiders in my apartment because they take care of the fleas and fruit flies! Glad you love the golden color Martina. Have fun giving this tutorial a try. 🙂
-Kelsey with Bramble Berry
When it comes to bugs I spray anything that moves. I have too many bees and hornets around my house to be “kind” about it, and if I get stung its a disadvantage to my health. I like this mold though and the pure honey fragrance oil is a favorite.
Glad you’re enjoying the mold! I love Pure Honey too. 🙂
-Kelsey with Bramble Berry